
How to Elevate Your Photo Galleries with Double Exposures
Unleash Your Creativity Through the Art of Blending Images


Overview
It’s no doubt if you’ve been following me that you know how much I love making double exposures (& other funky art). Back in 2012 when I first started, I didn’t know a thing about photoshop or how powerful it could be in storytelling. It took years of trial and error & a whole lot of video tutorials for me to gain the most basic understanding of photoshop. Now, I can’t imagine my creative world without it. So, I thought I’d leave you all with some helpful tips about my creative process in making DOUBLE EXPOSURES
In-Camera vs. Photoshop
While many cameras offer a multiple exposure mode or image overlay feature, allowing you to combine two or more exposures into one shot, the process is typically limited. You’ll have less control over the final result because the blending options are preset. You’re essentially relying on your camera’s automatic settings to decide how the exposures interact, which means you’ll have fewer options for fine-tuning the opacity, blending modes, or placement of the images.
On the other hand, using Photoshop gives you complete control over the final result. You can experiment with blending modes, layer masks, opacity adjustments, and precisely align images, ensuring a more customized and artistic outcome. This method allows you to manipulate both images to fit your creative vision.
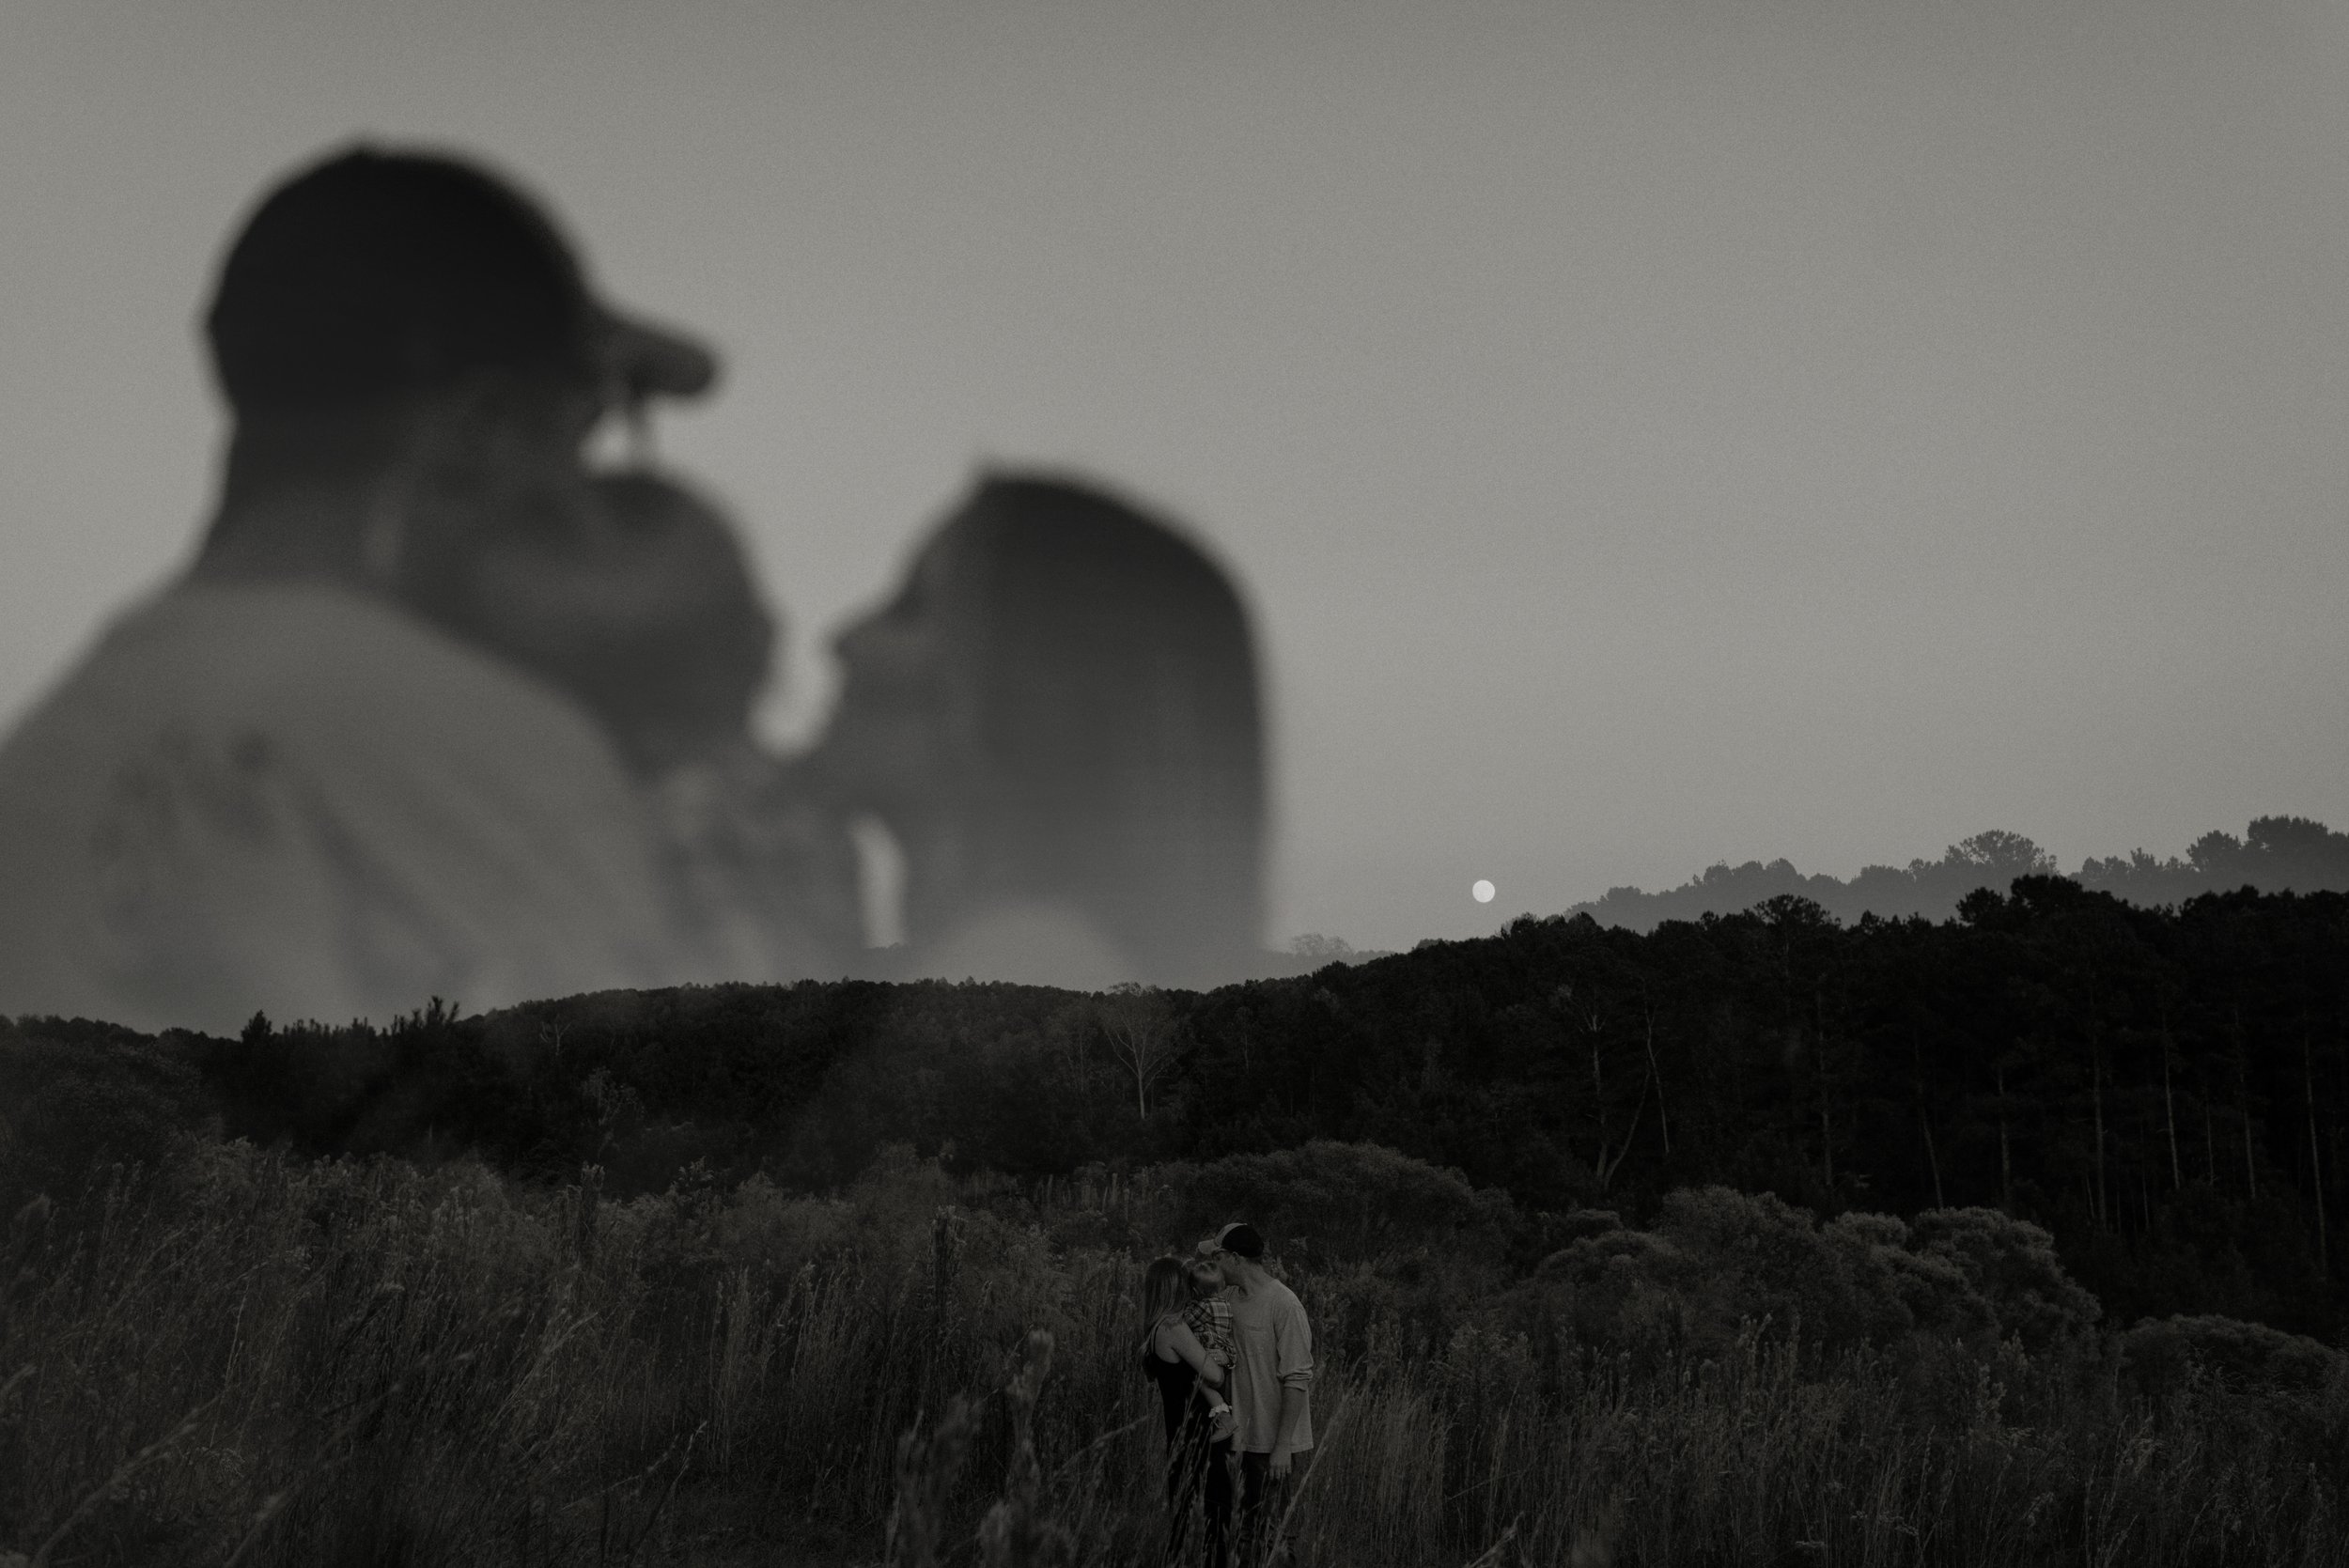
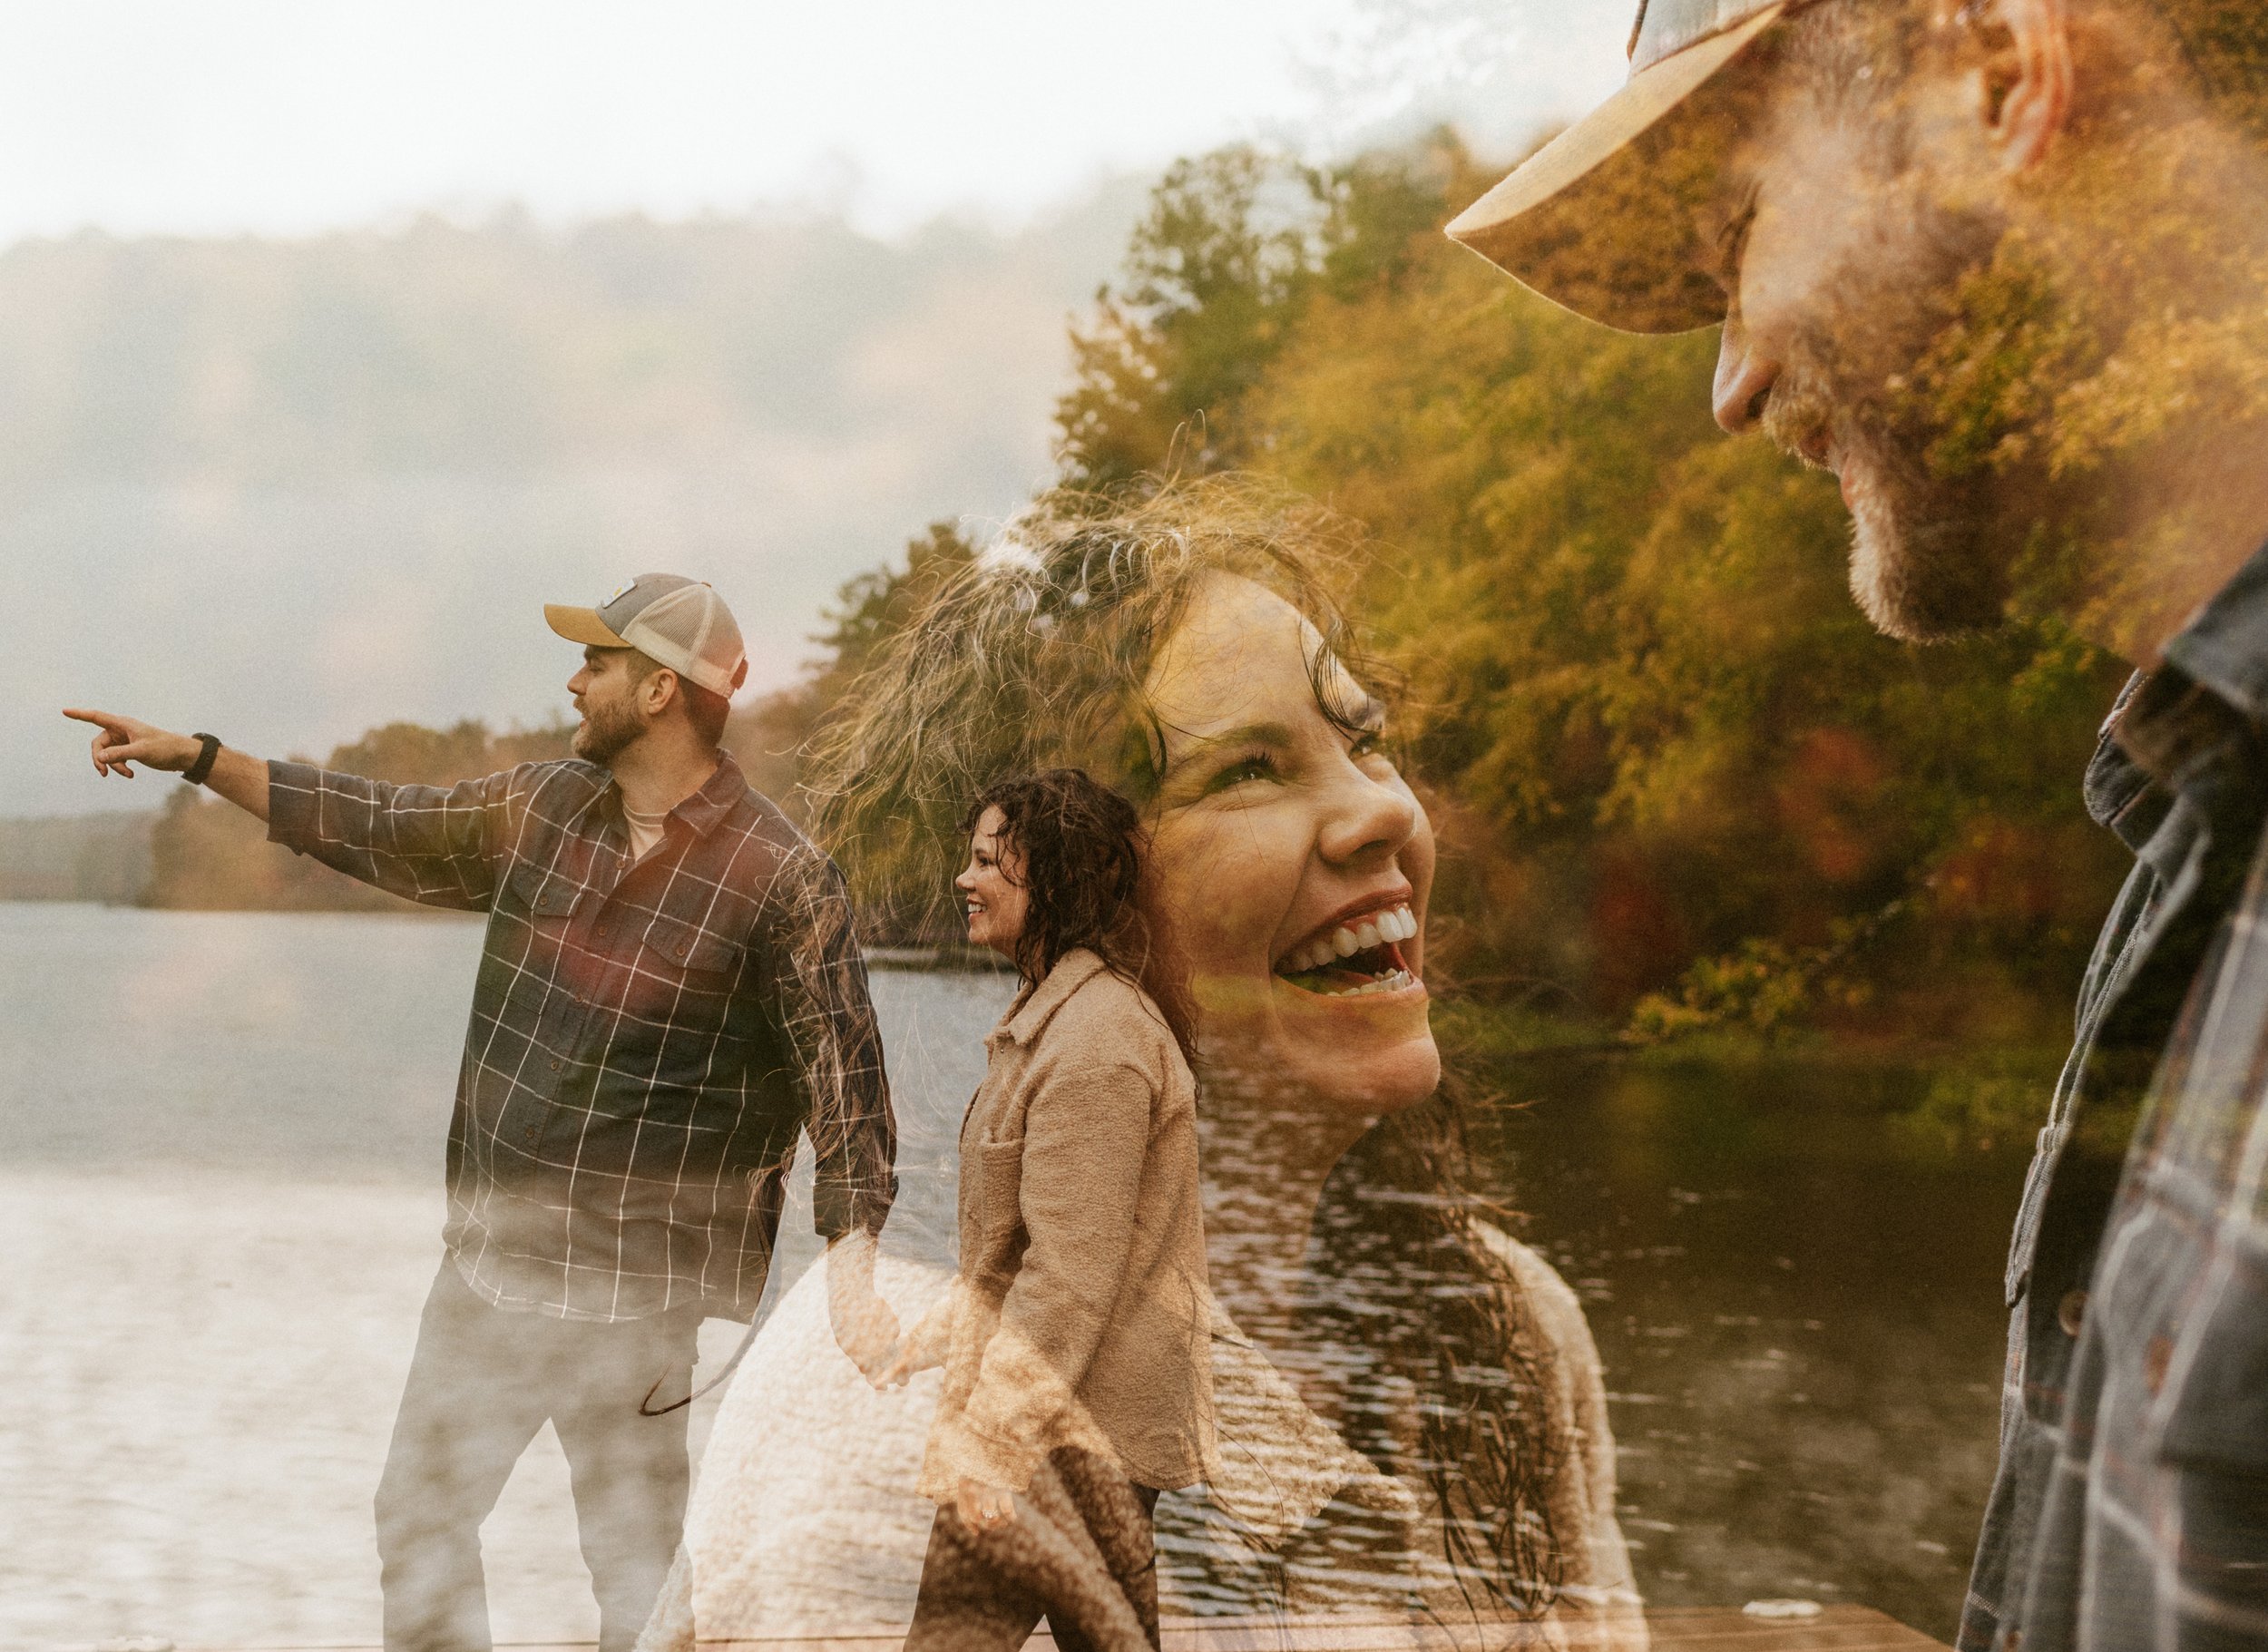
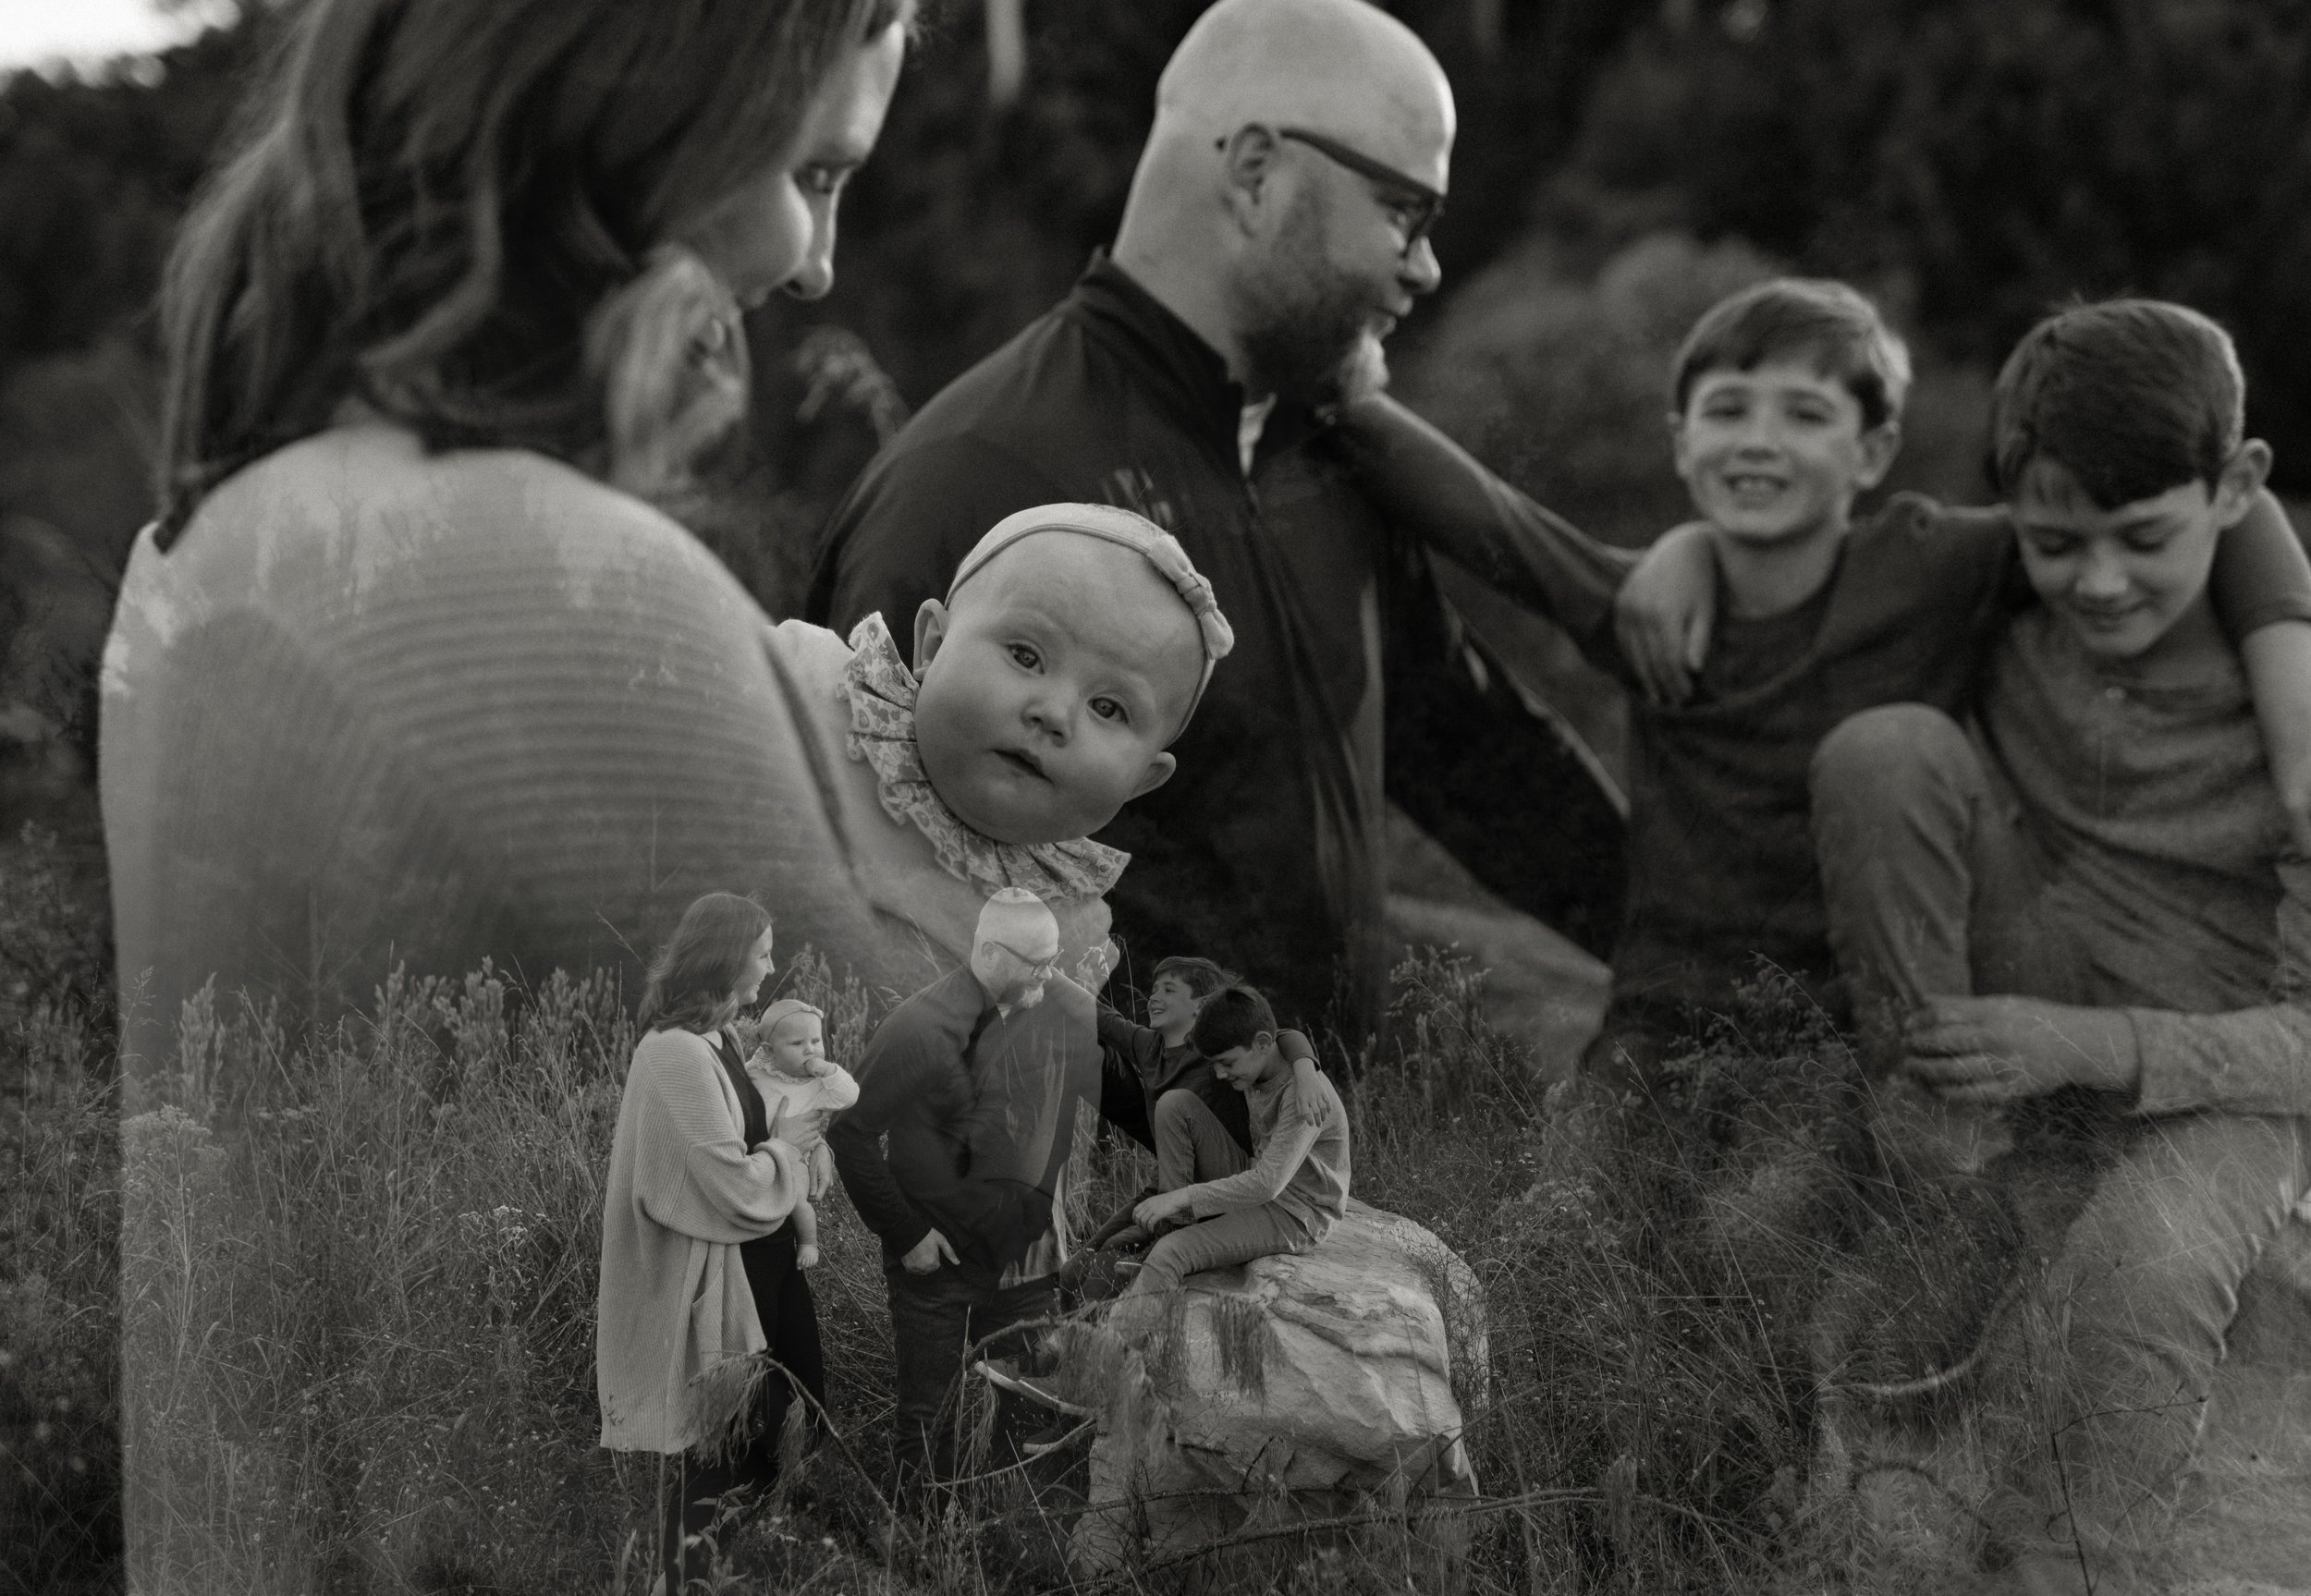
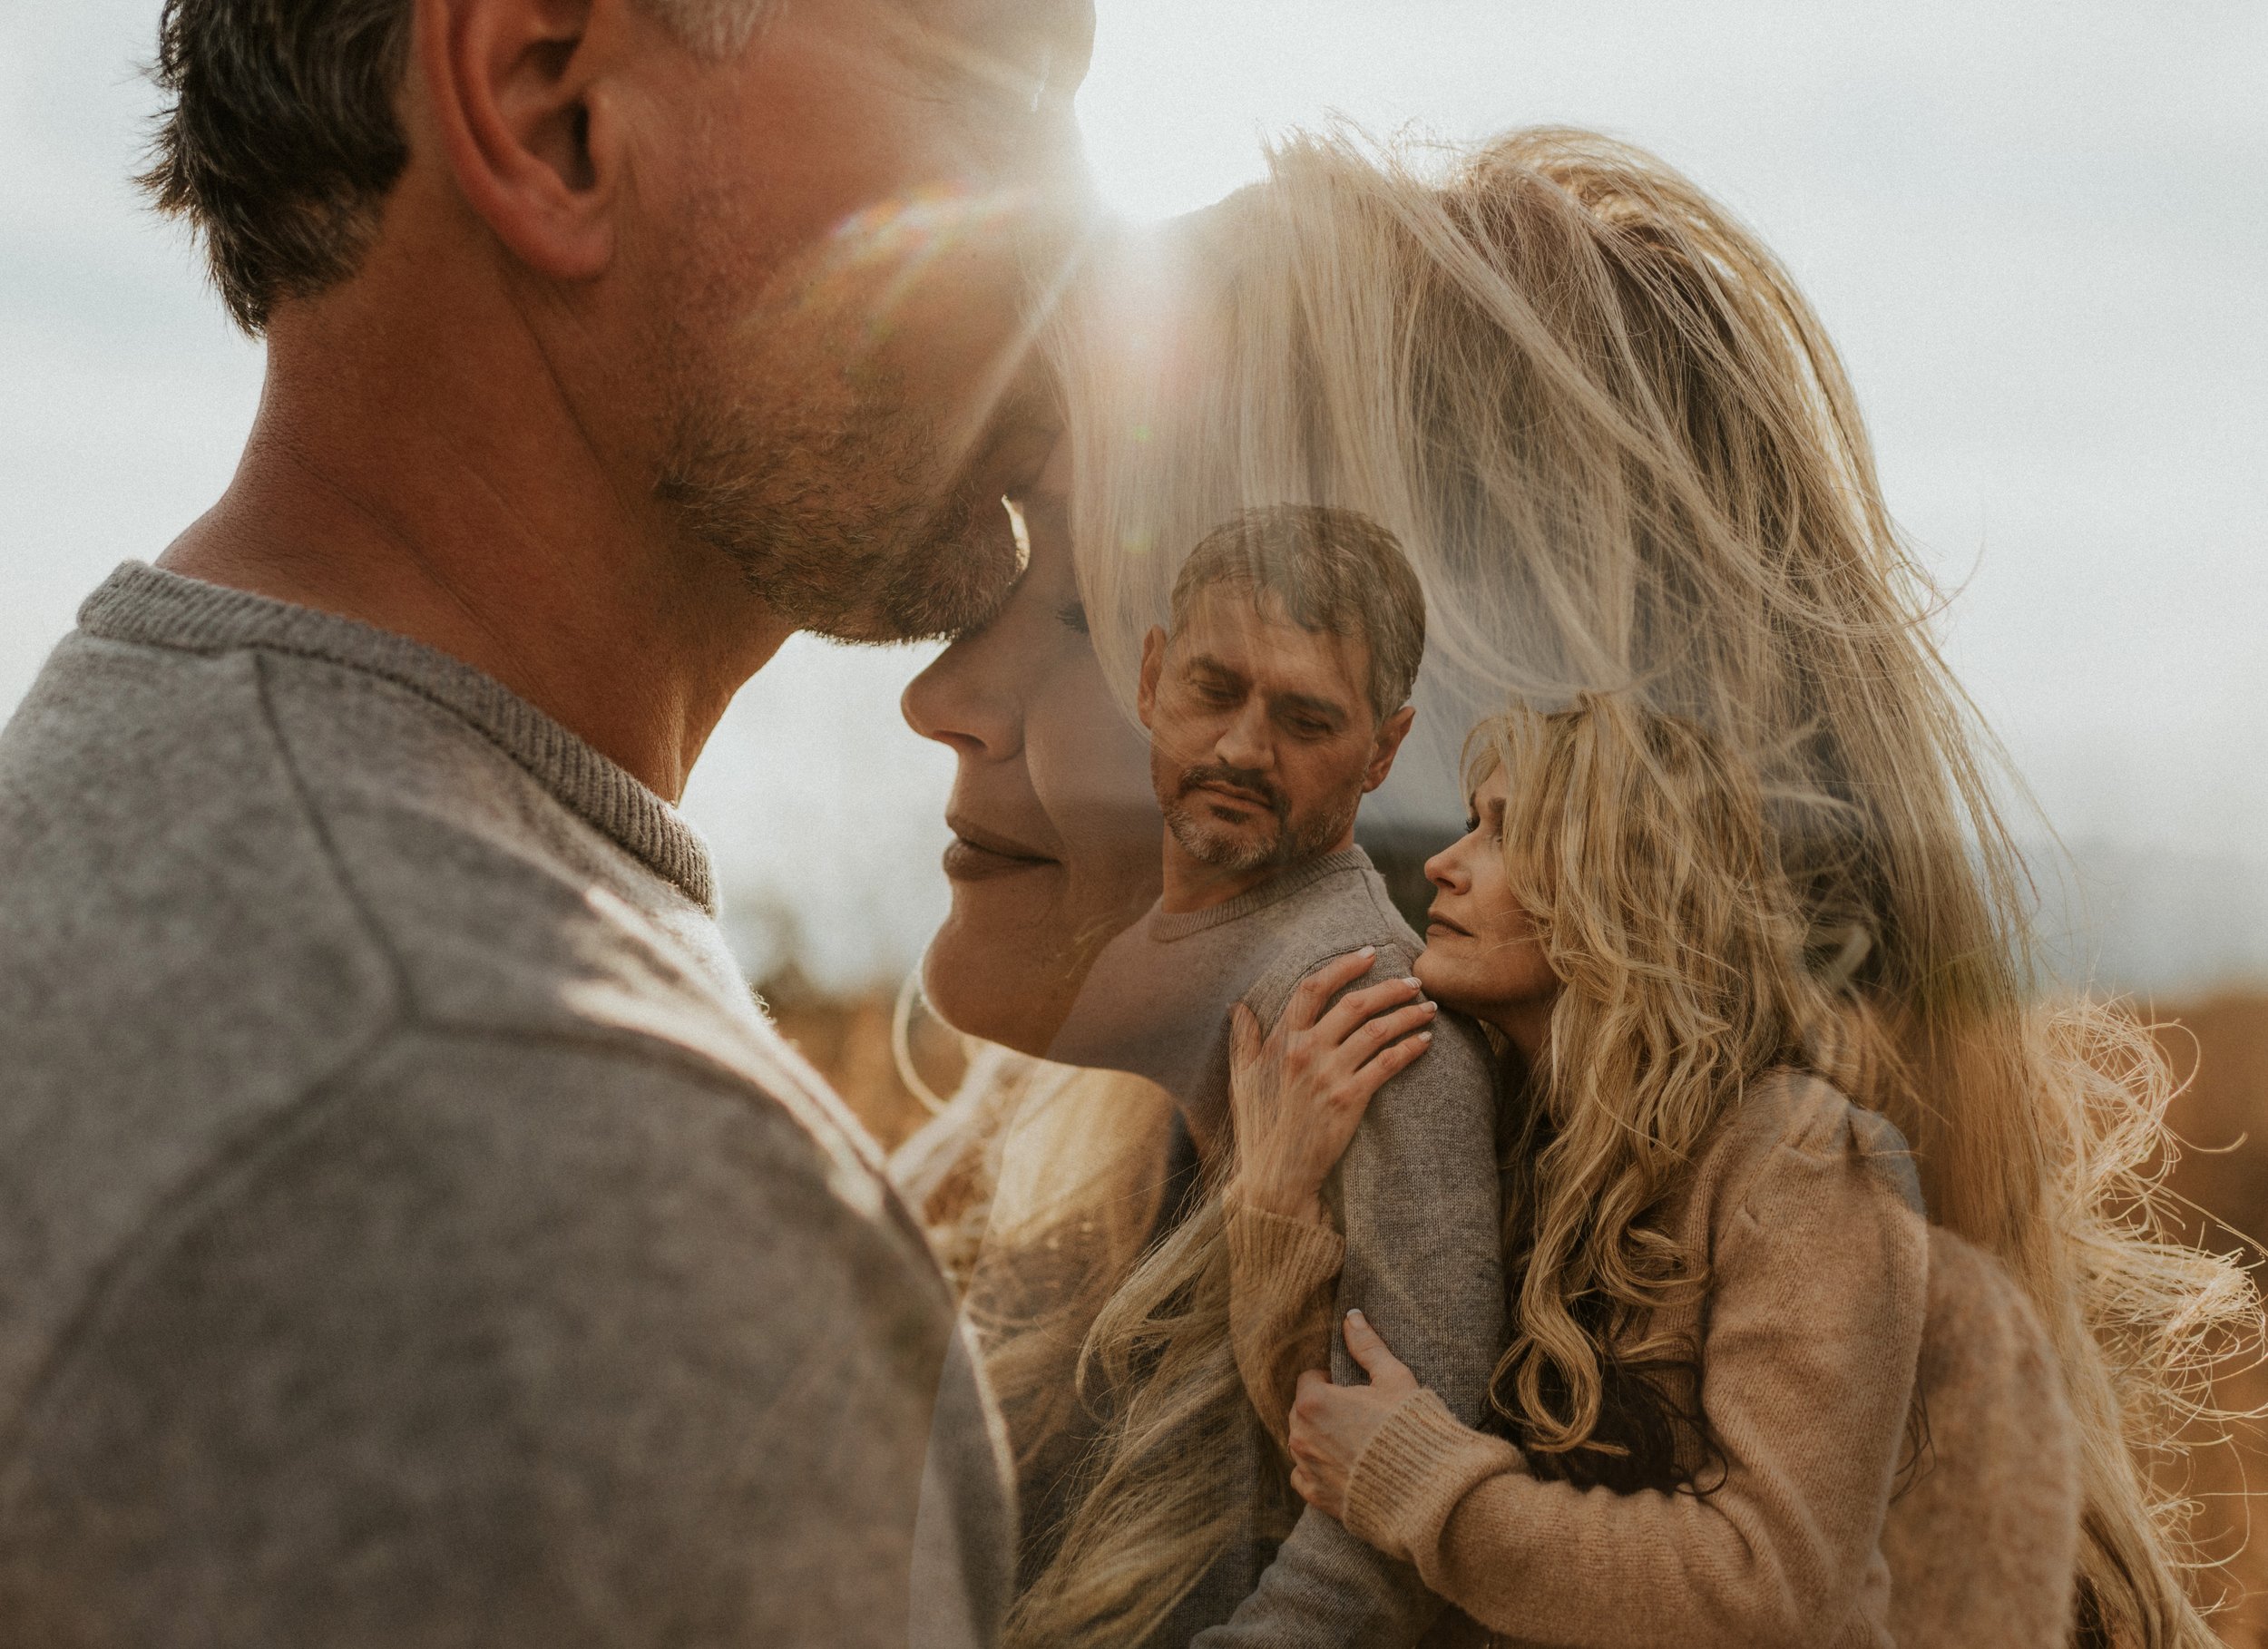
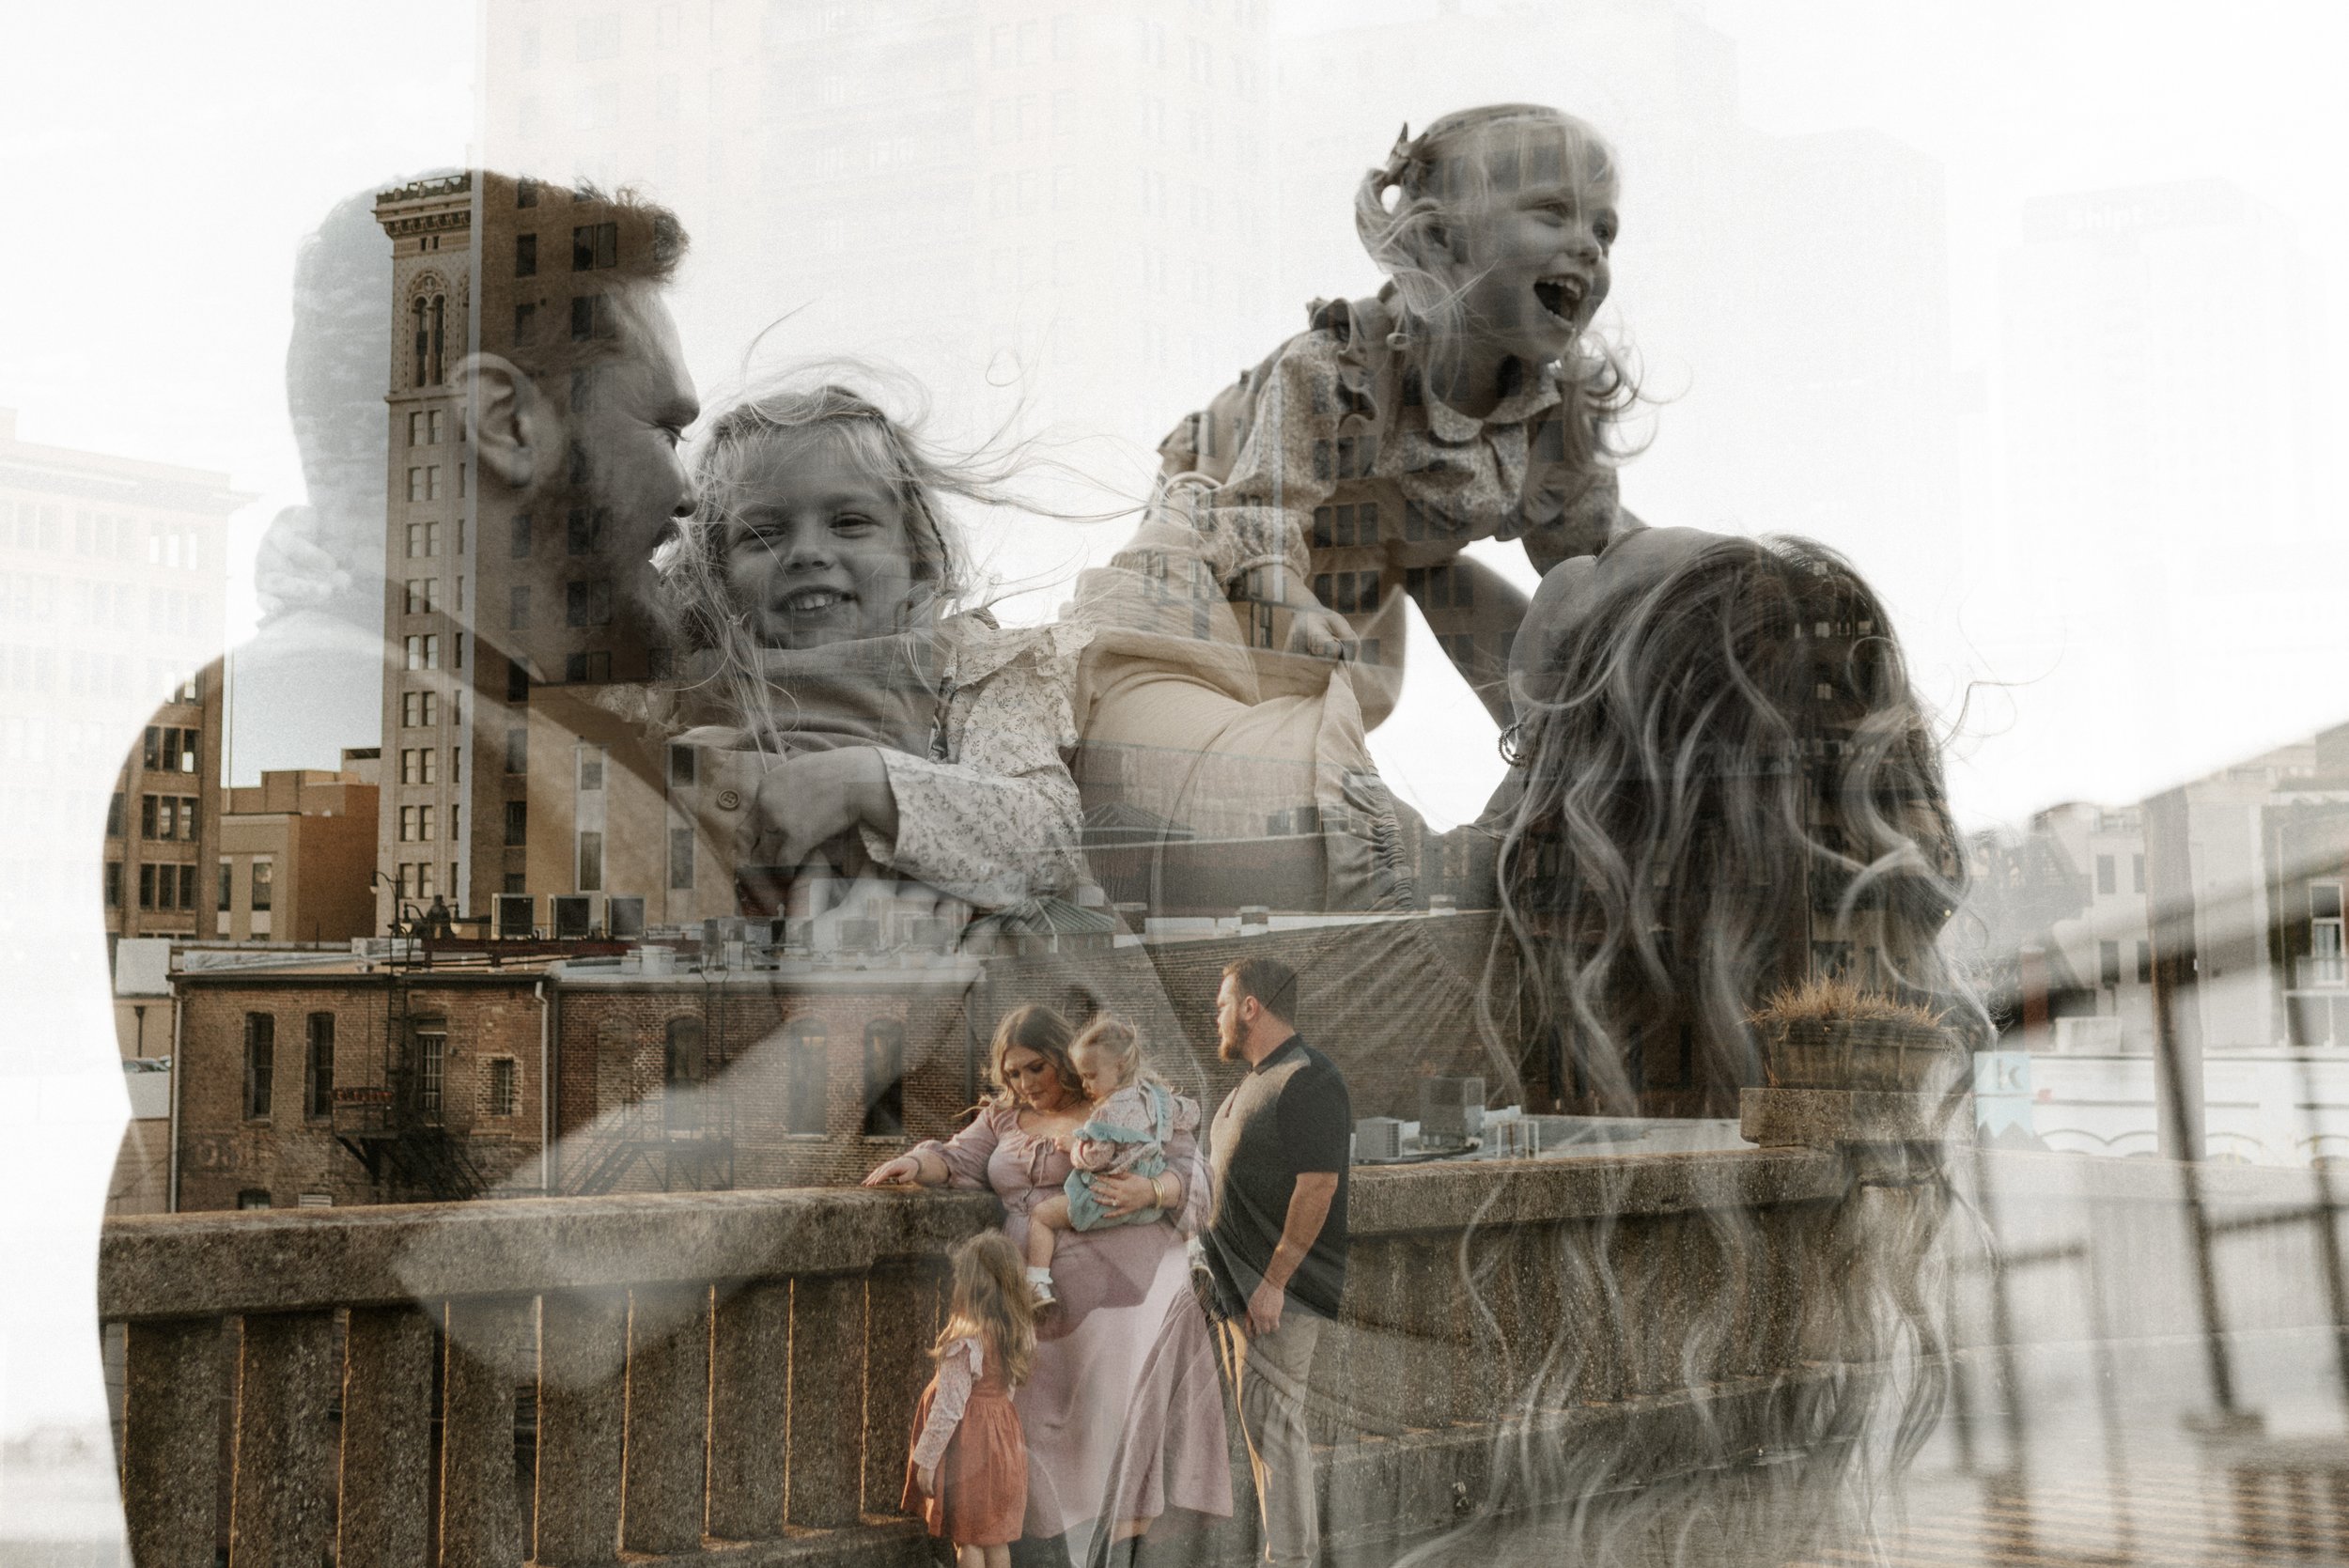
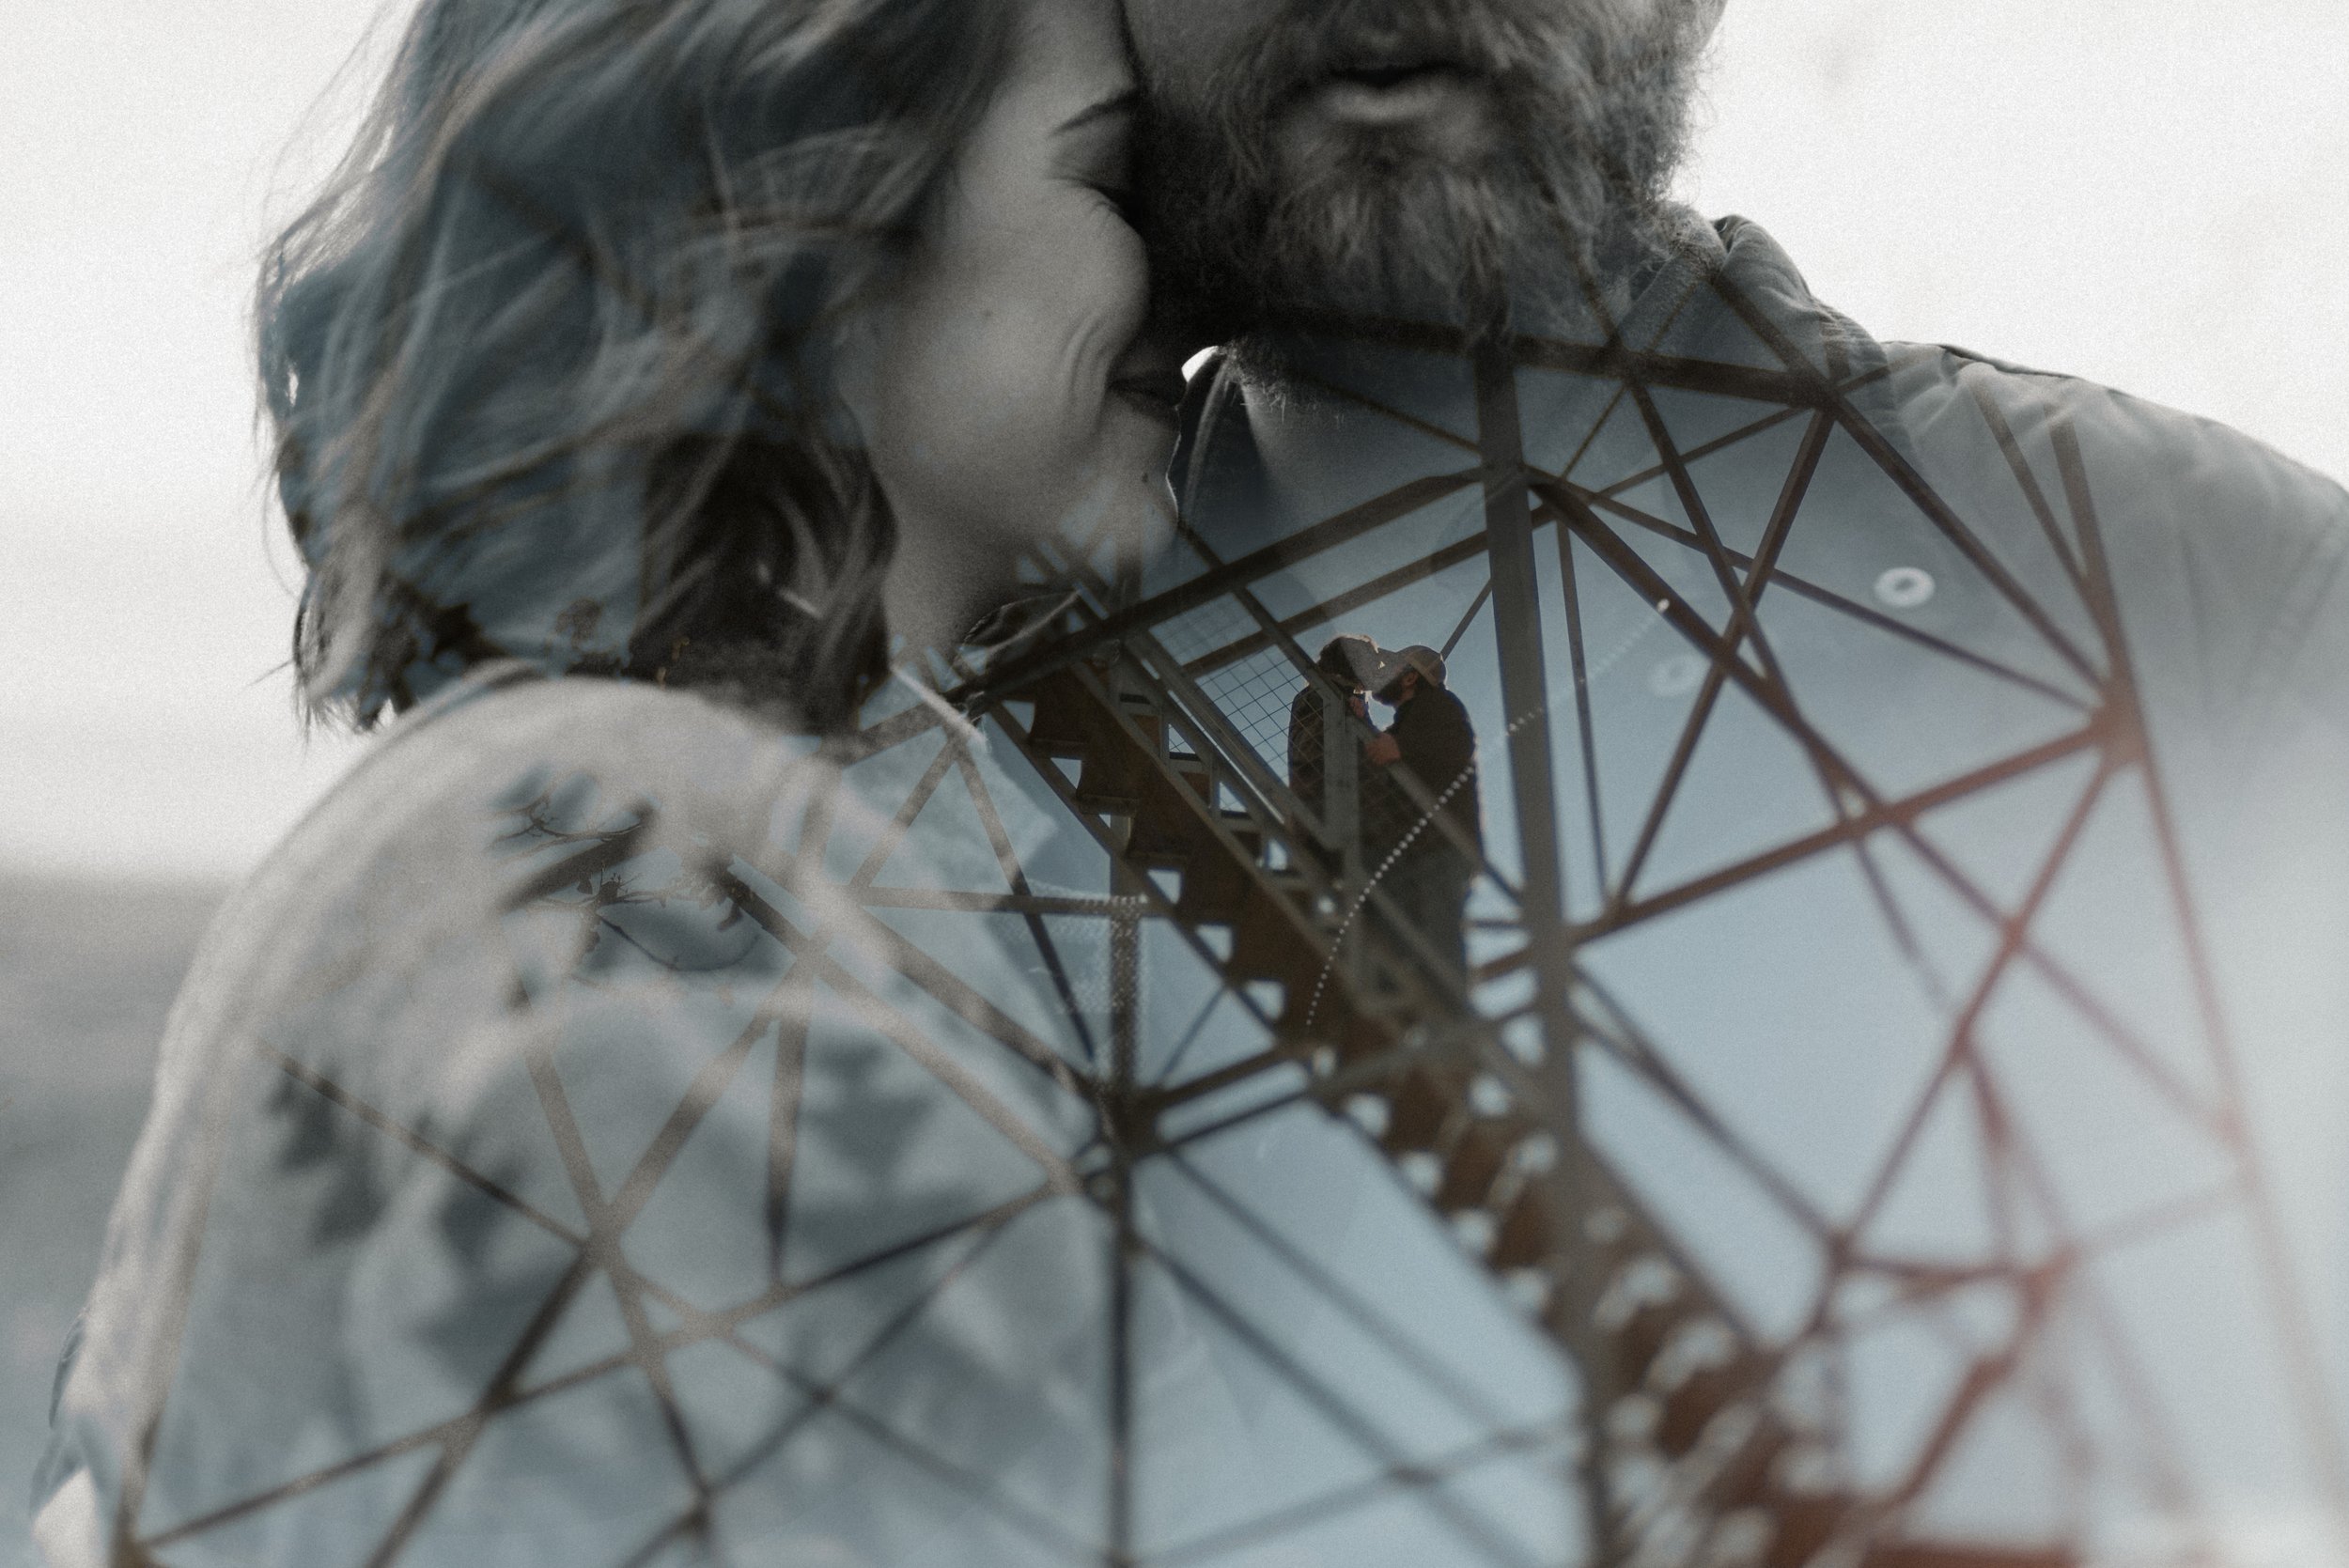
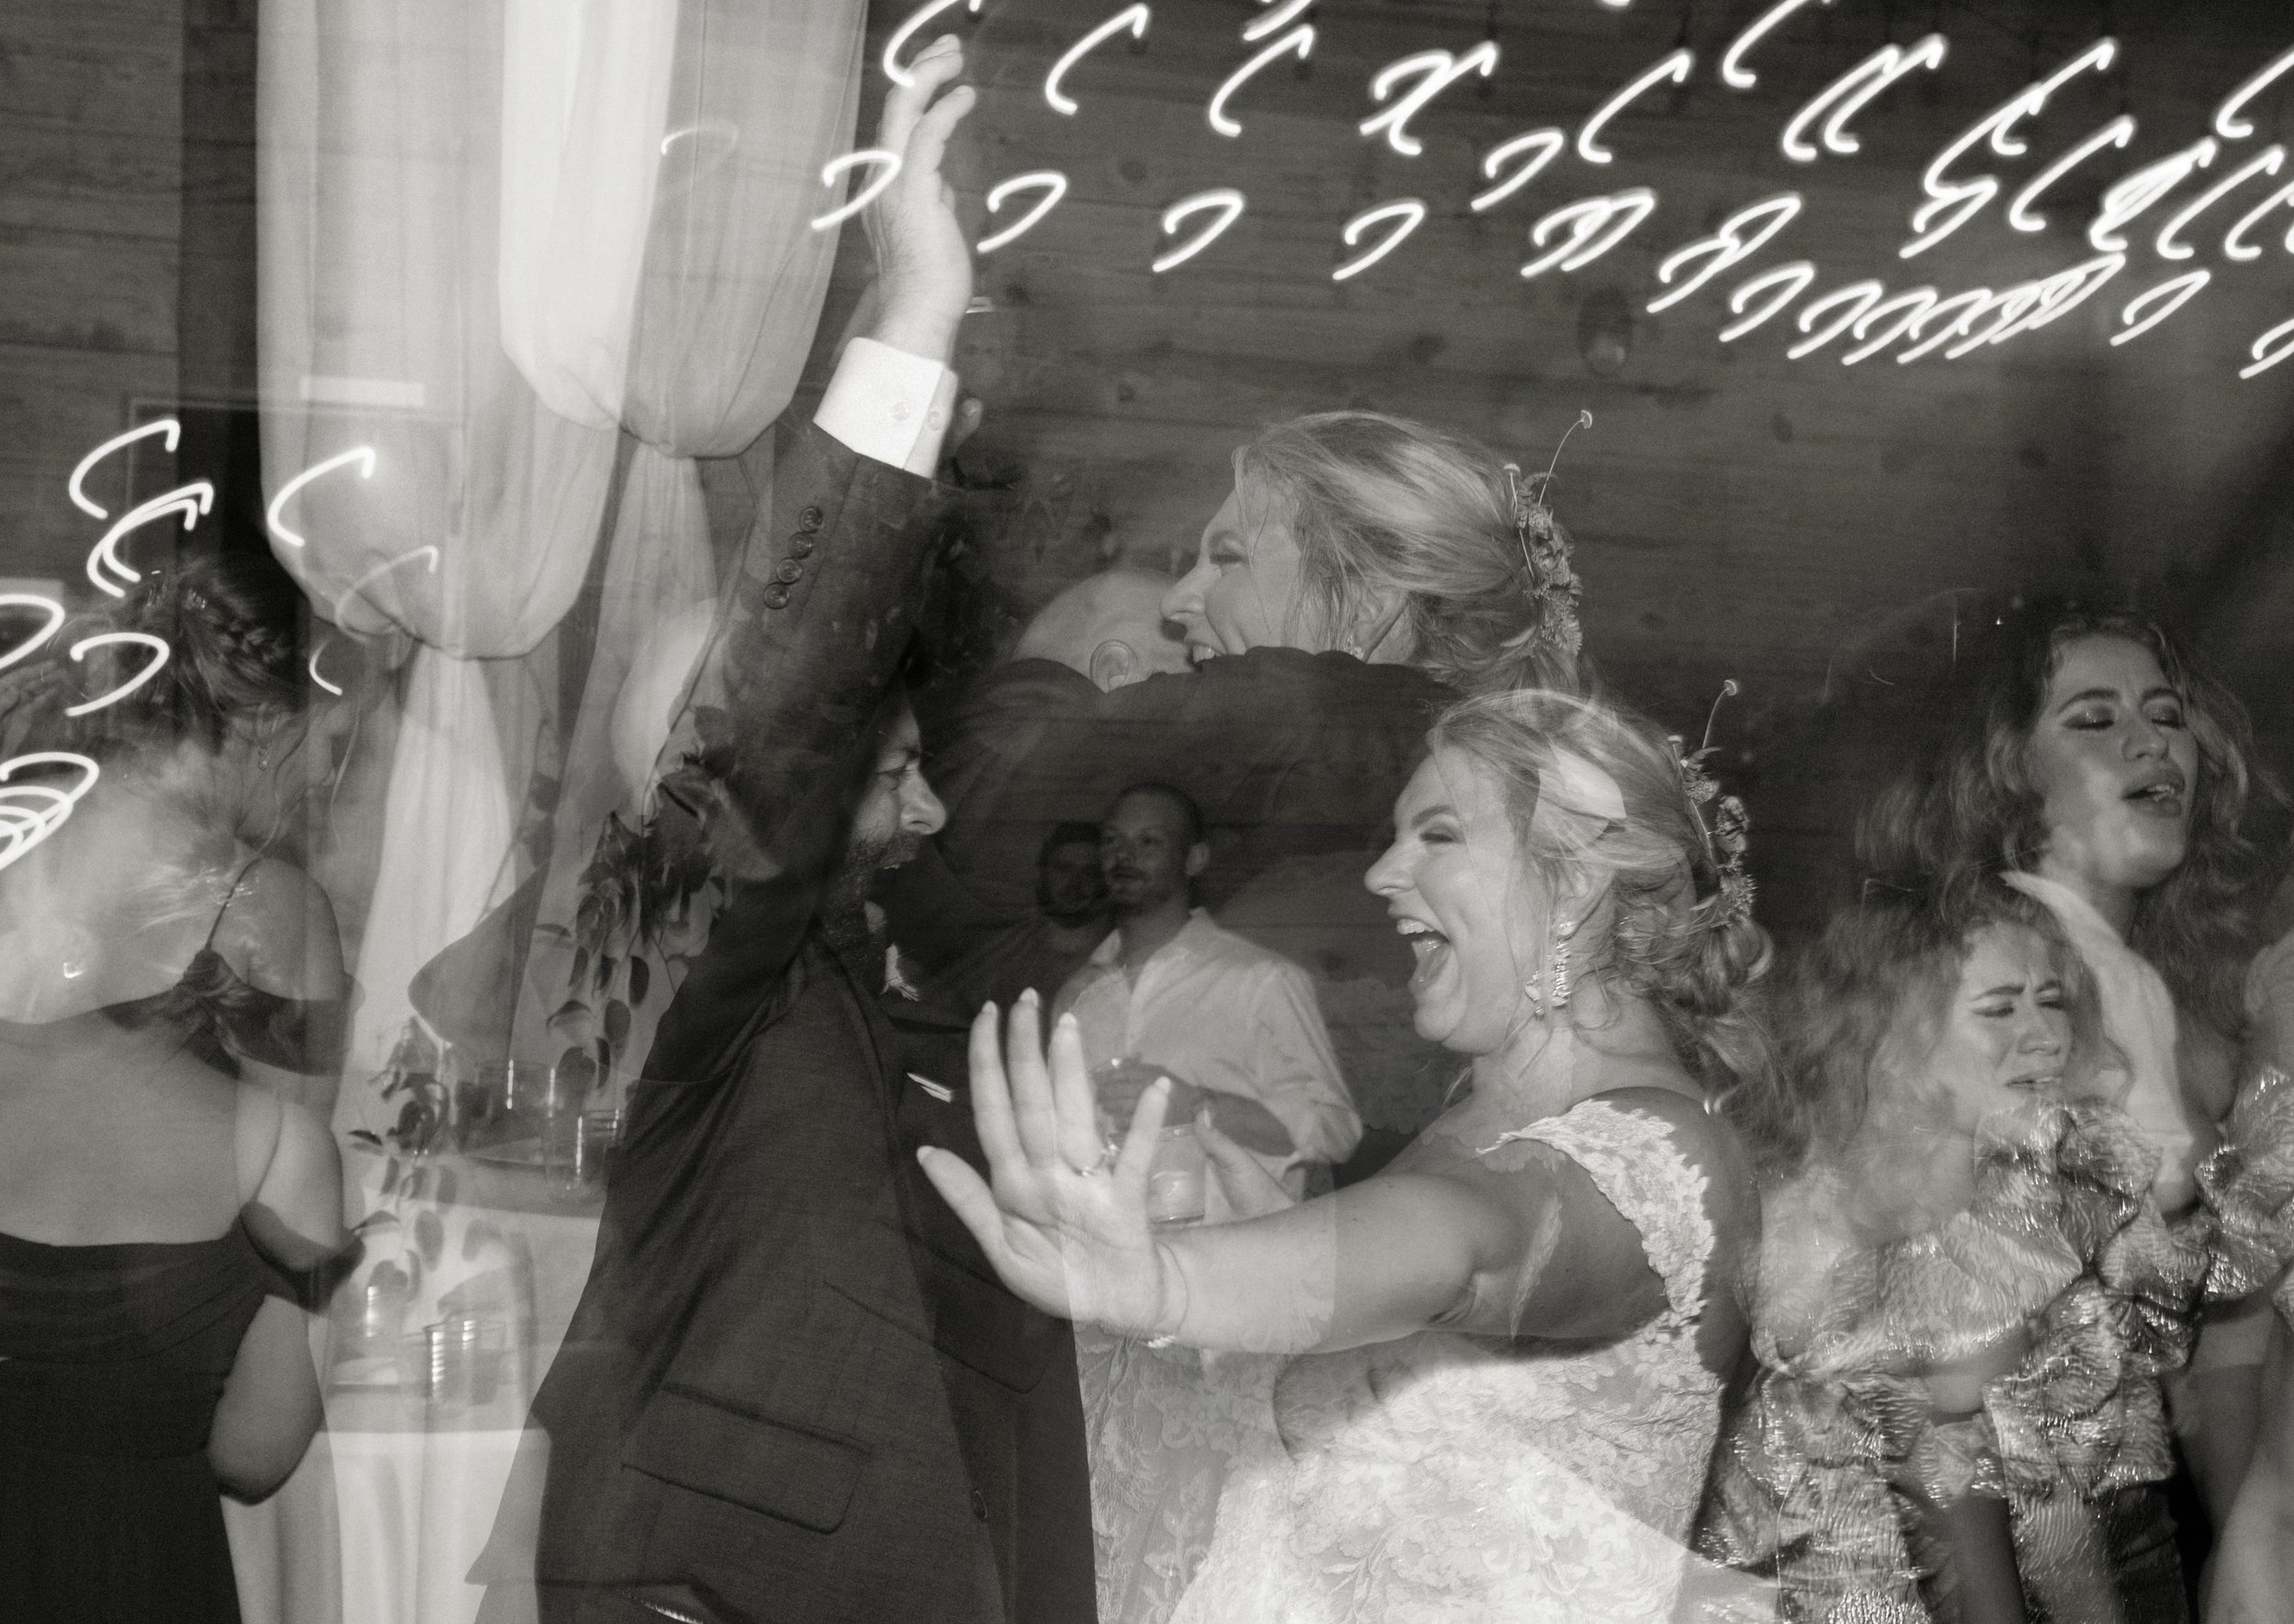
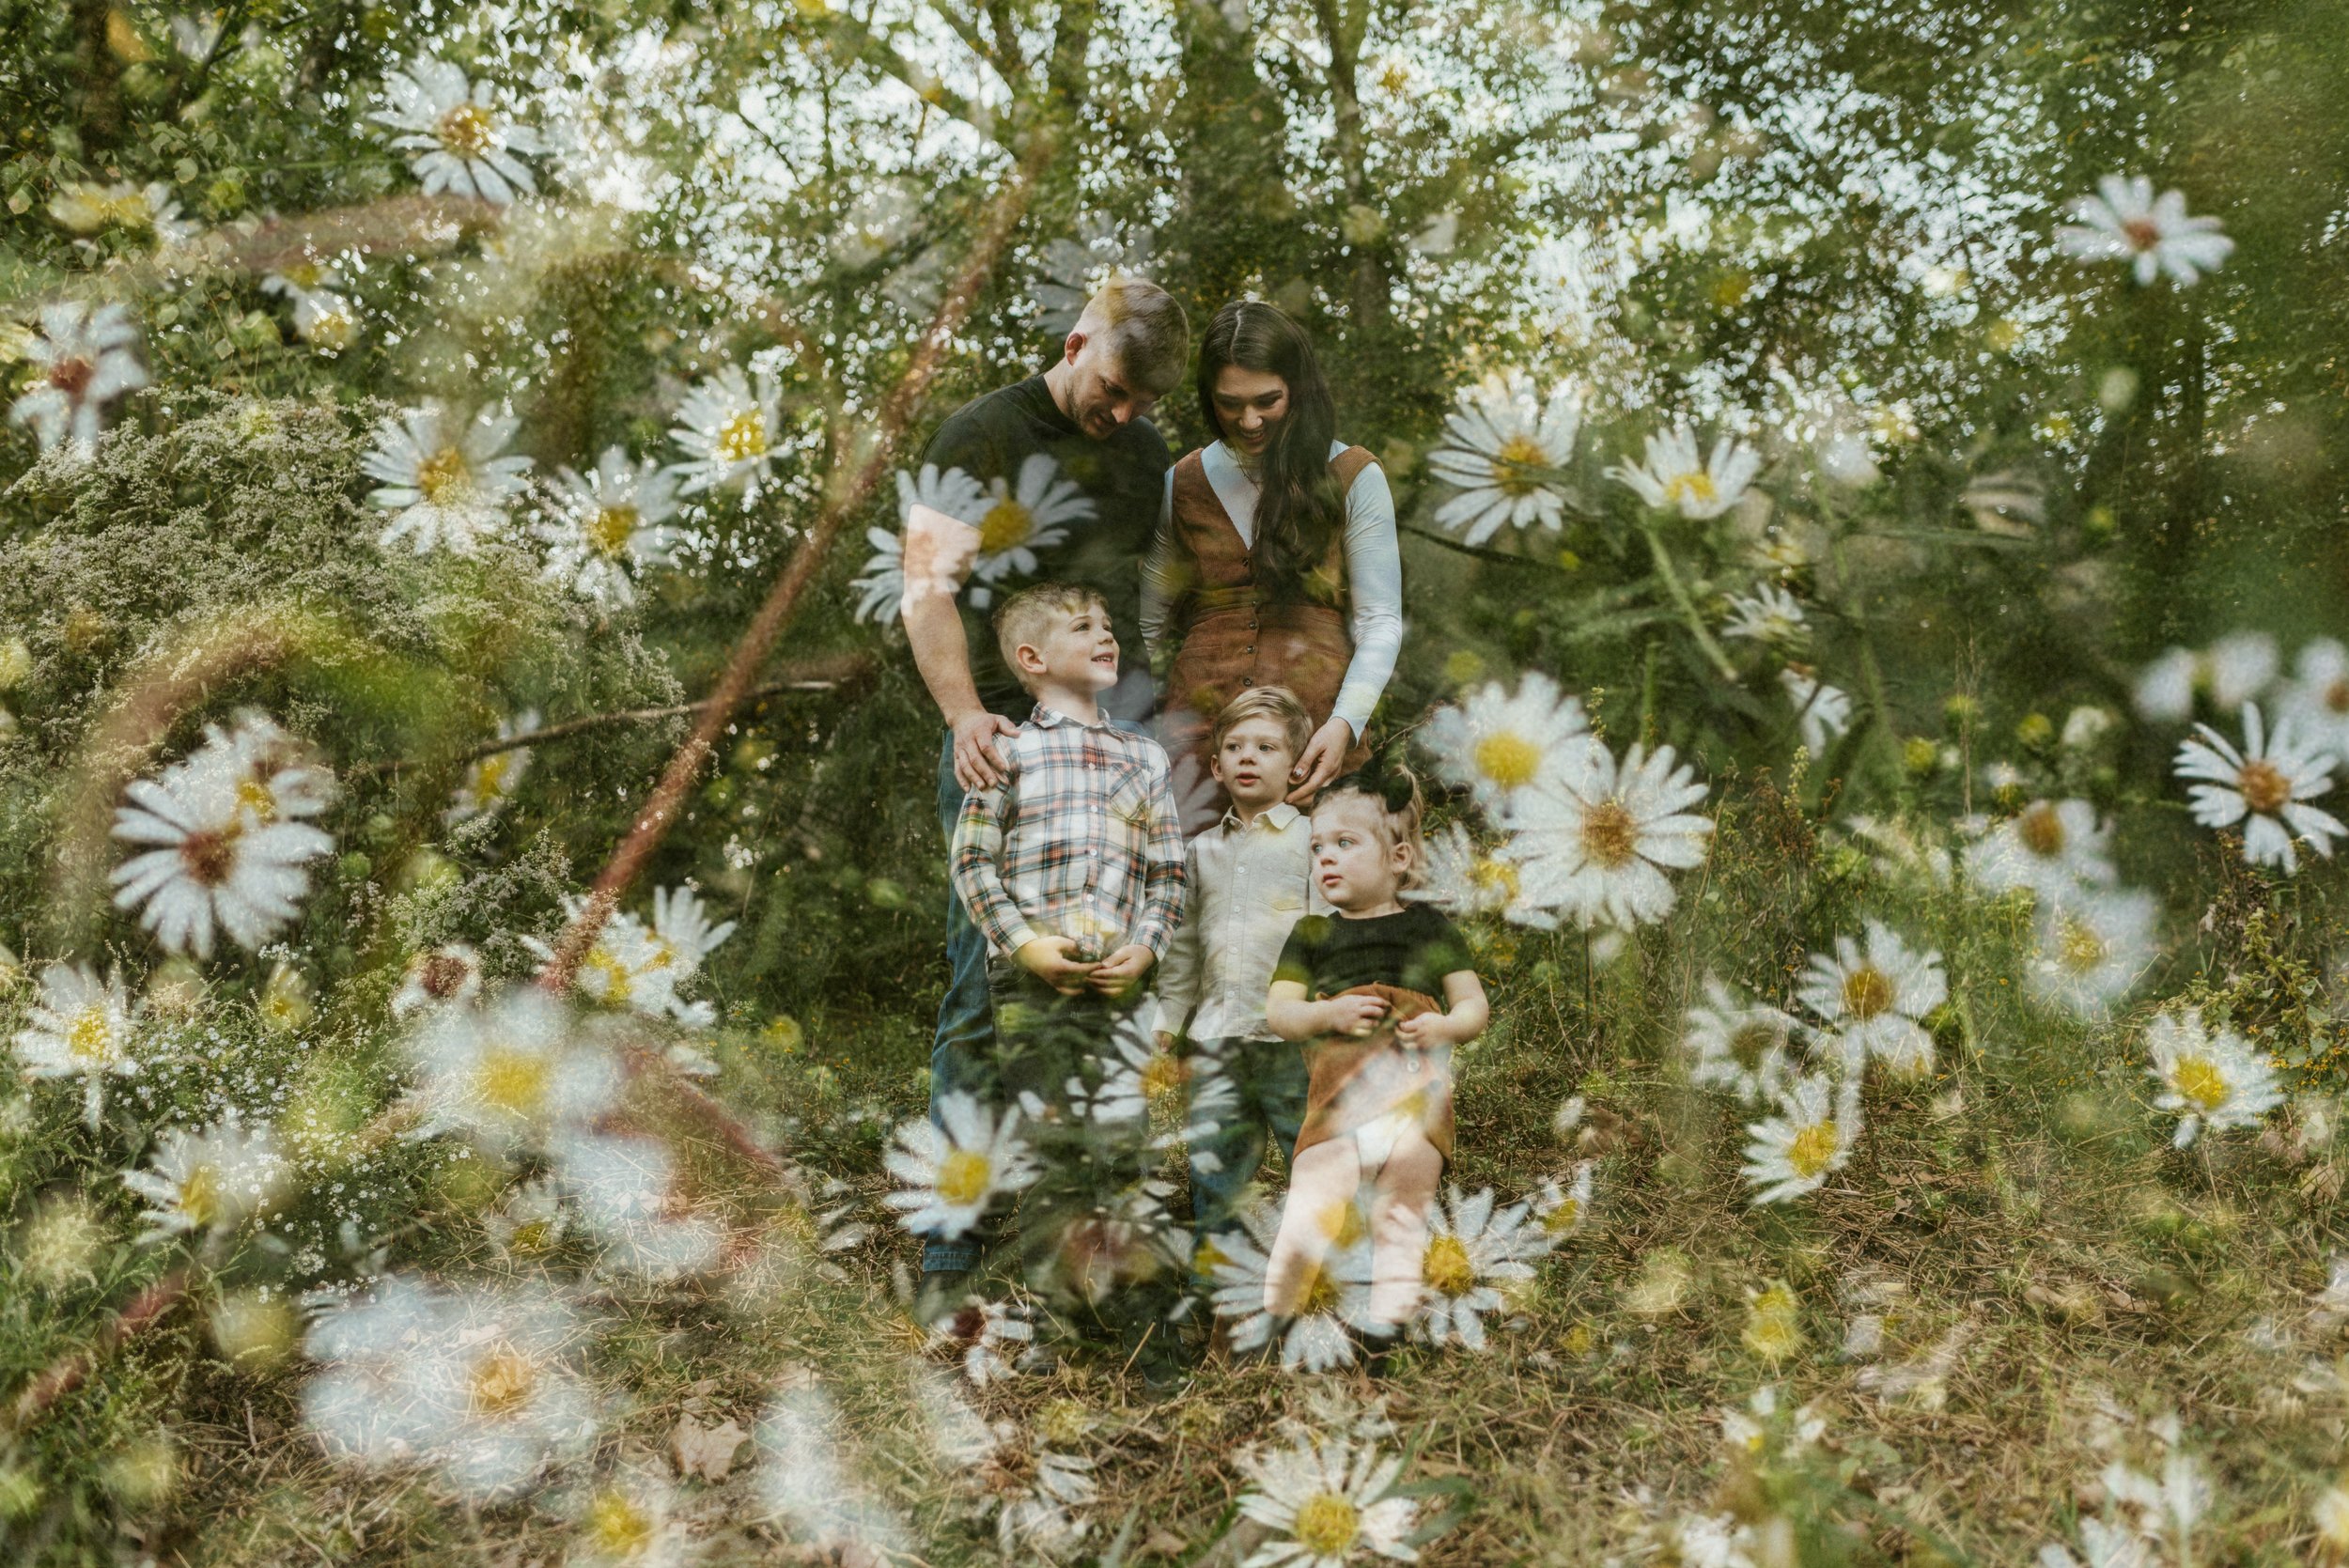
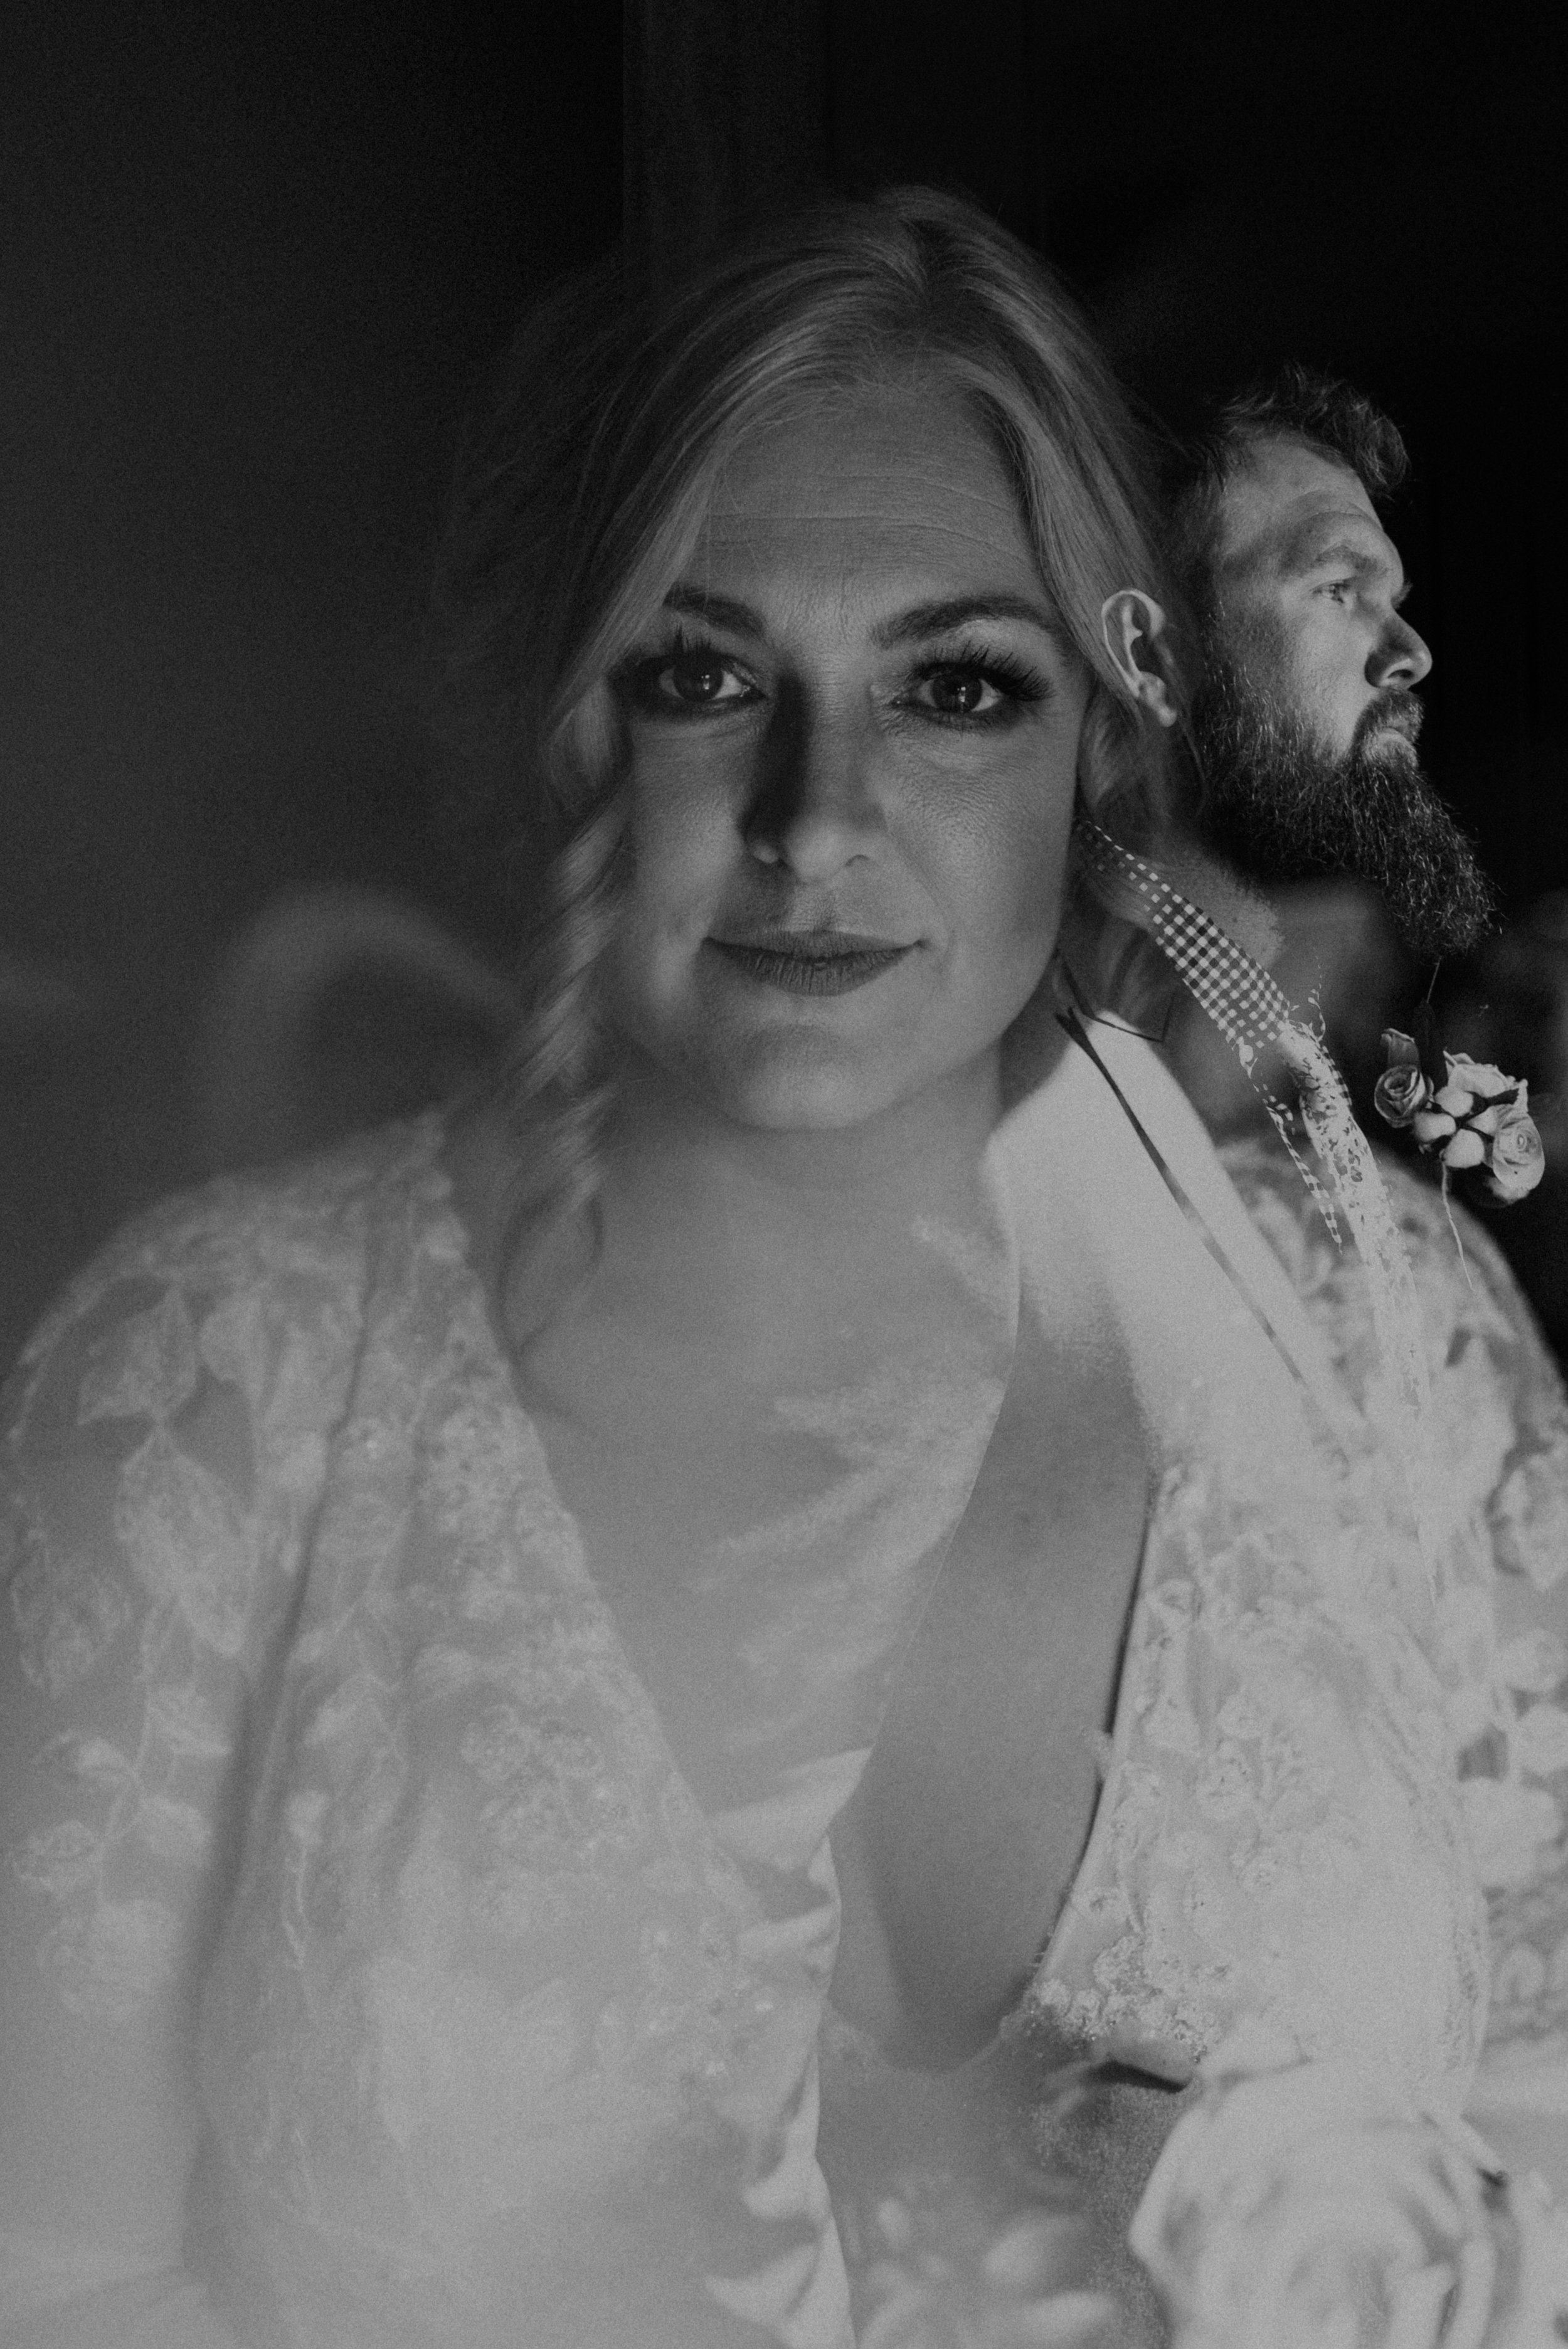
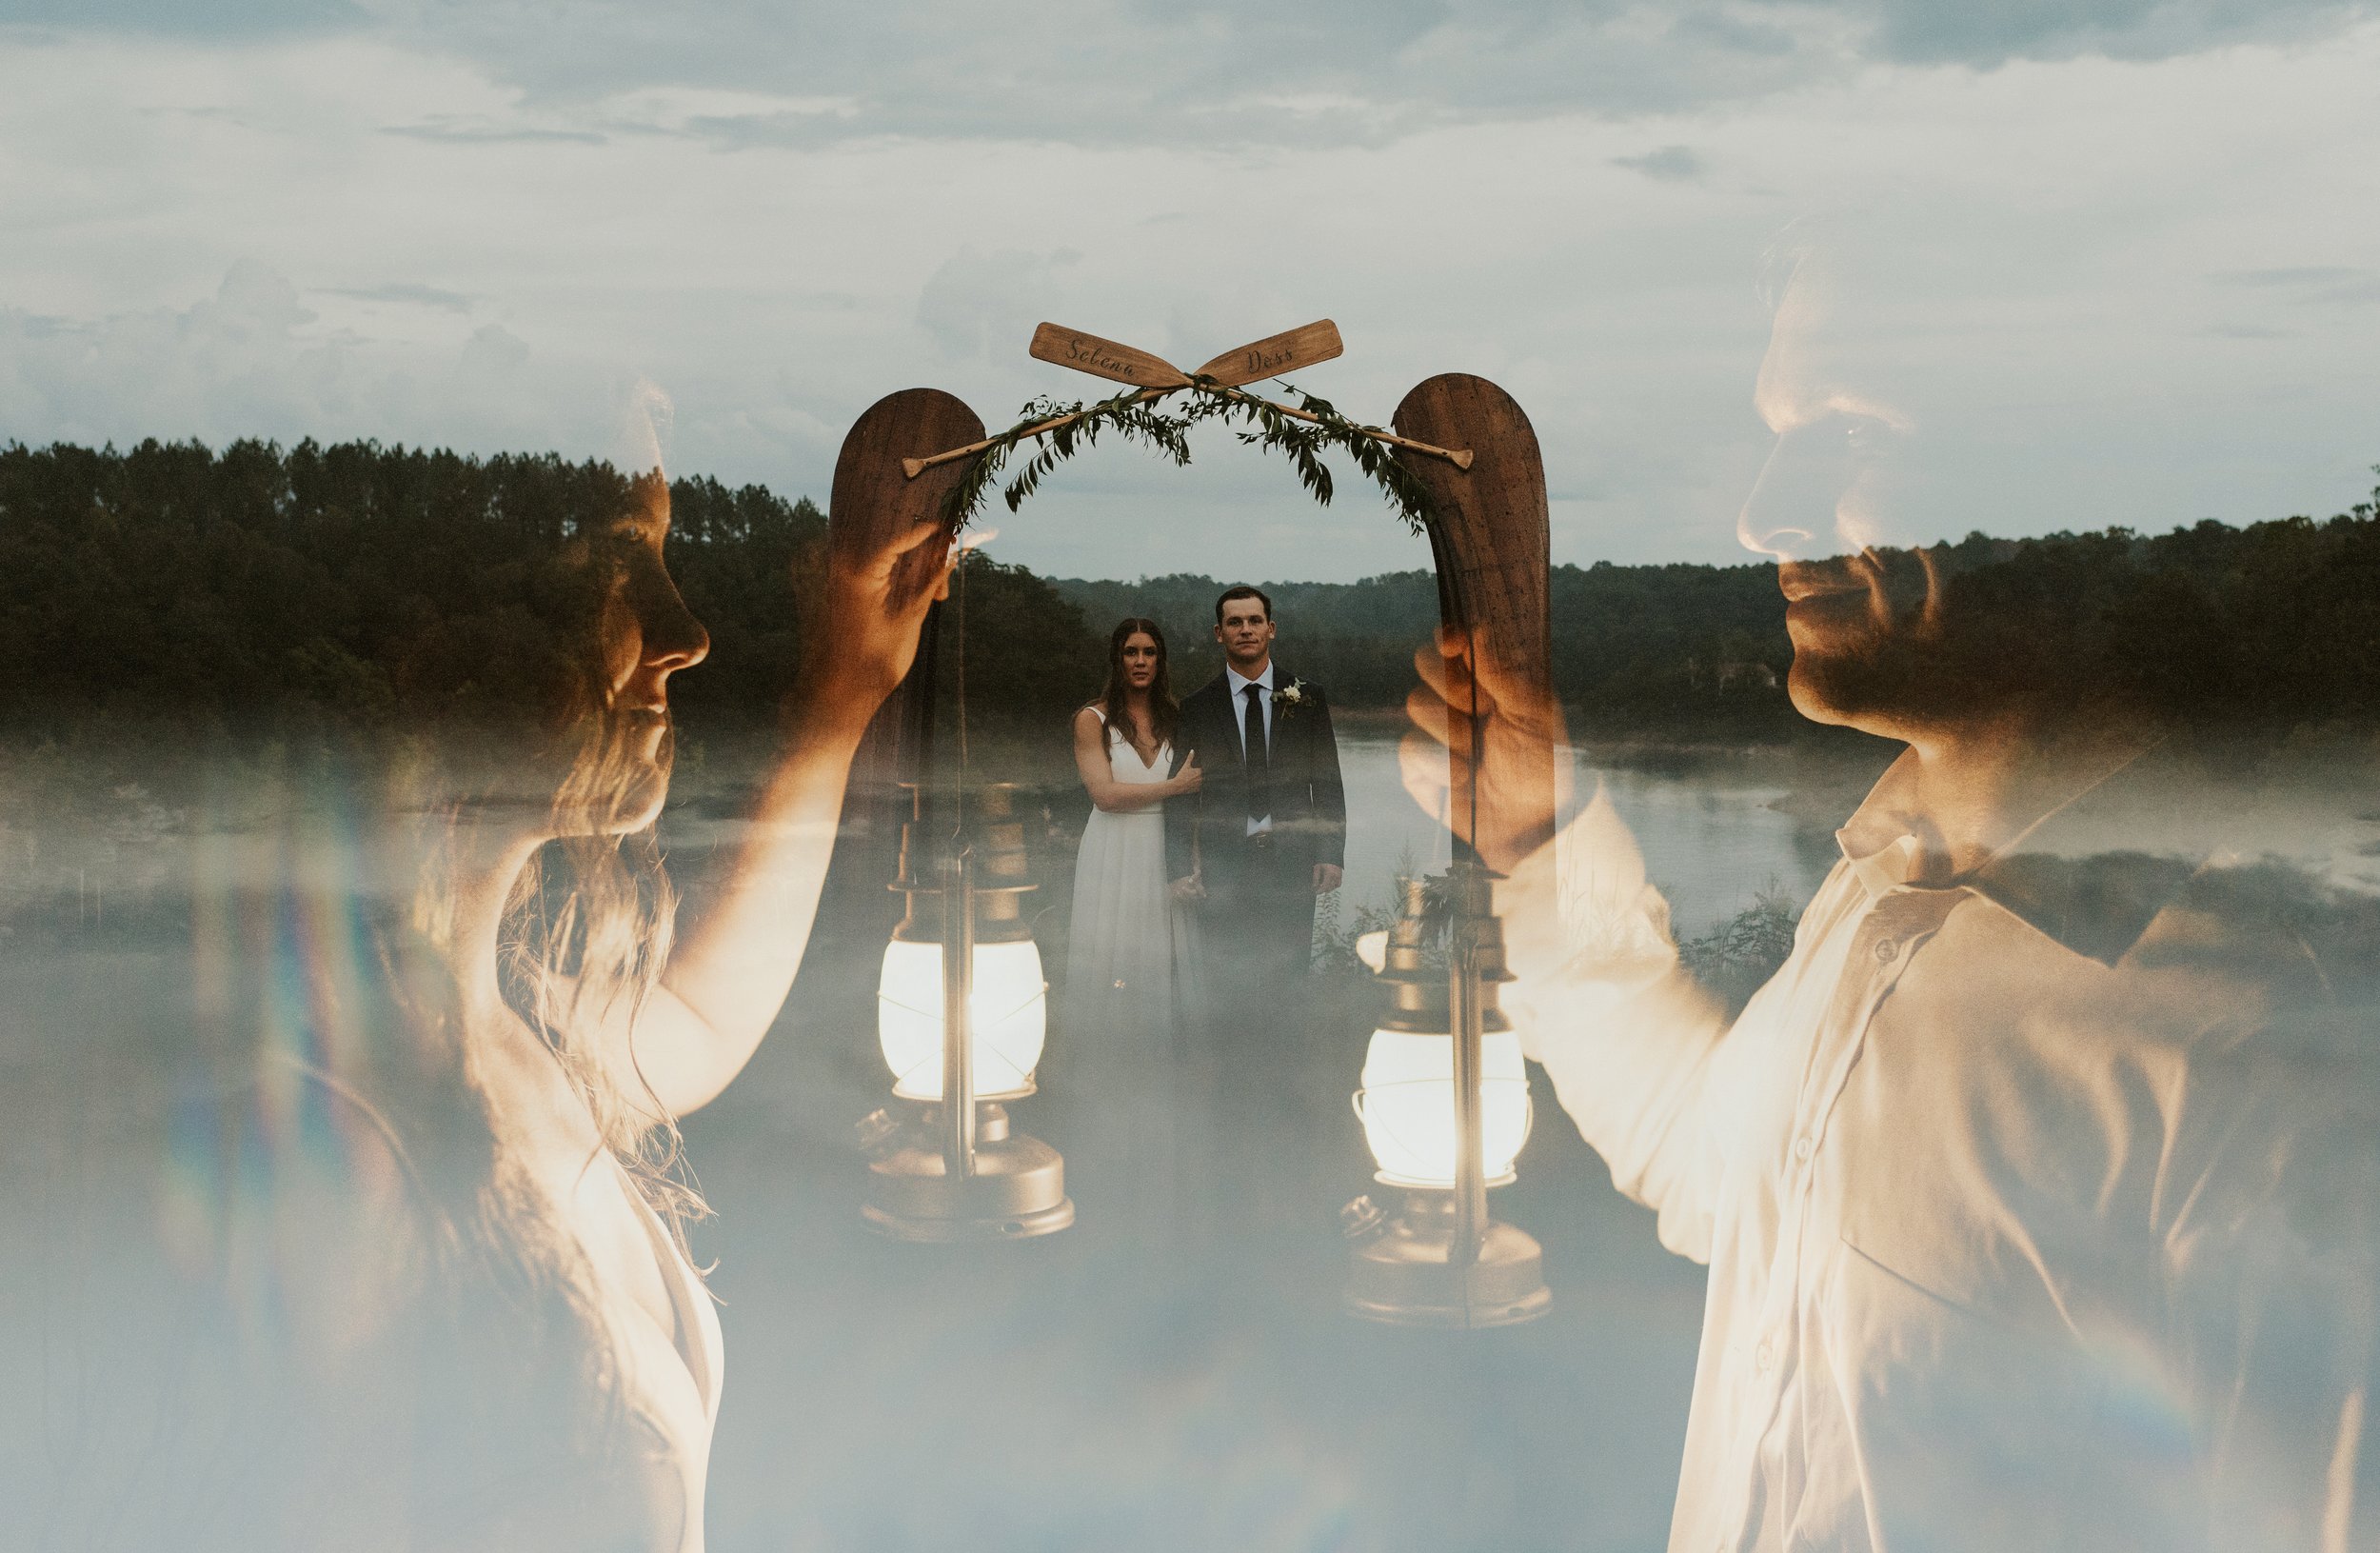
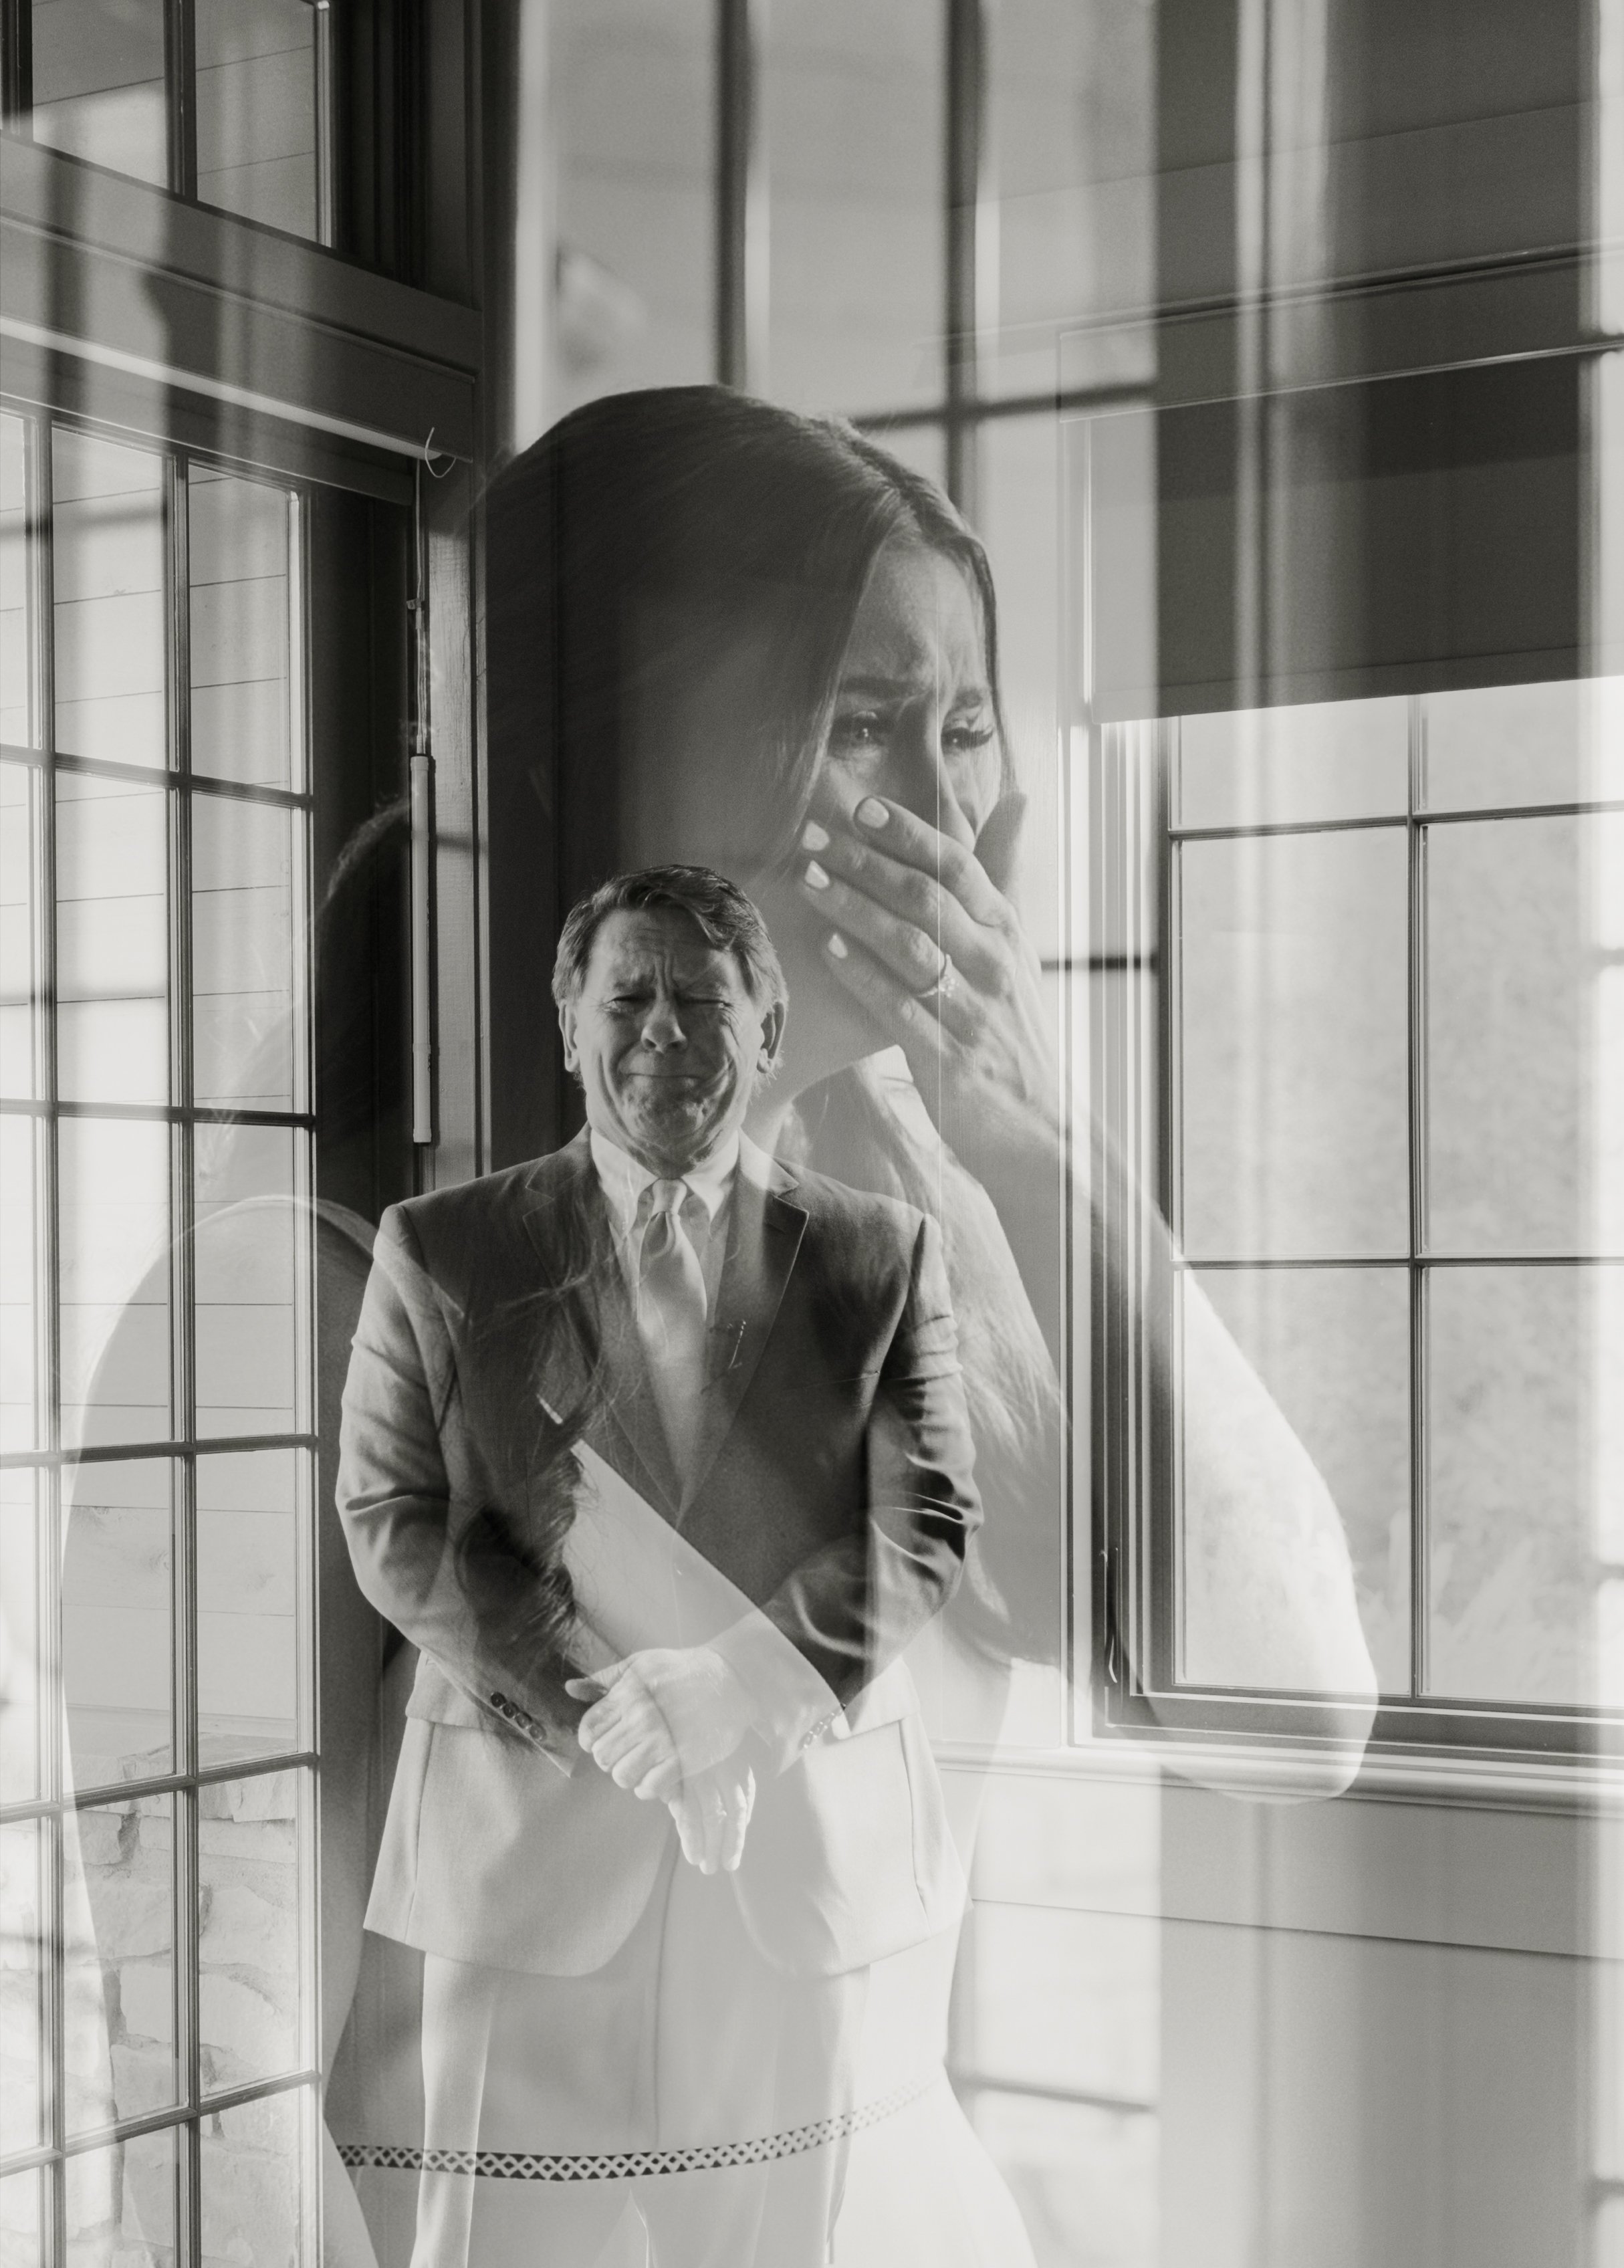
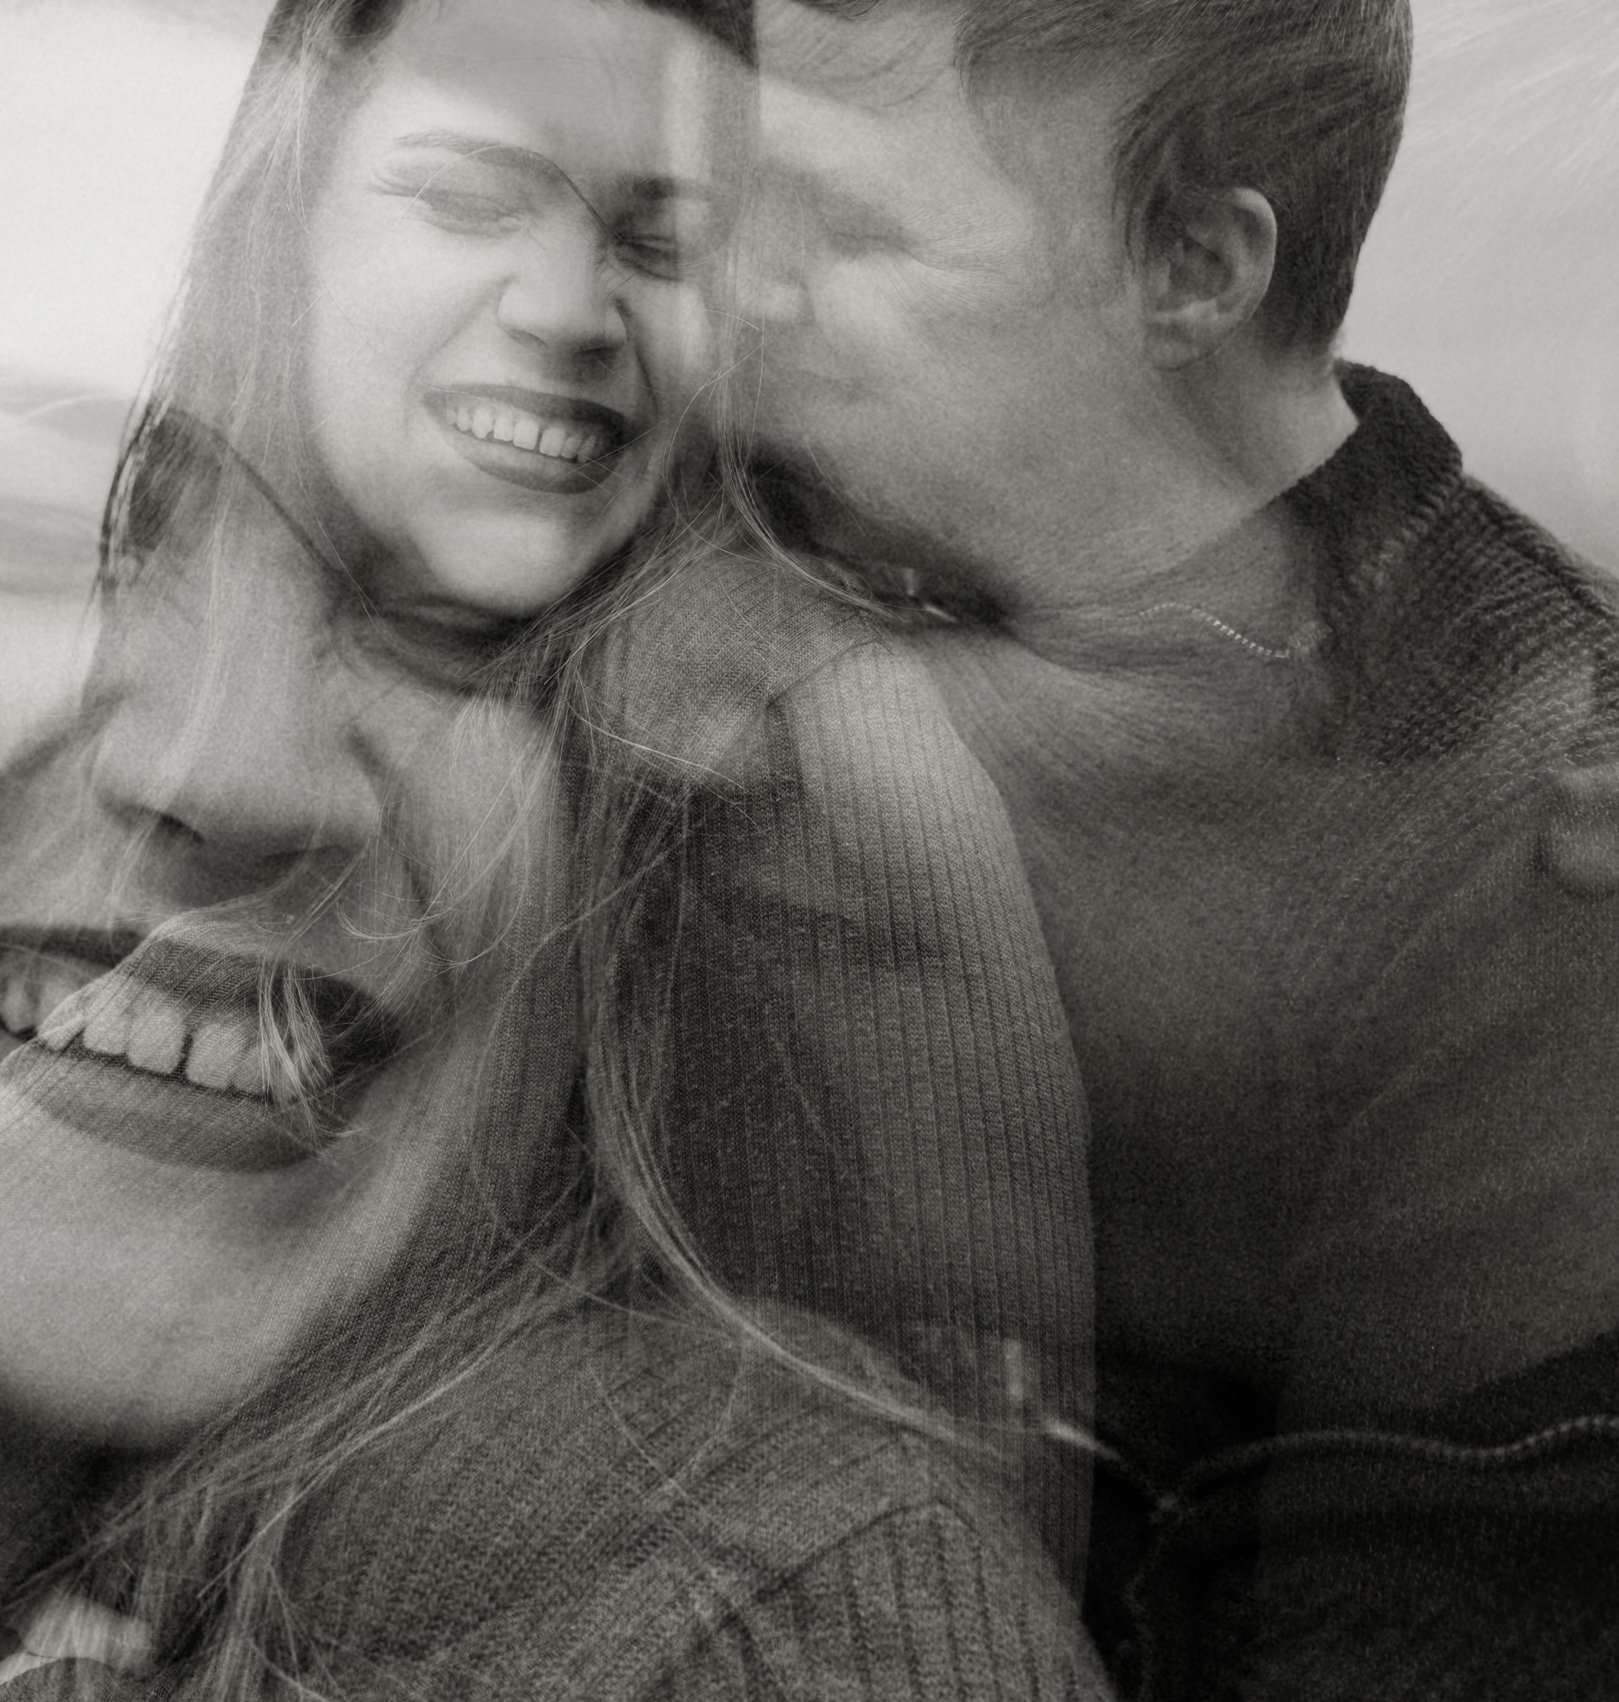
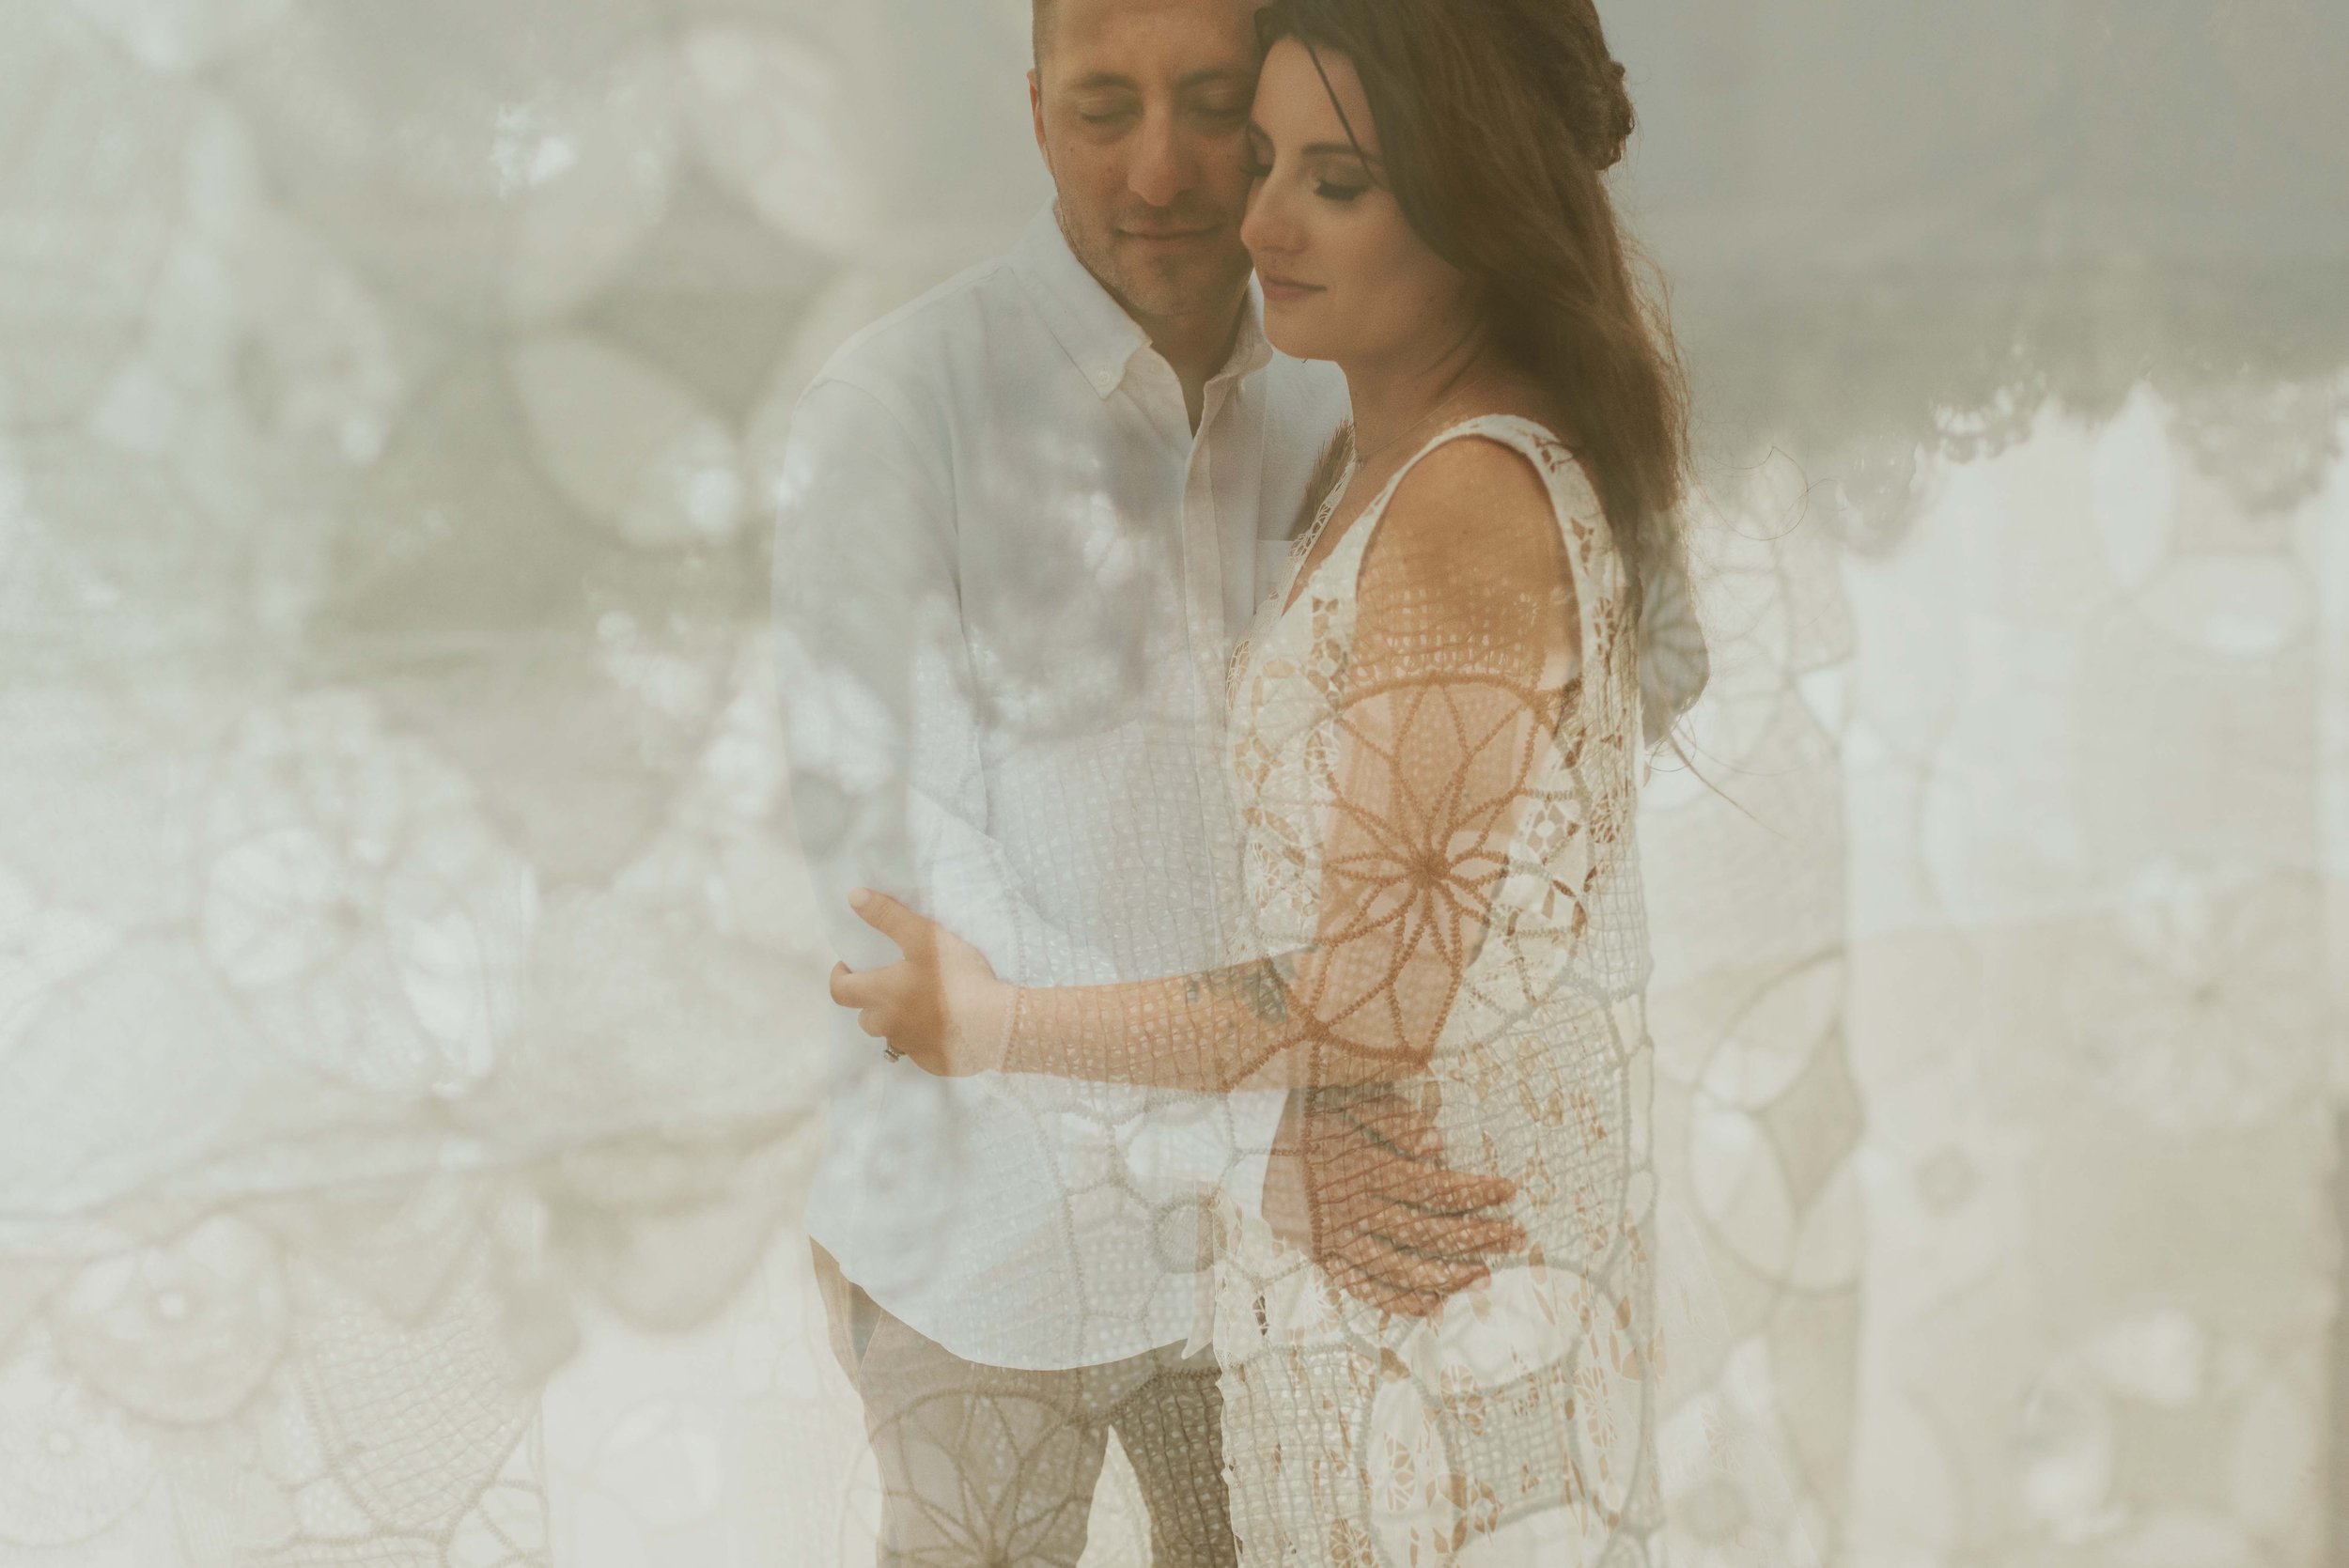
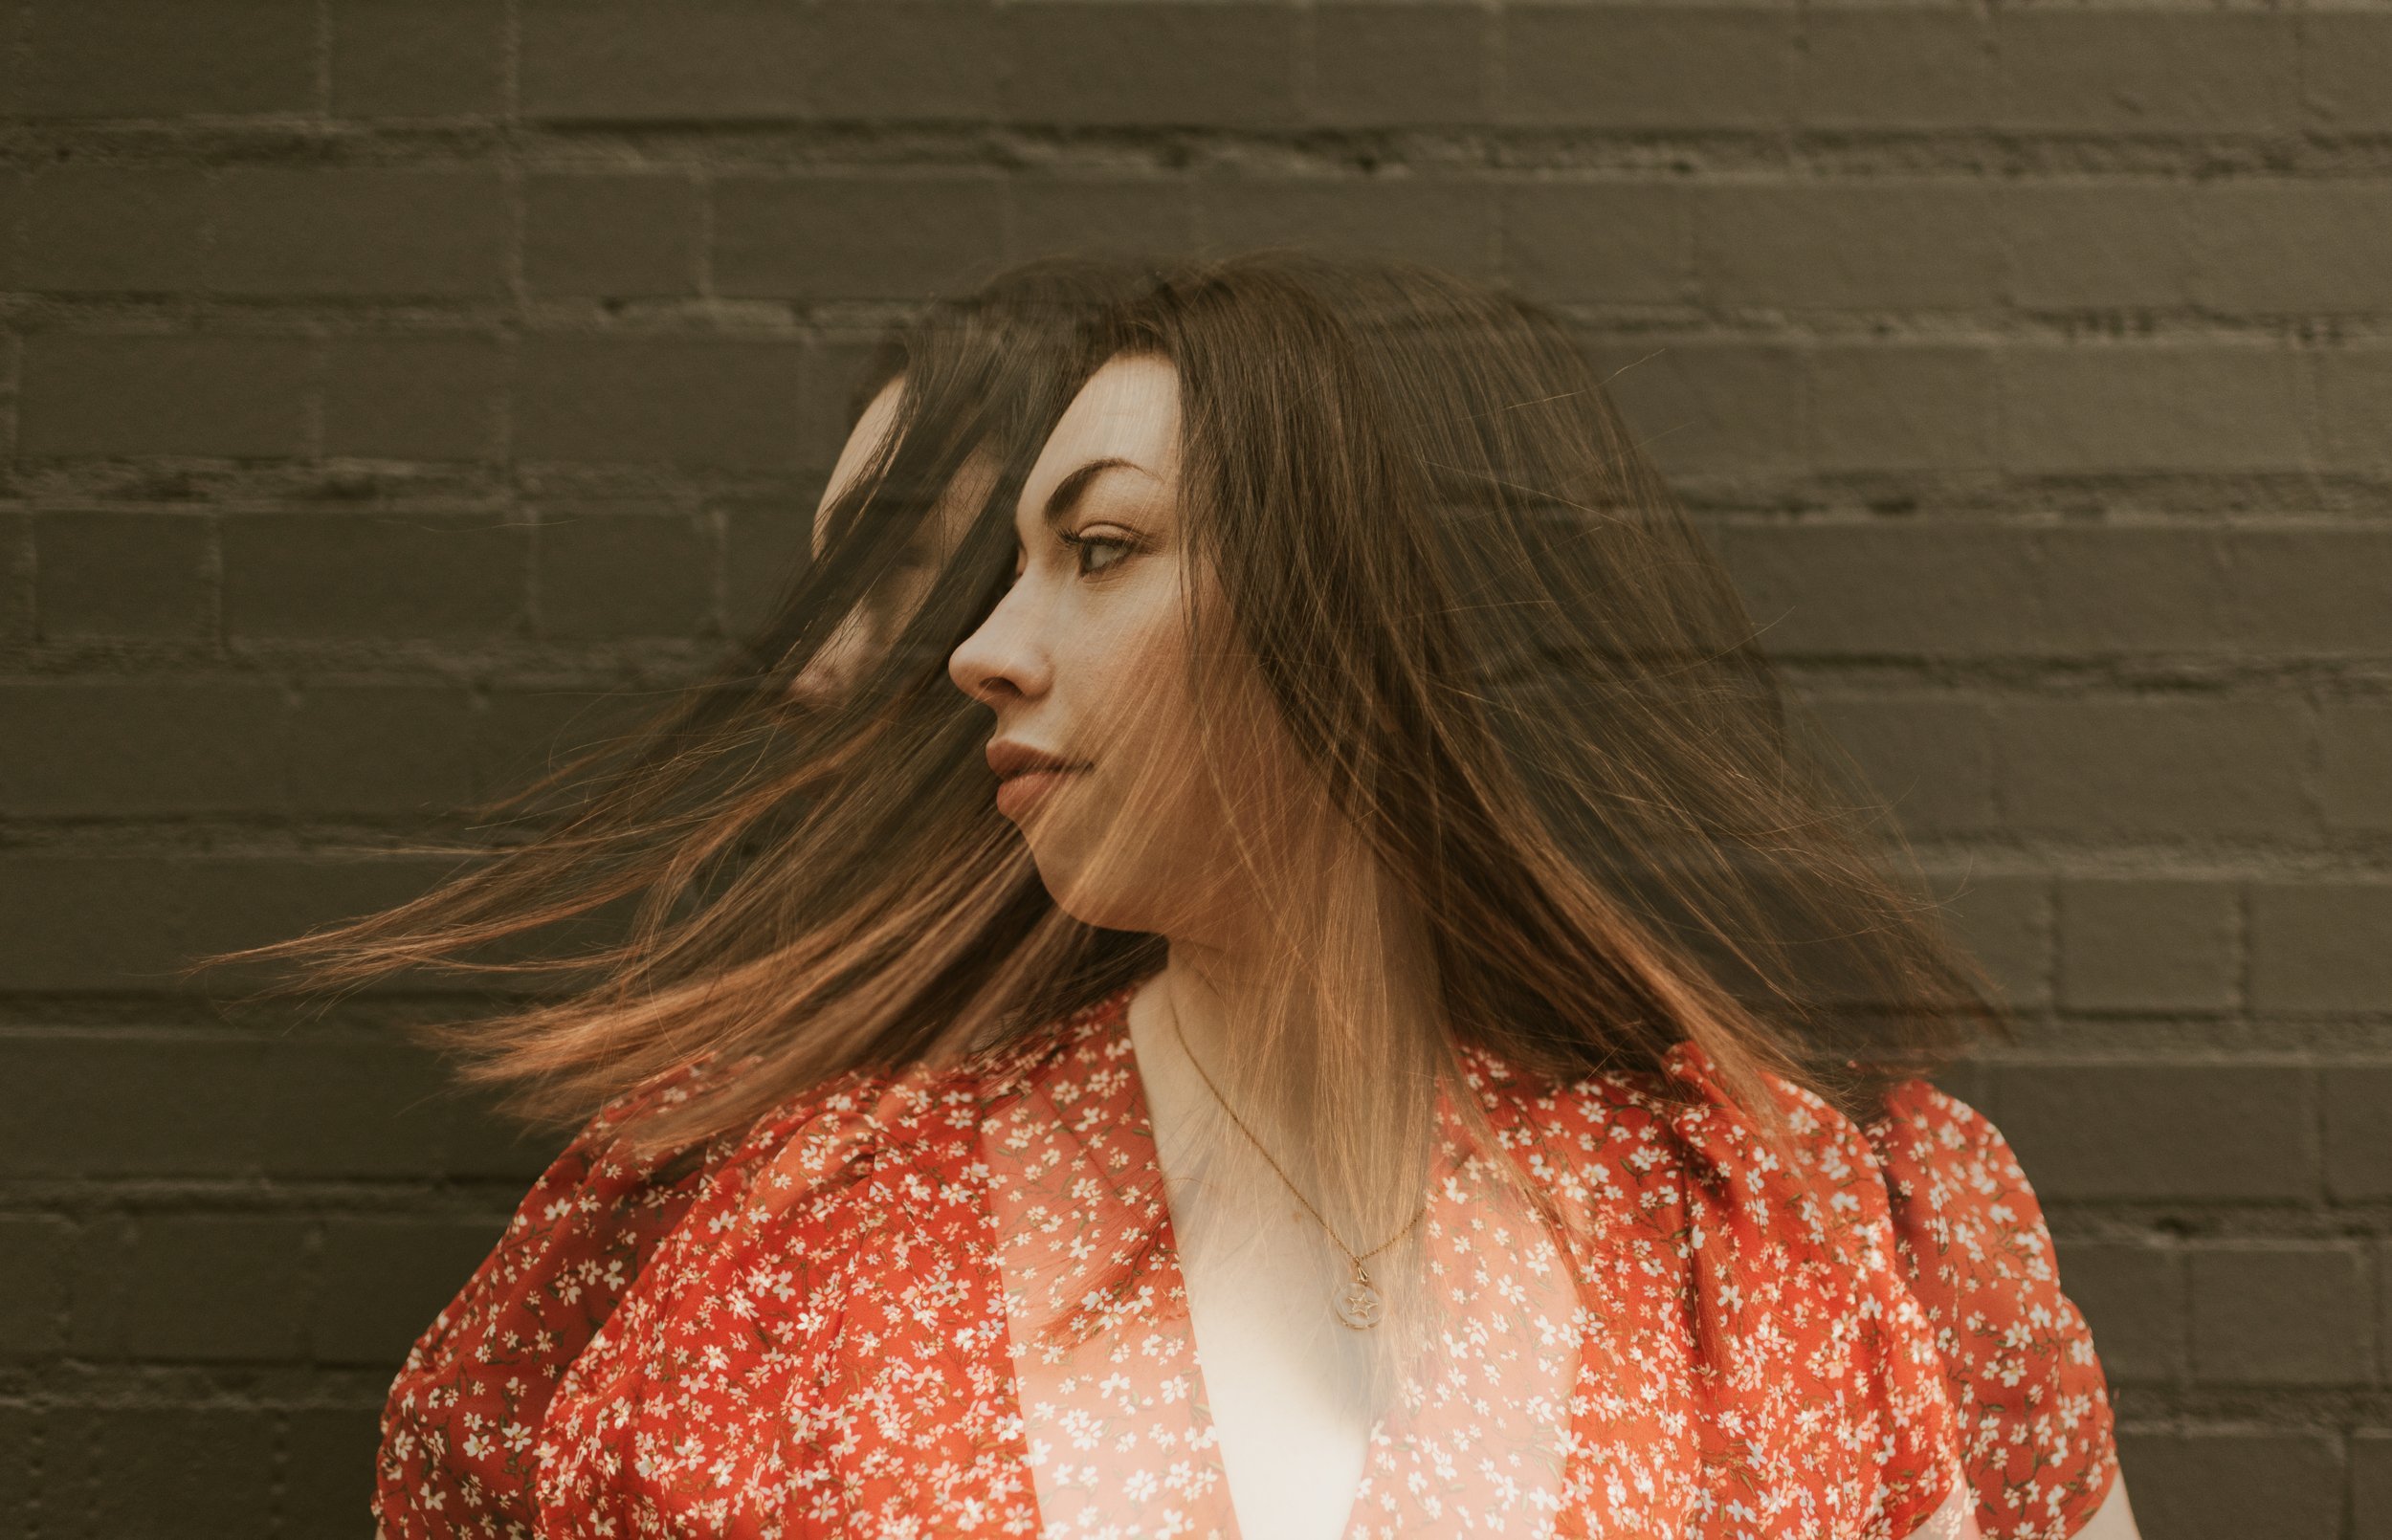
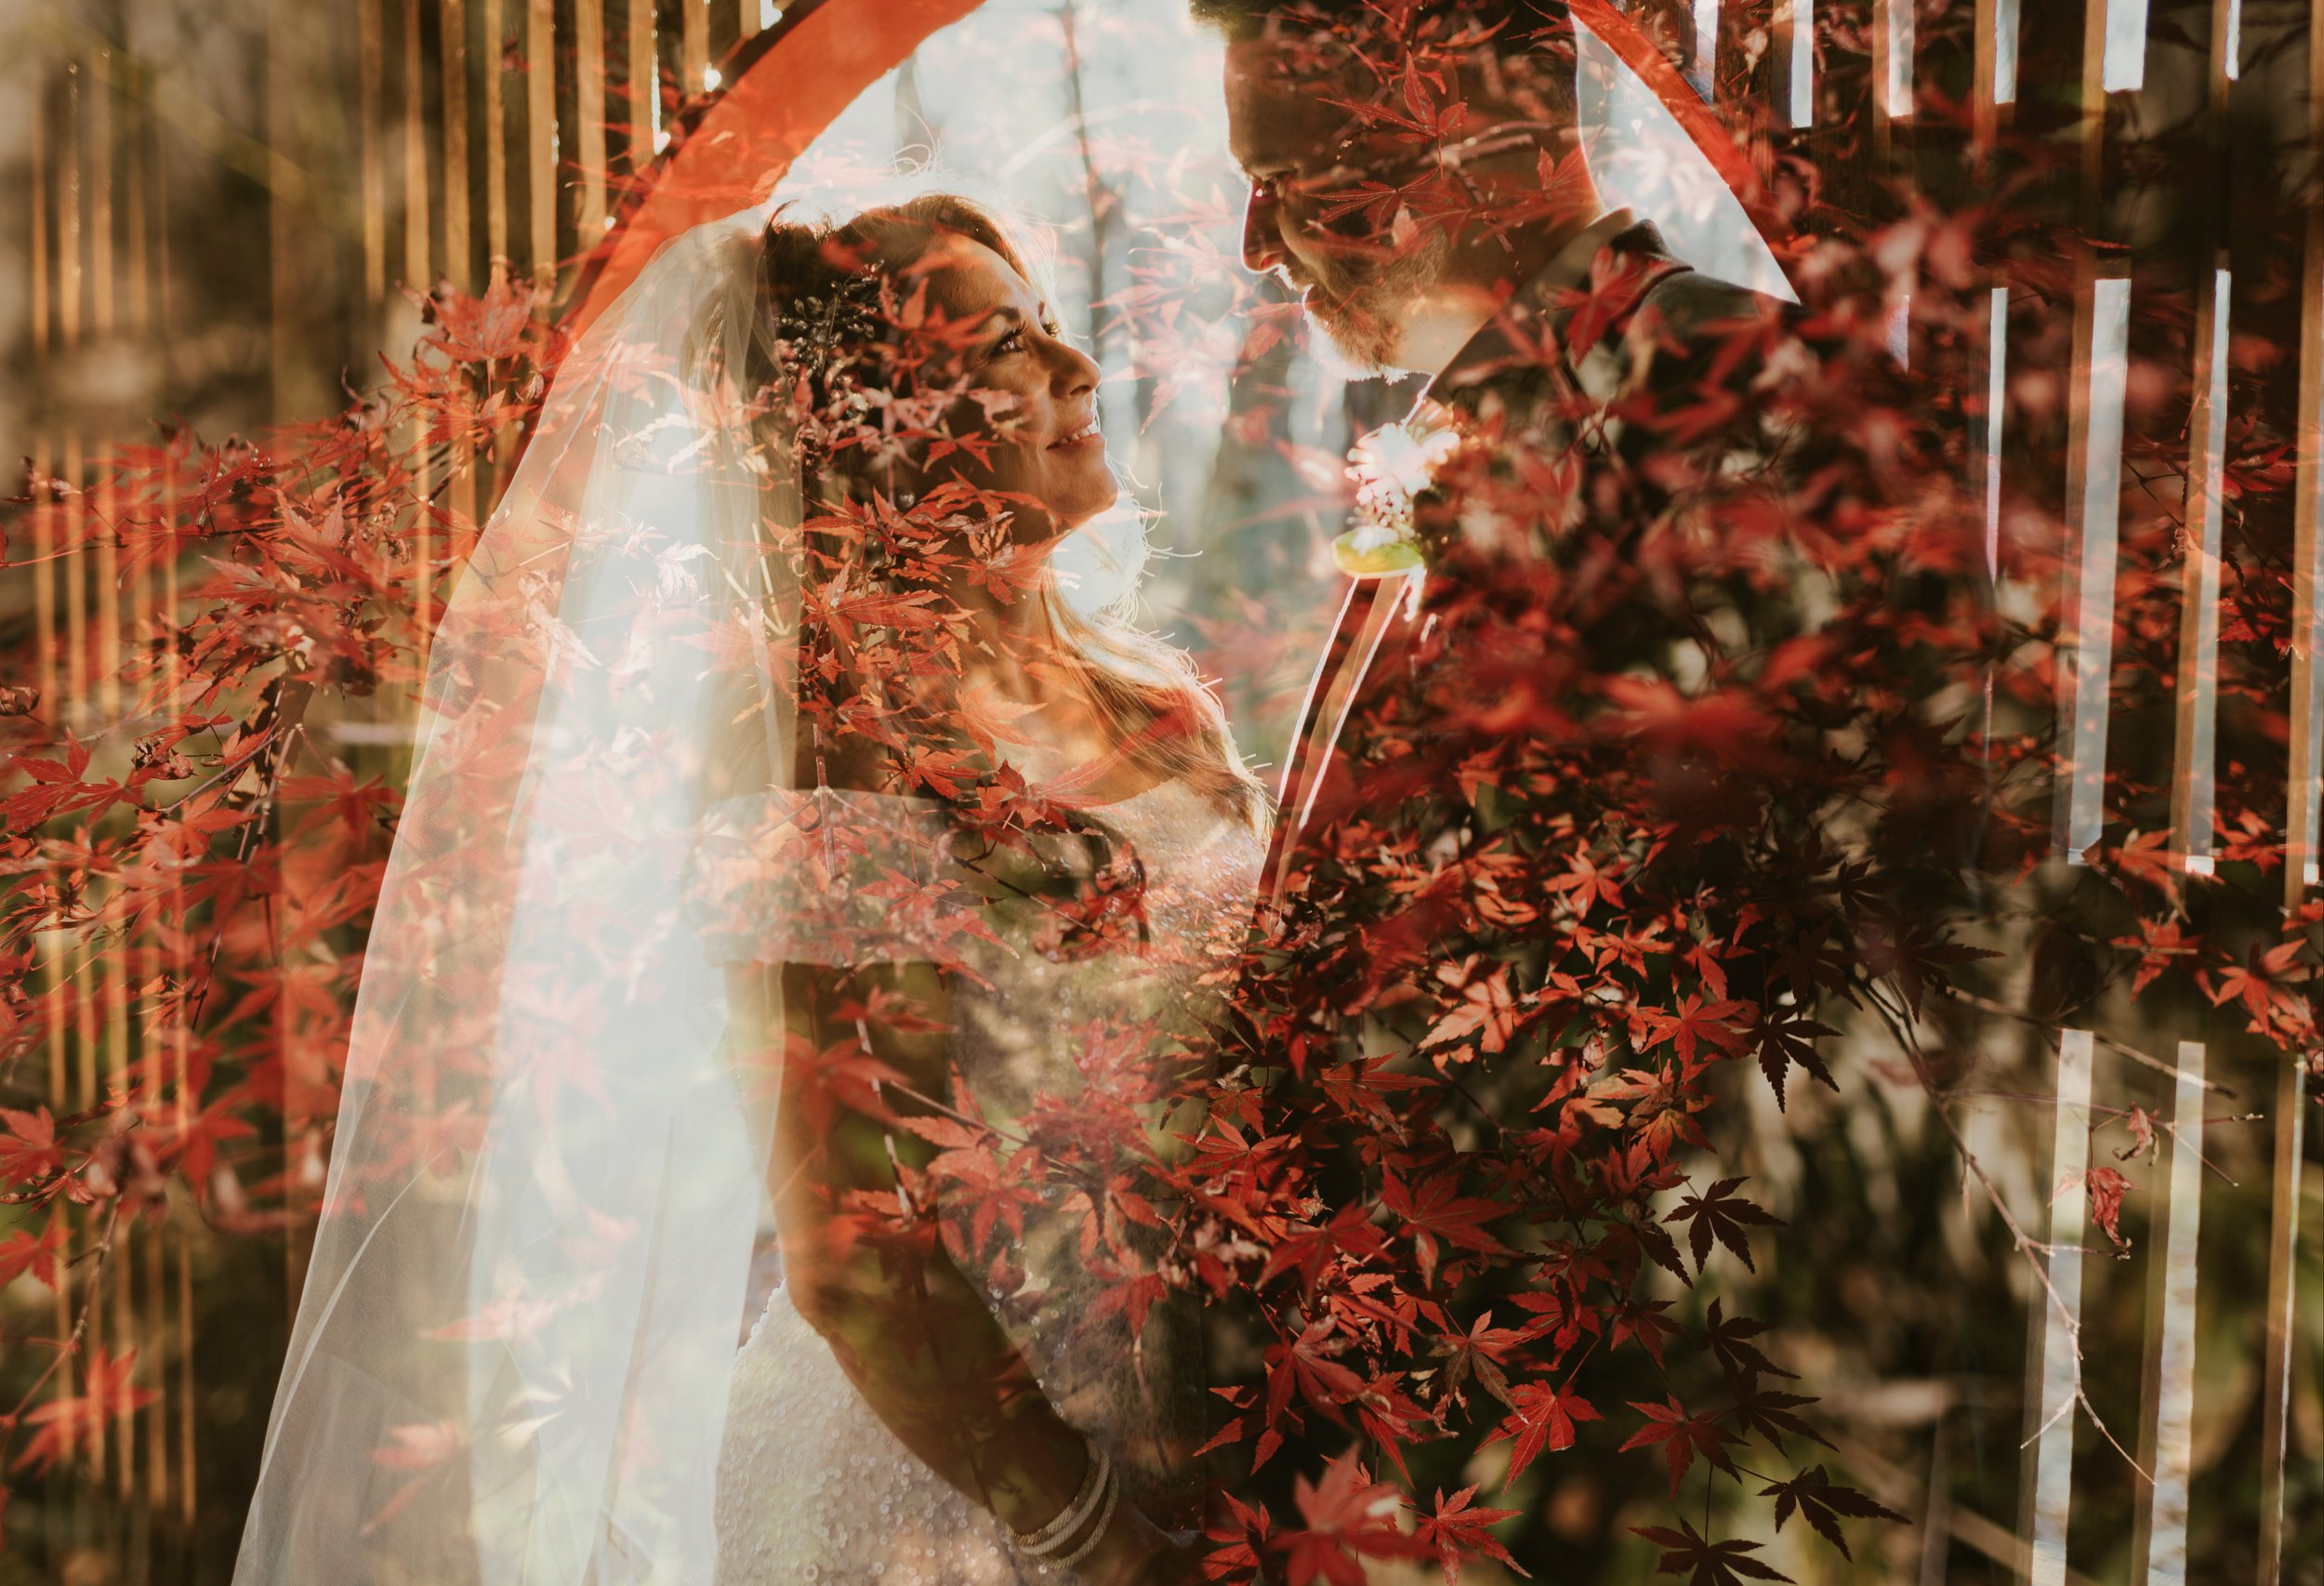
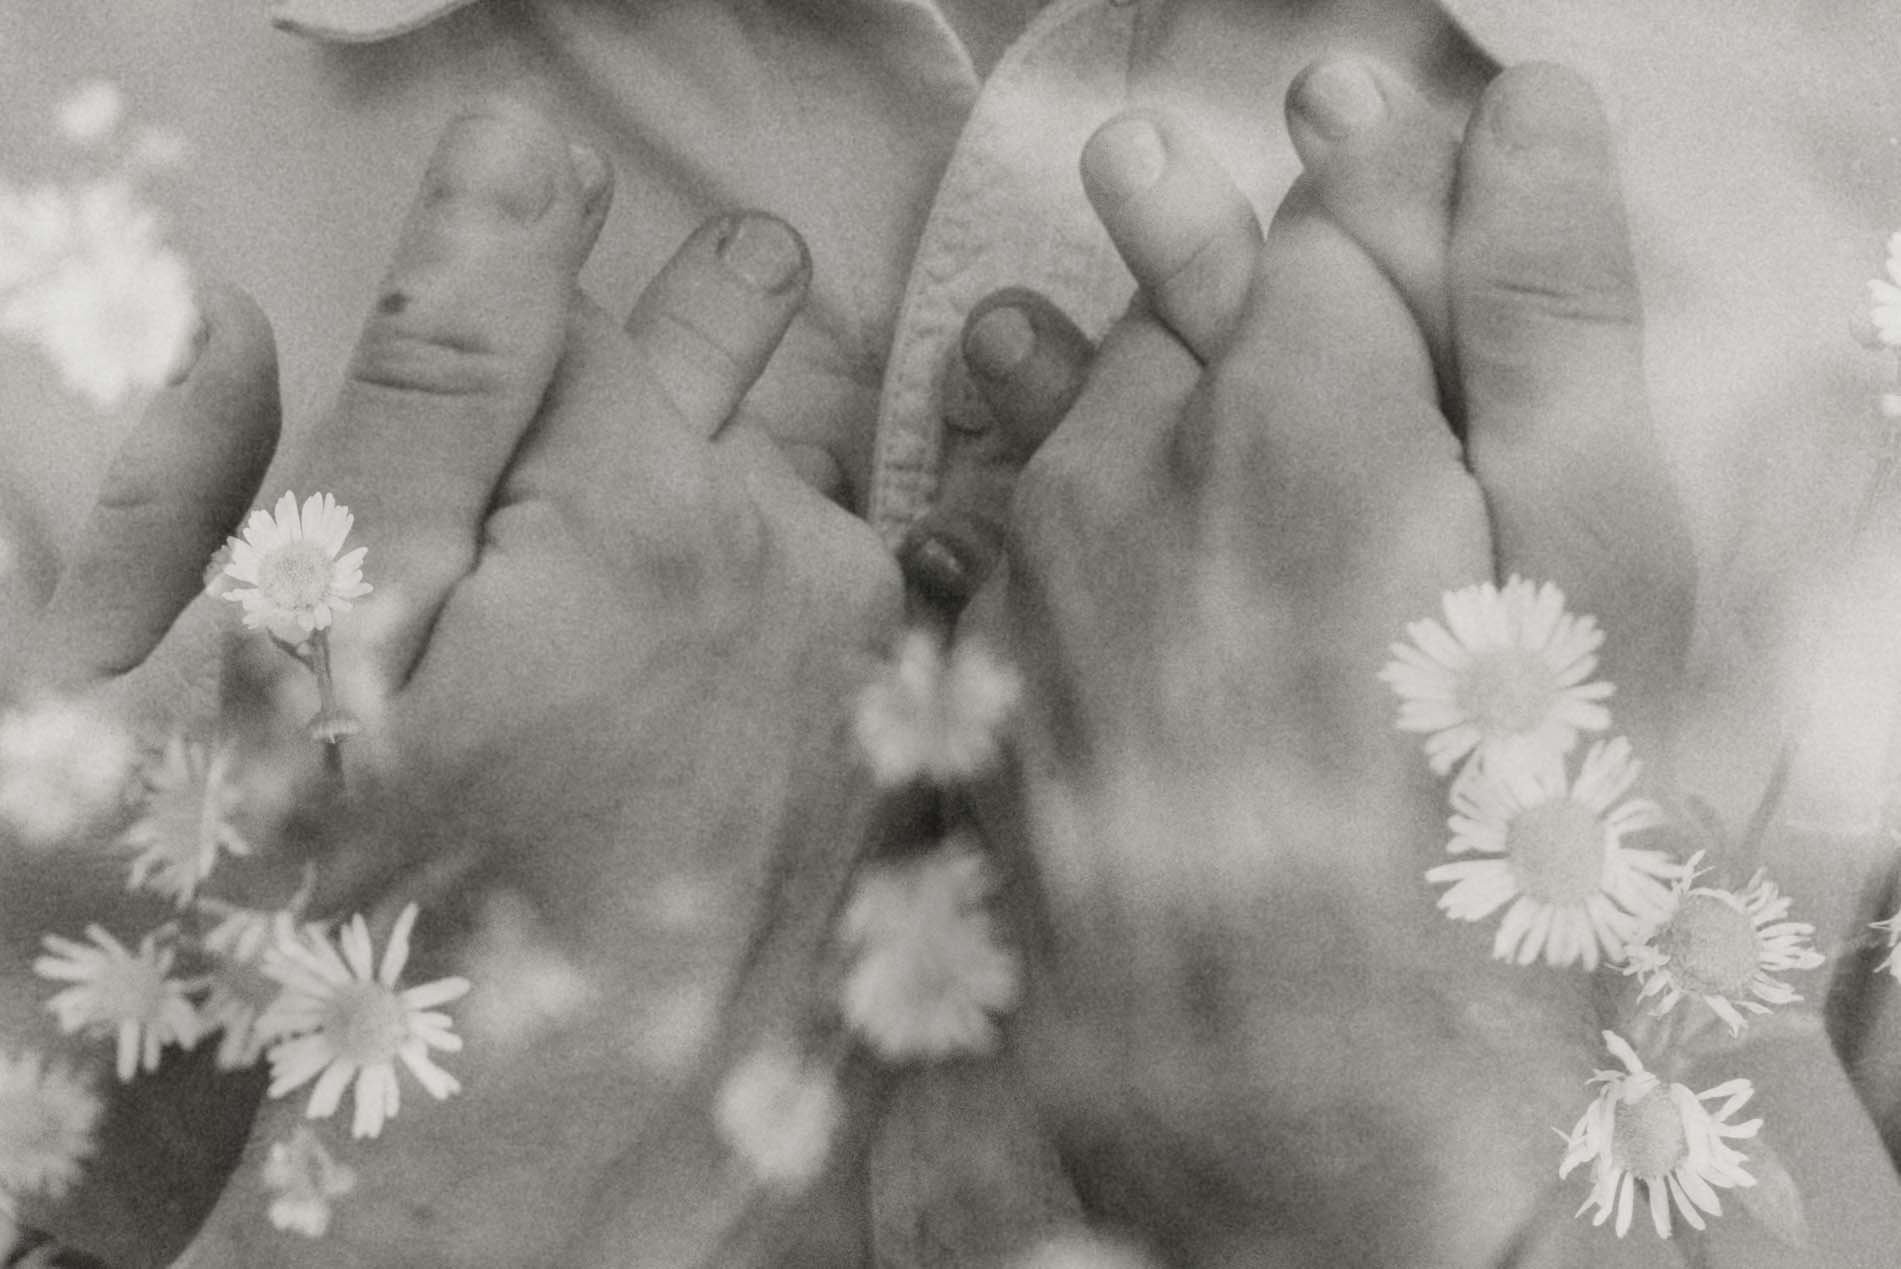
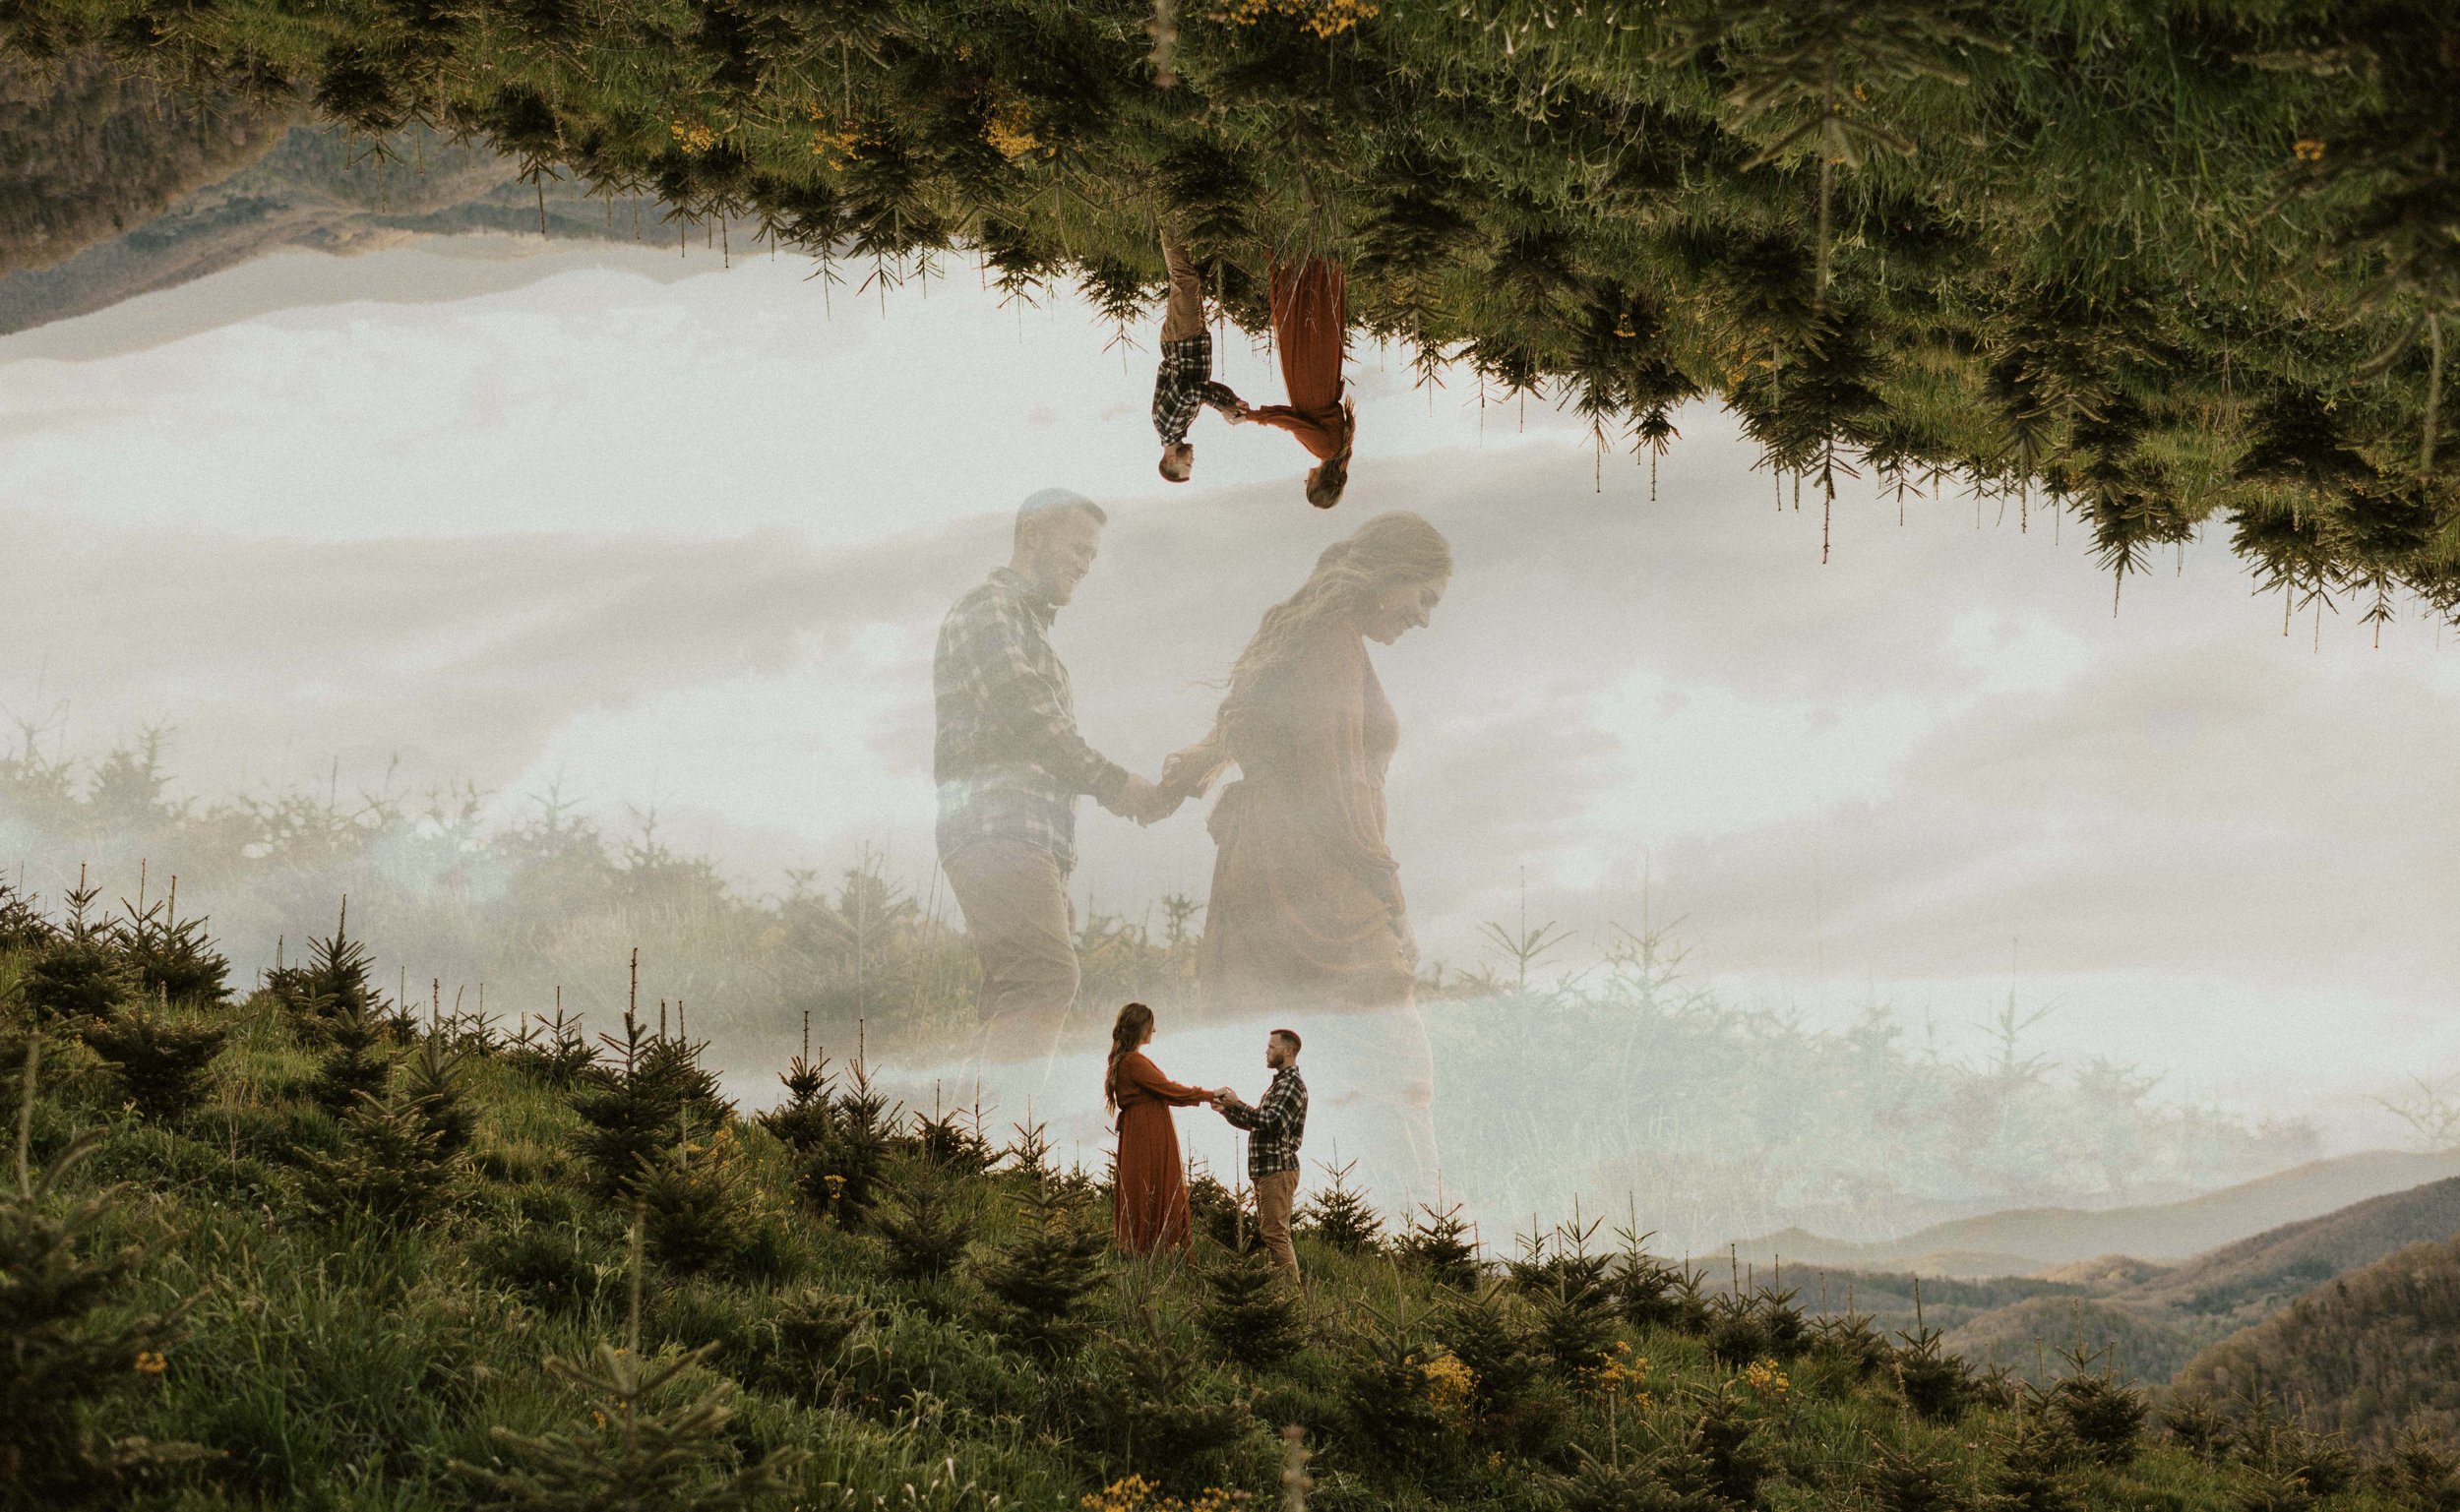
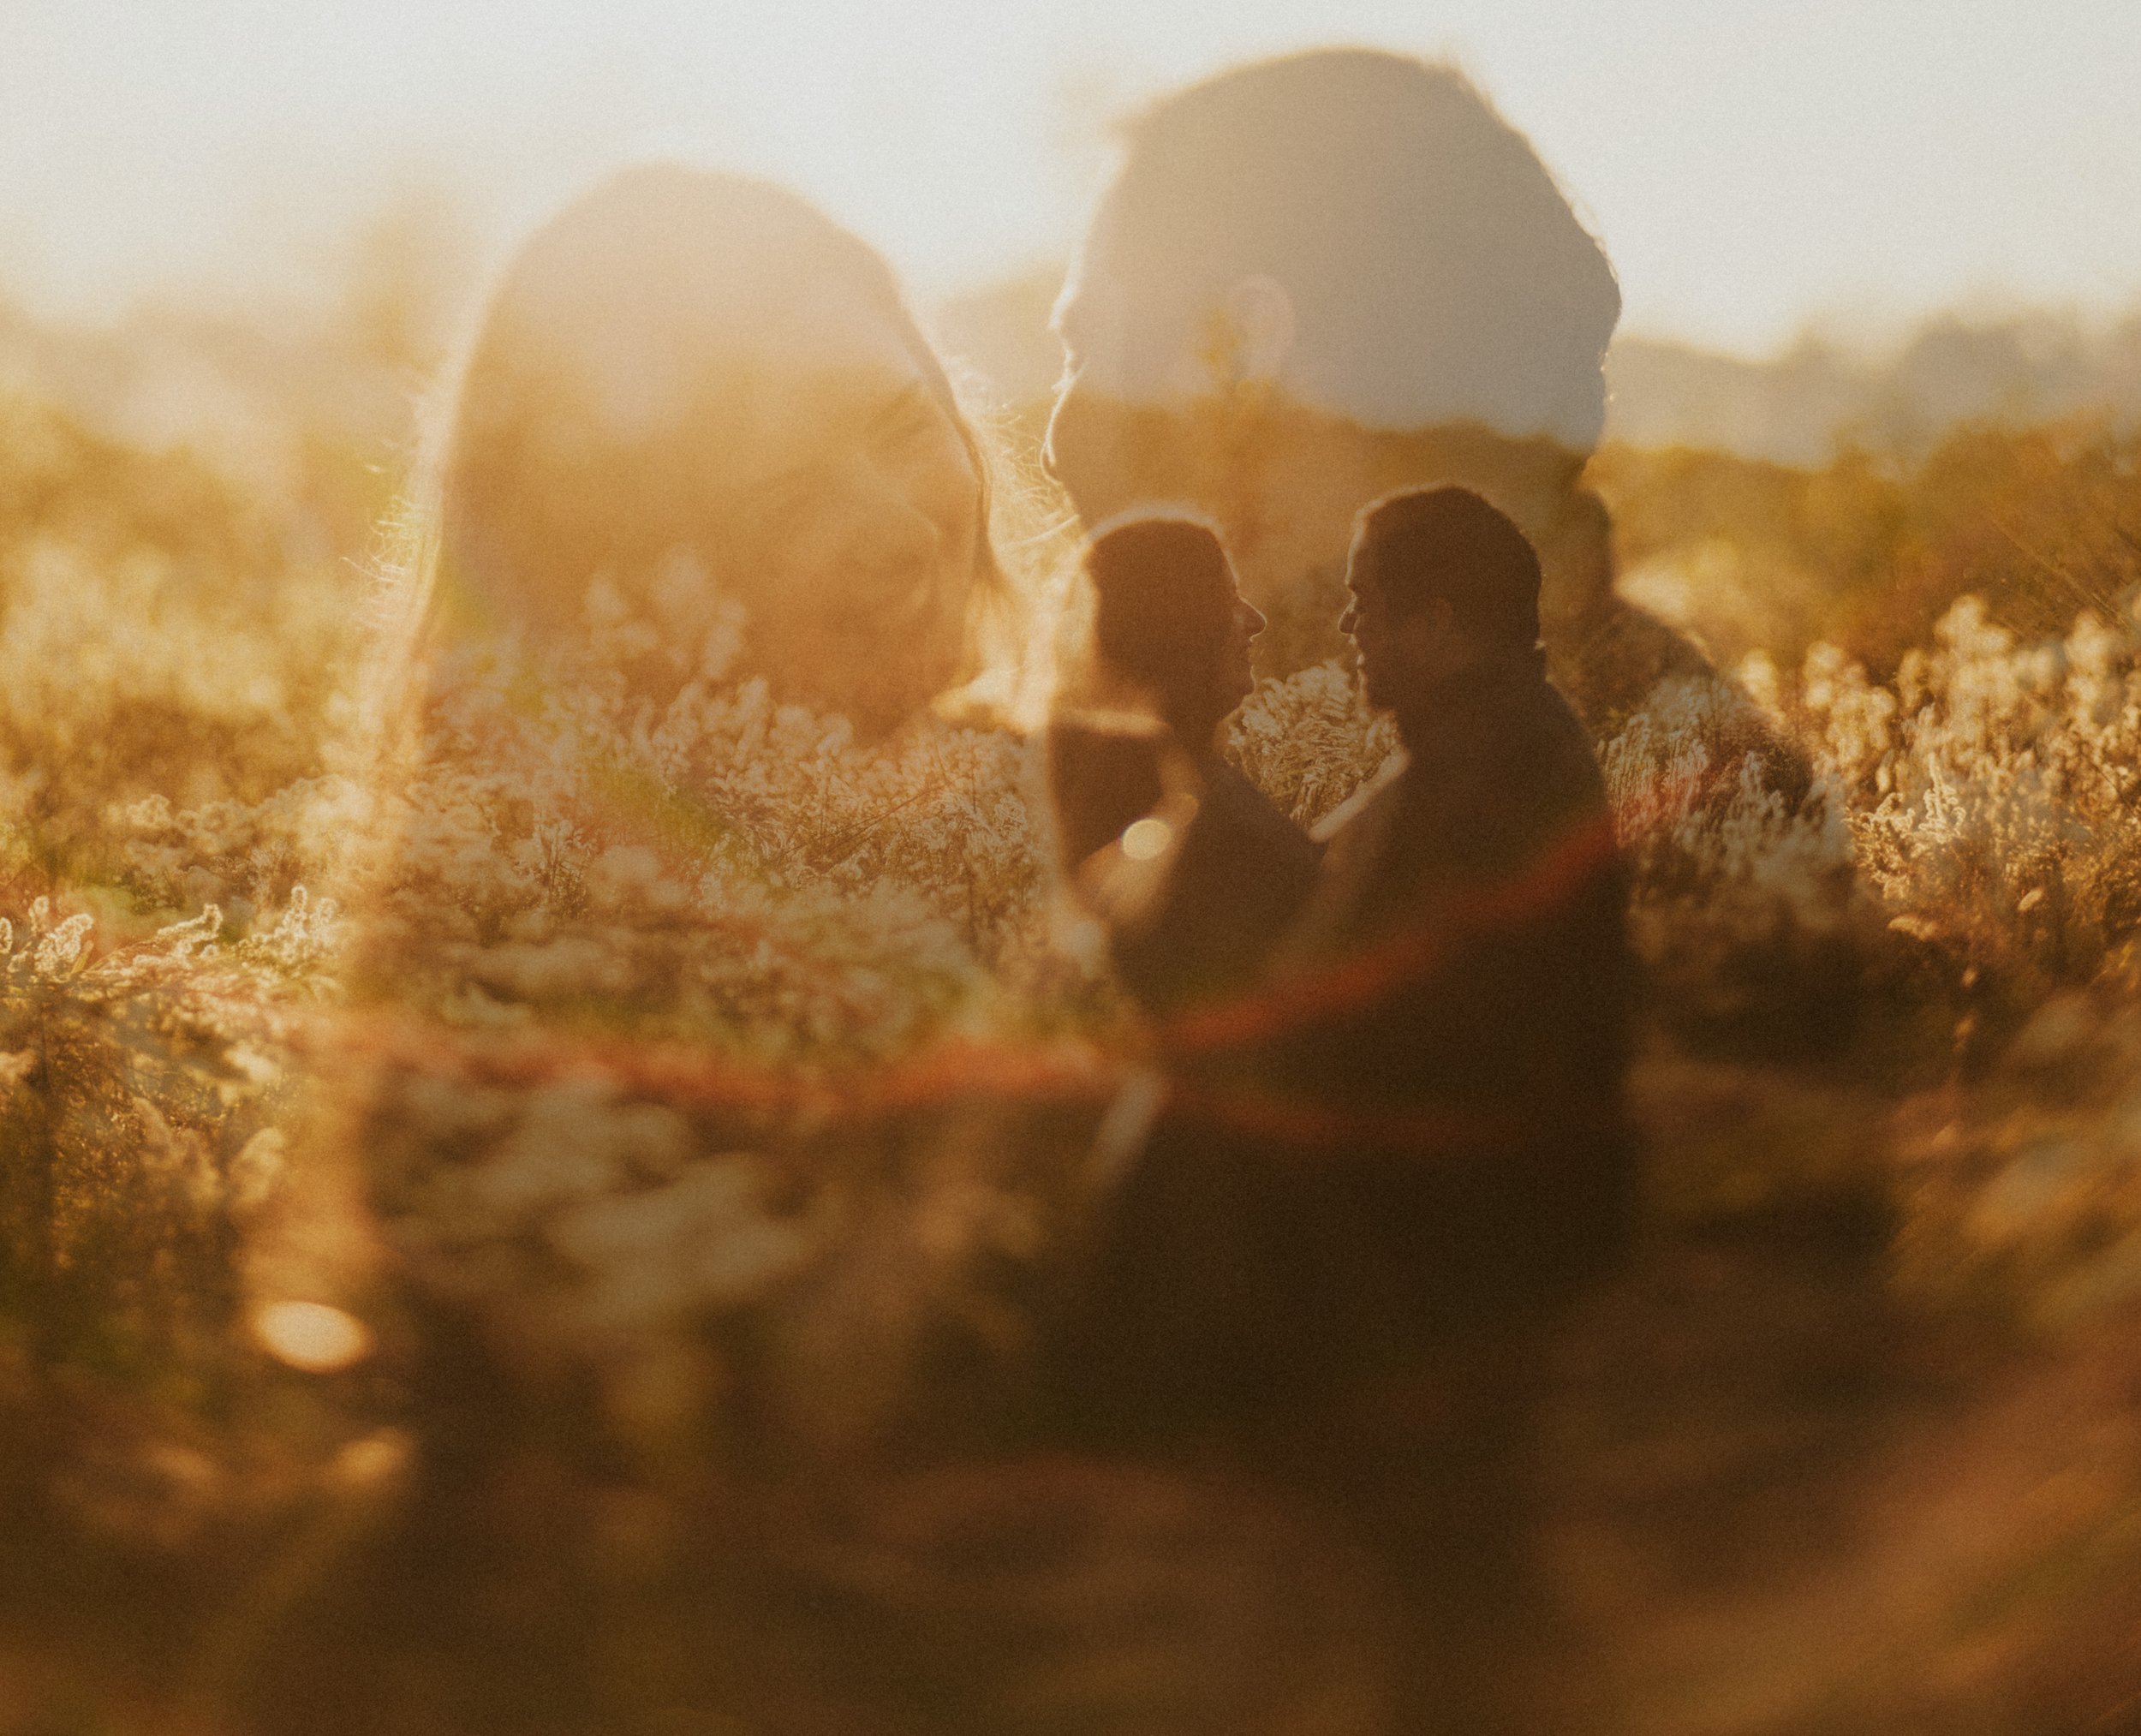
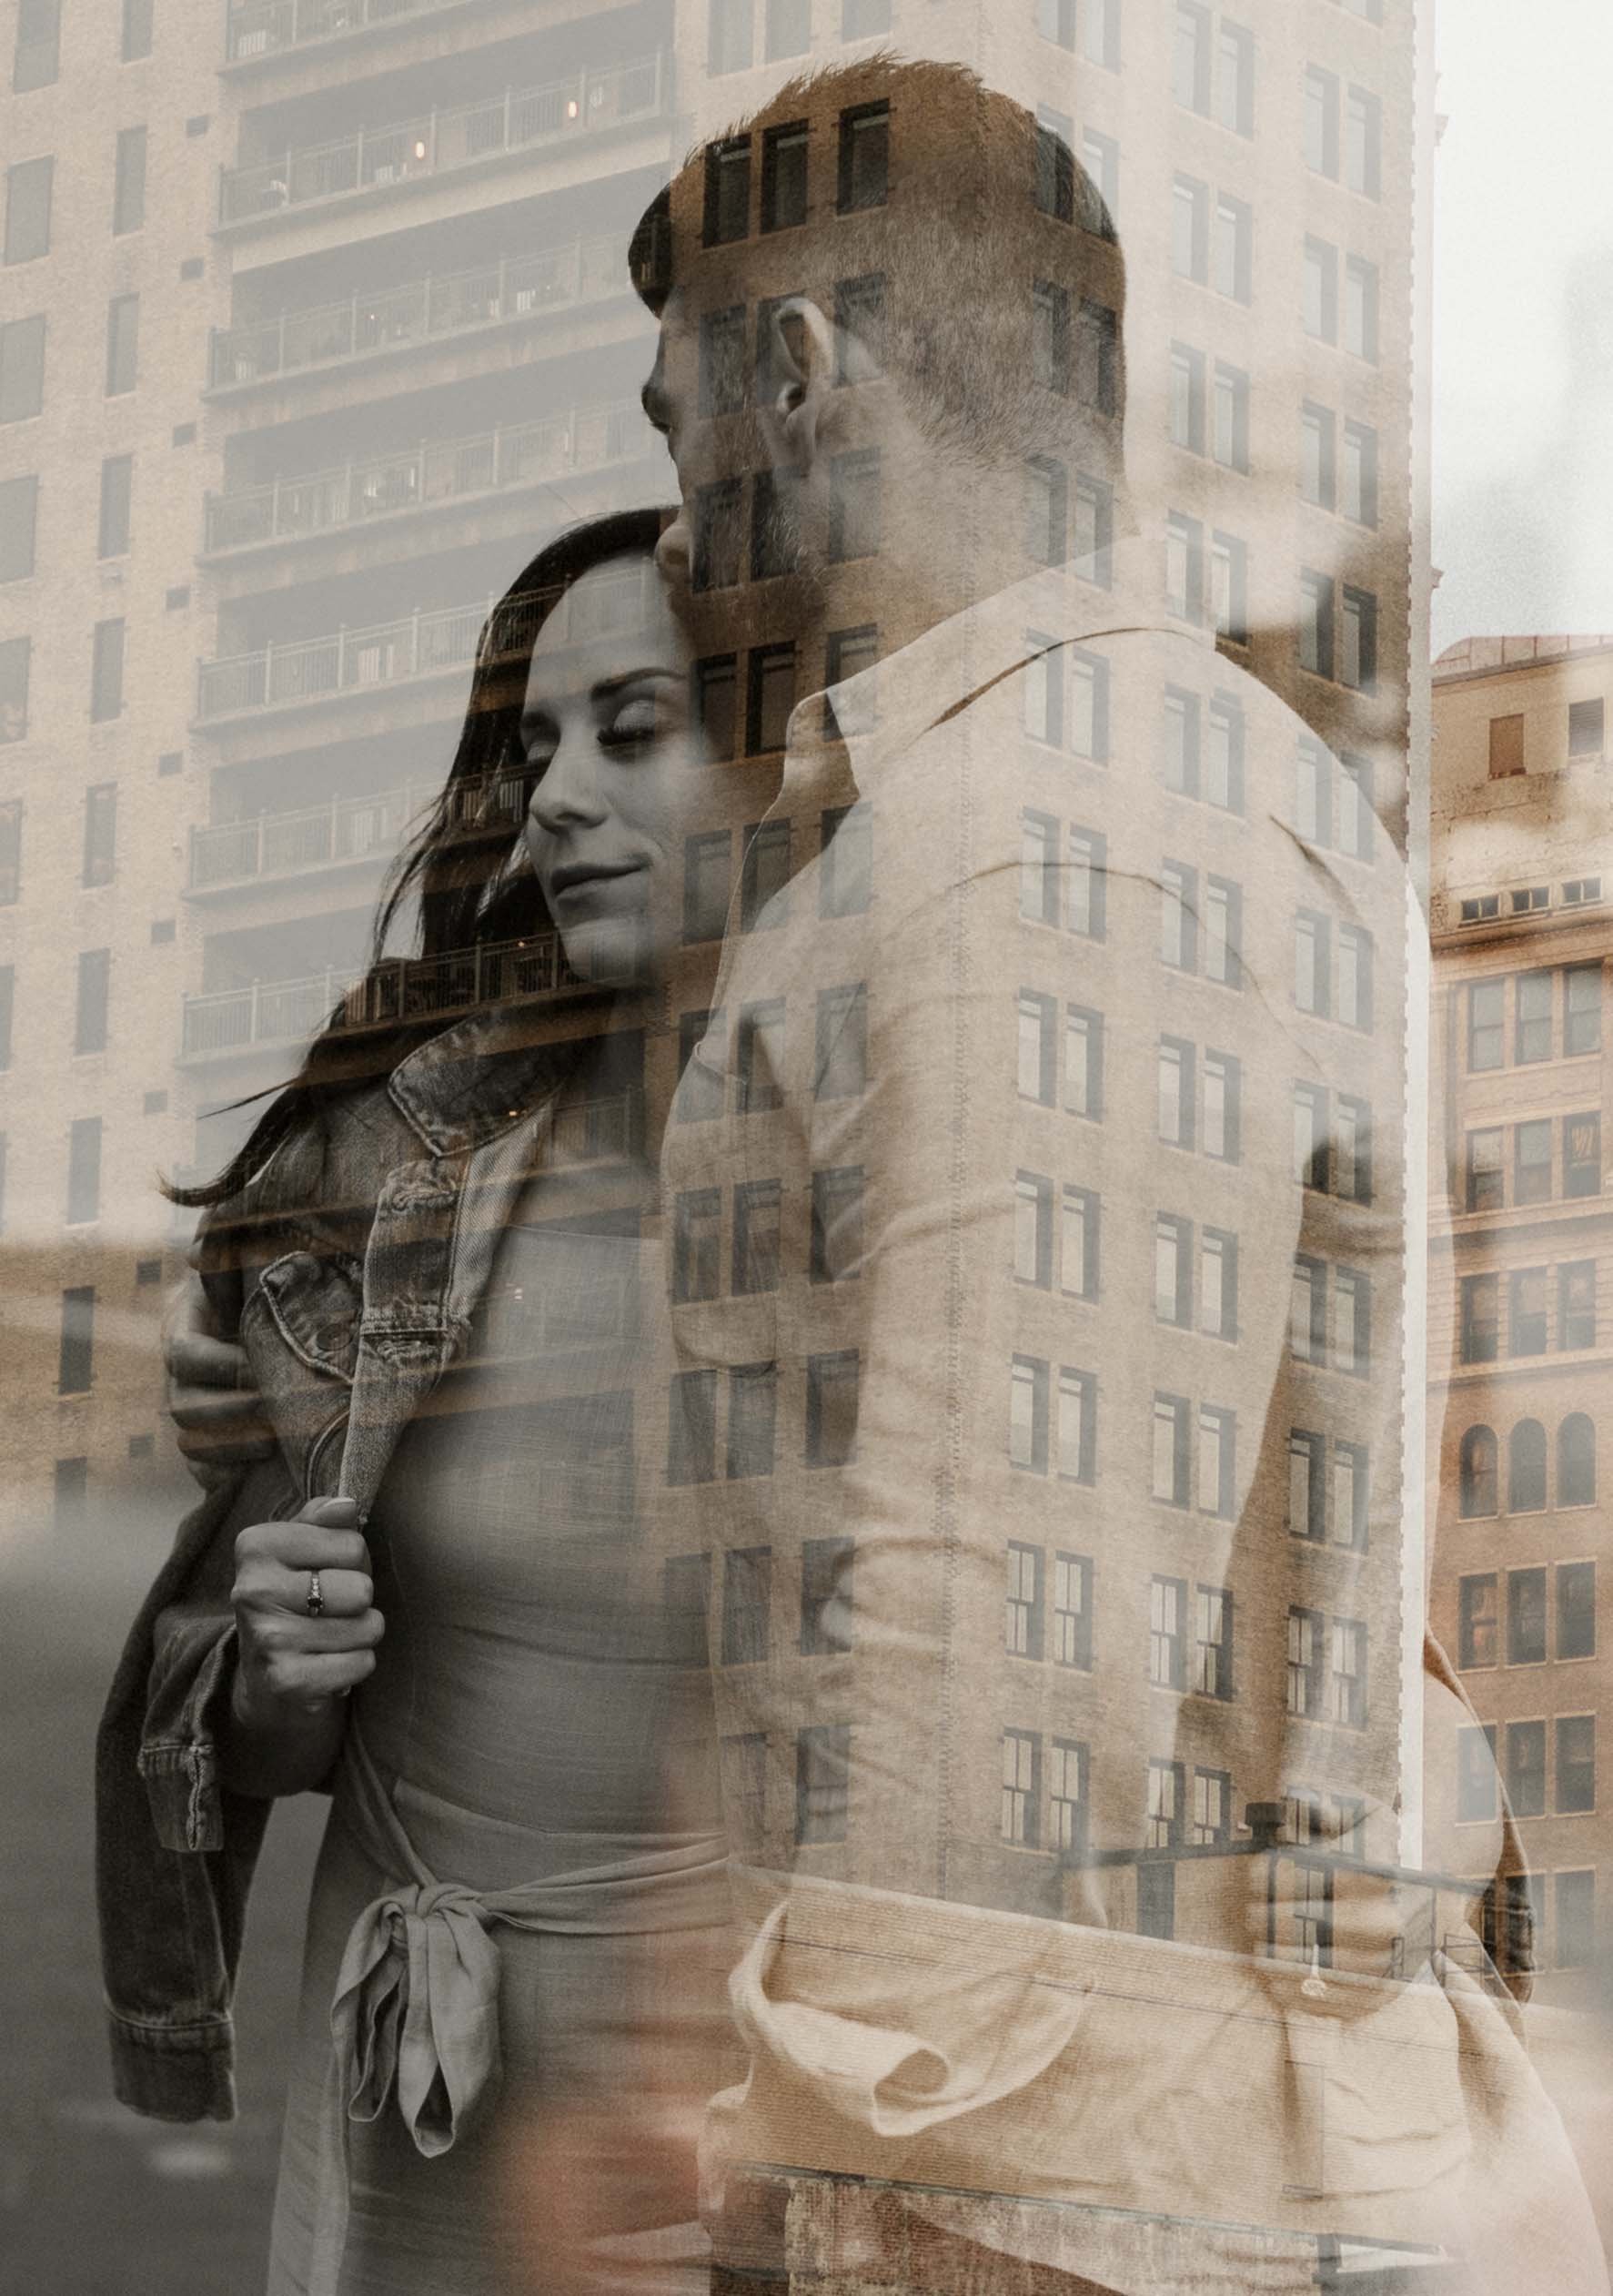
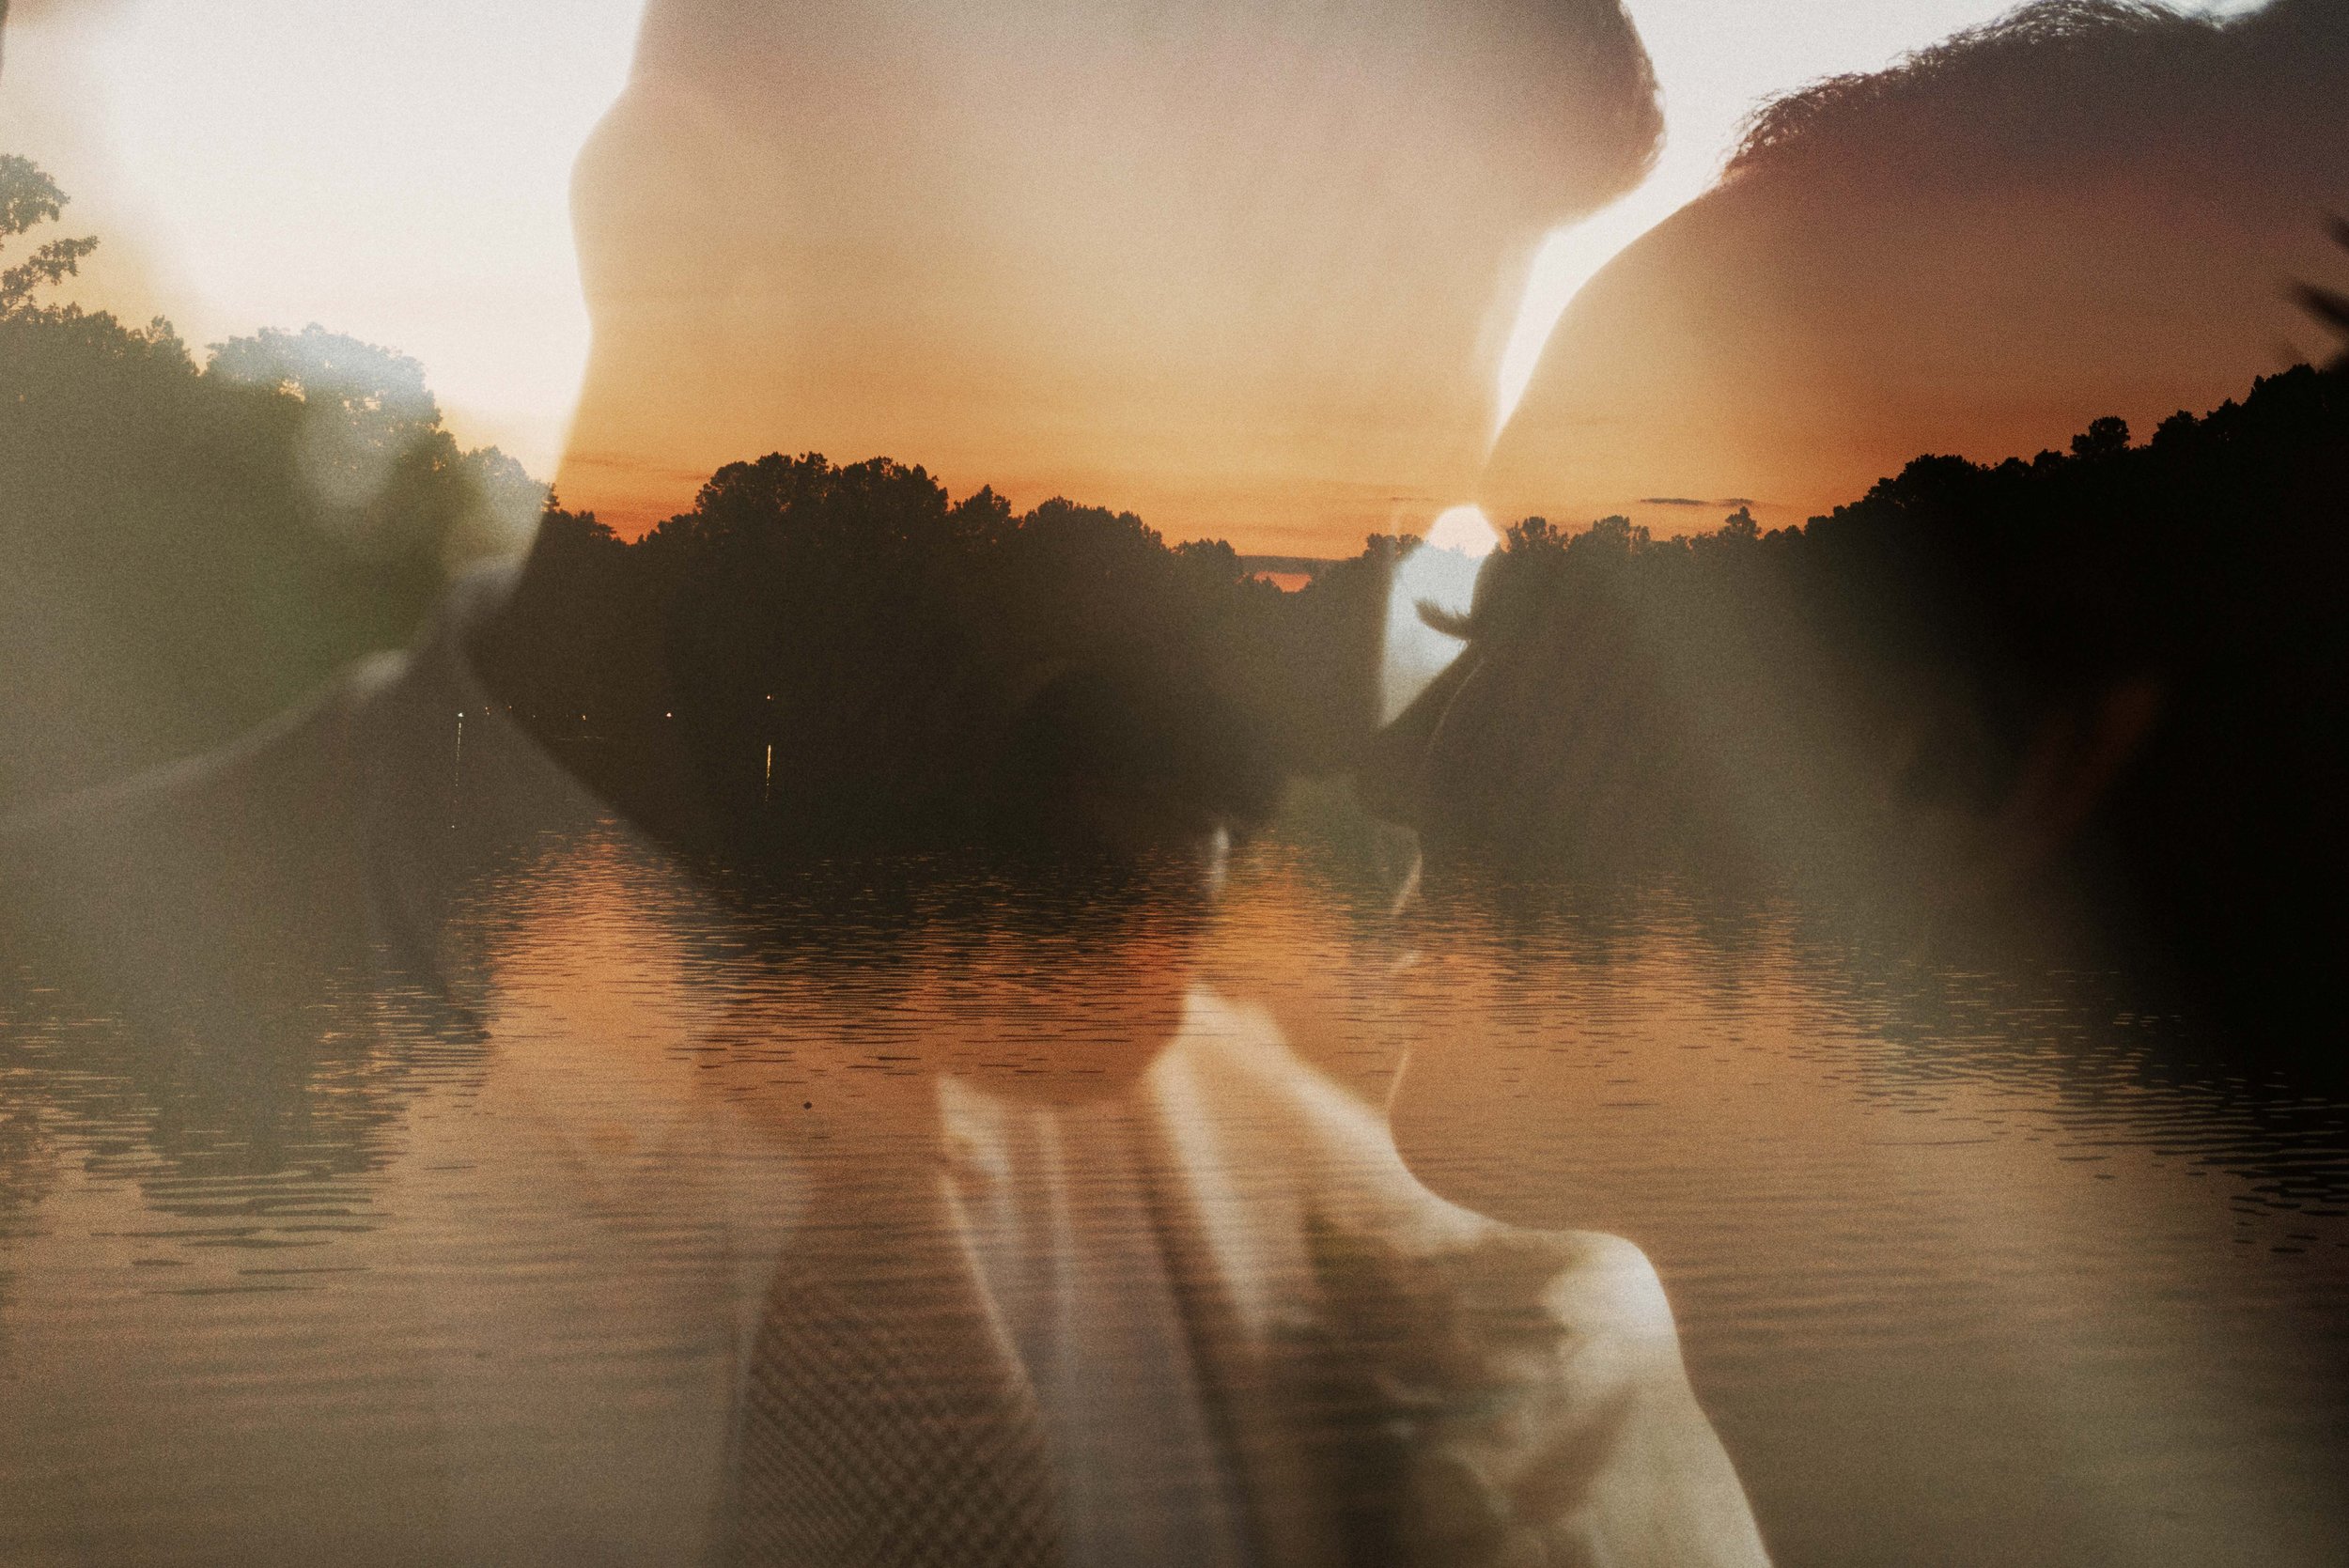
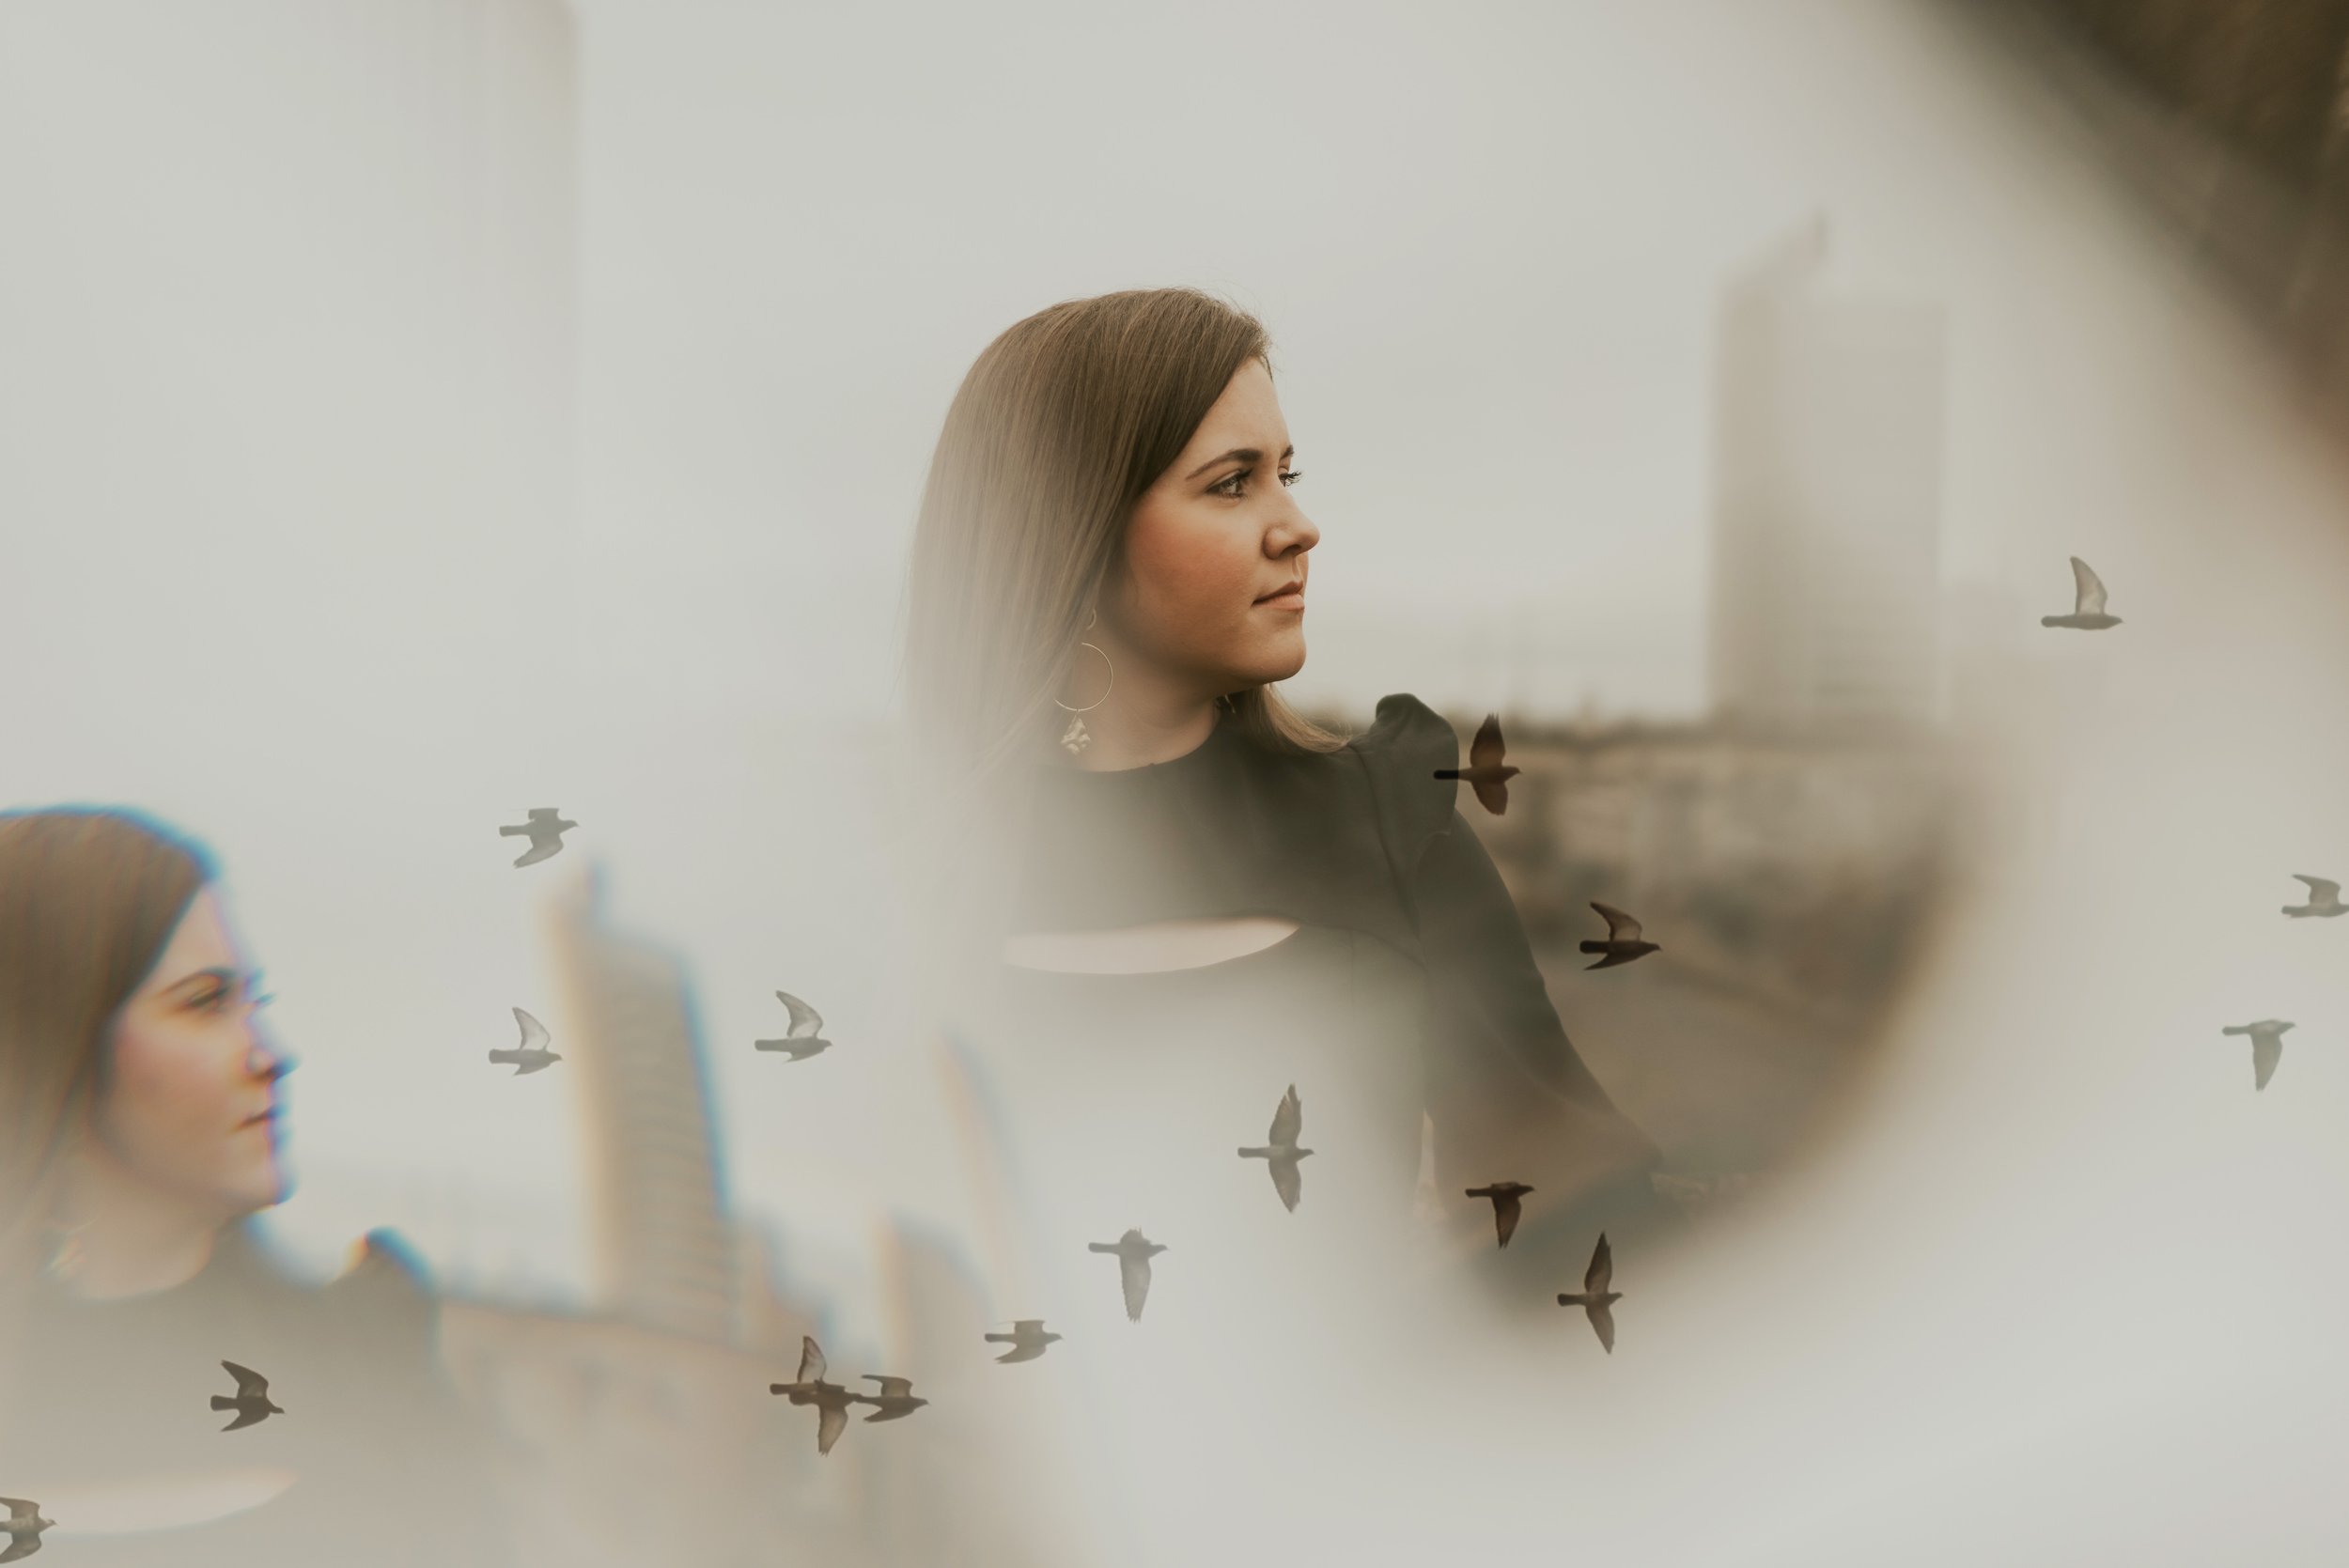
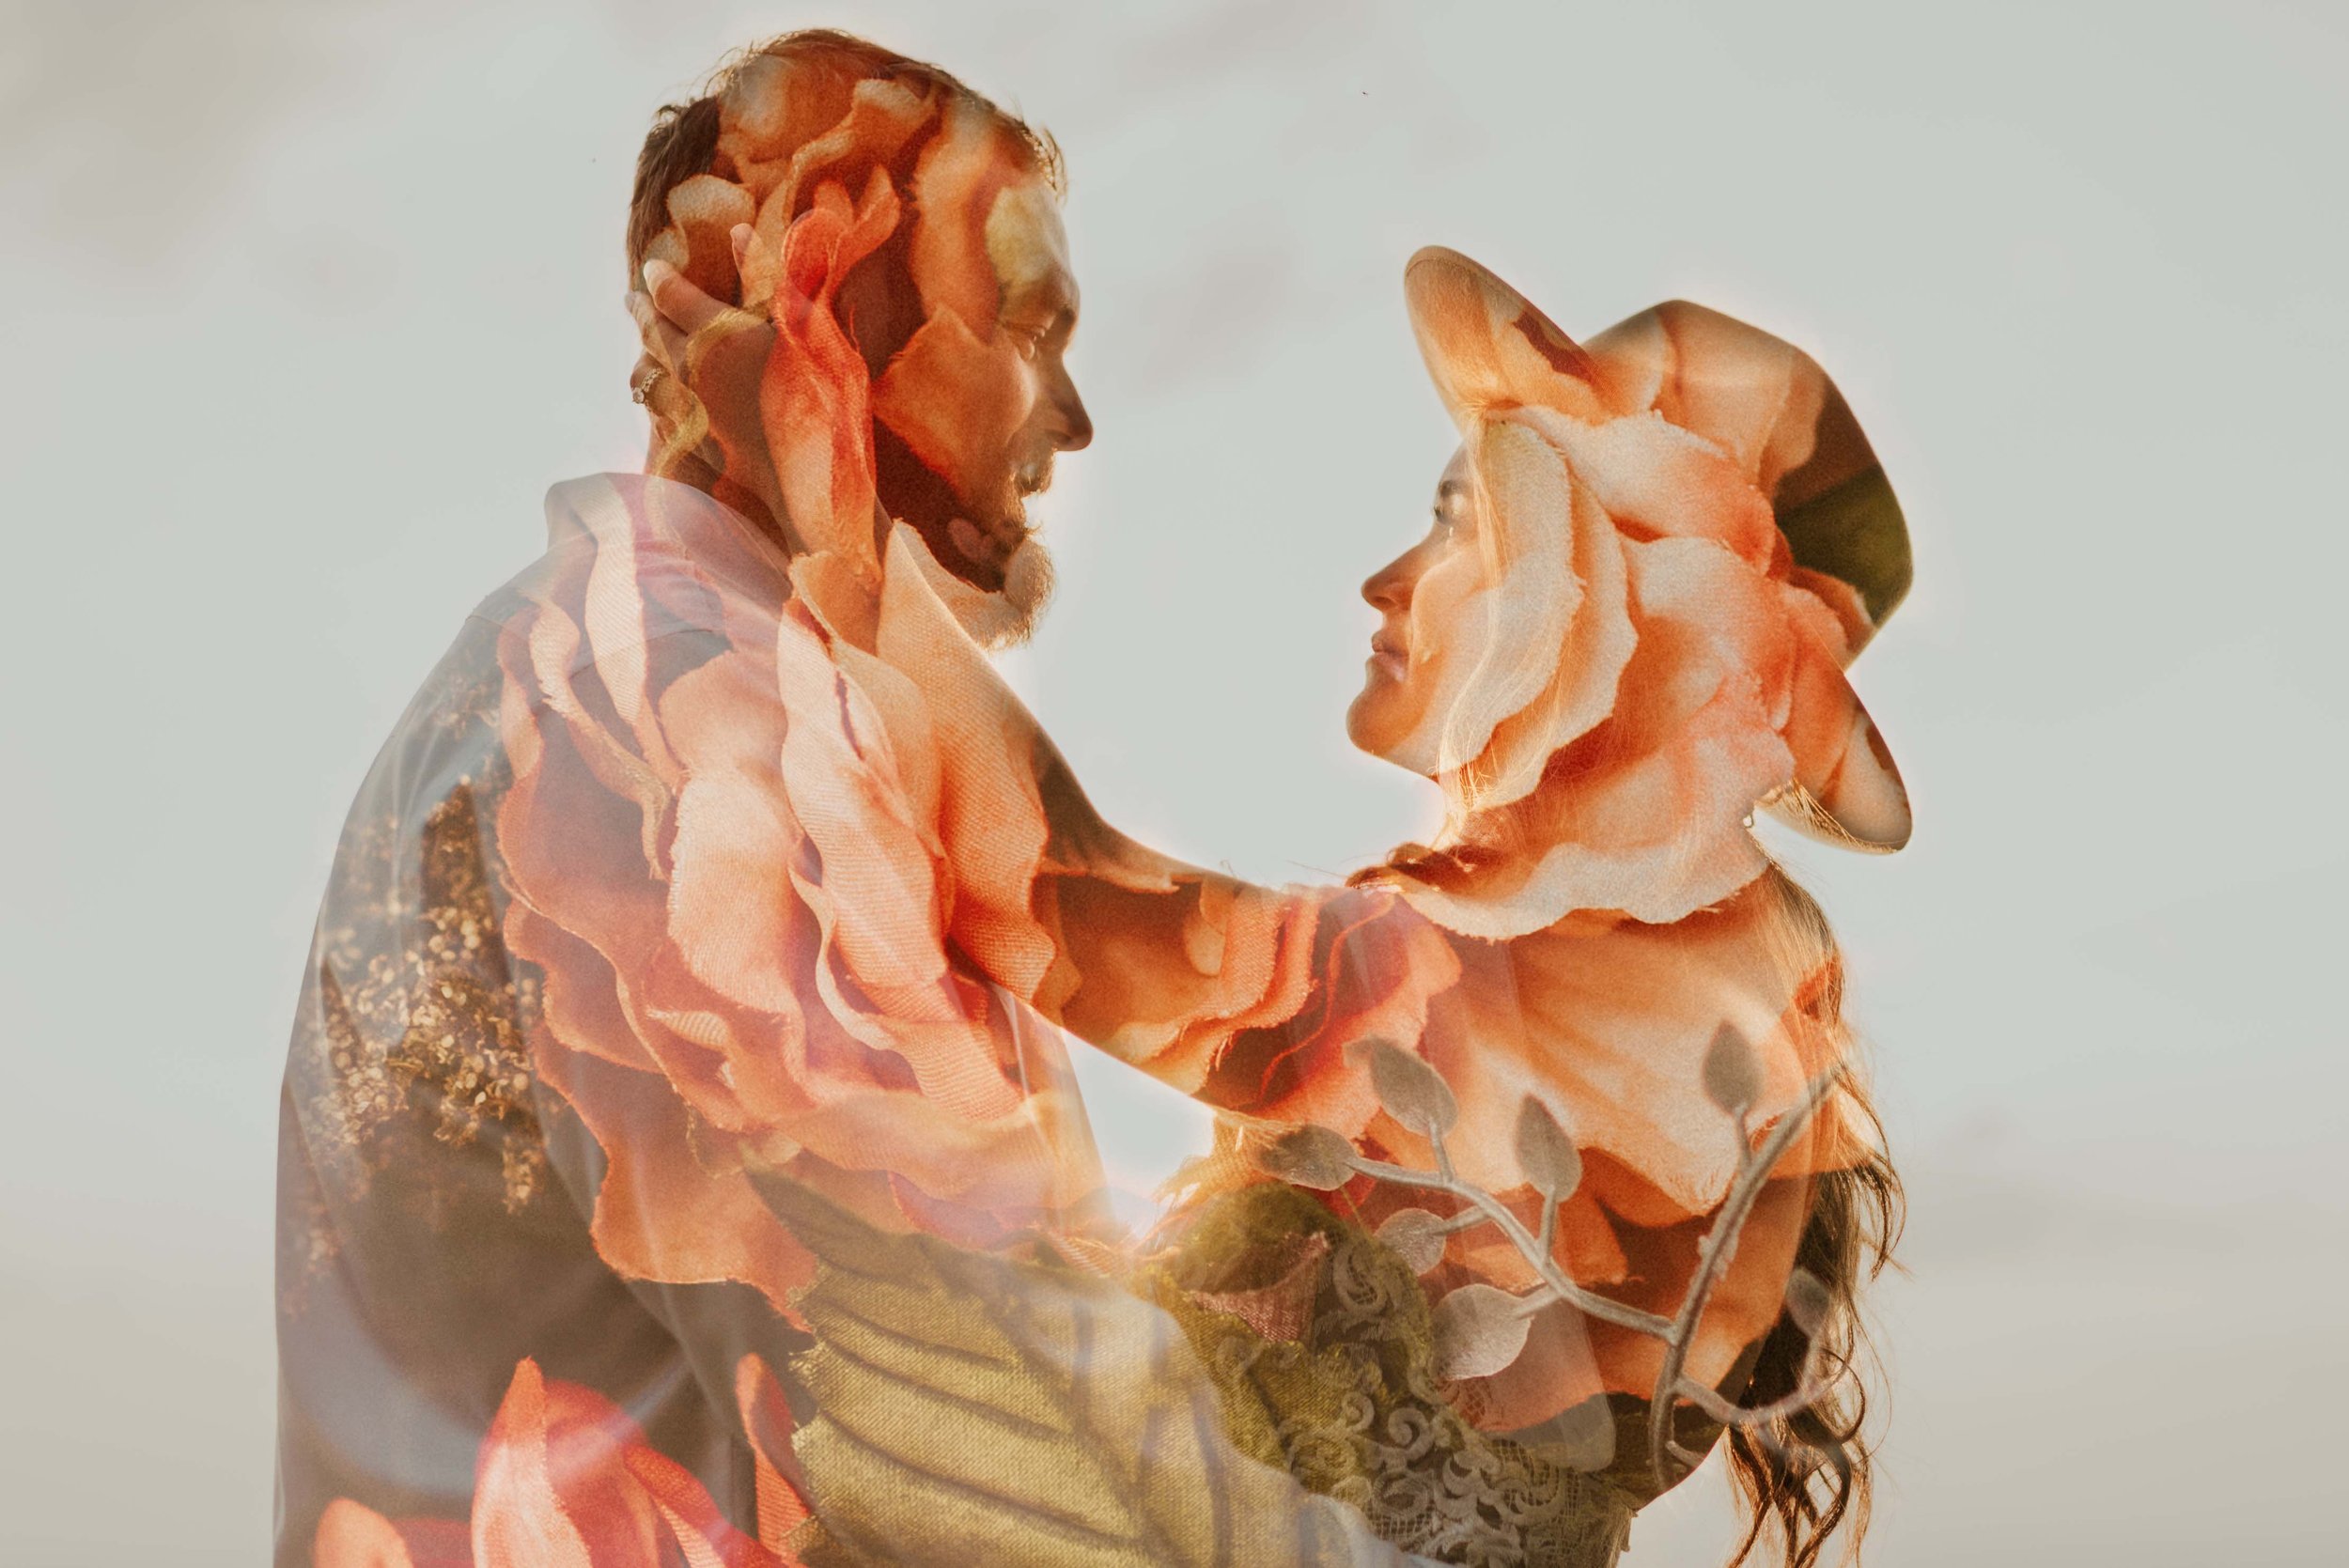
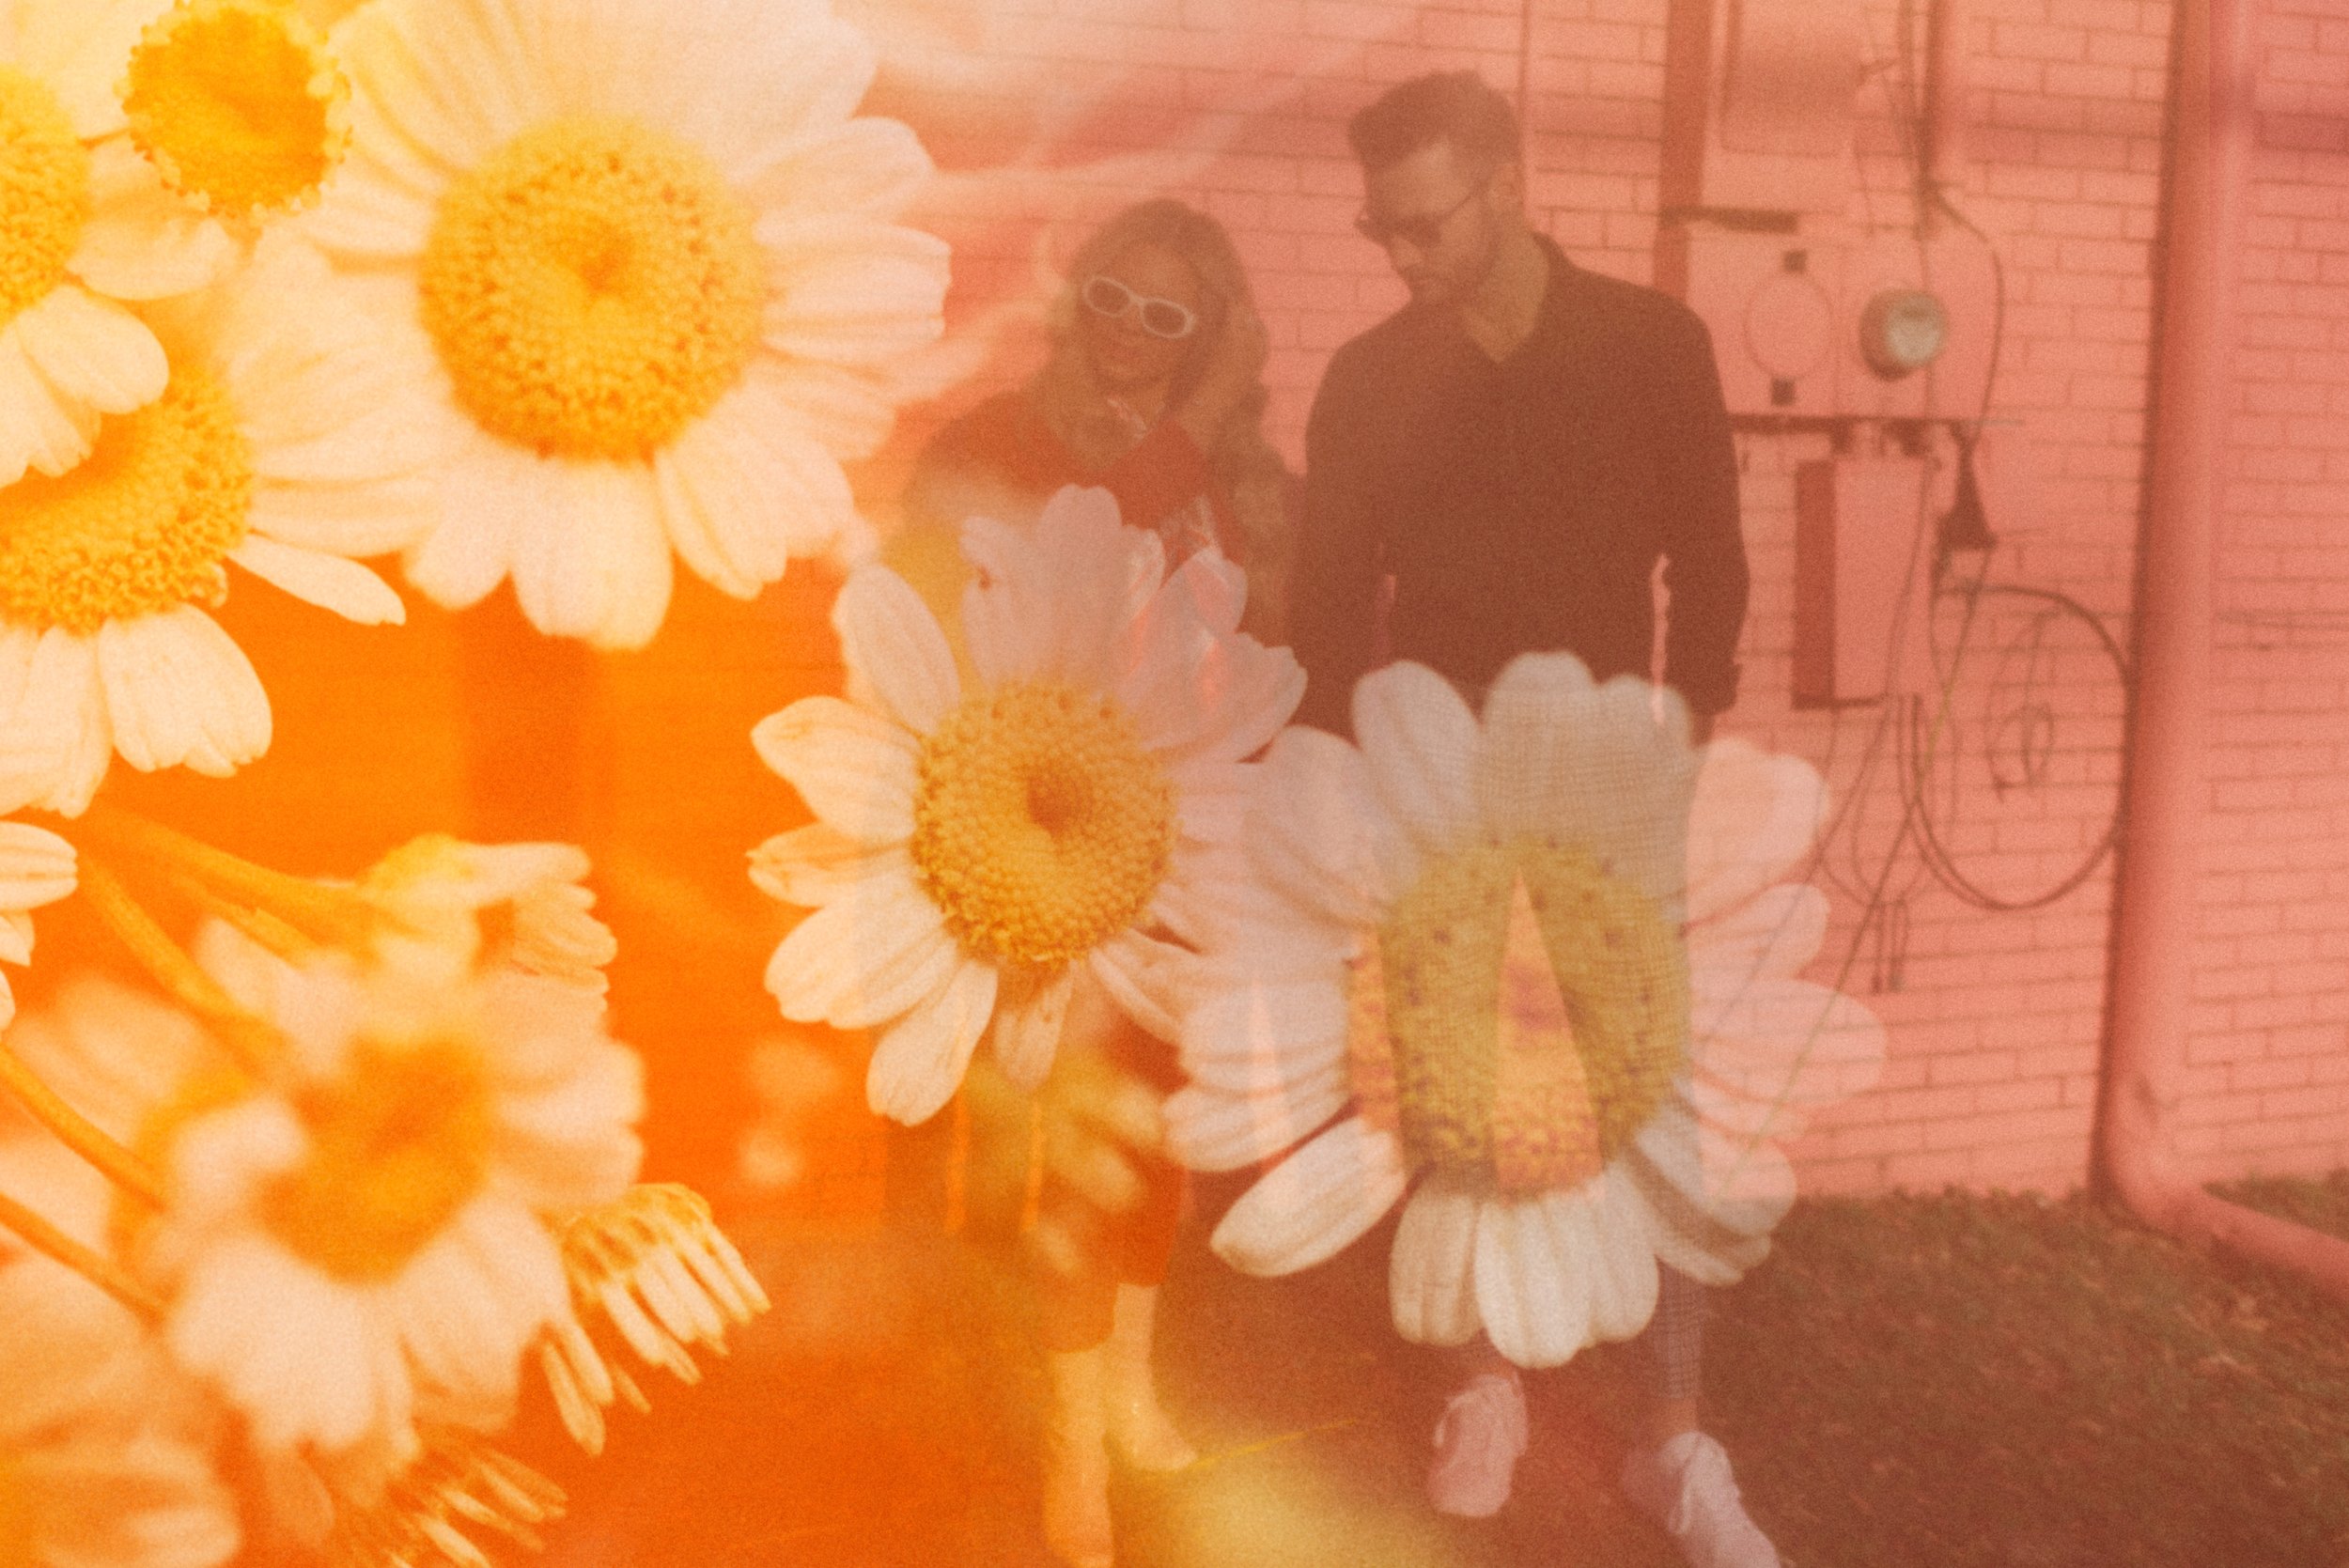
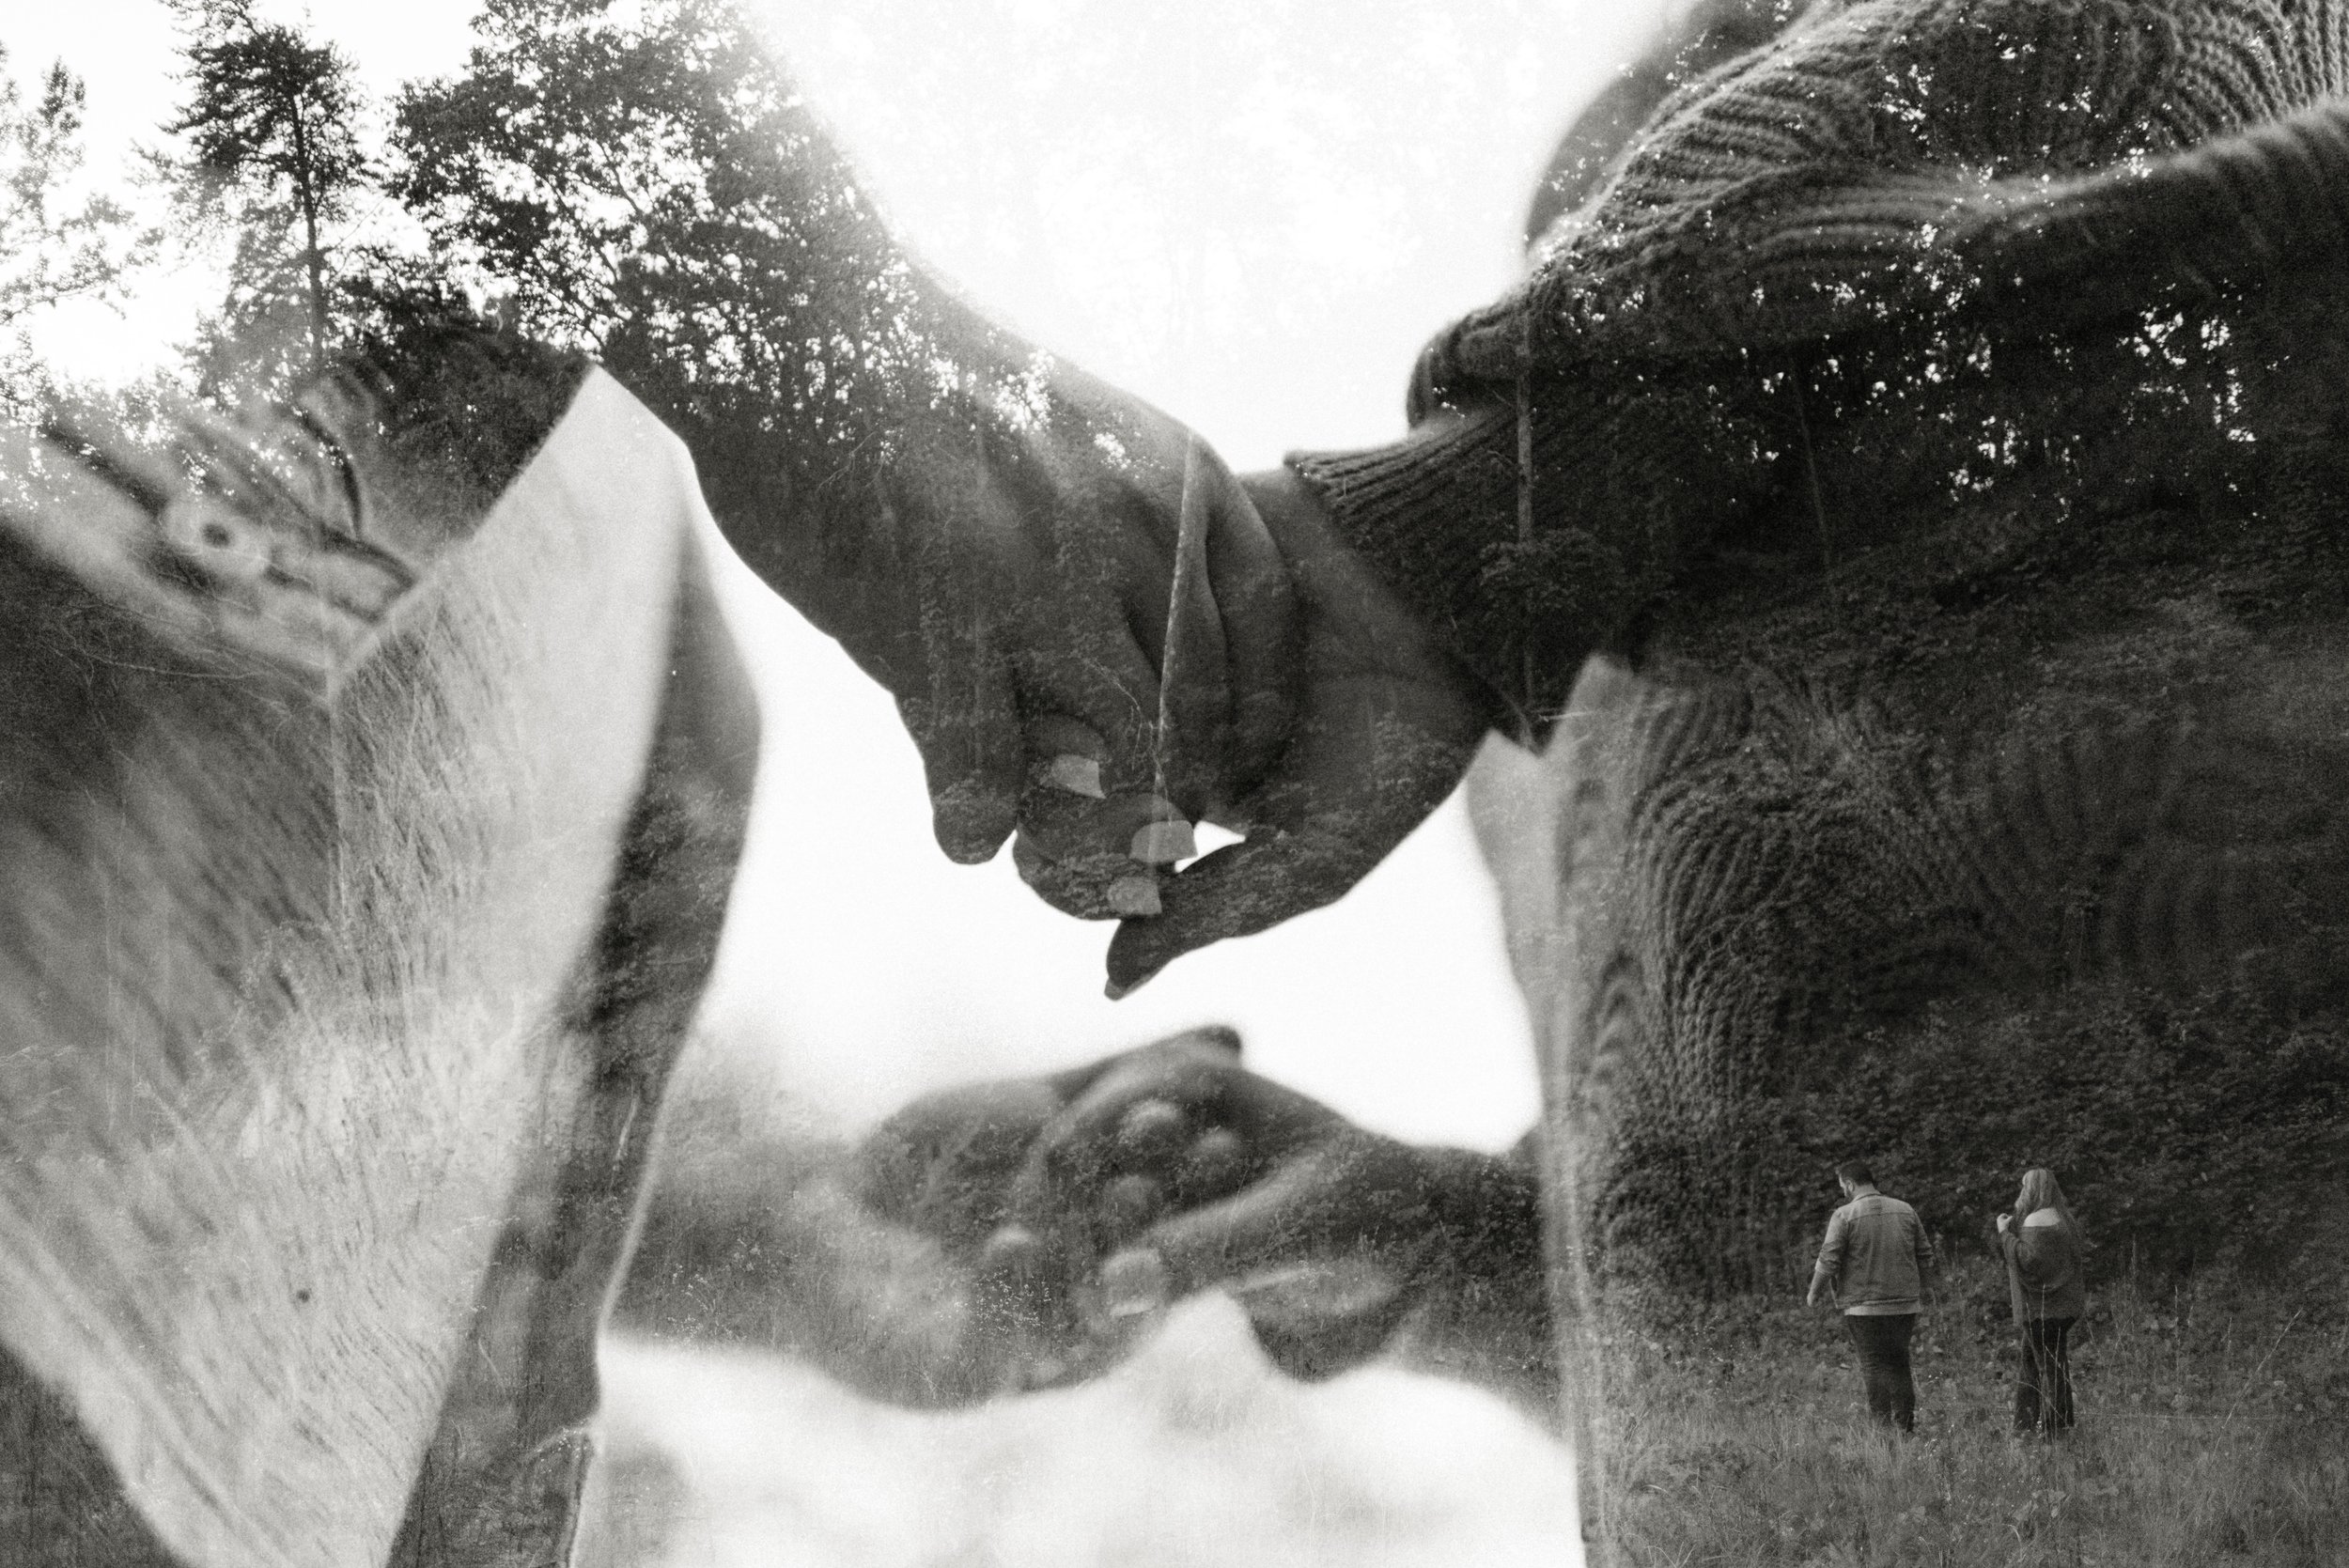
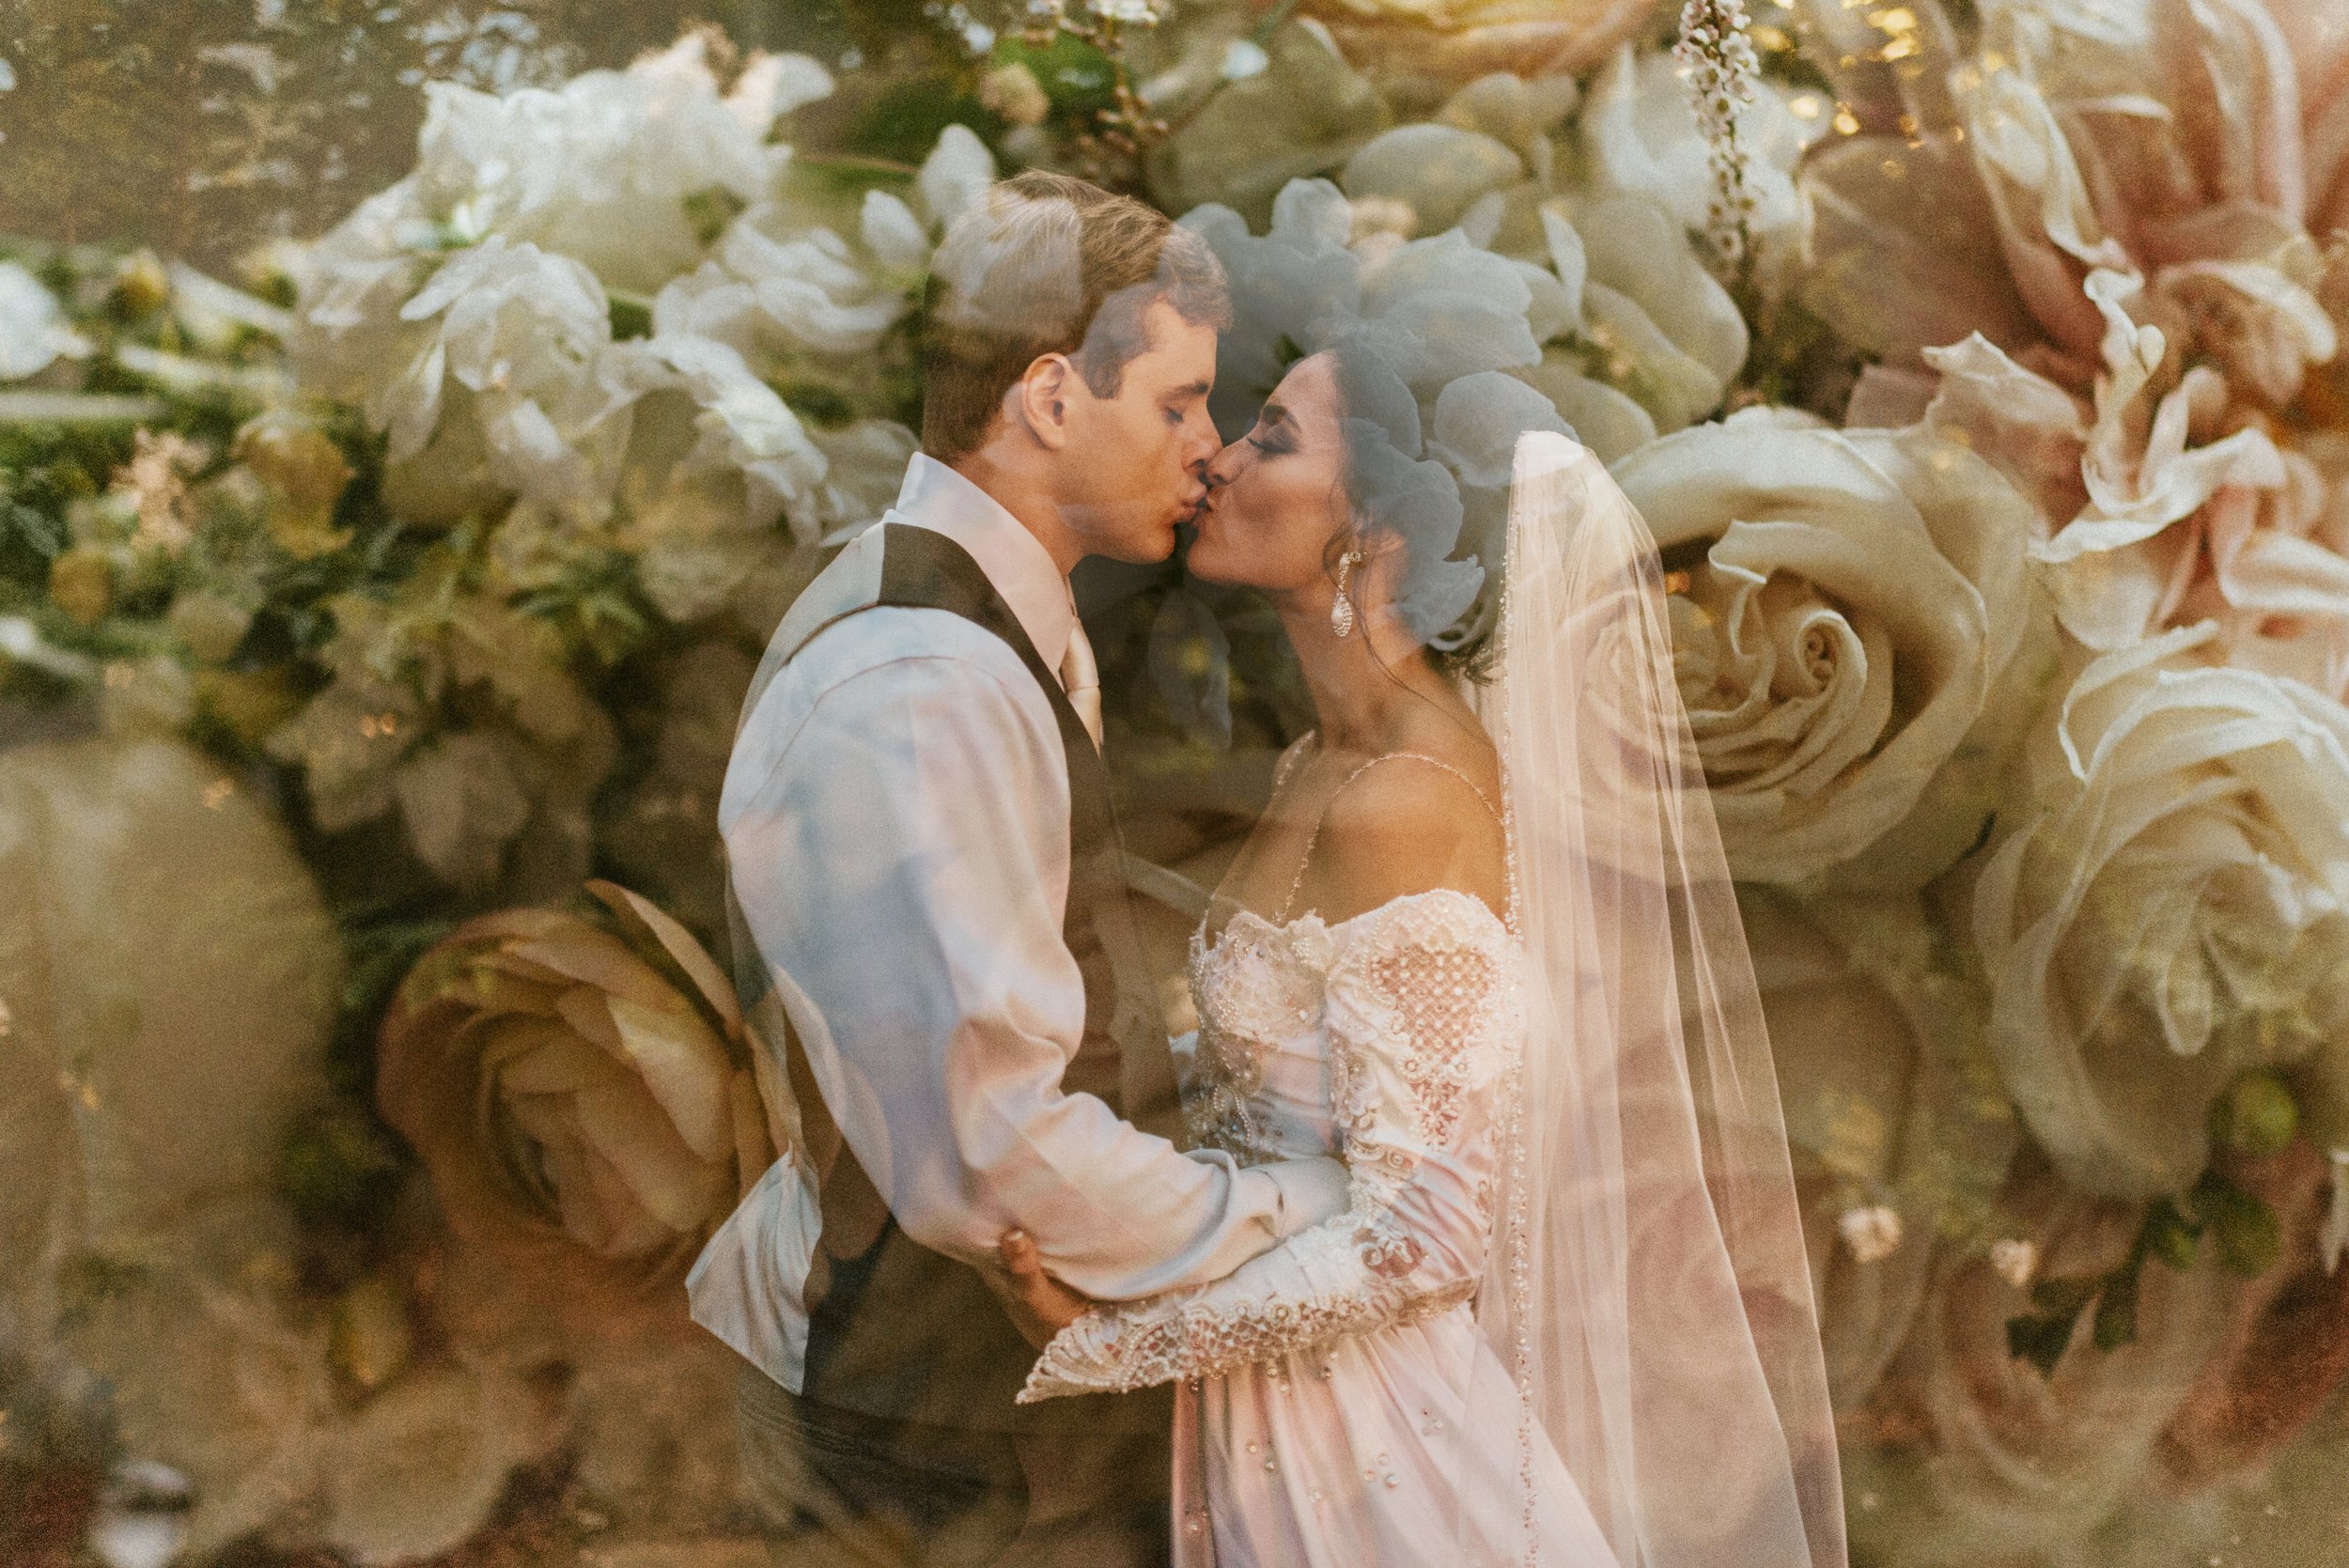
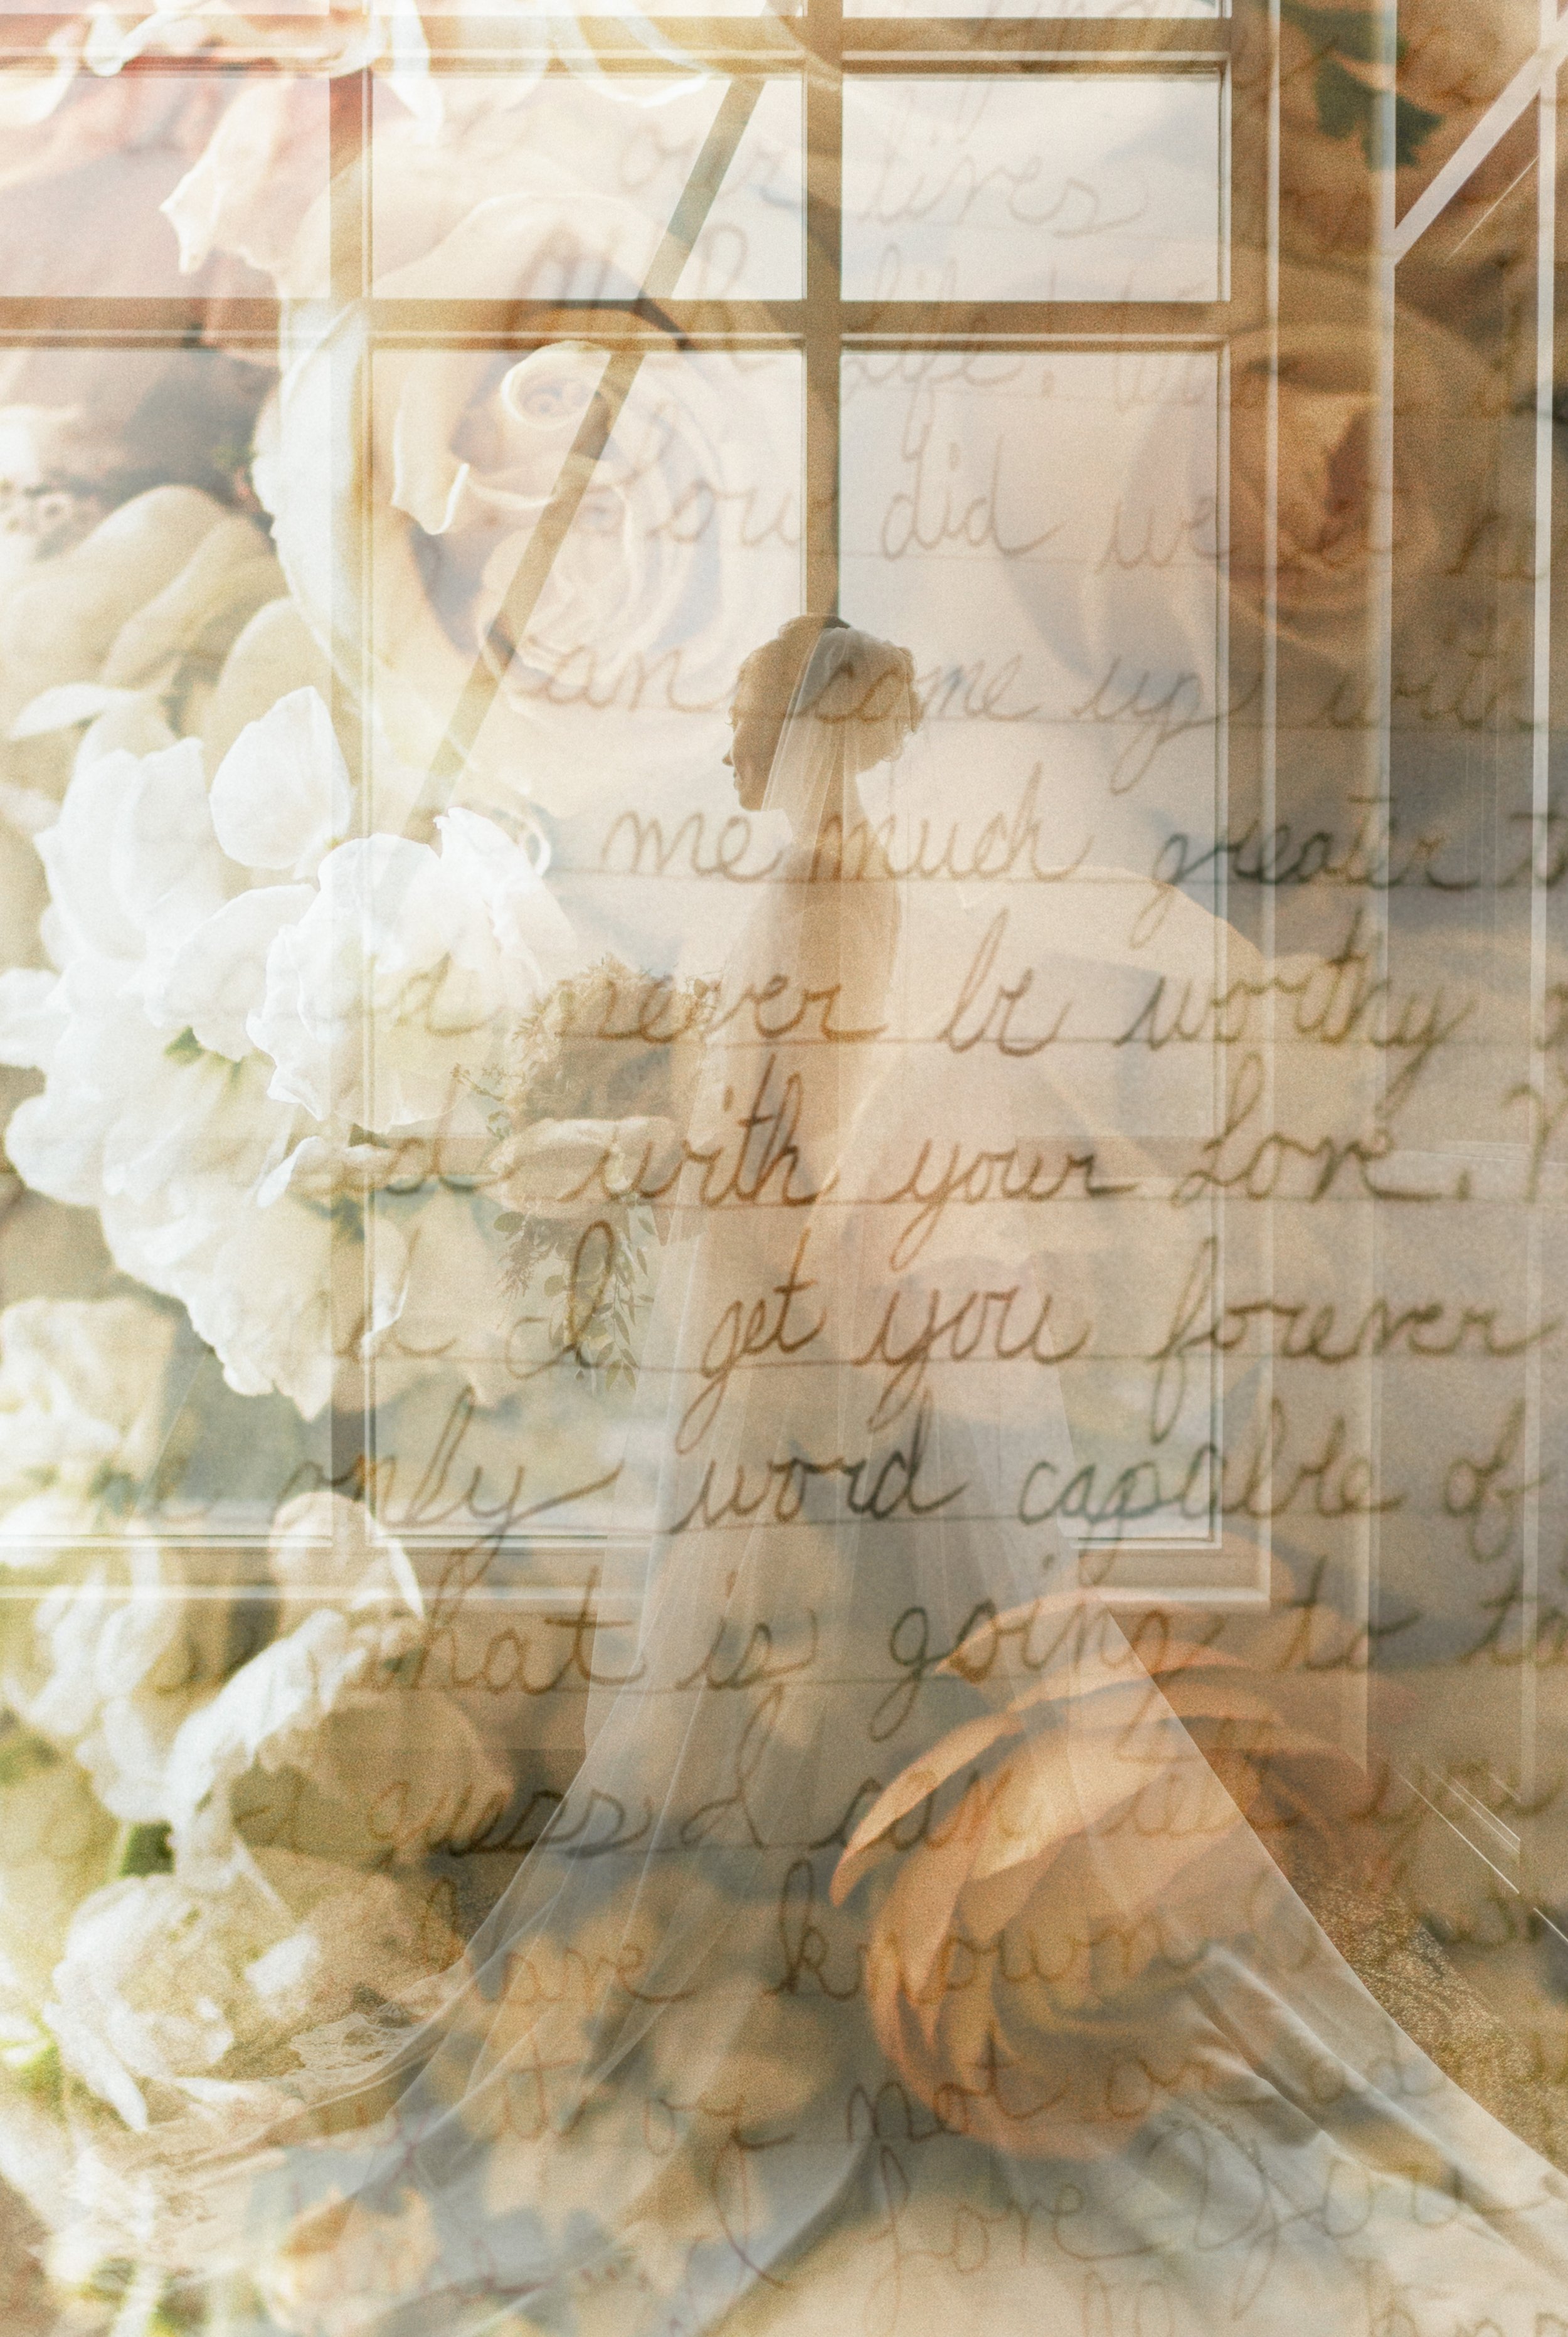
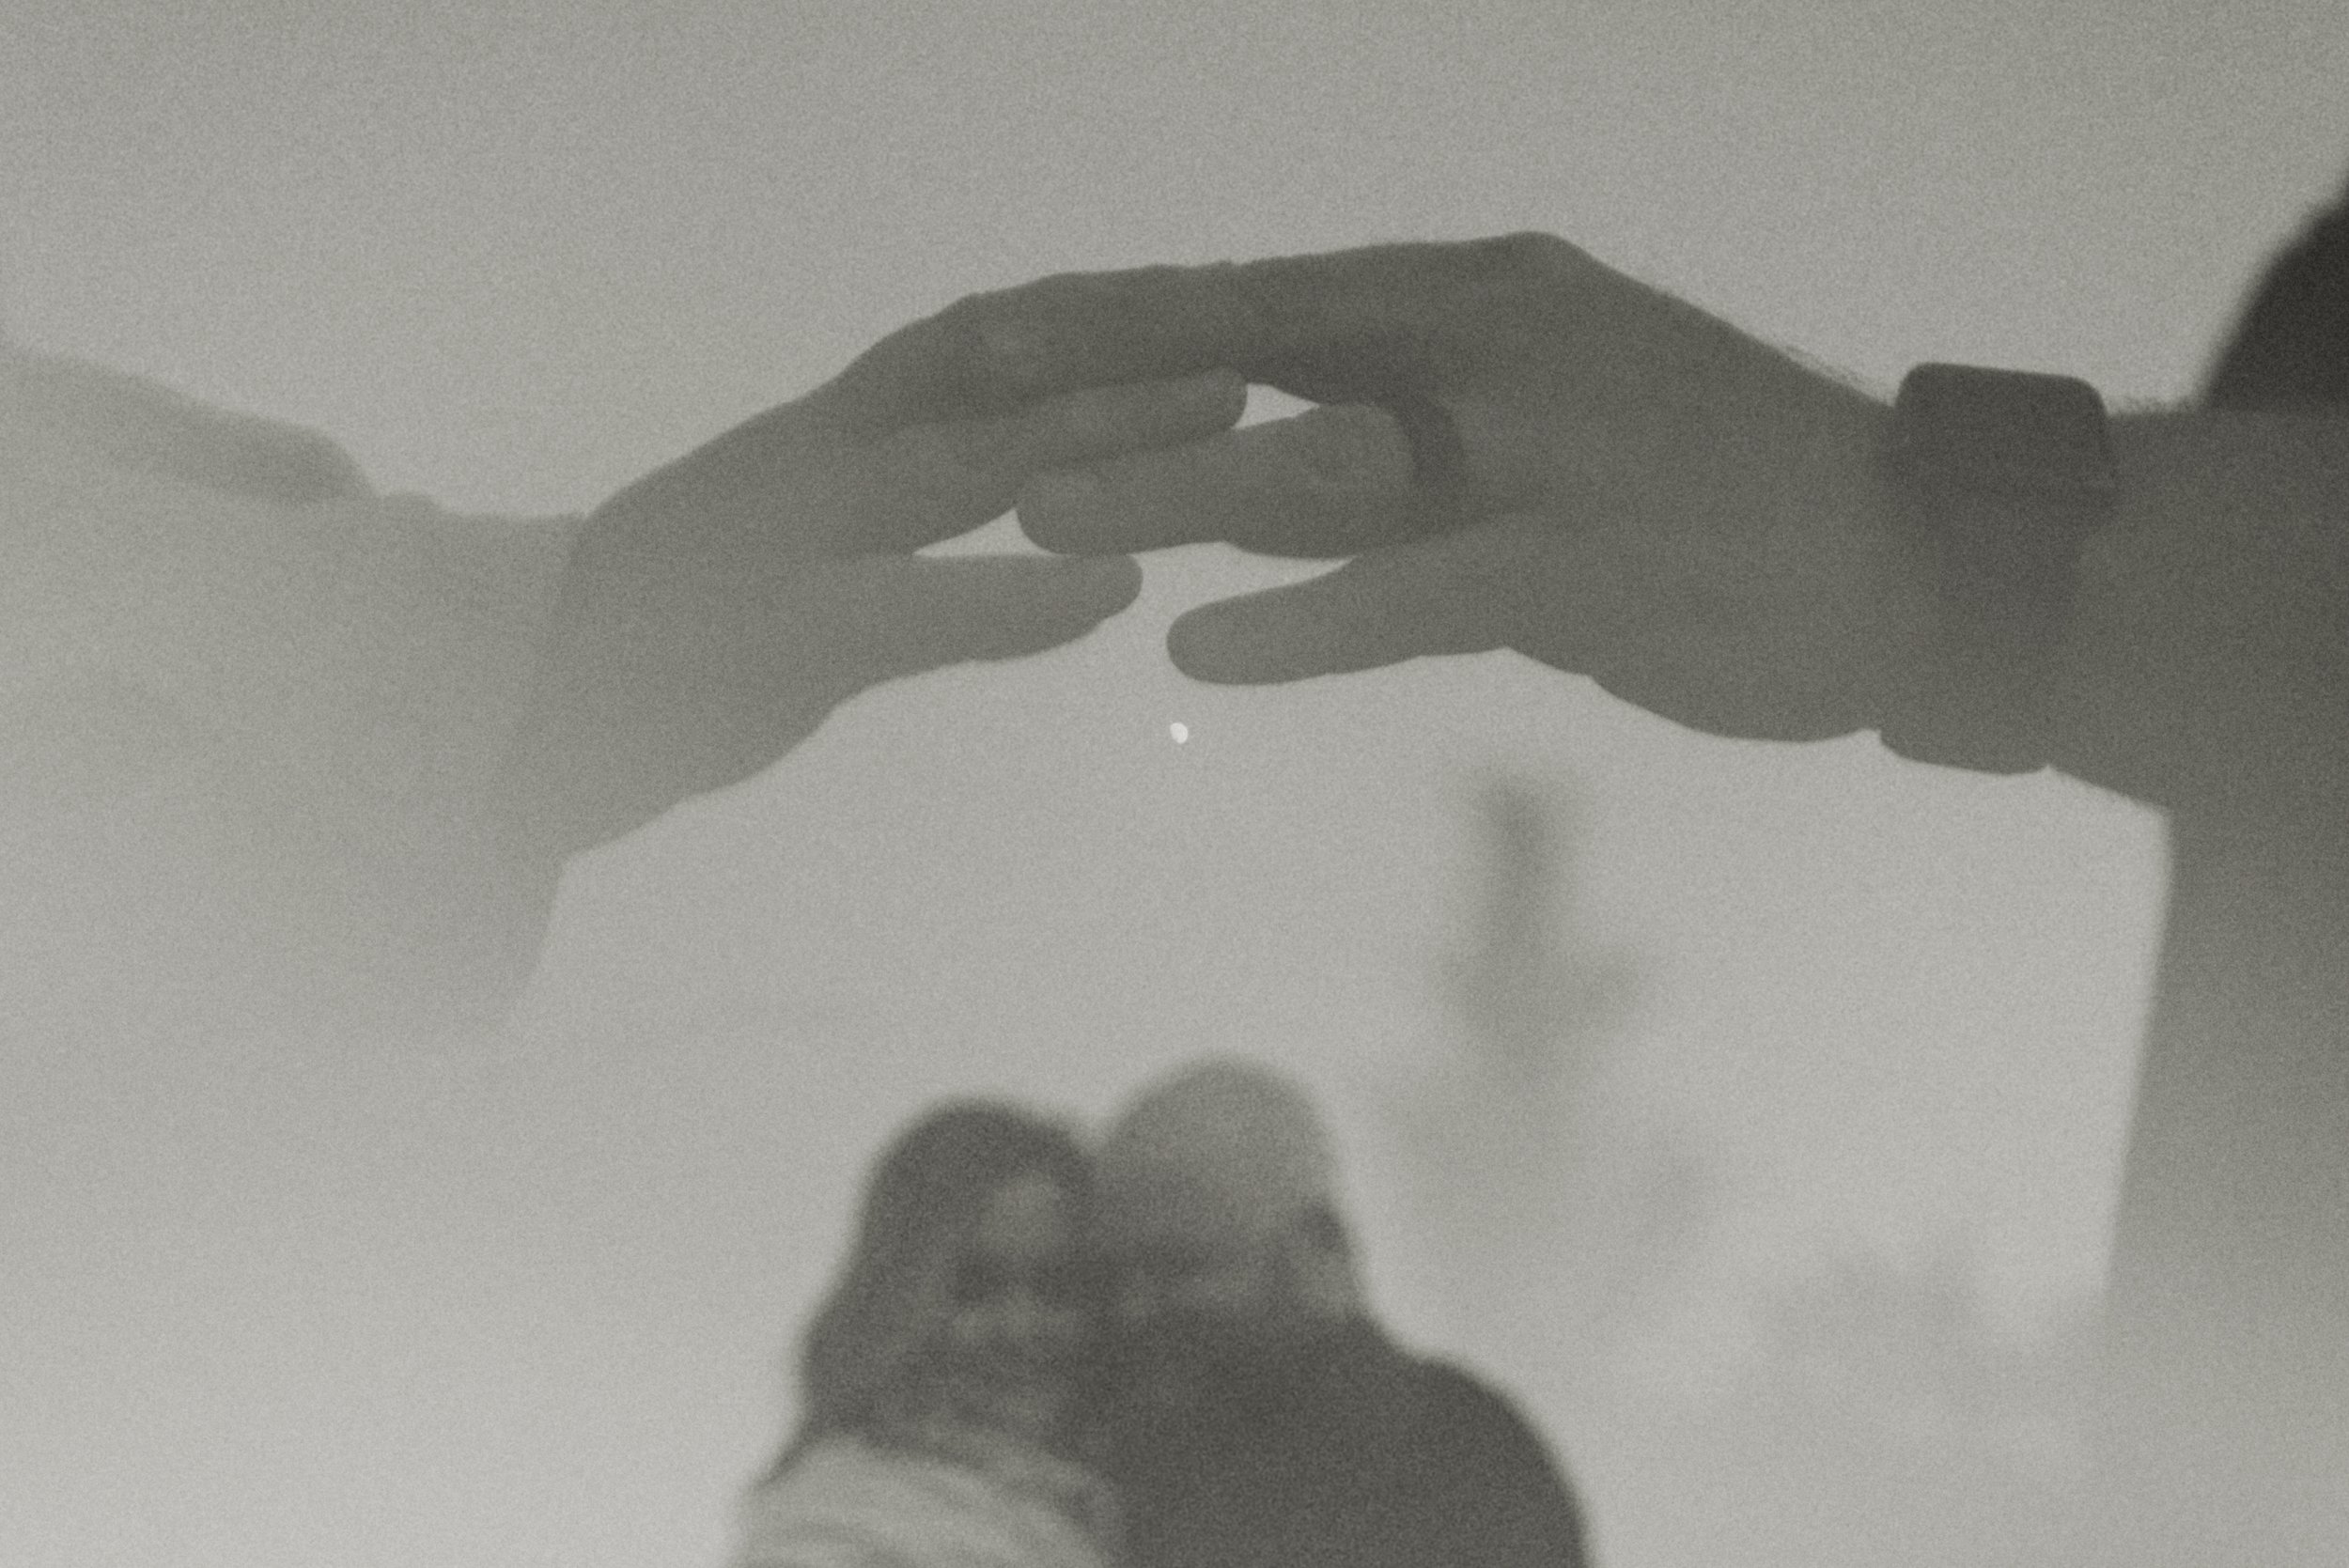
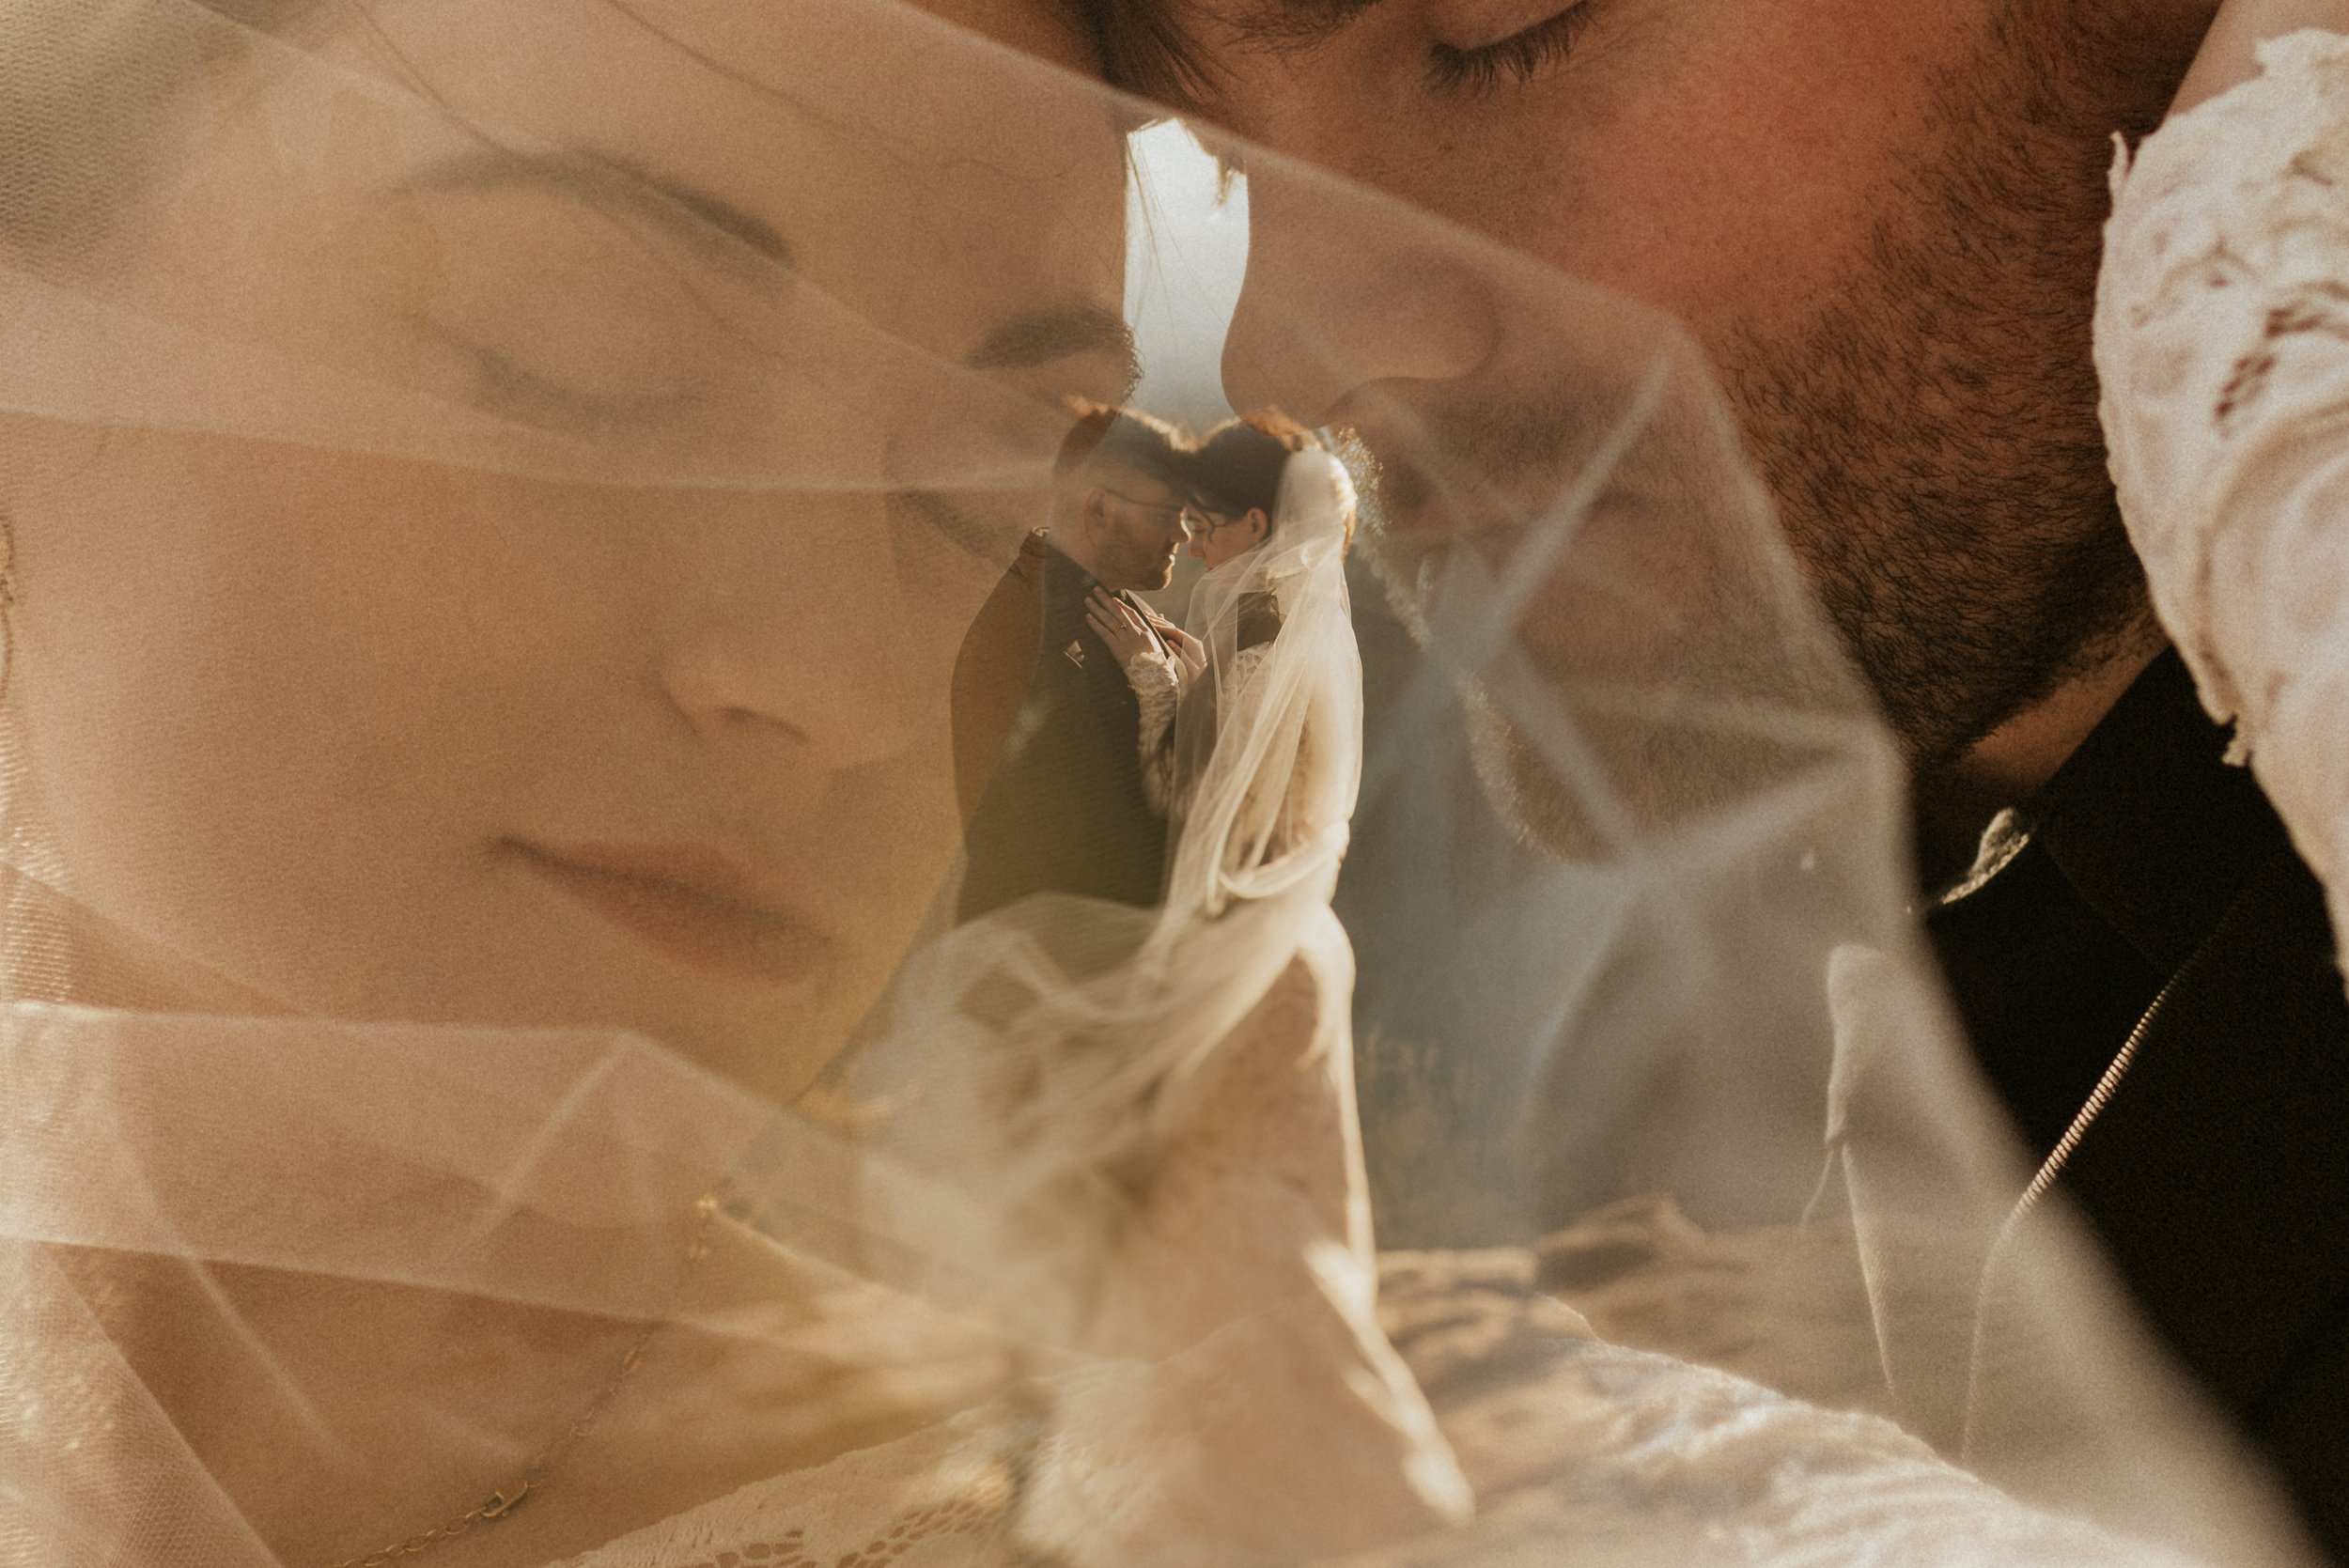
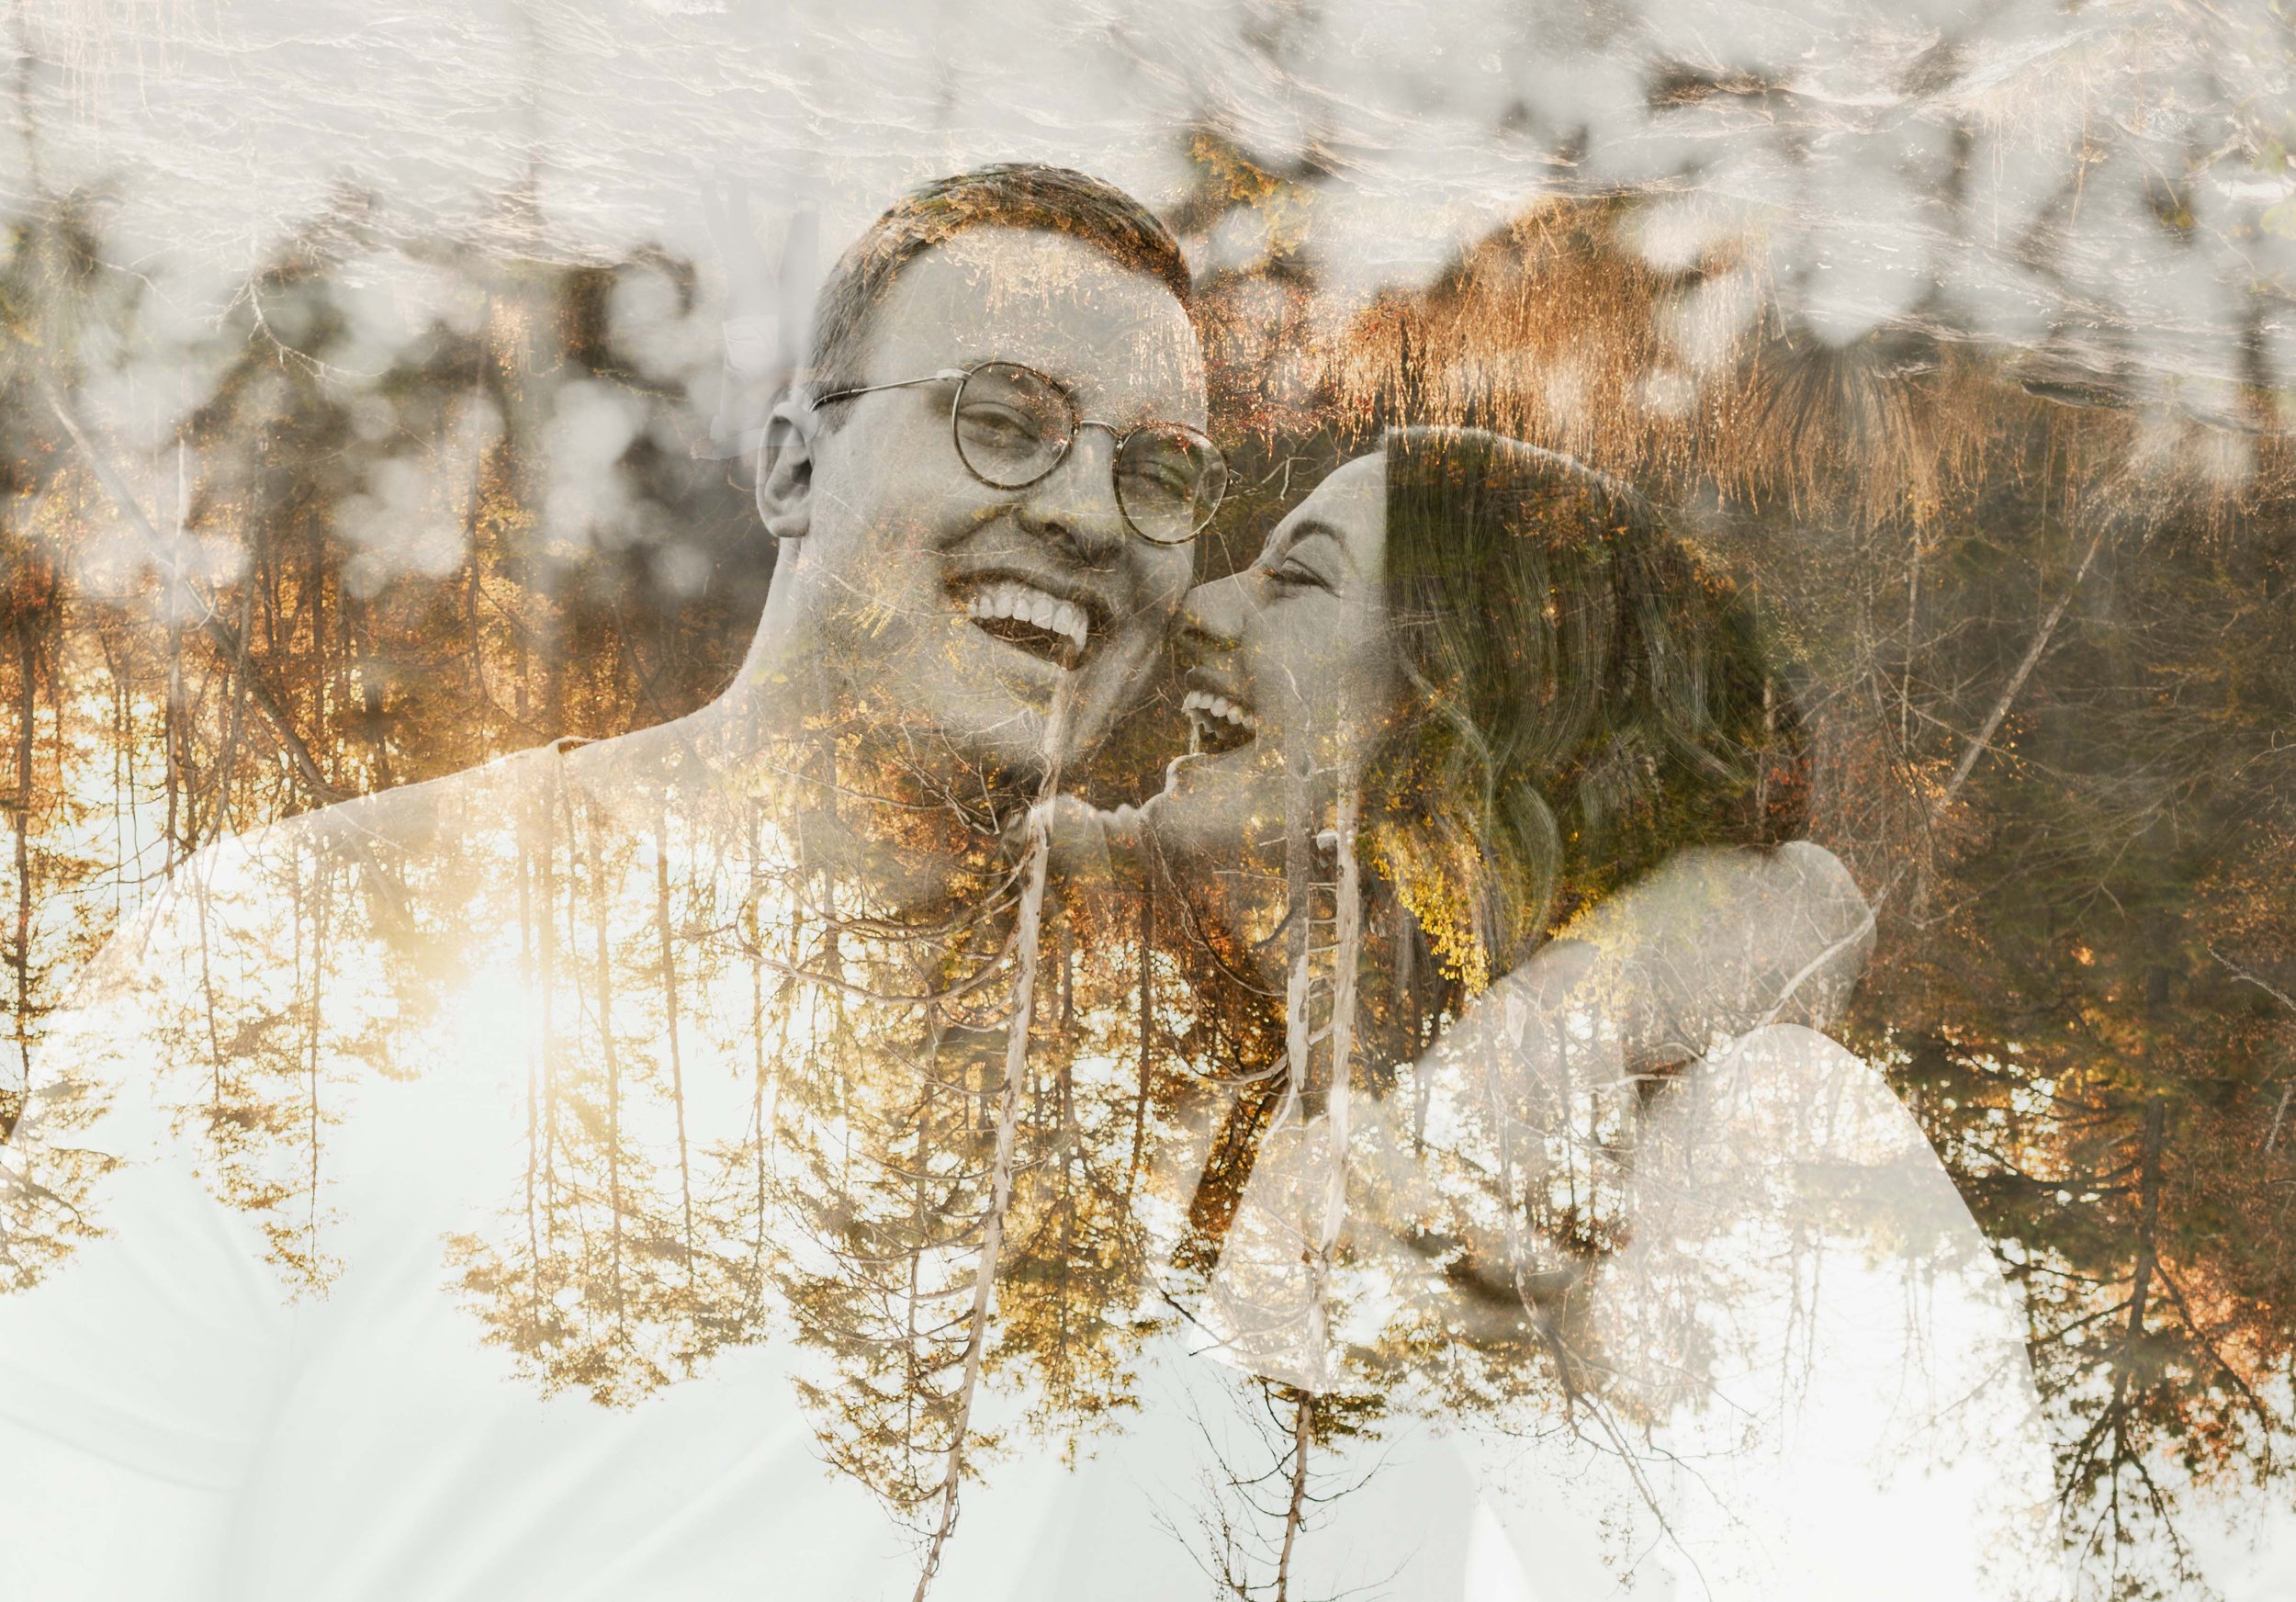
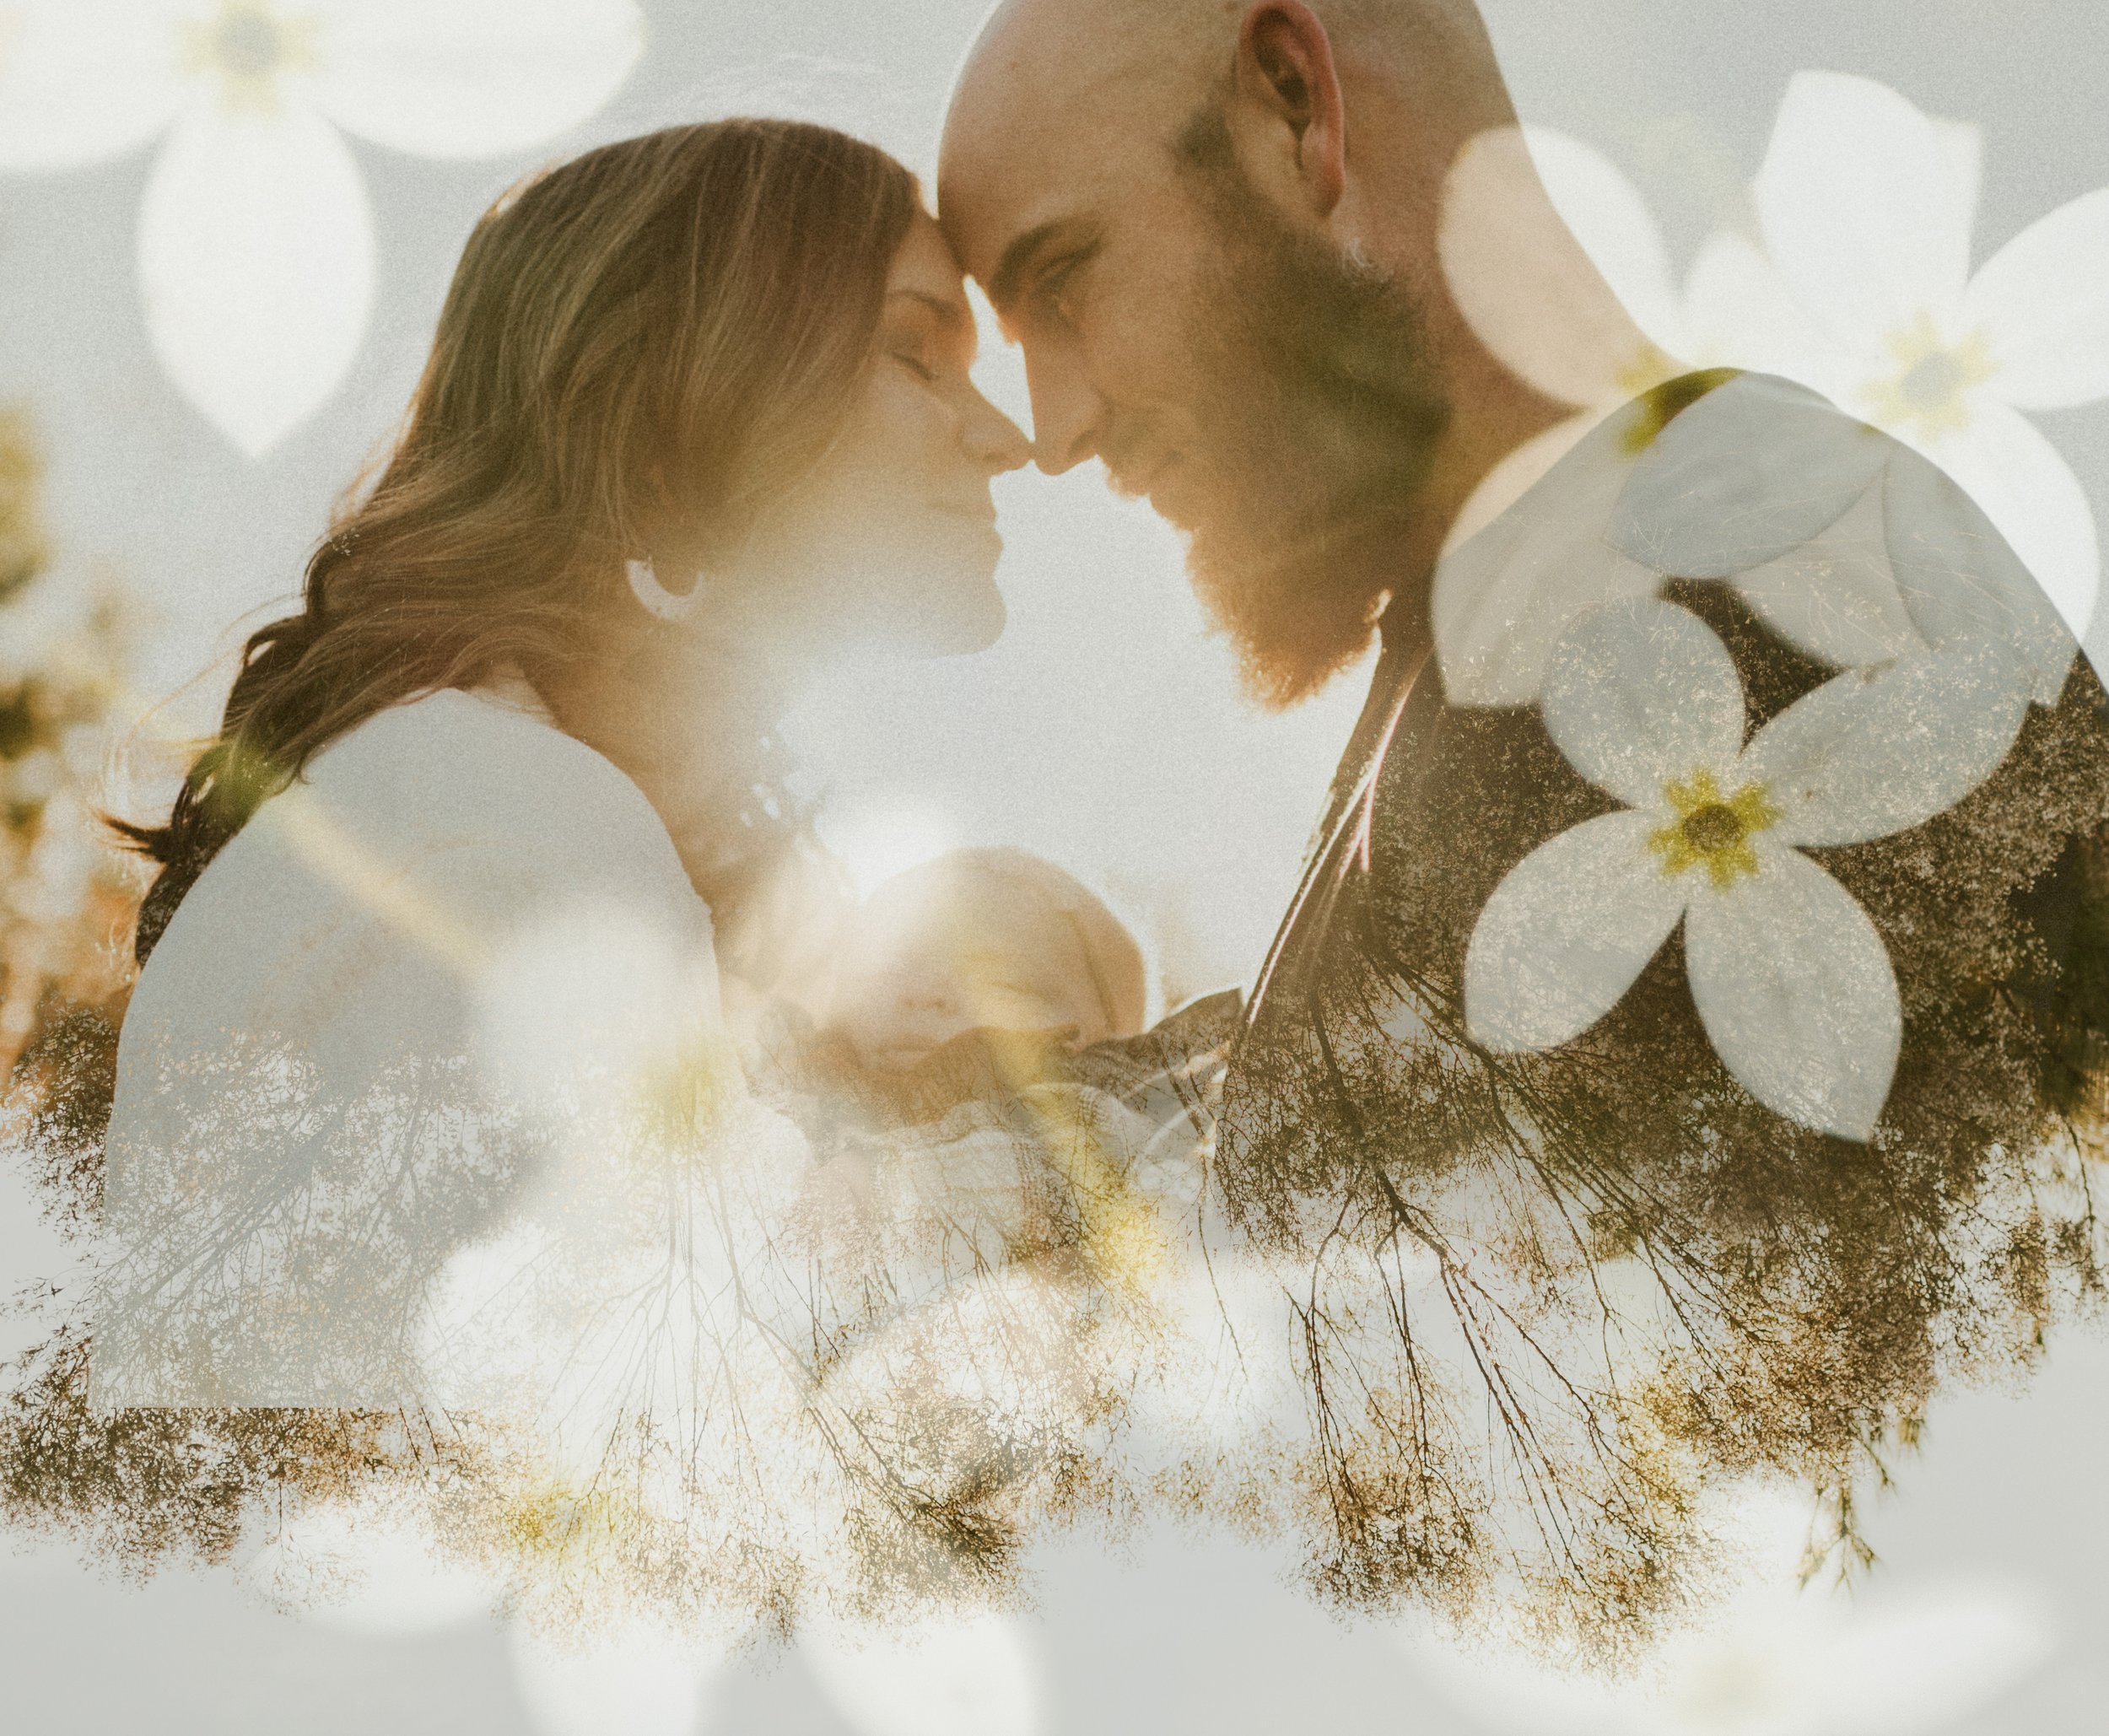
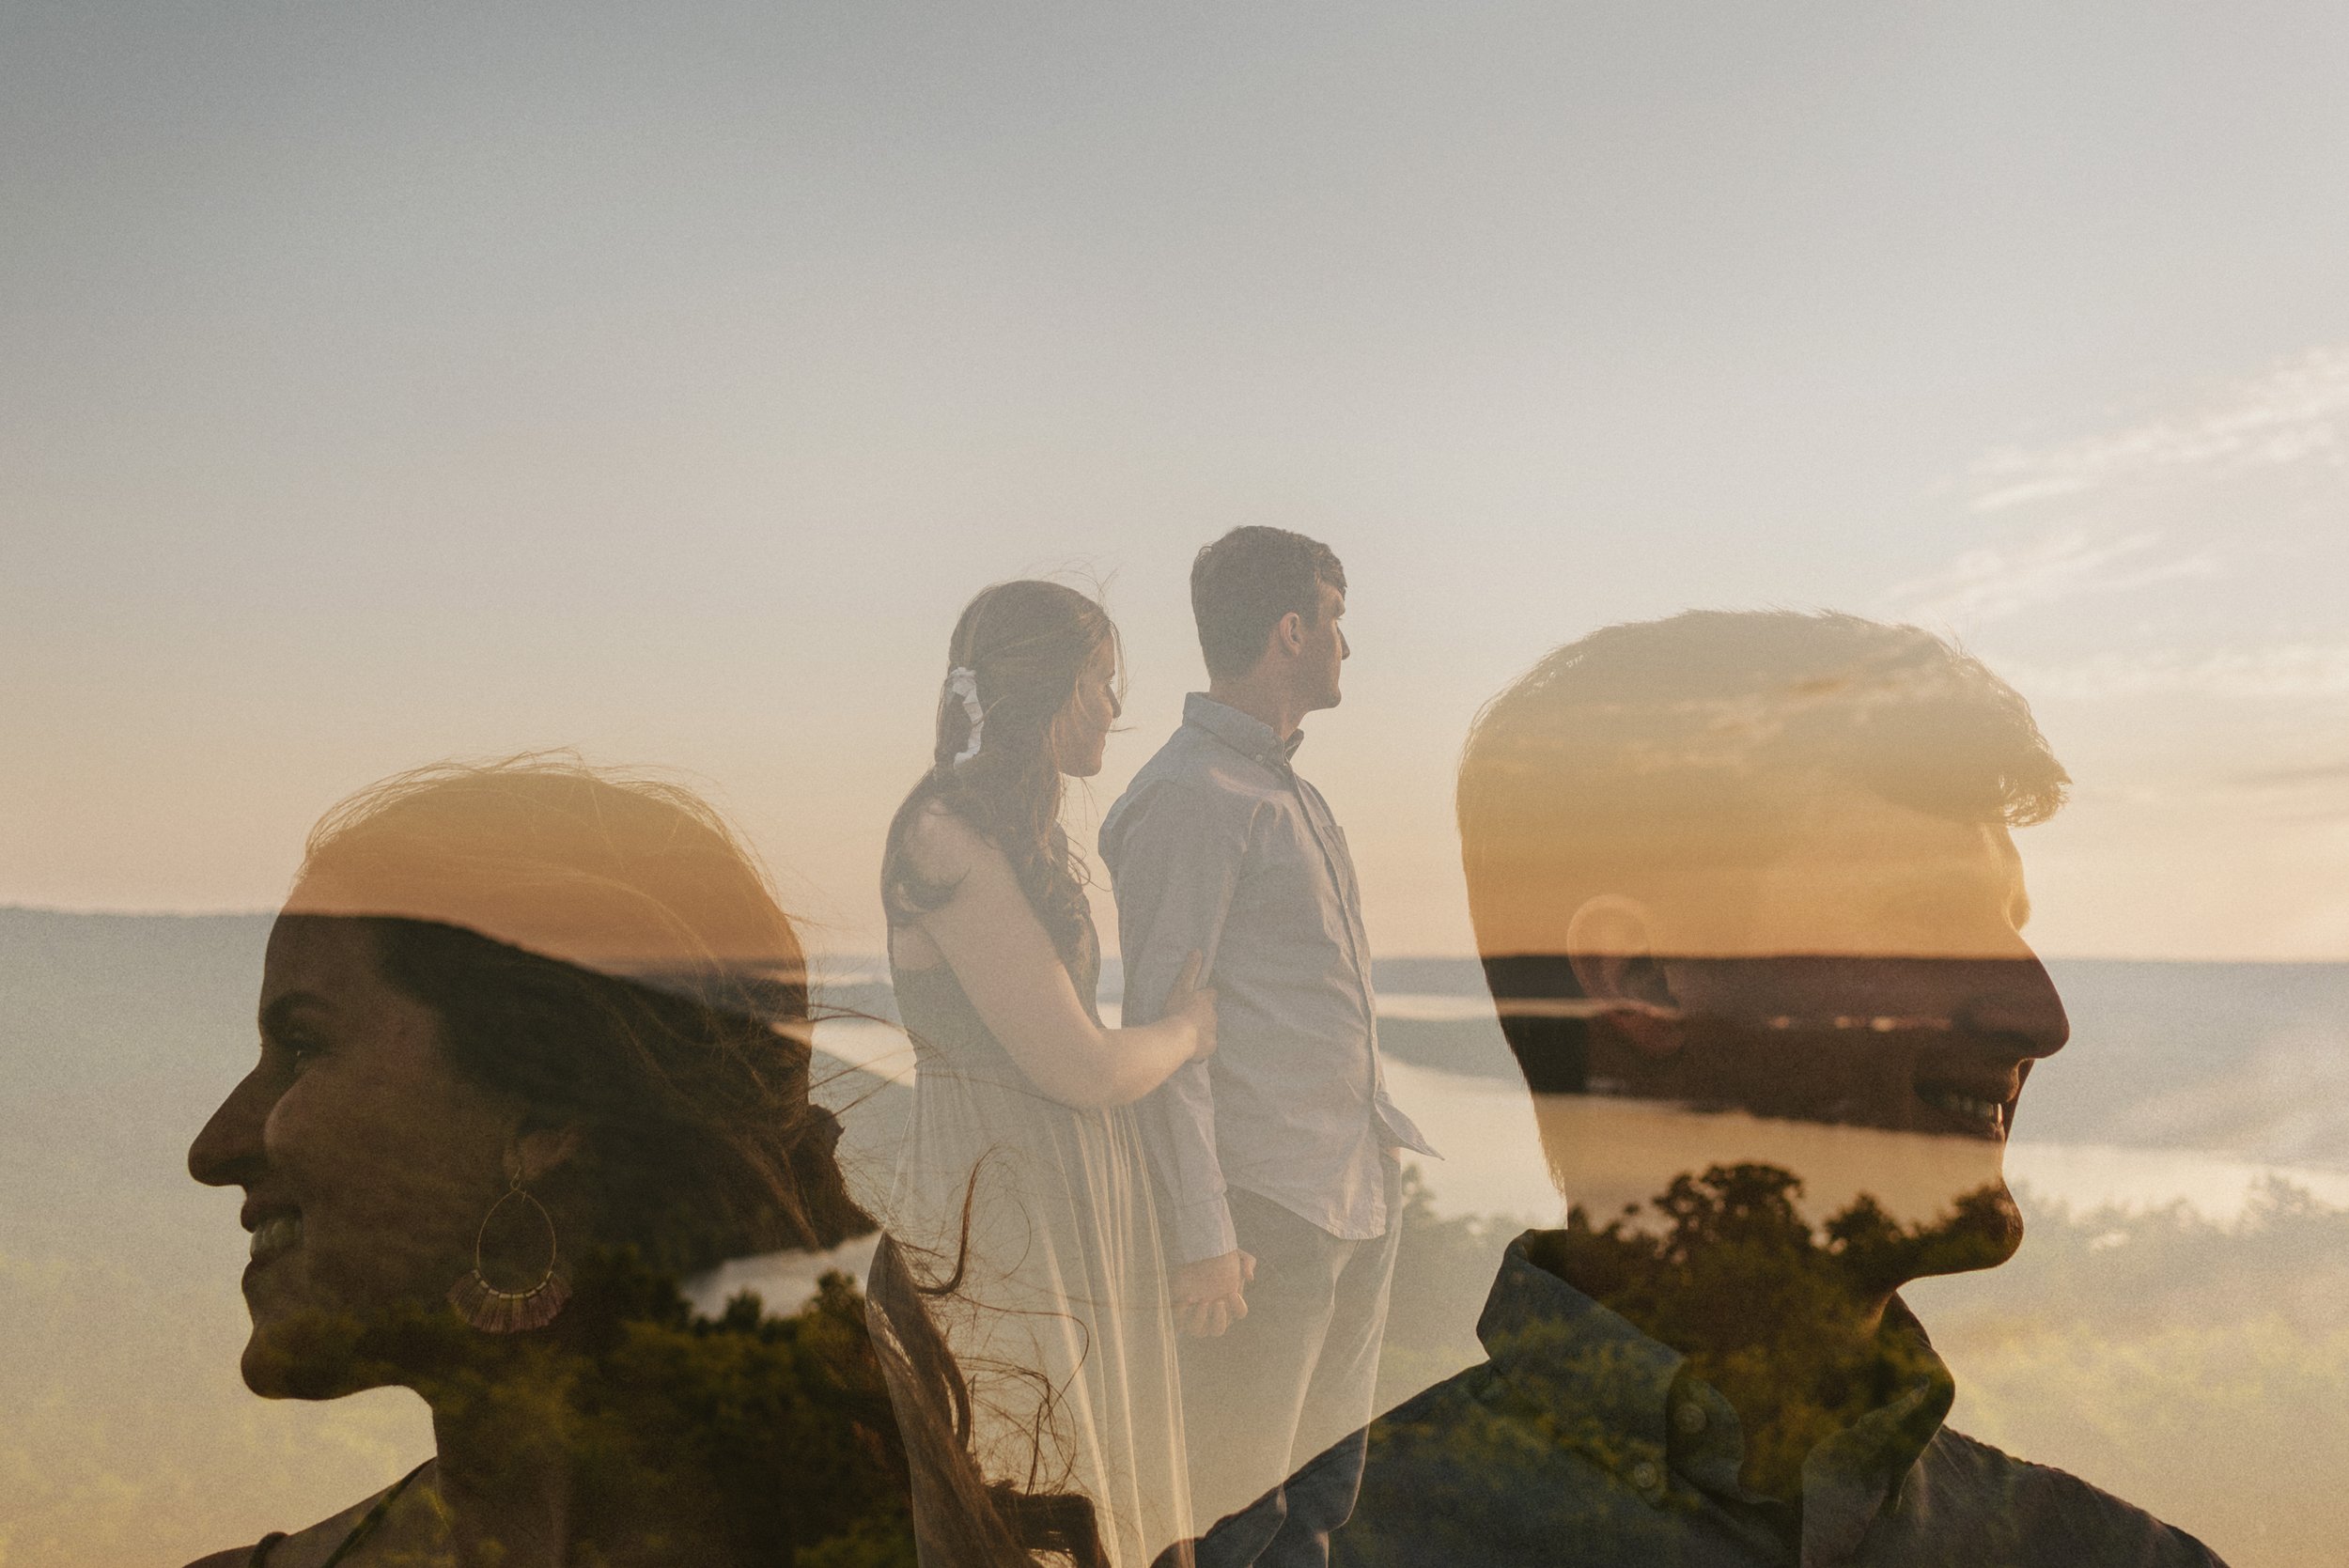
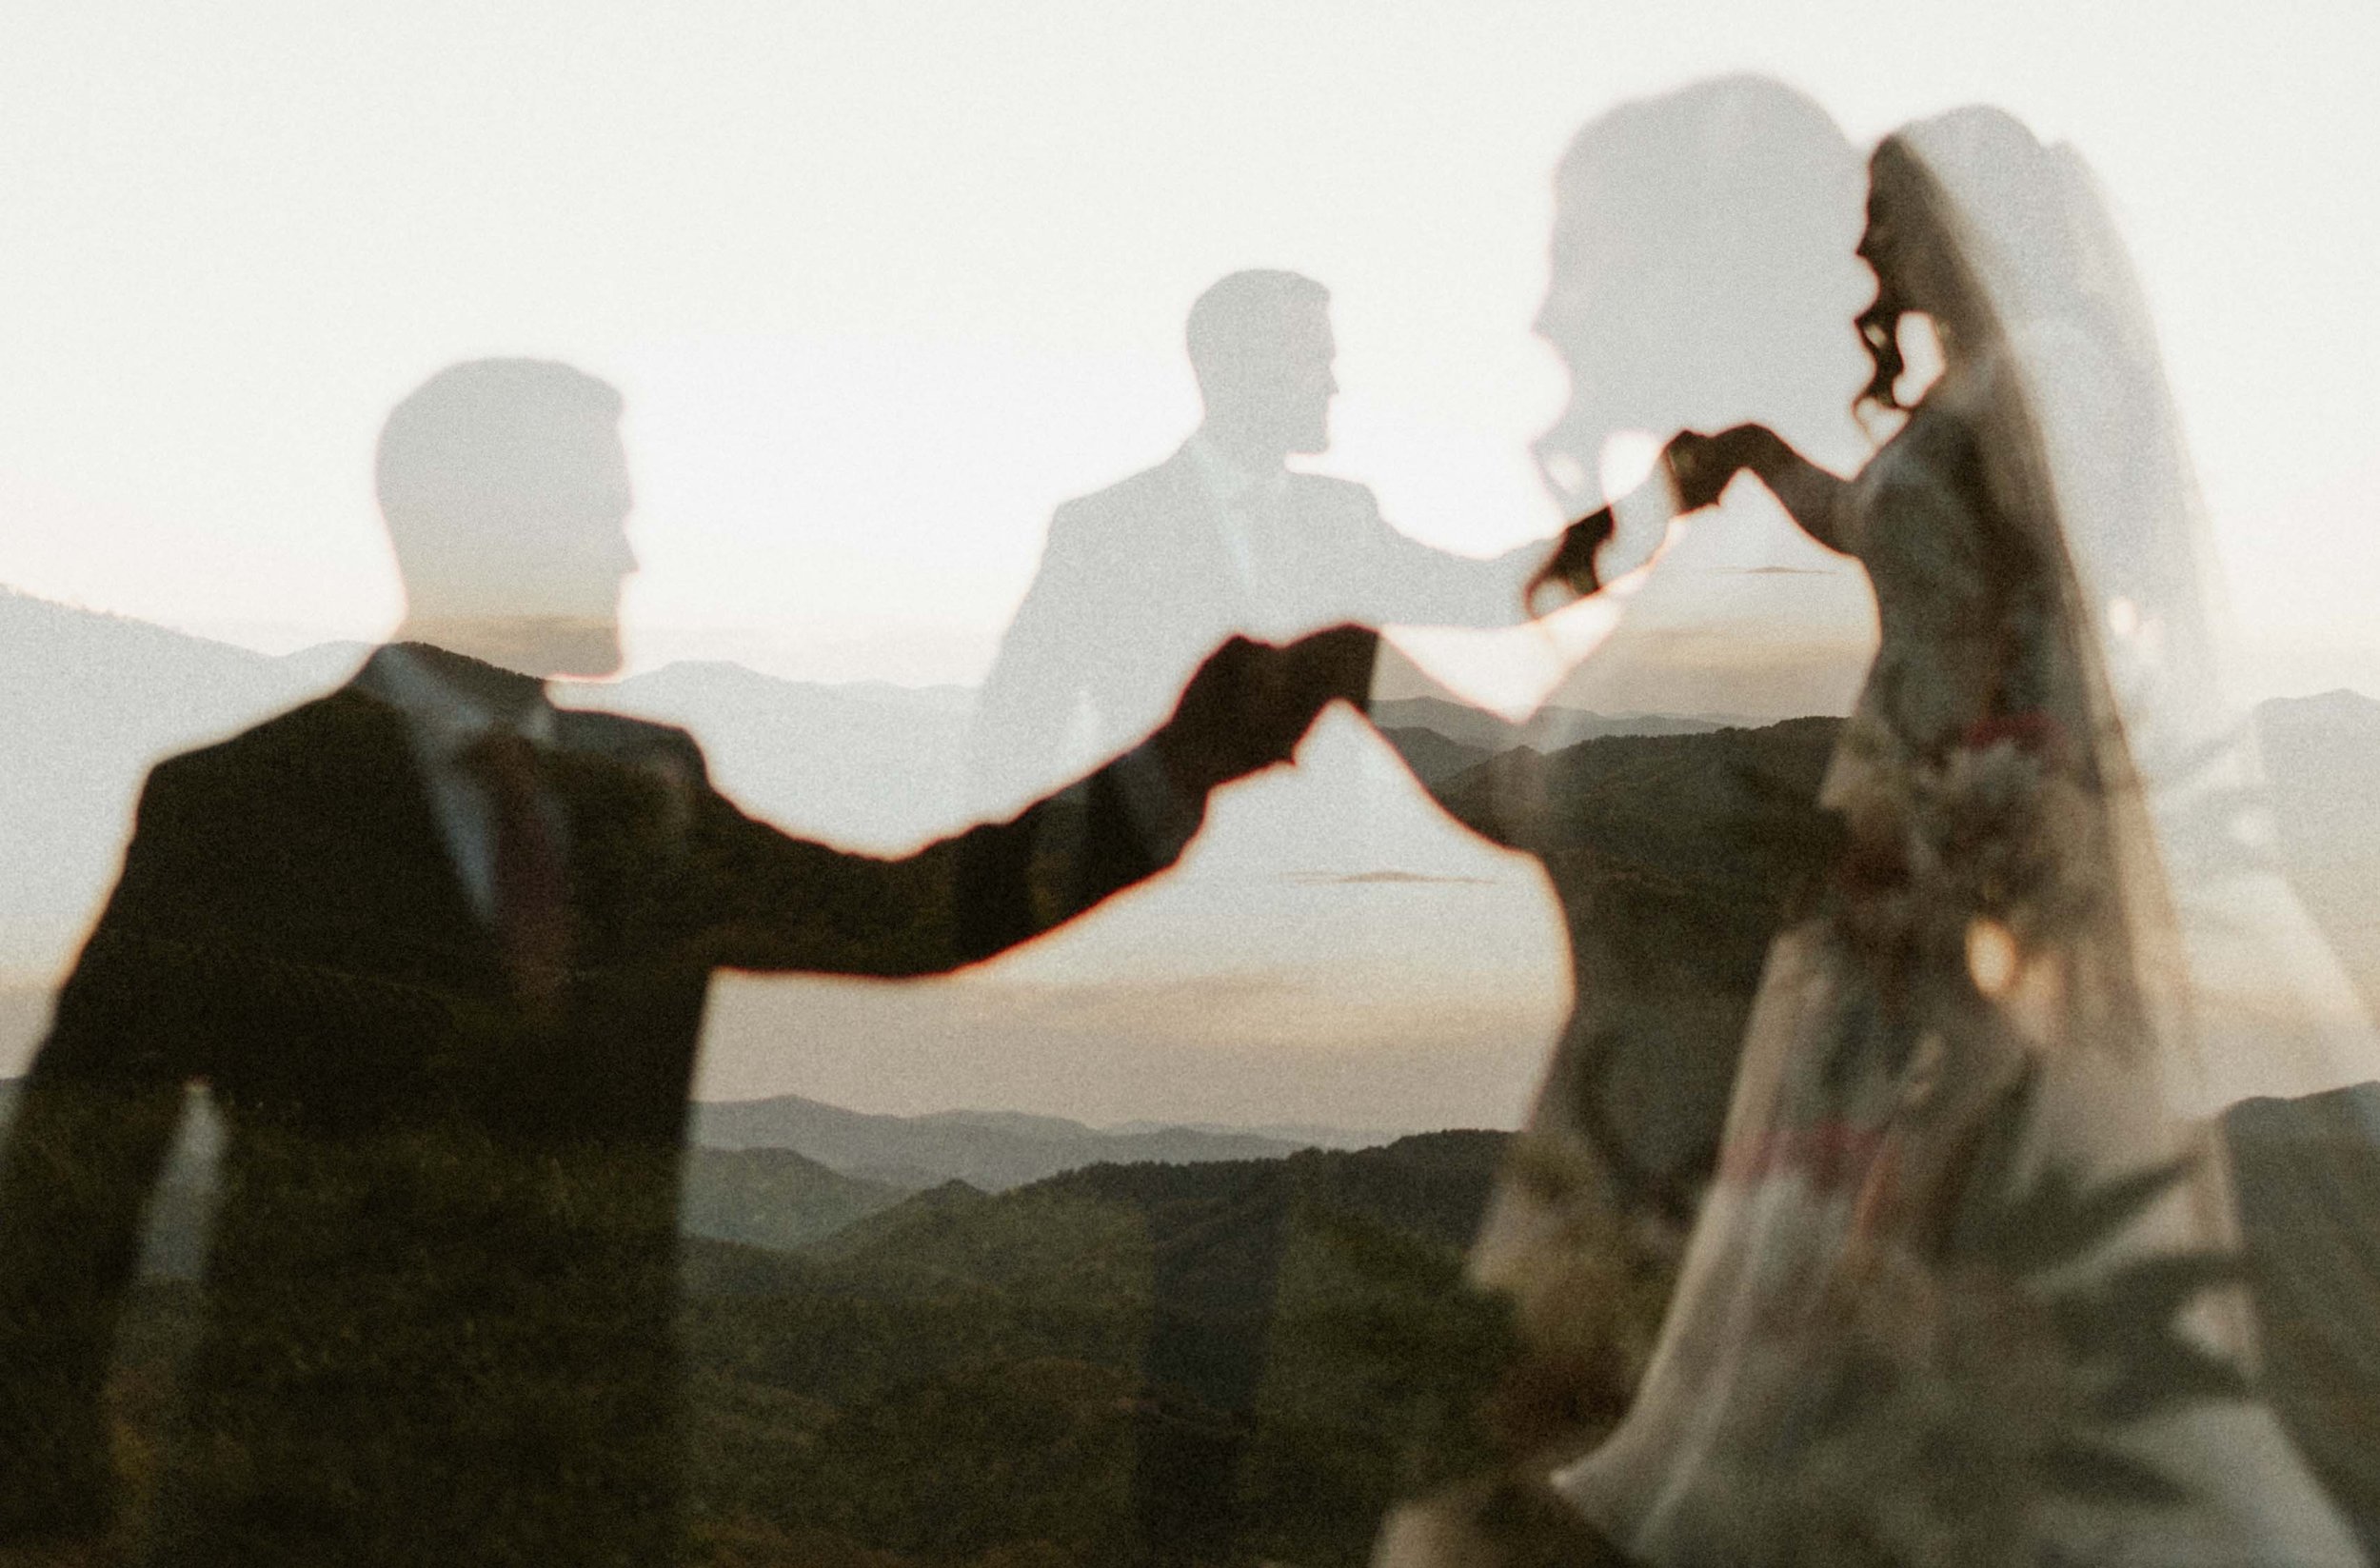
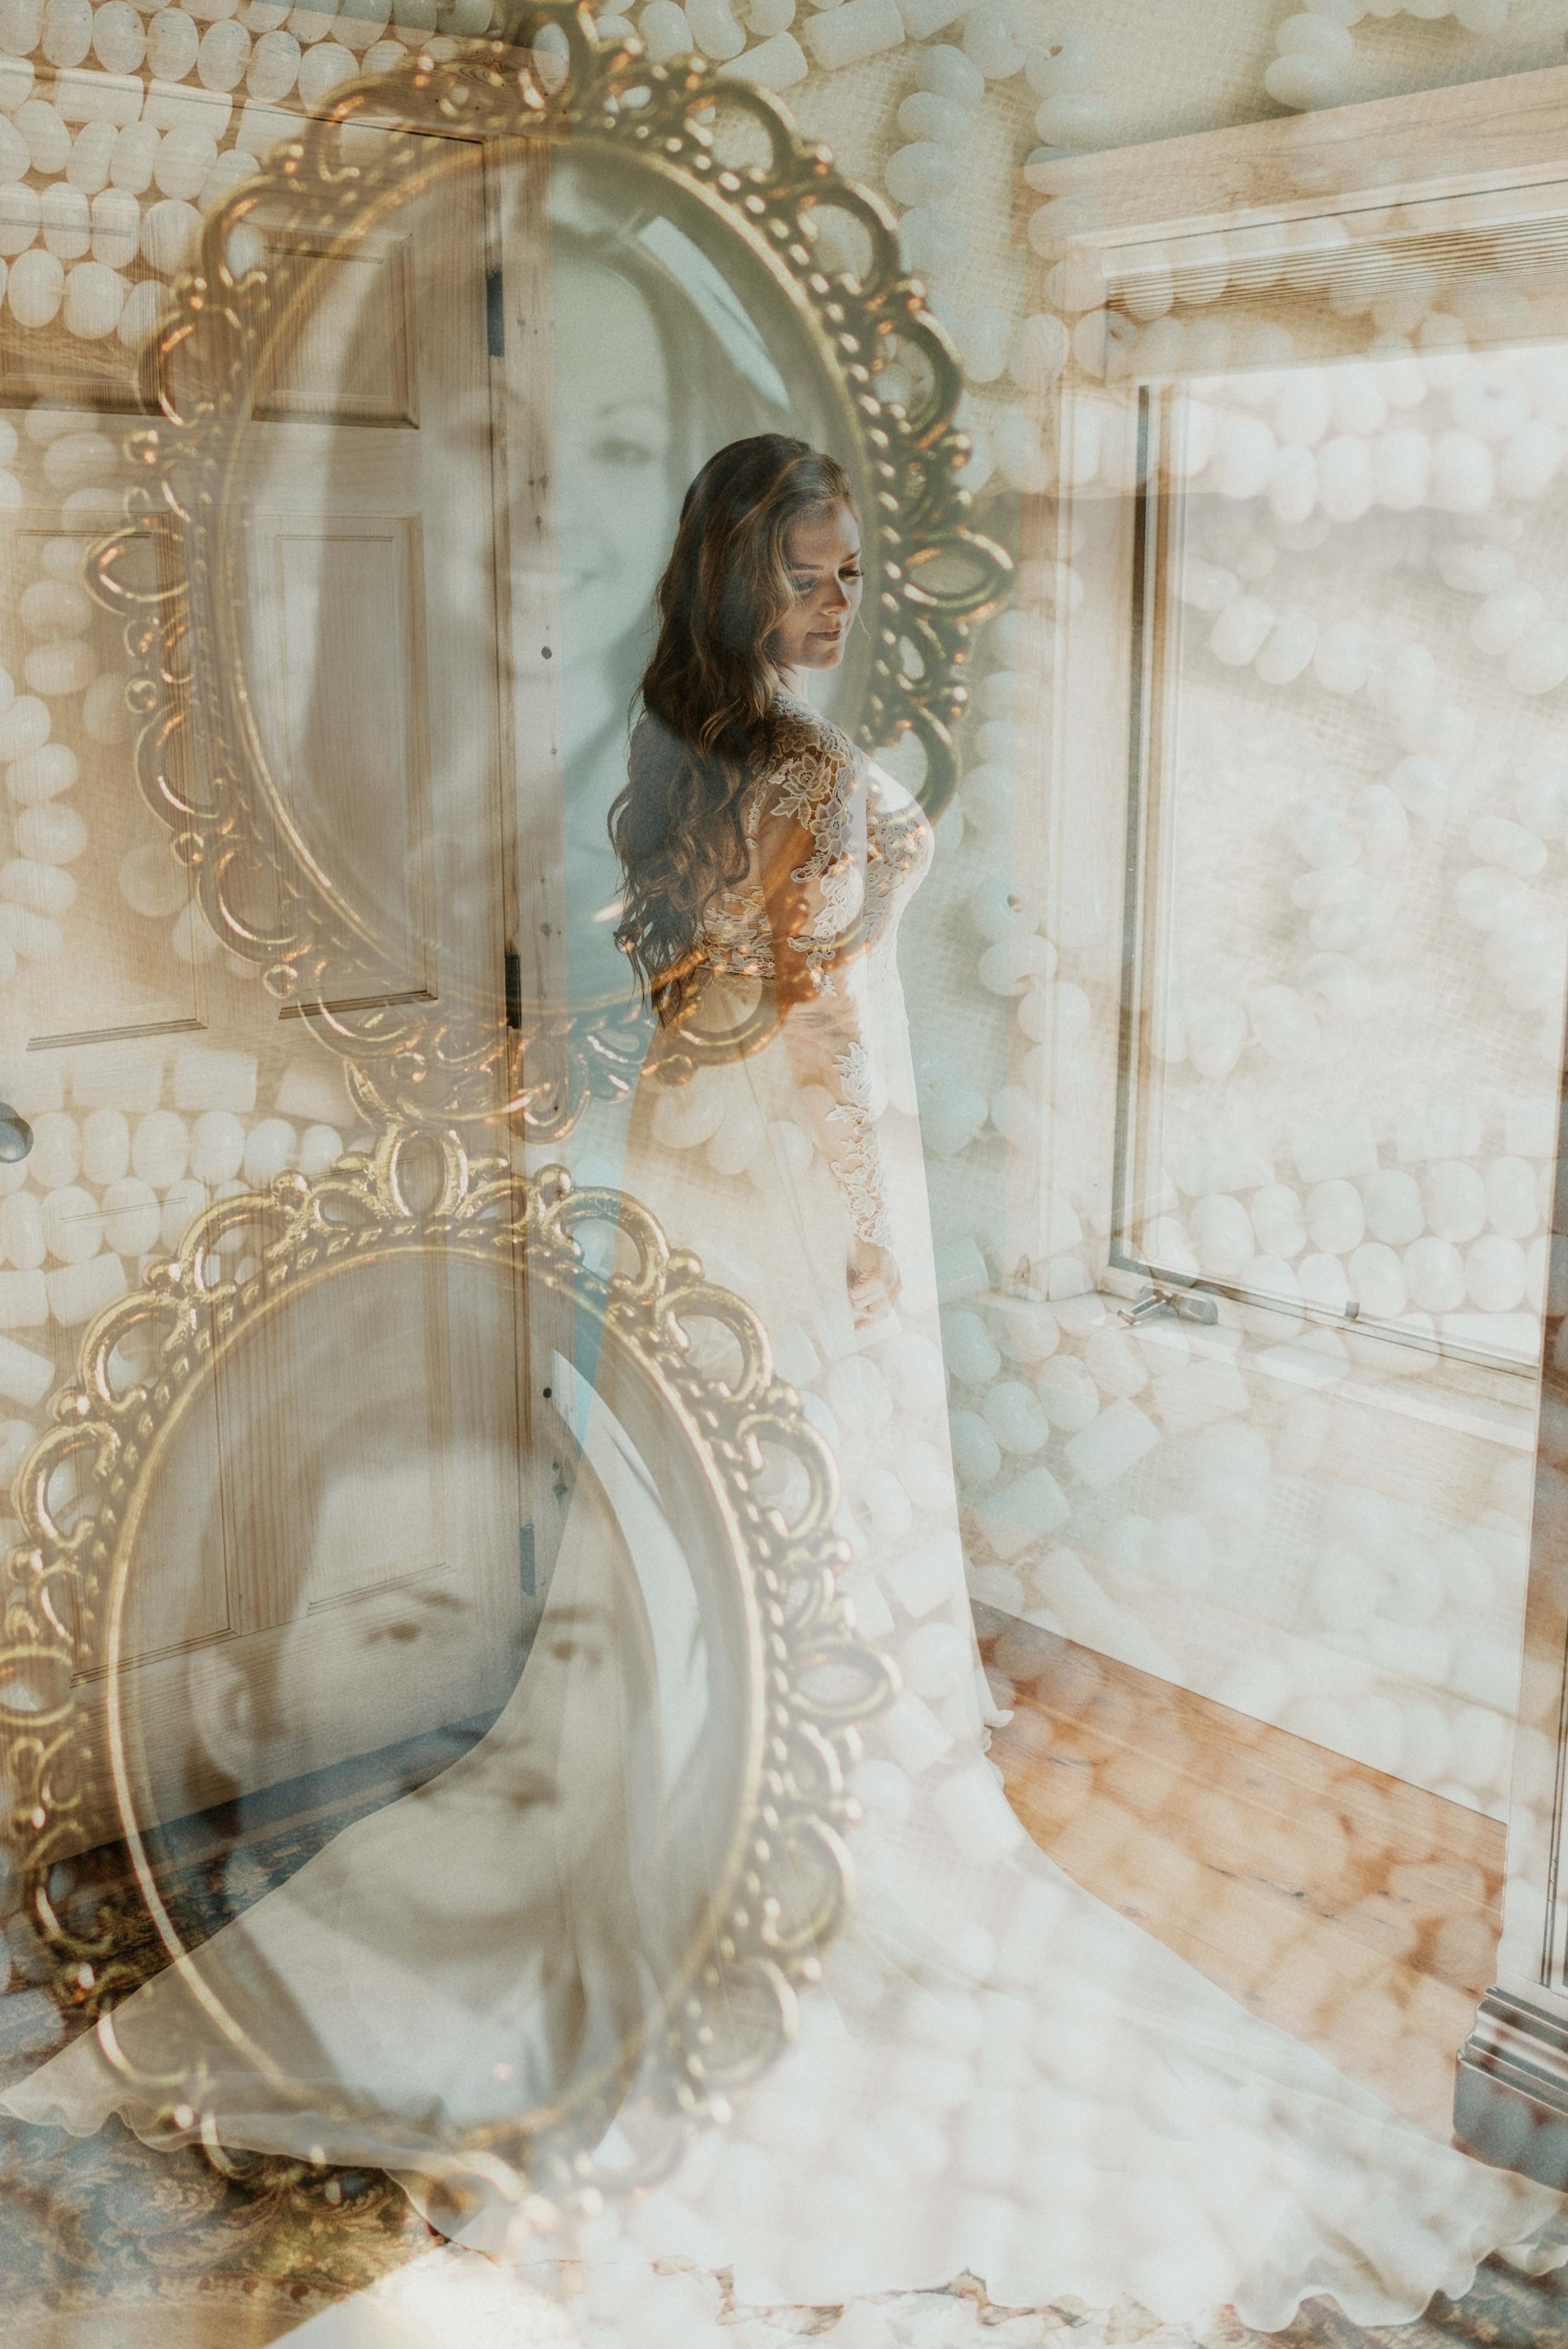
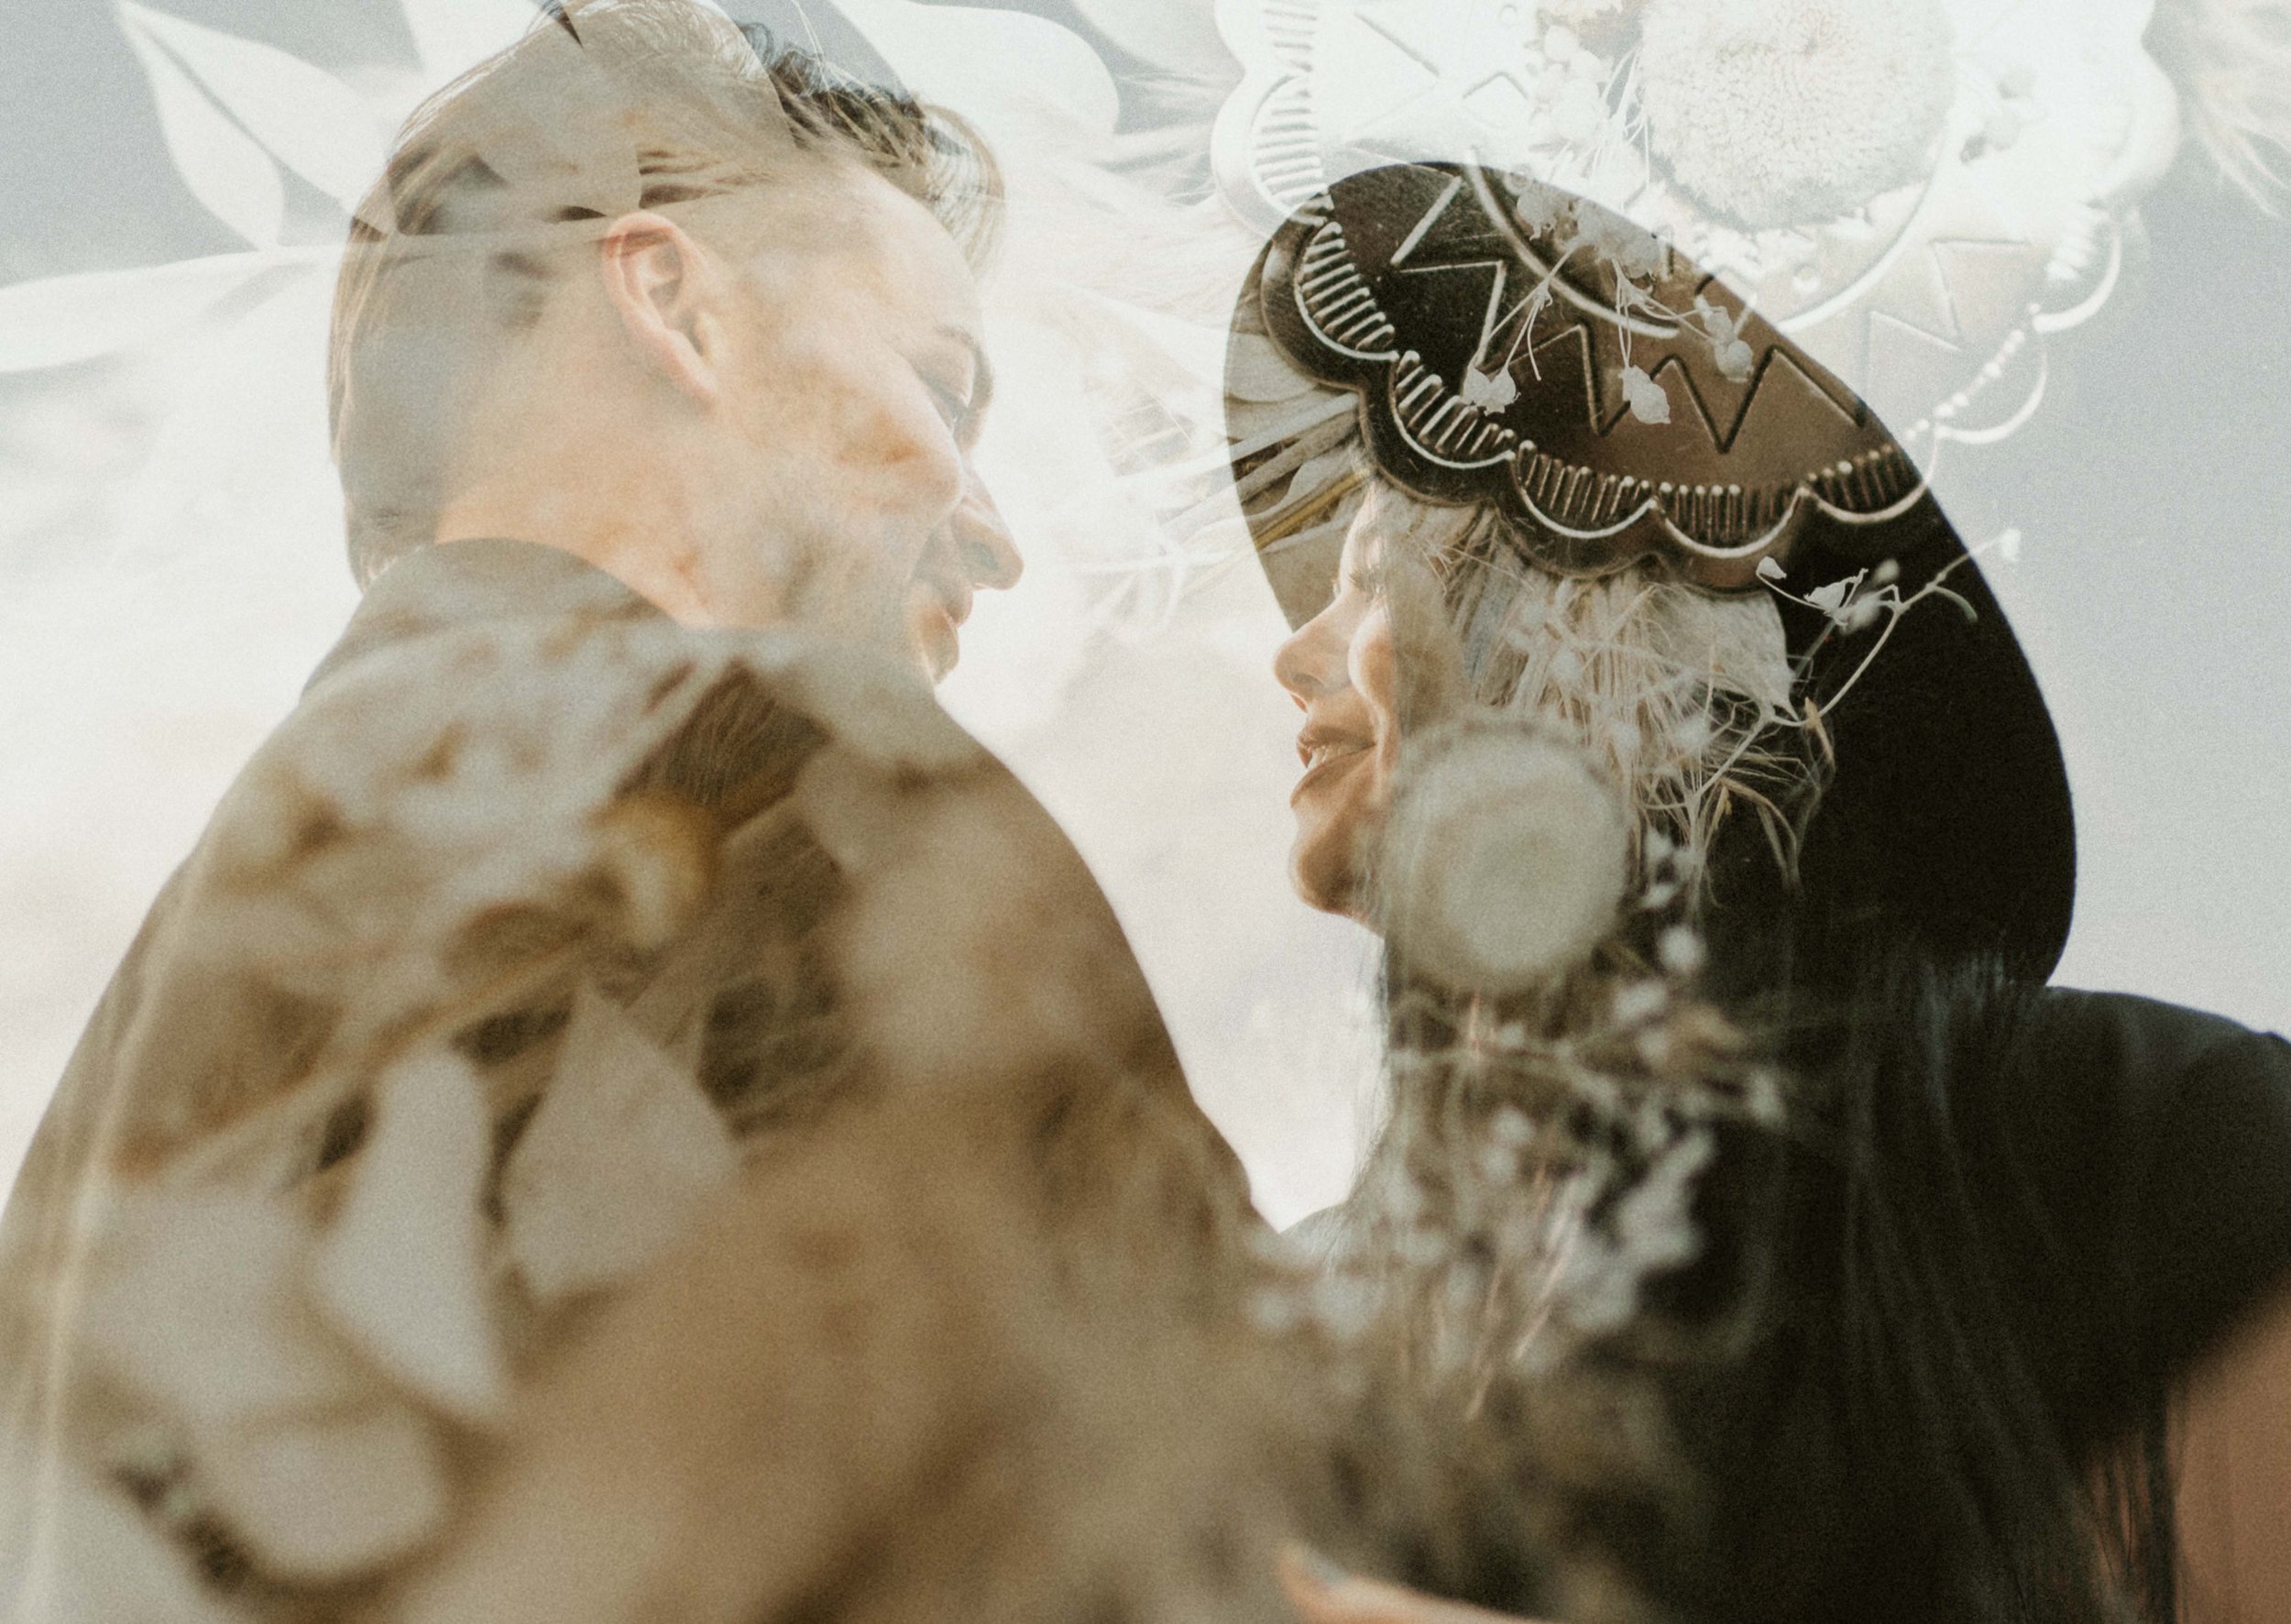
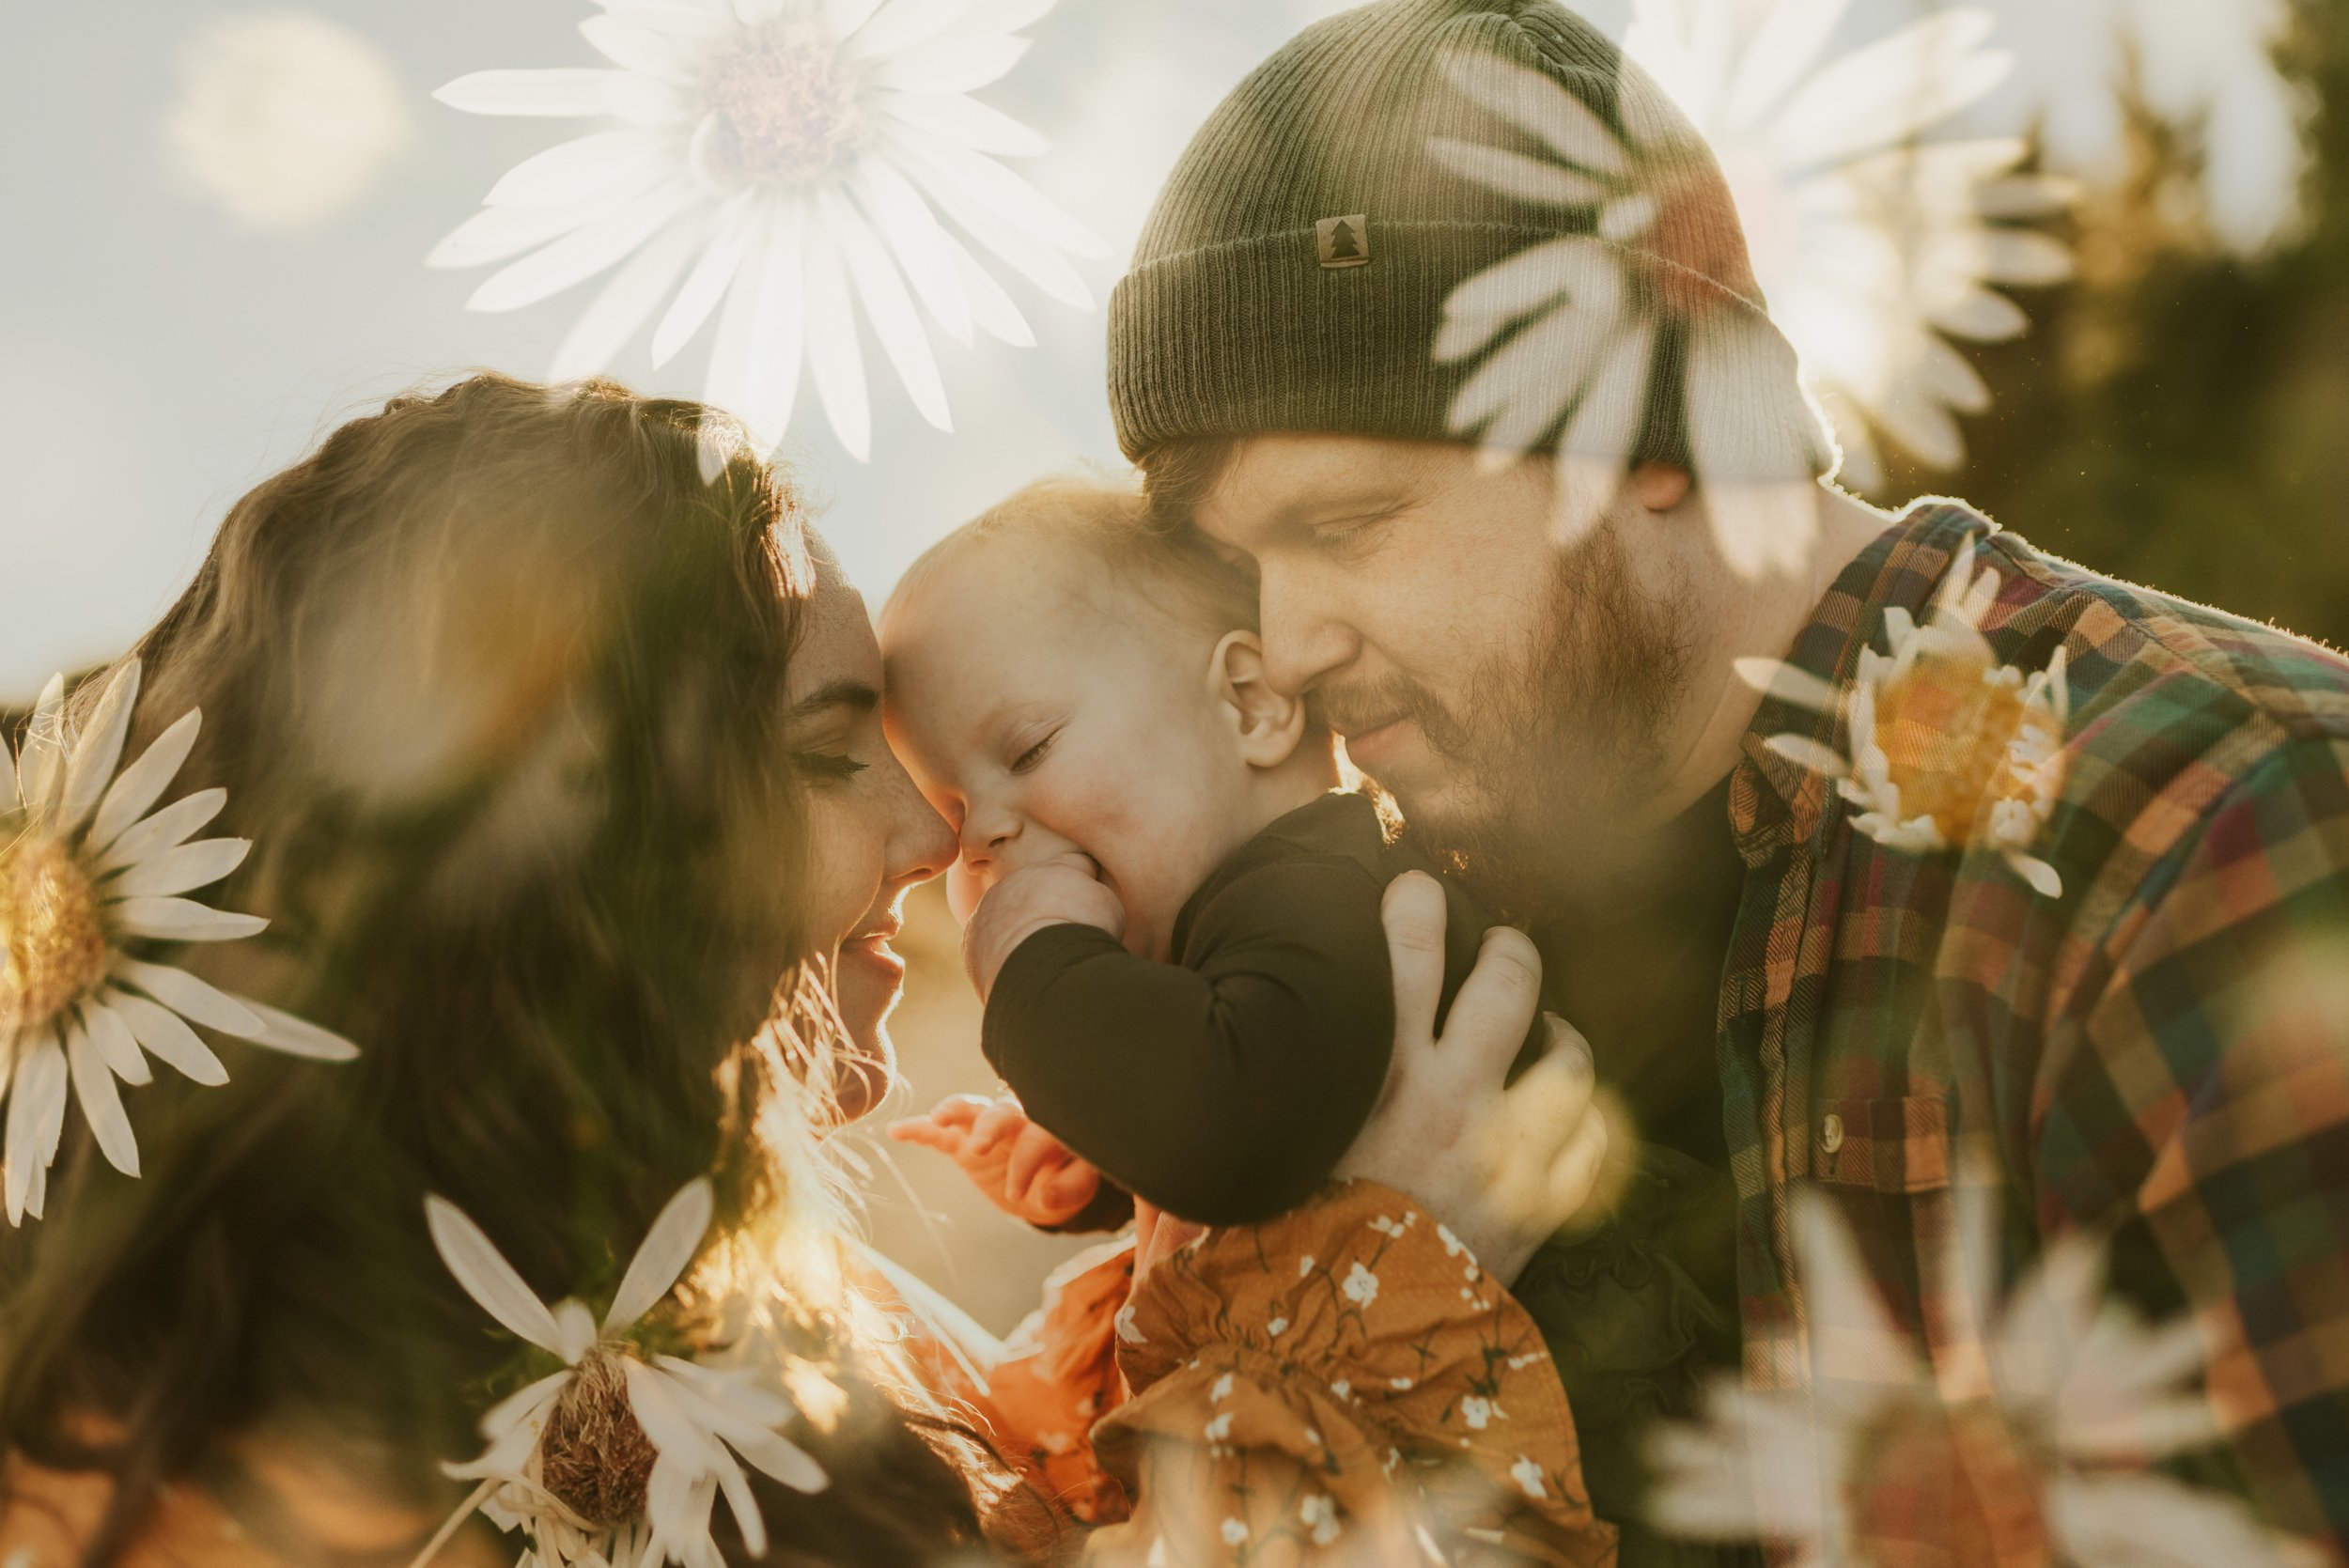
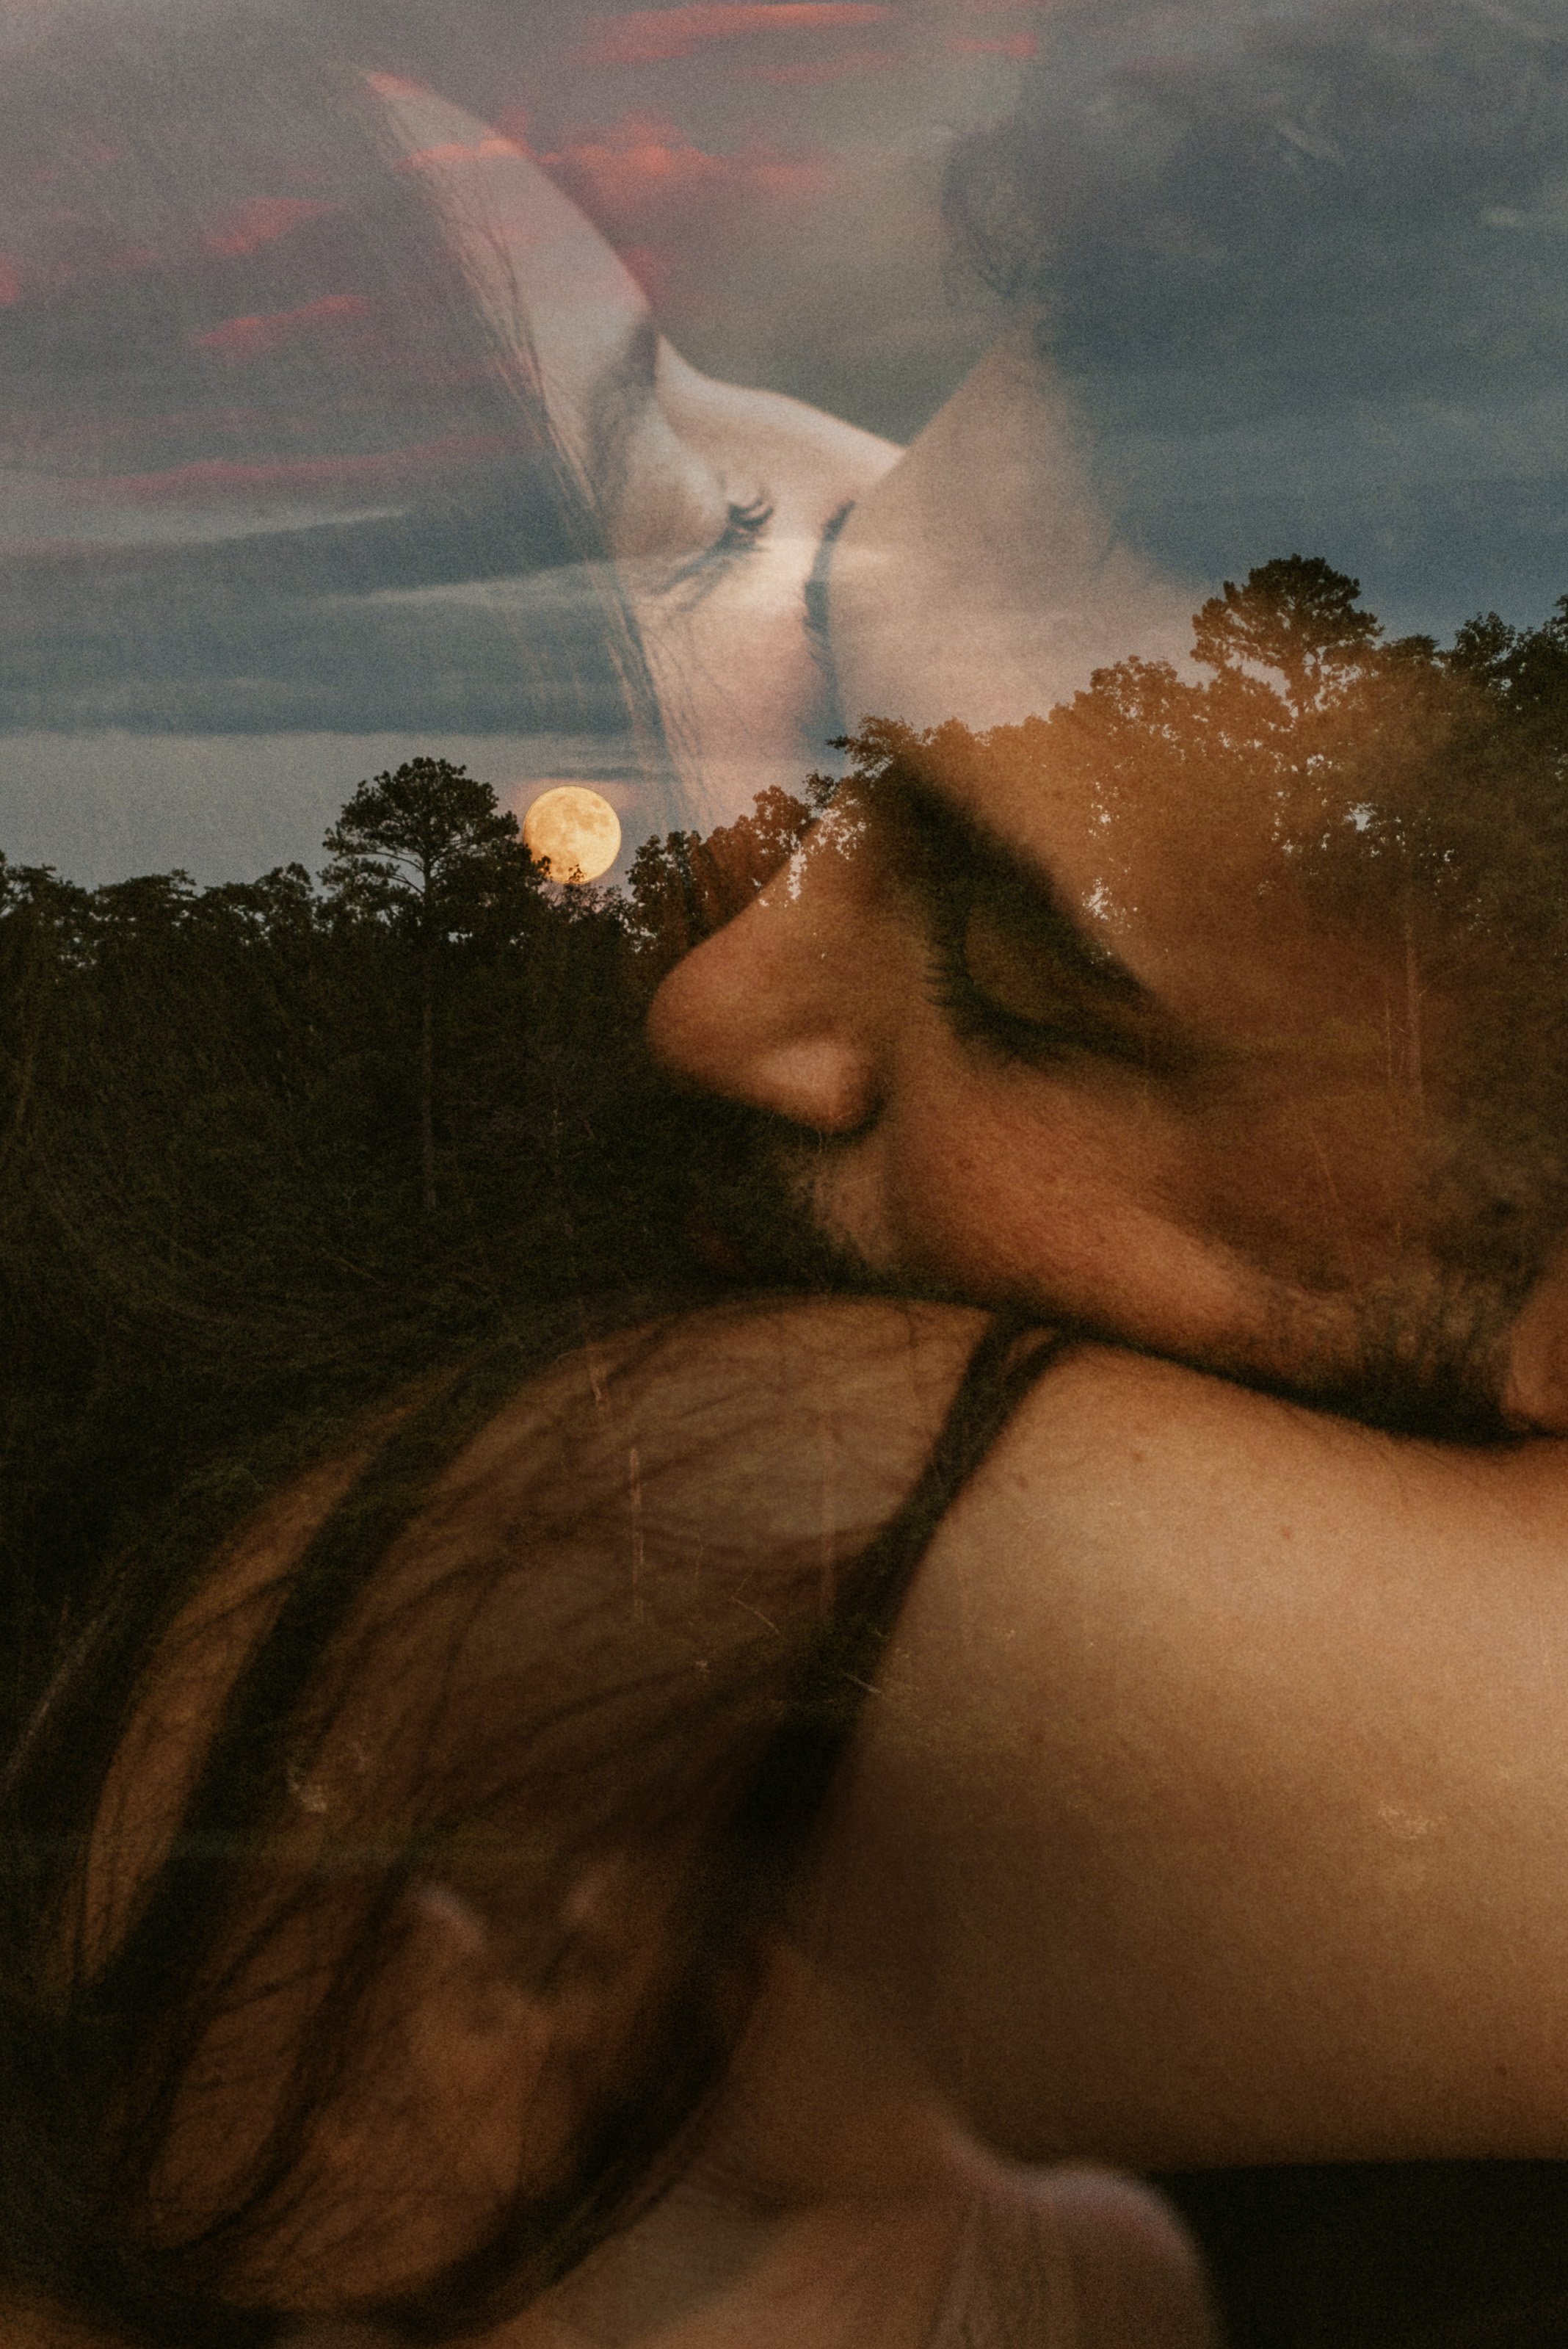
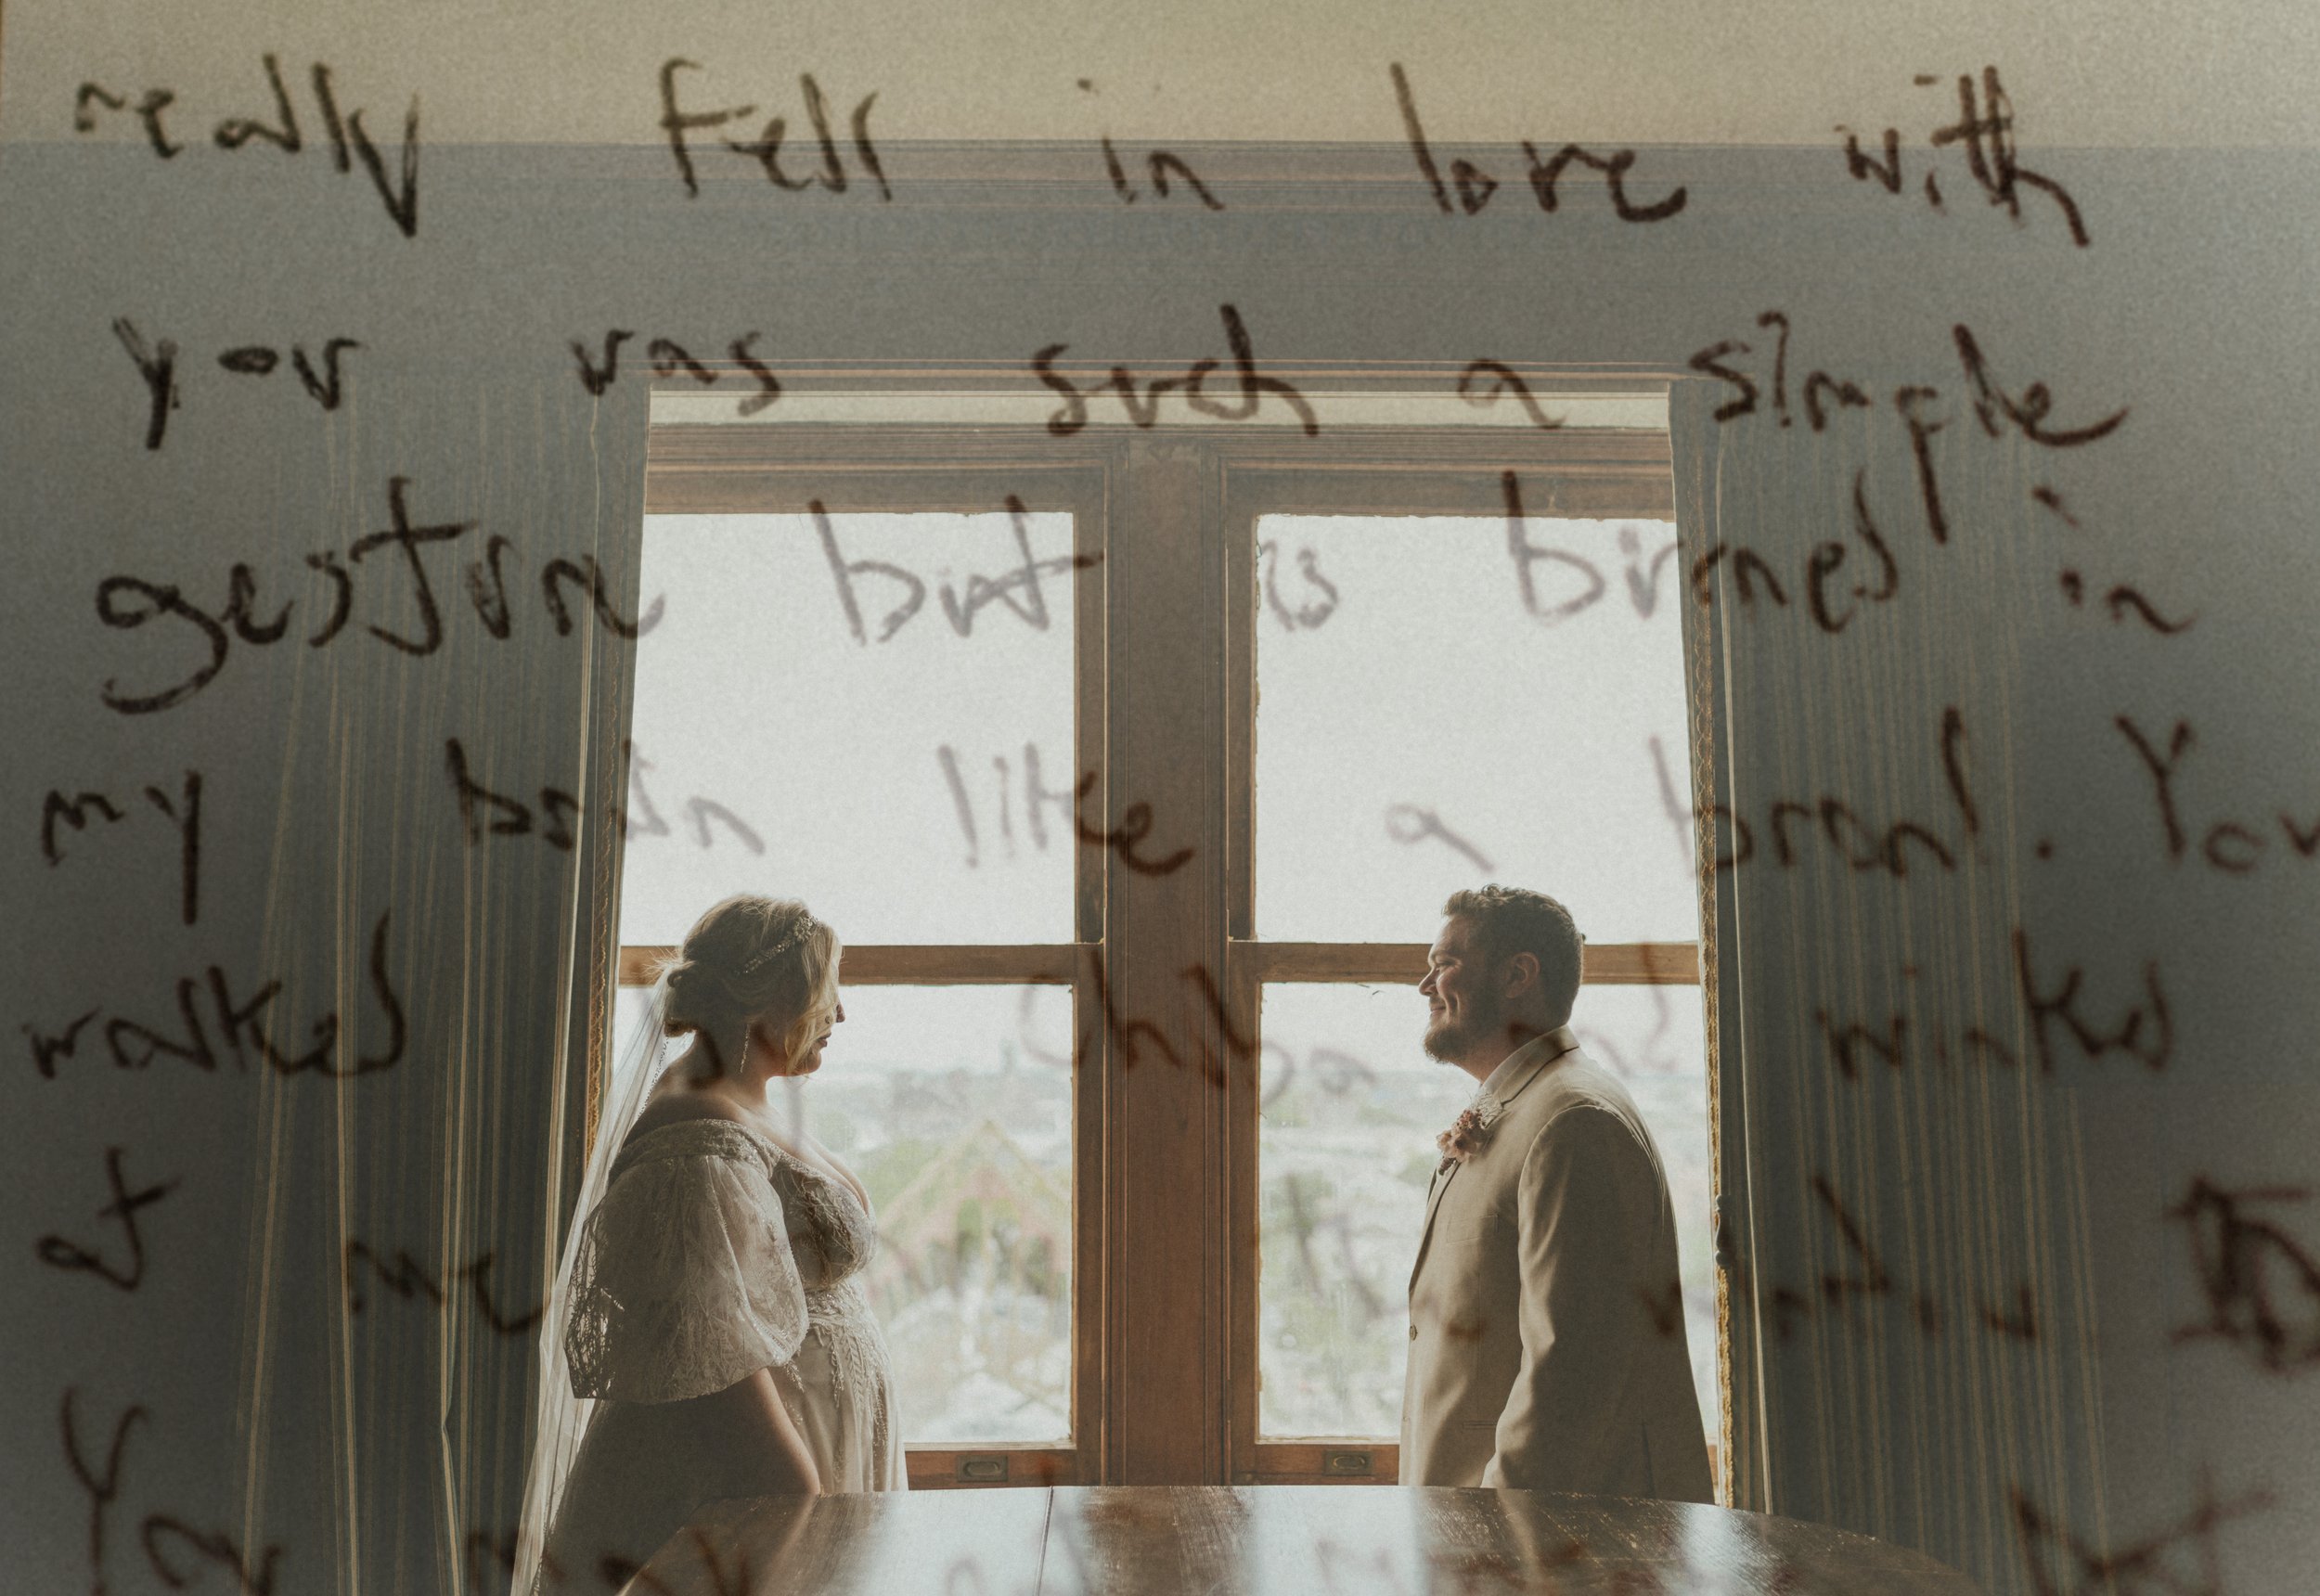
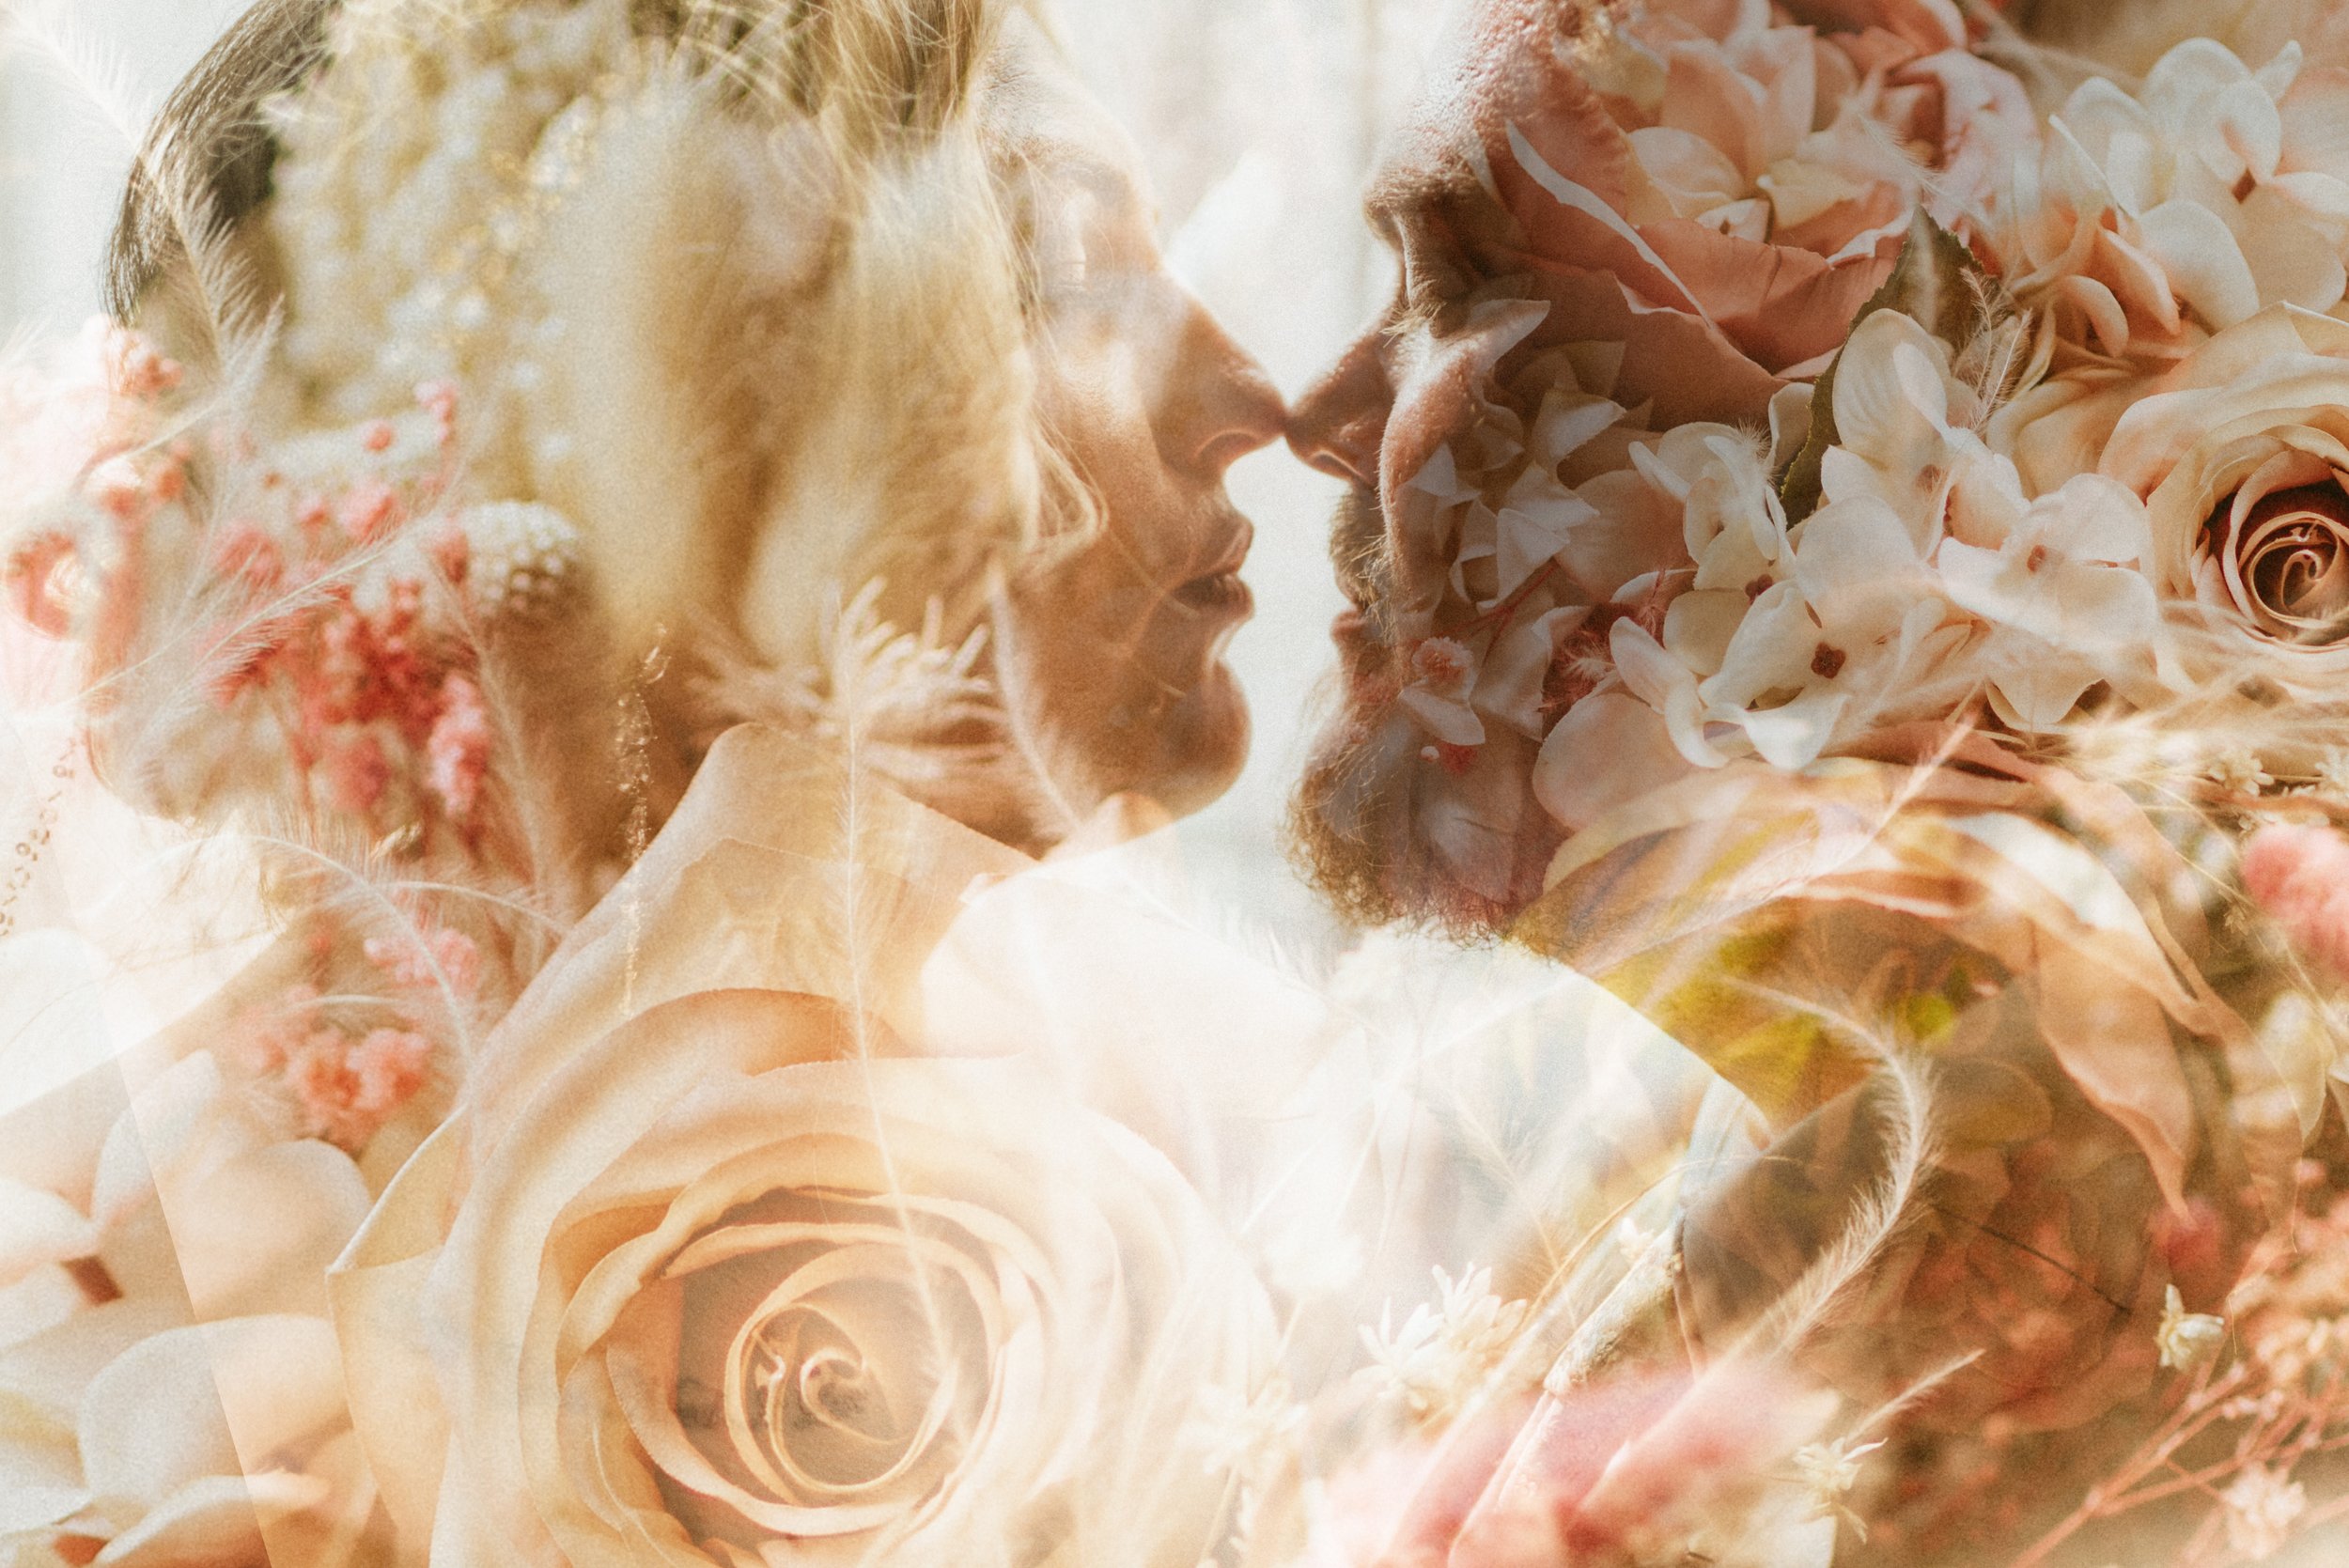
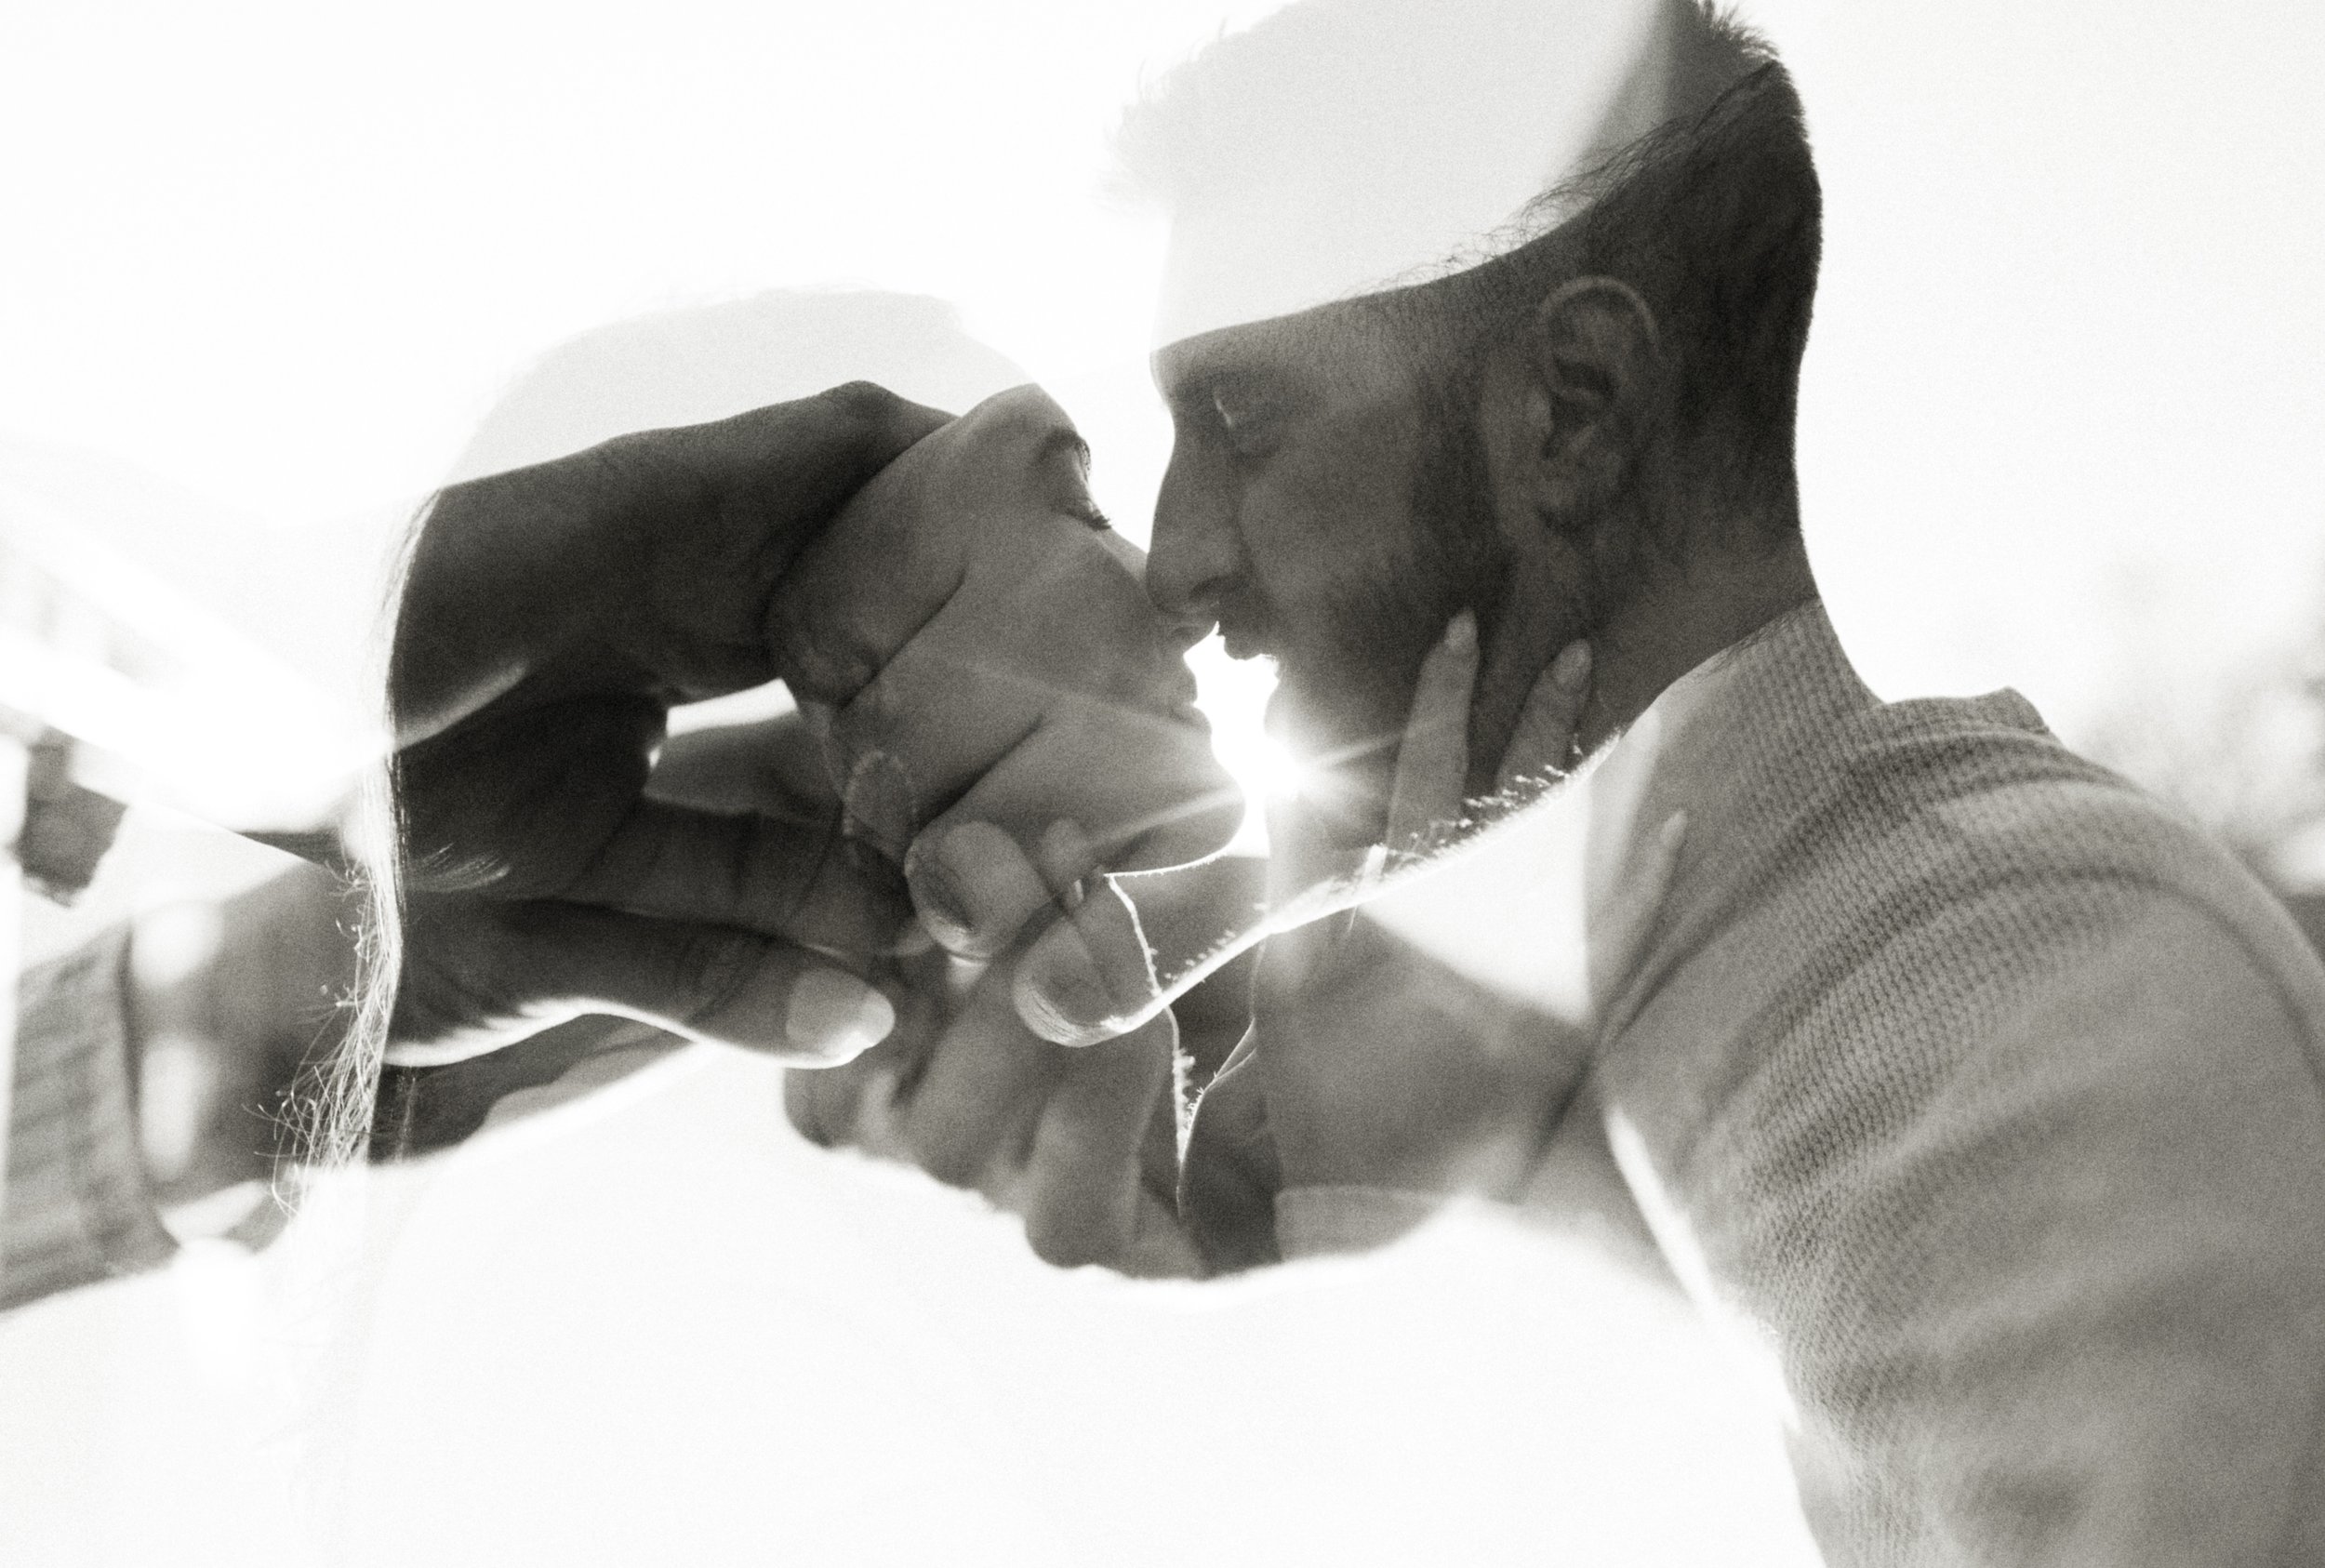
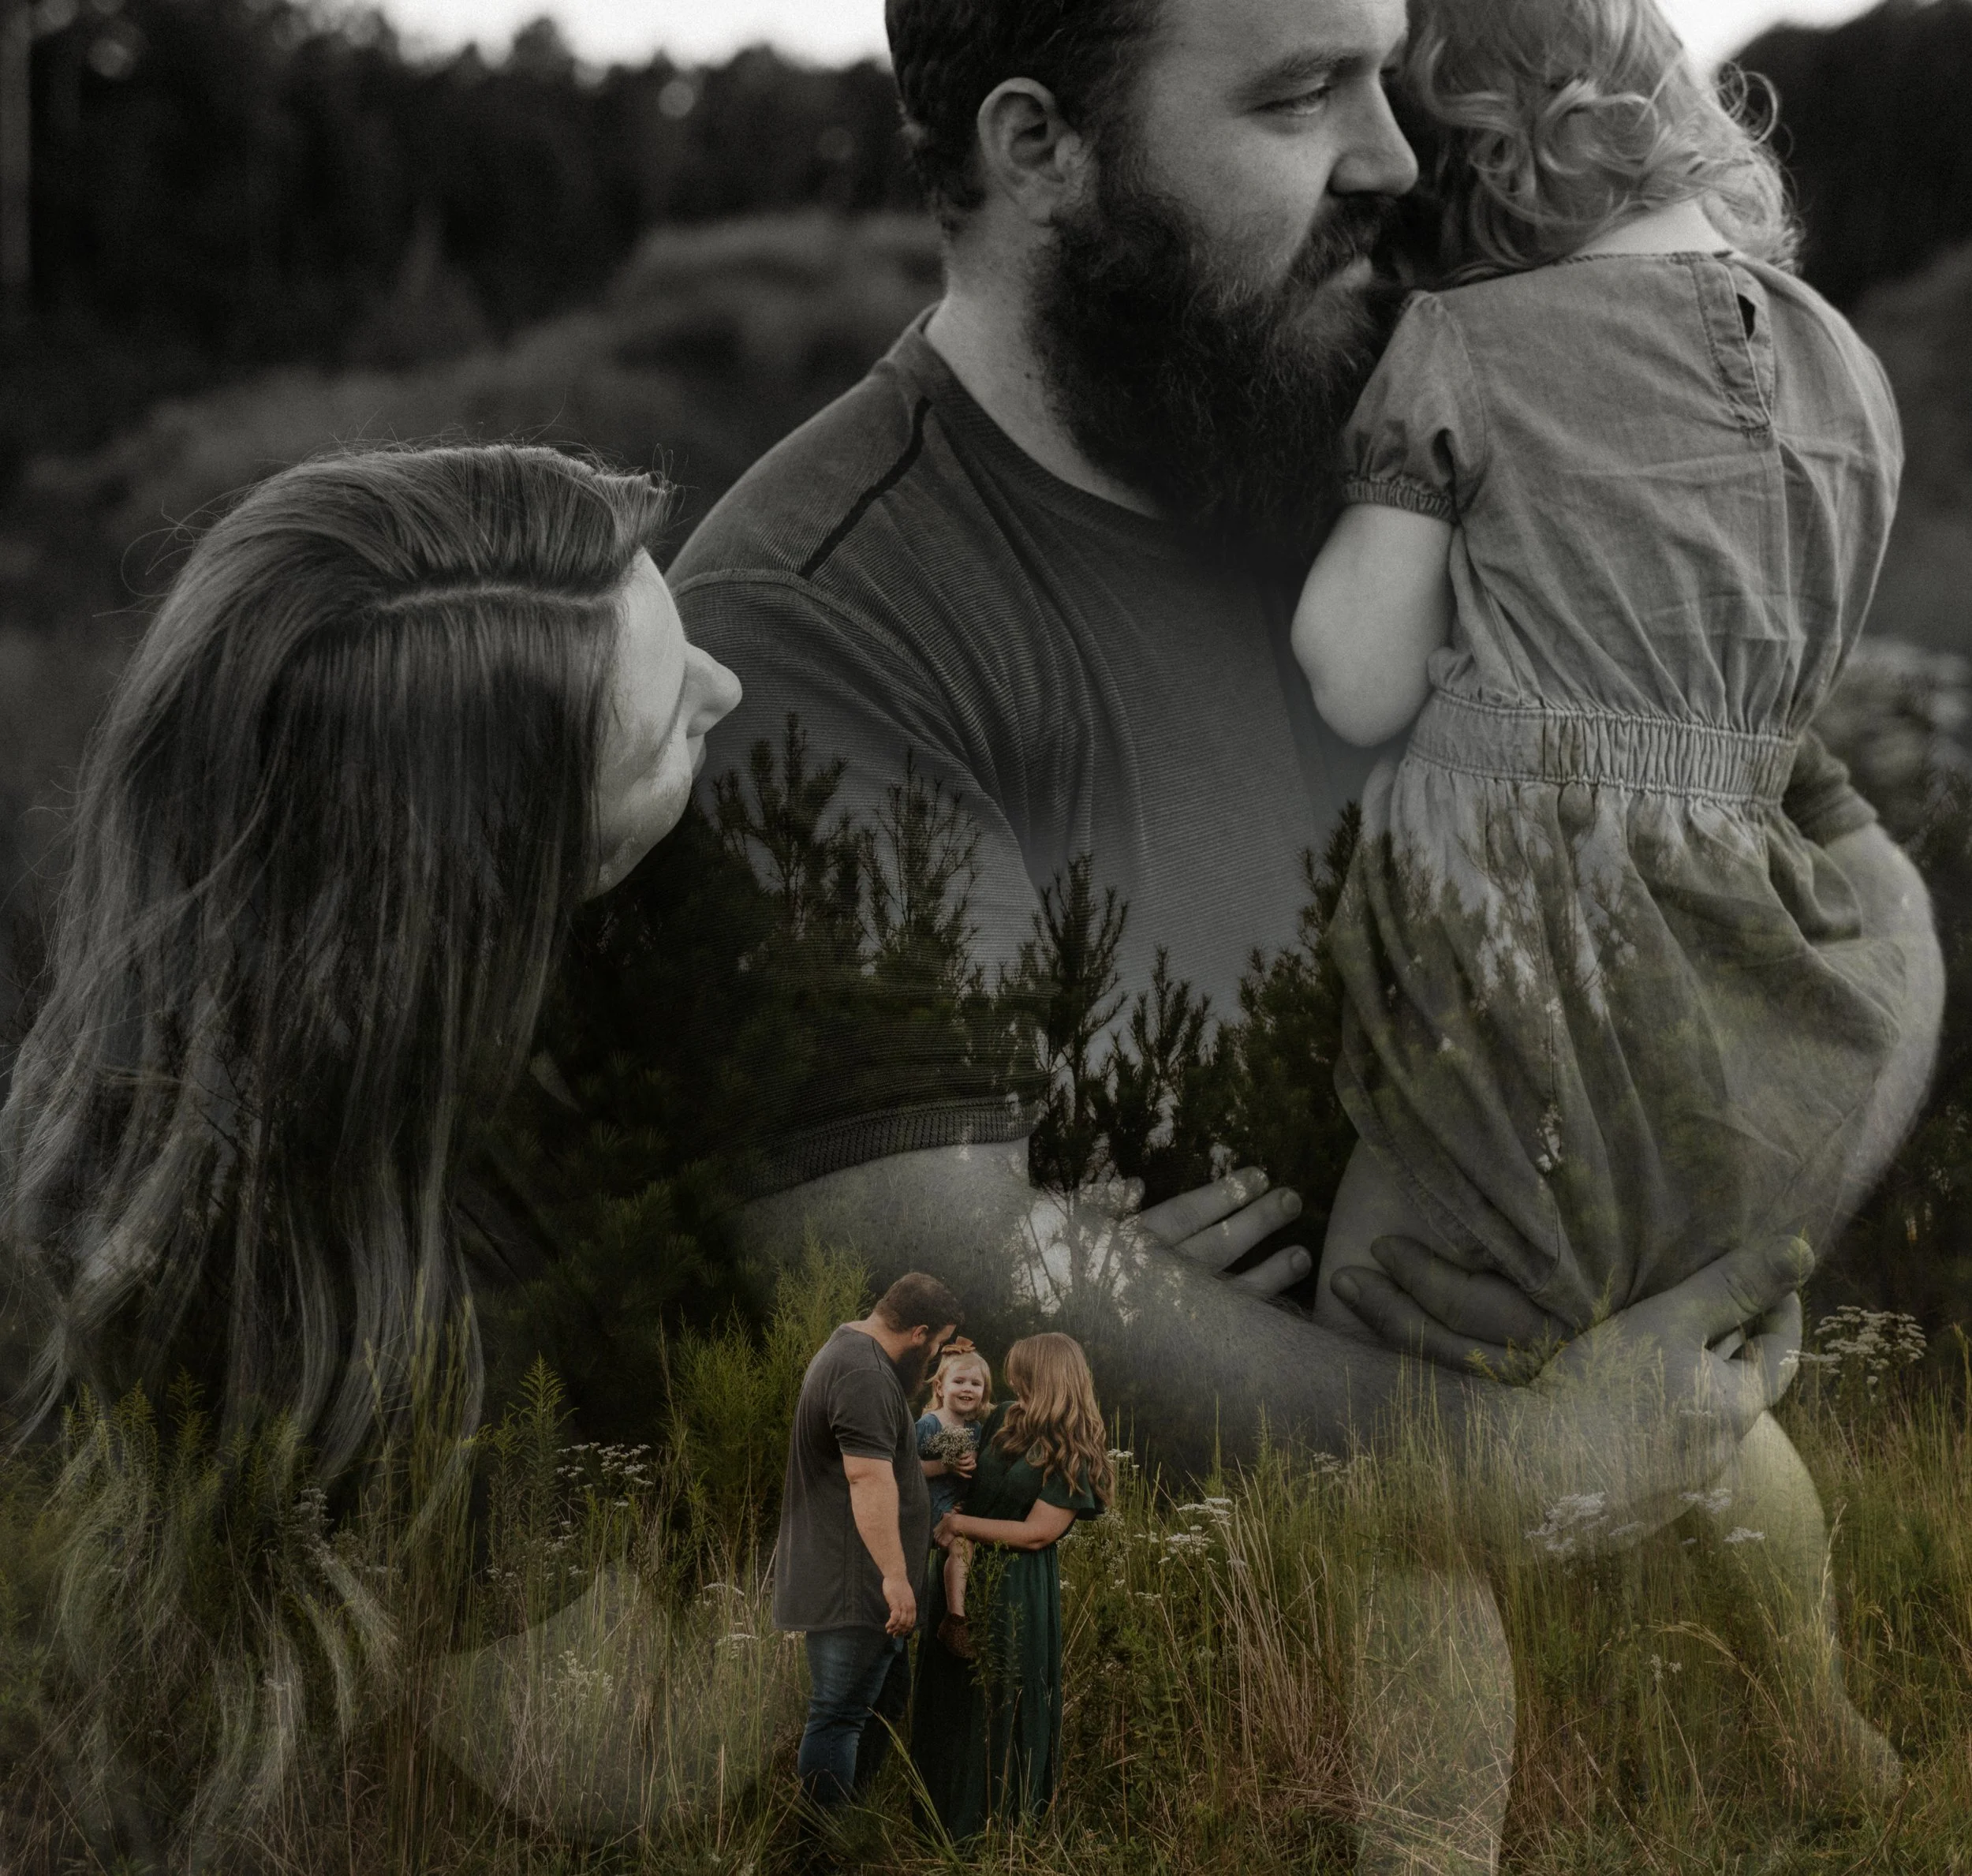
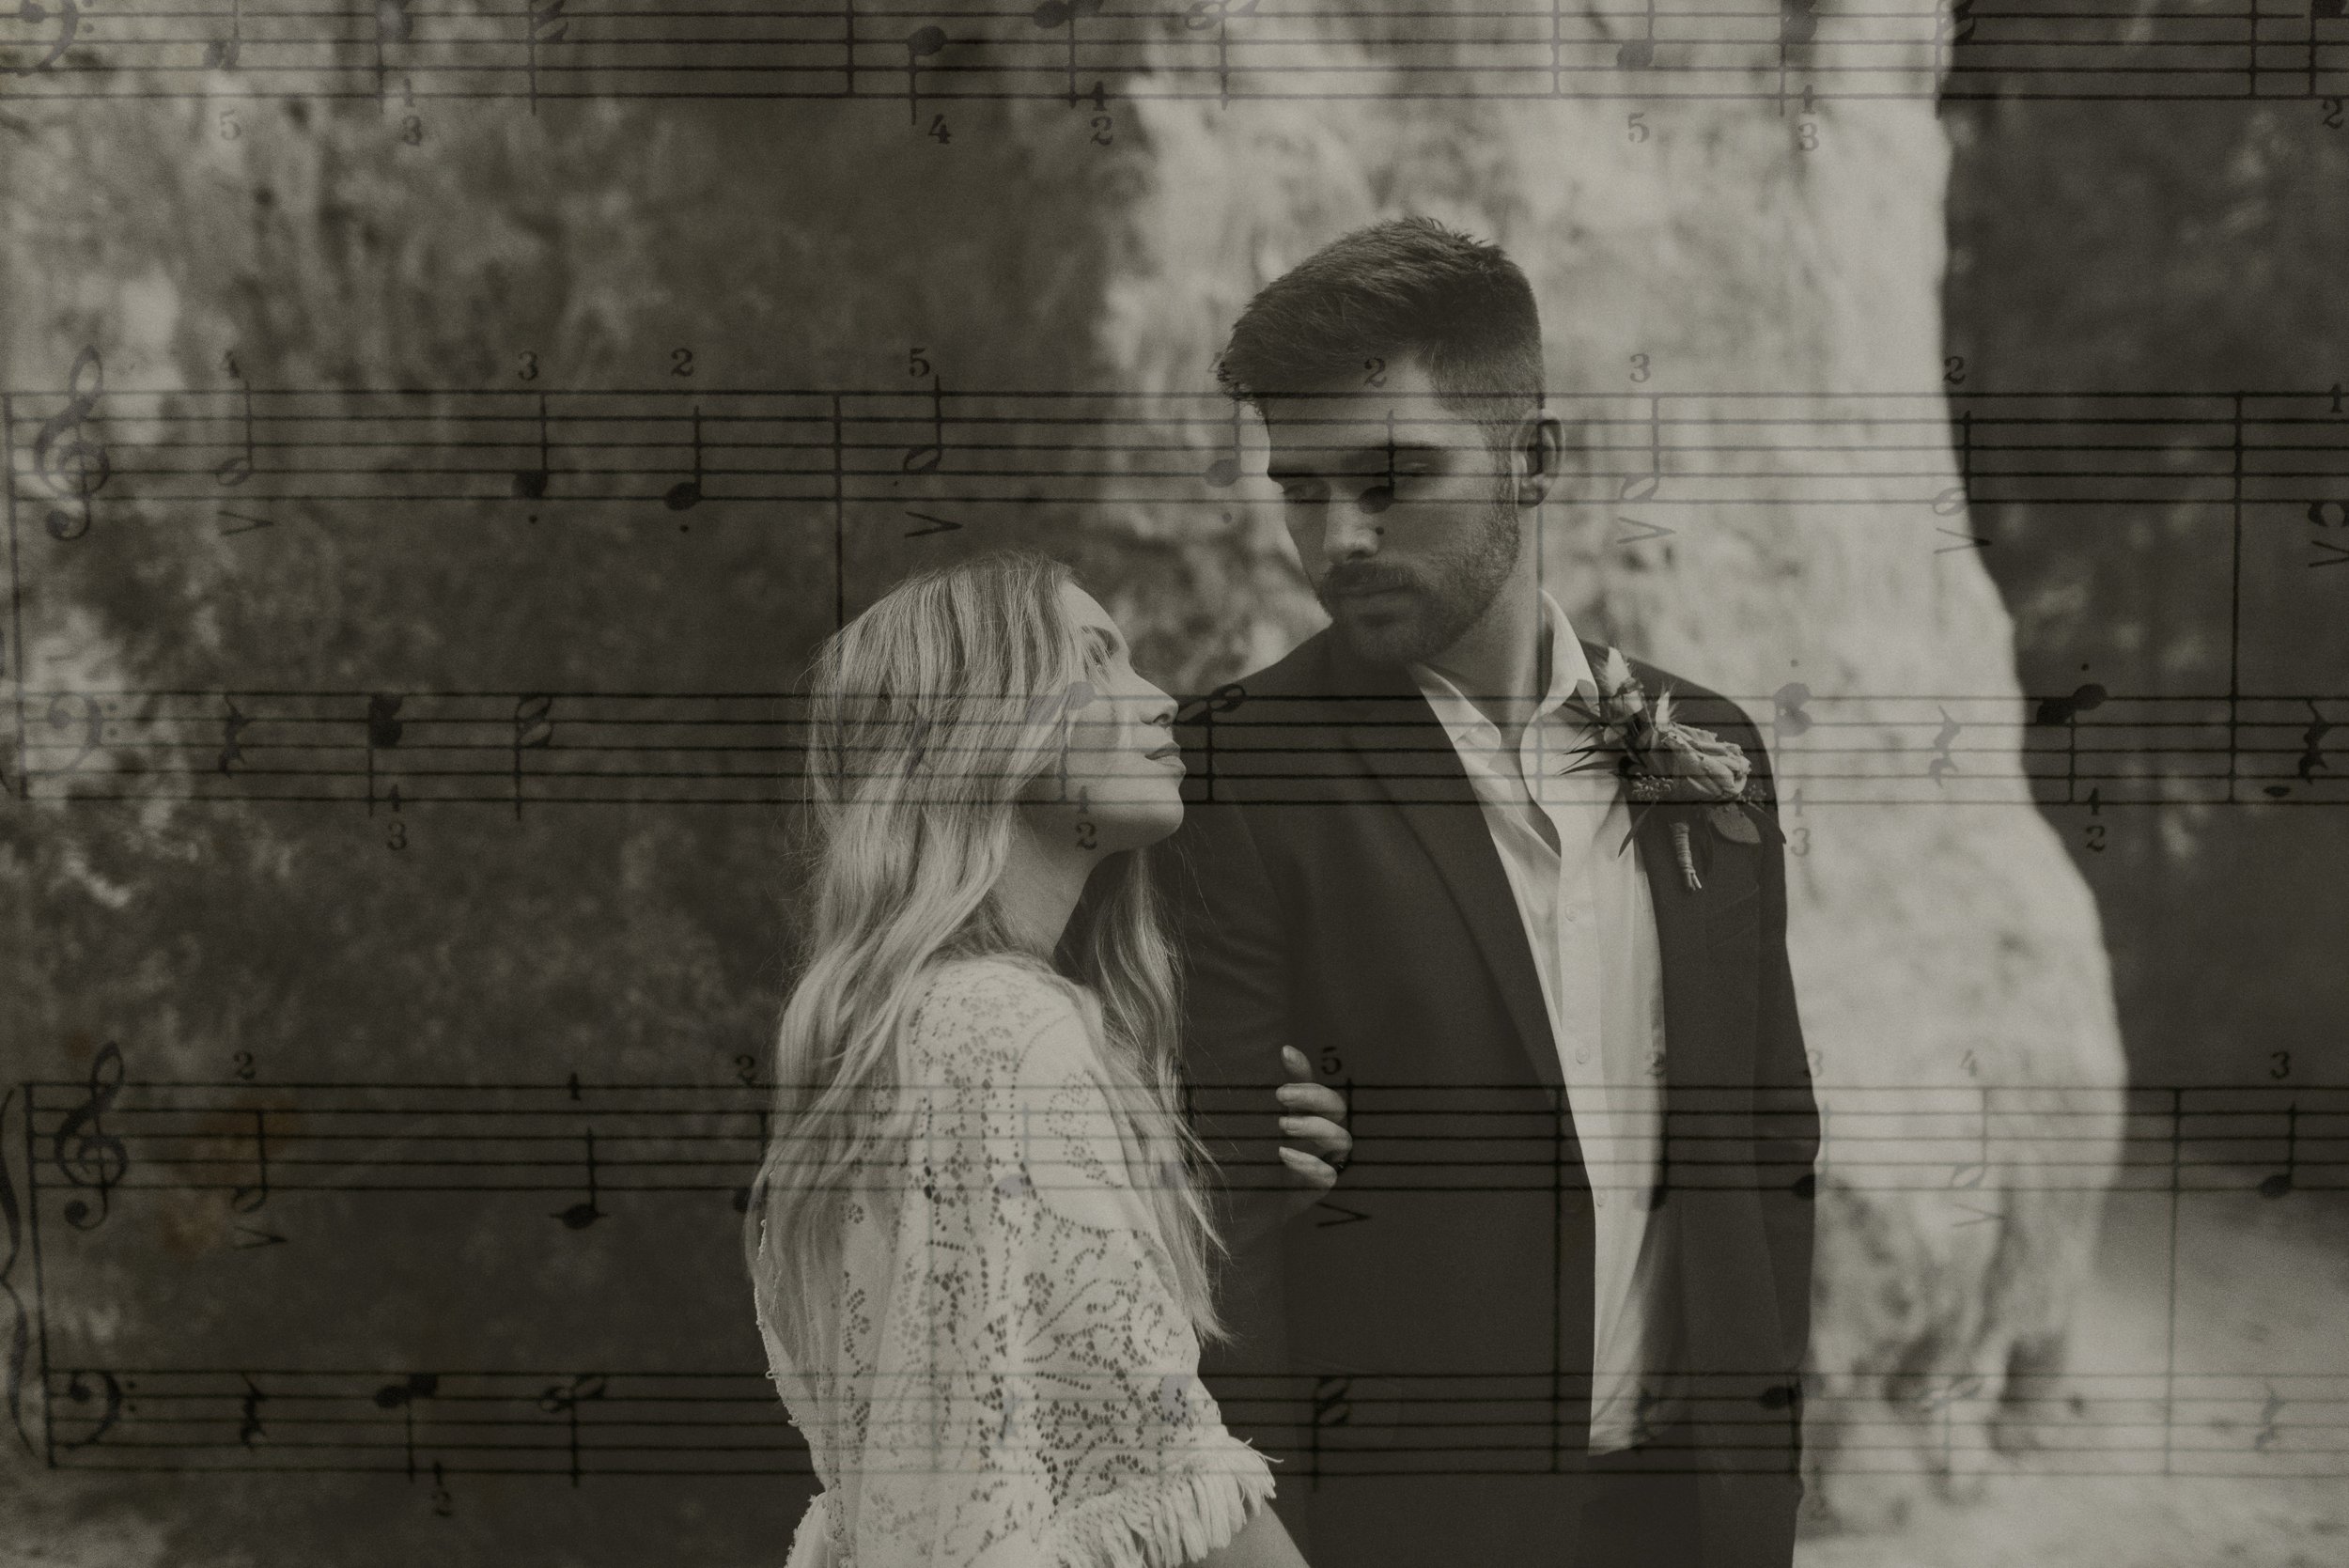
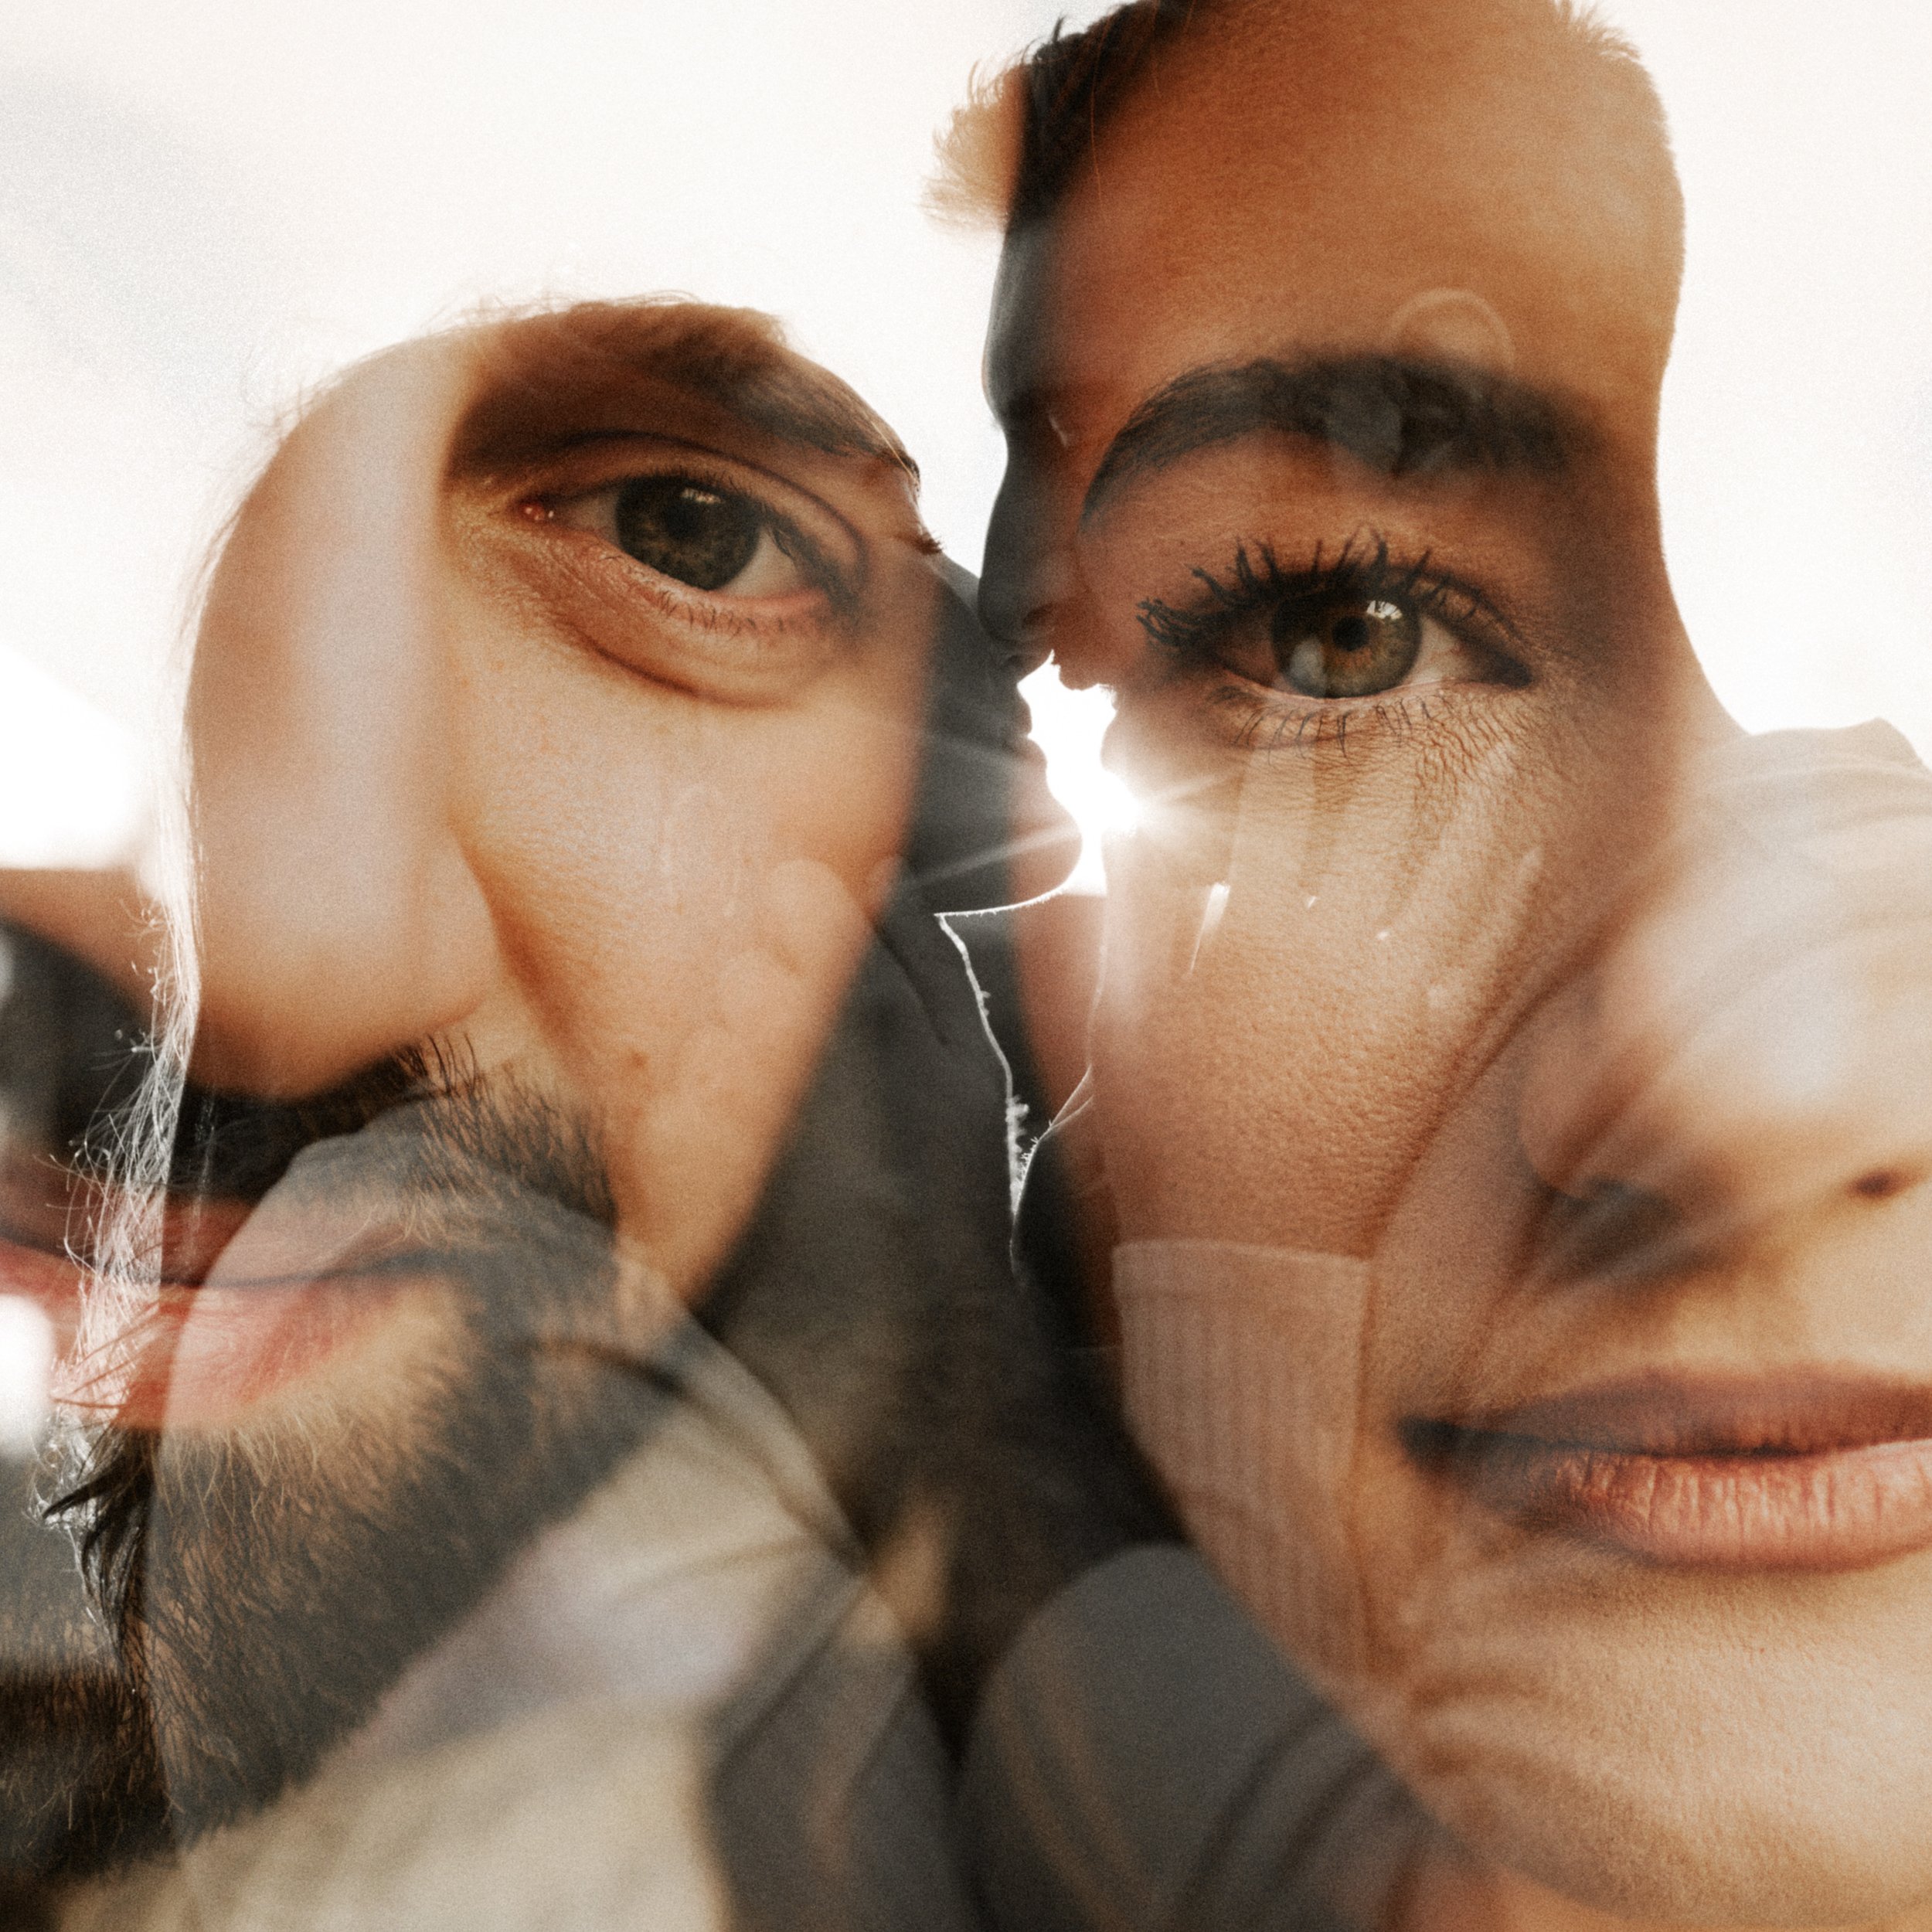
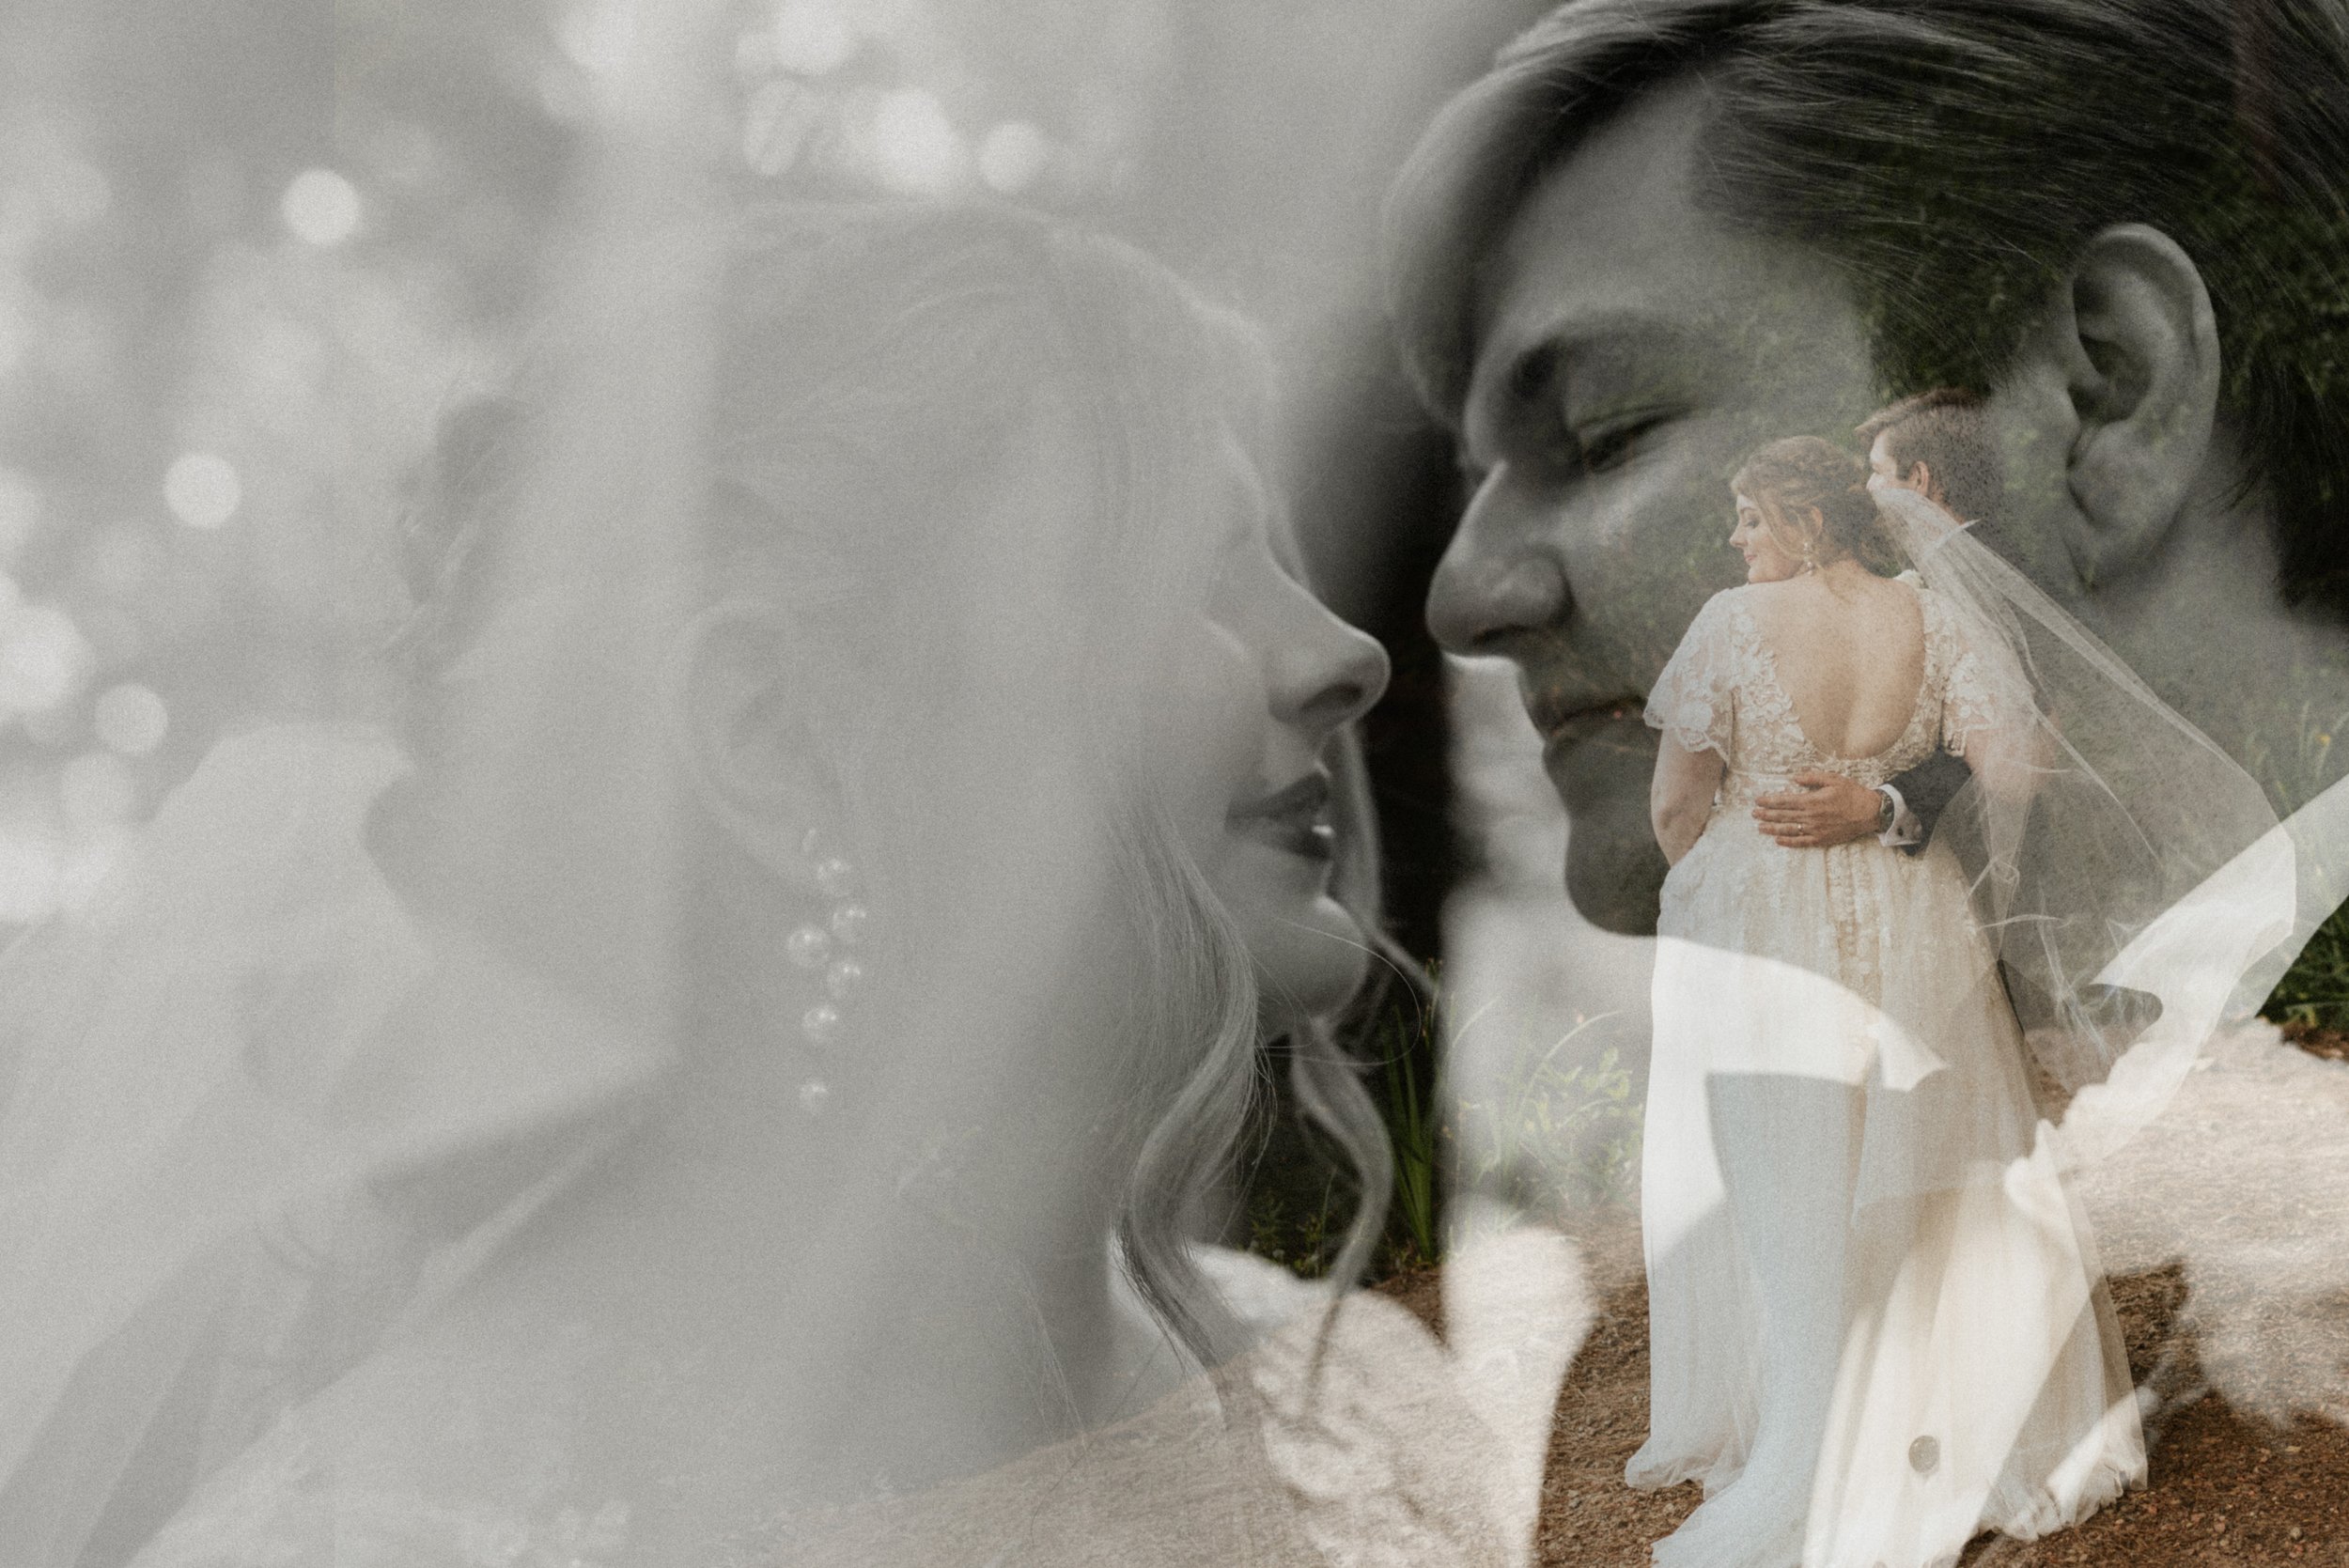
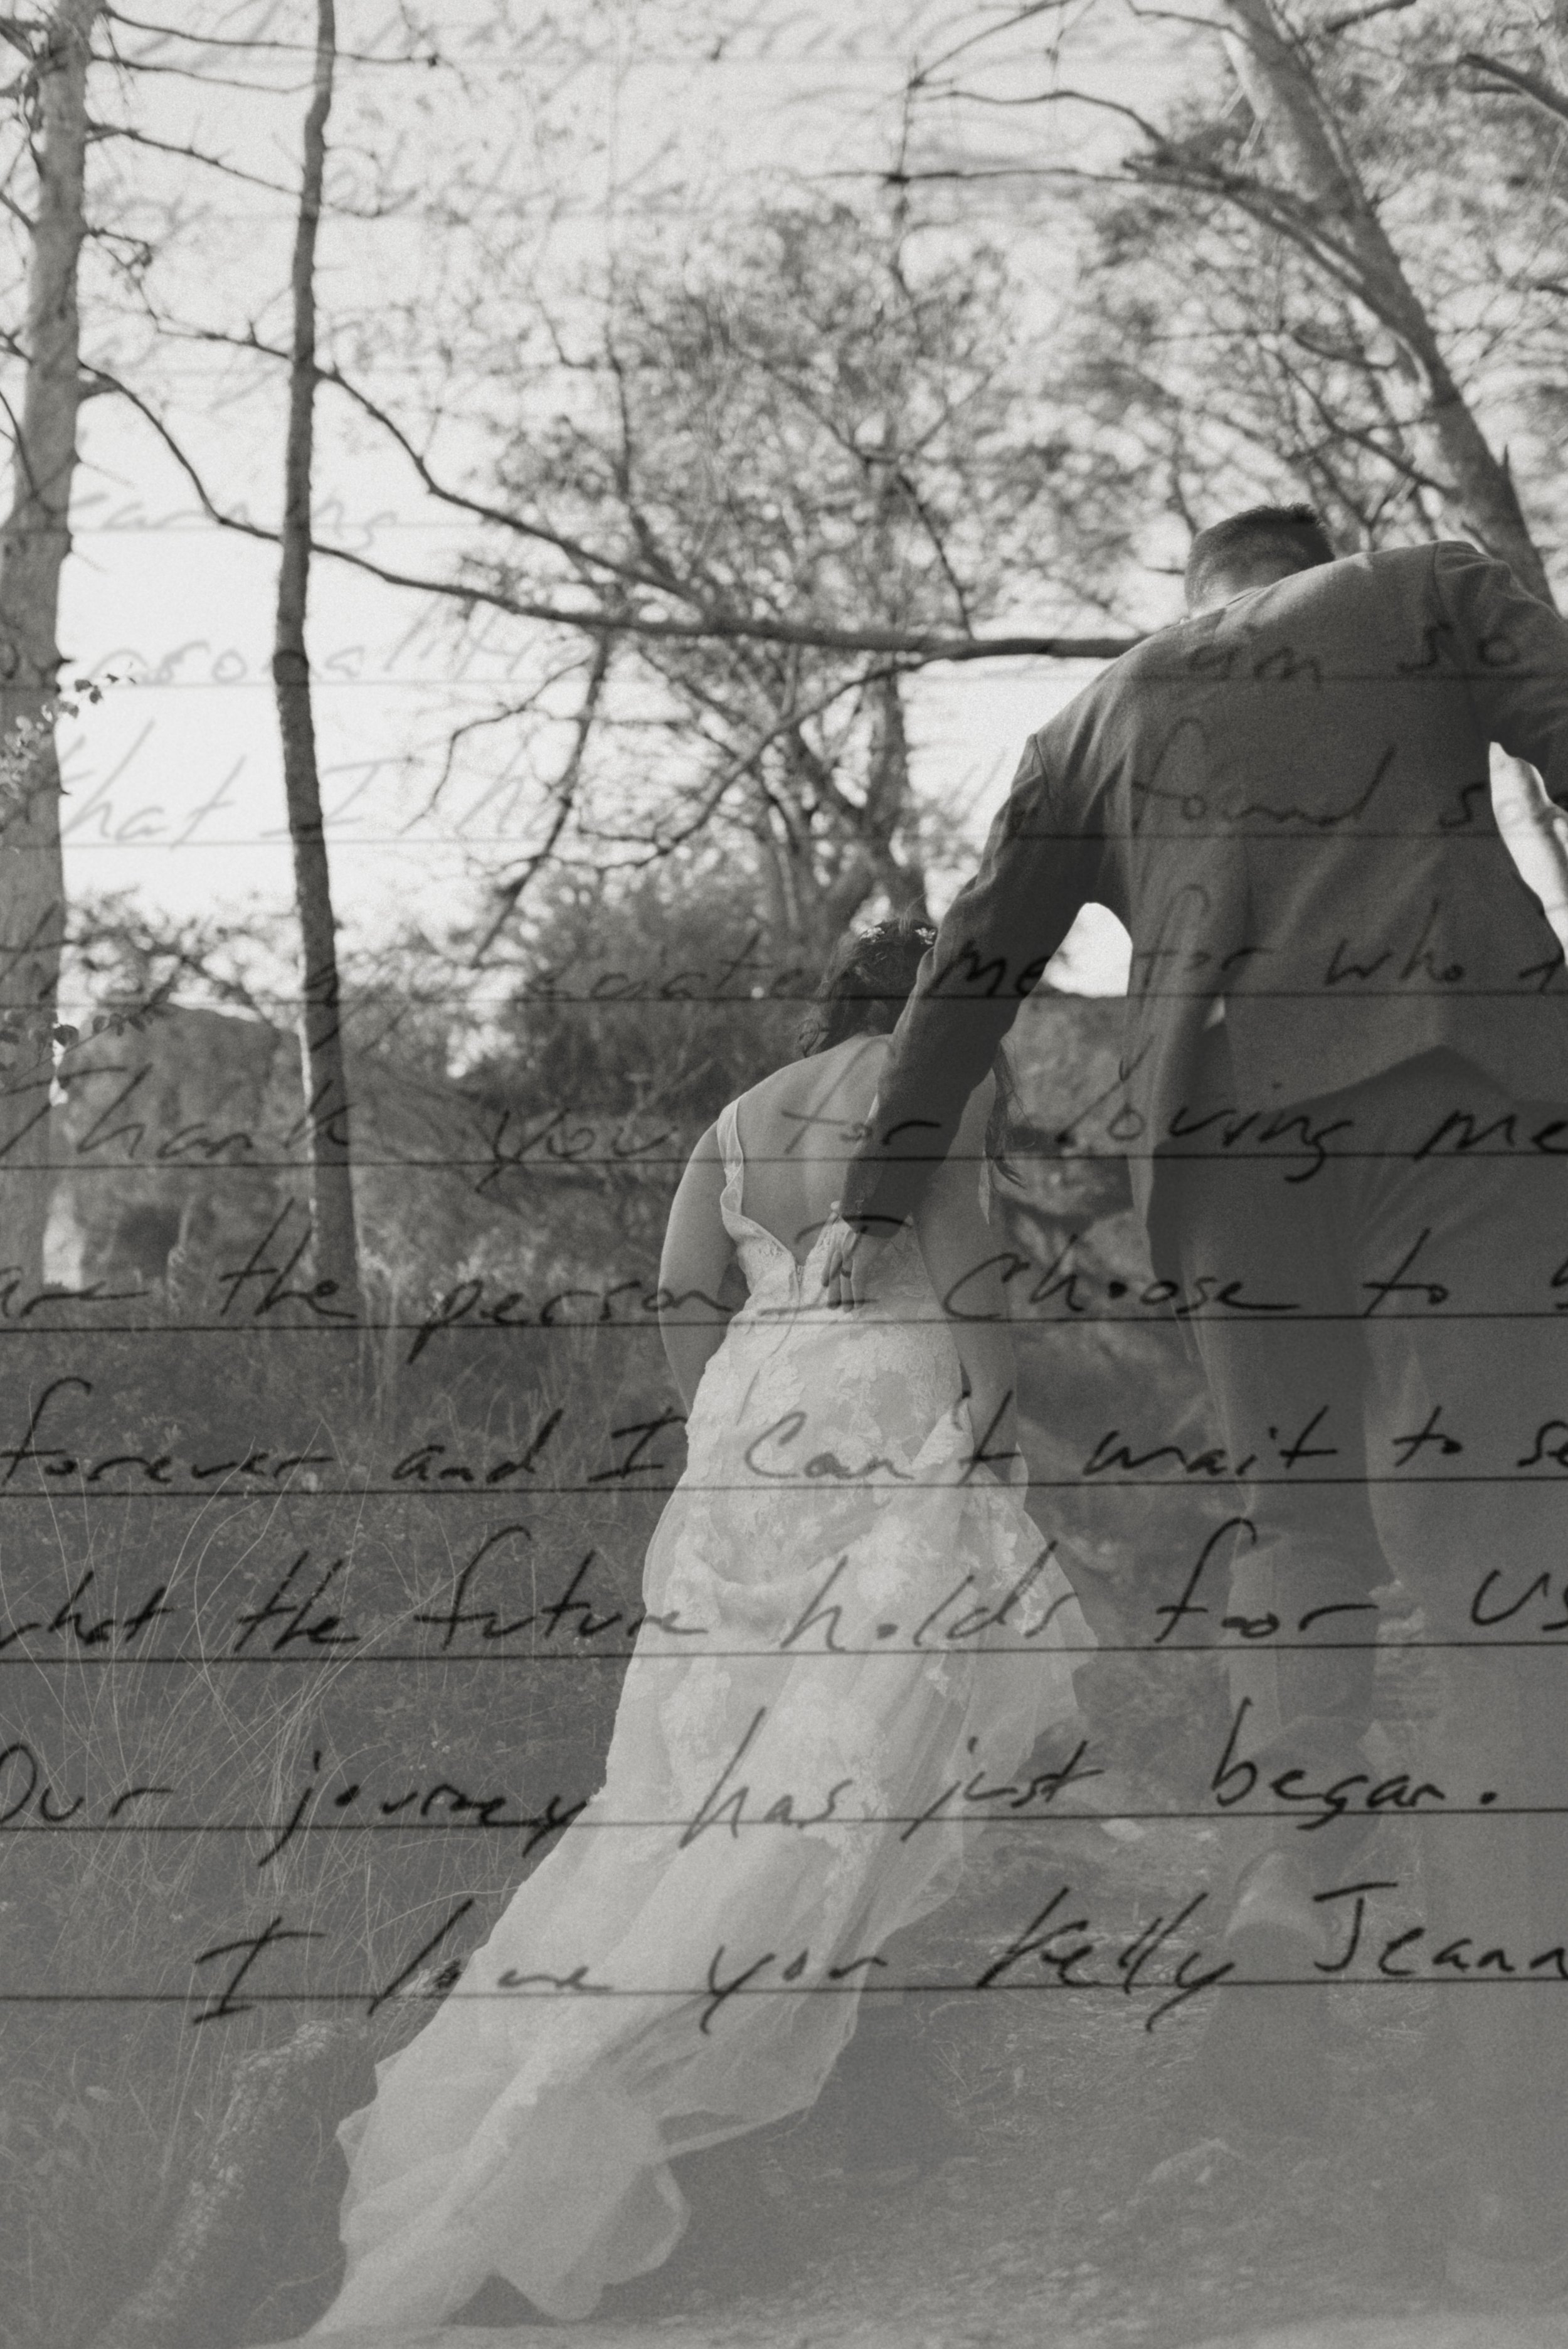
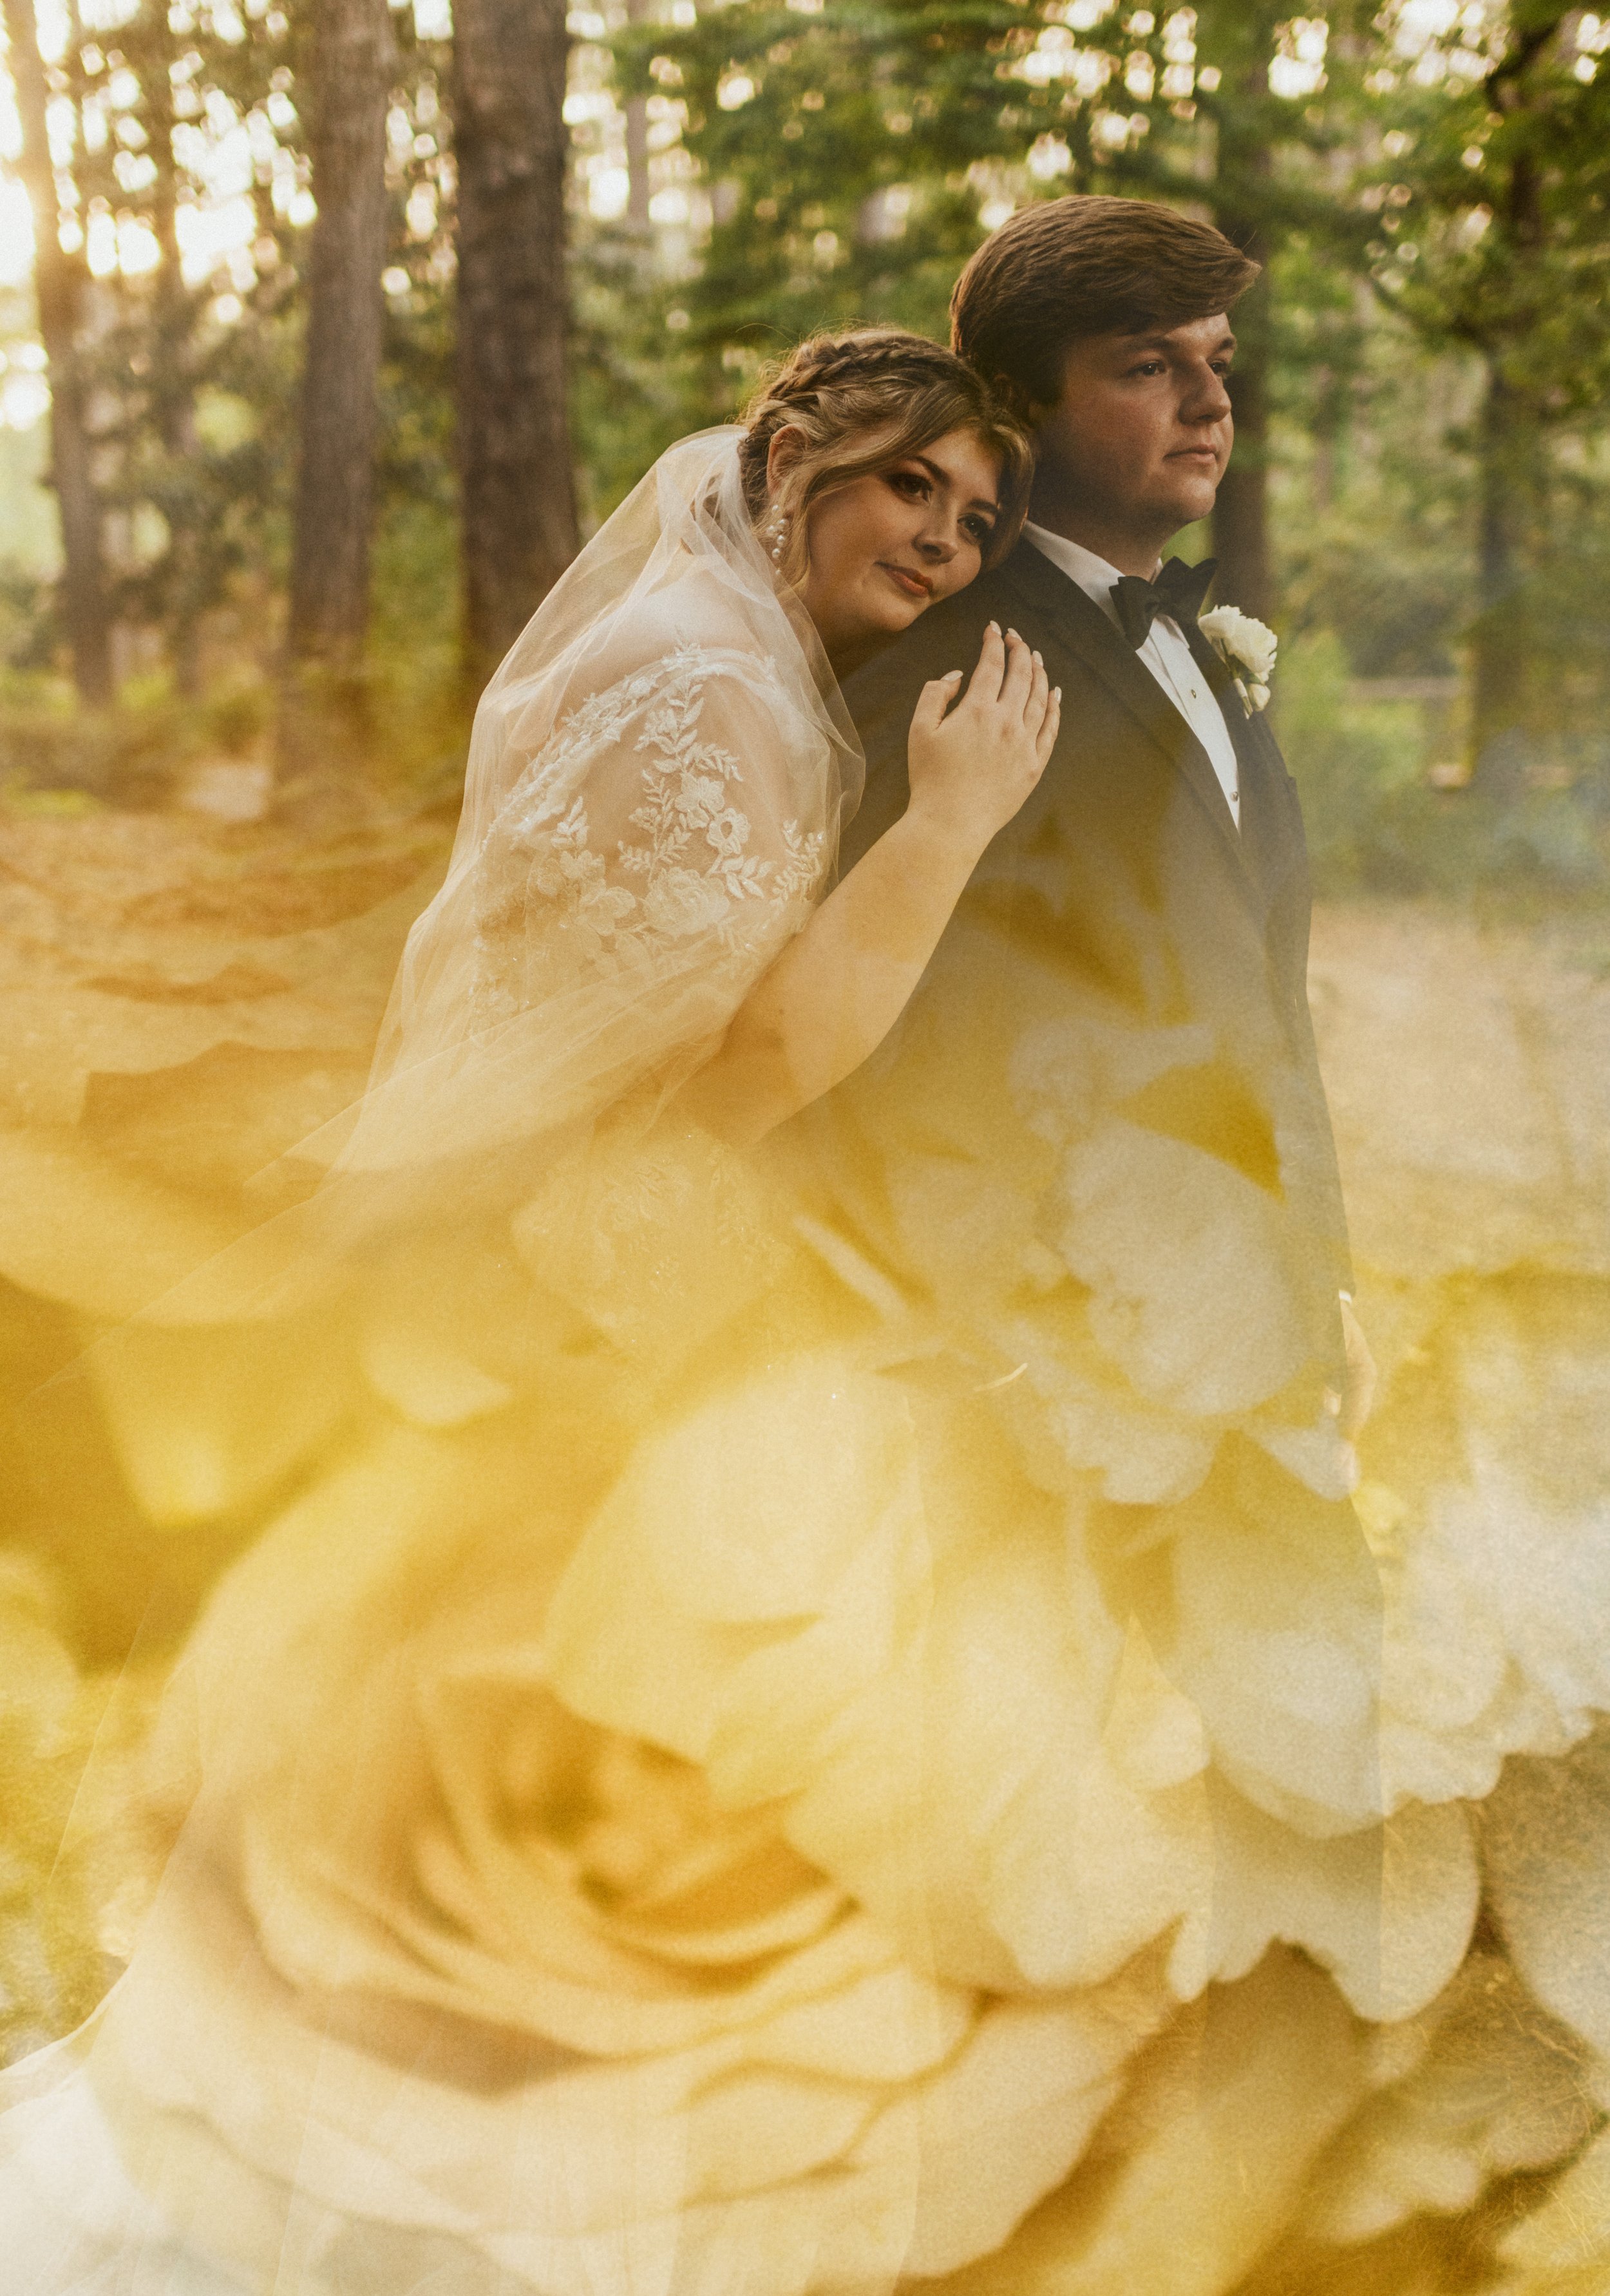
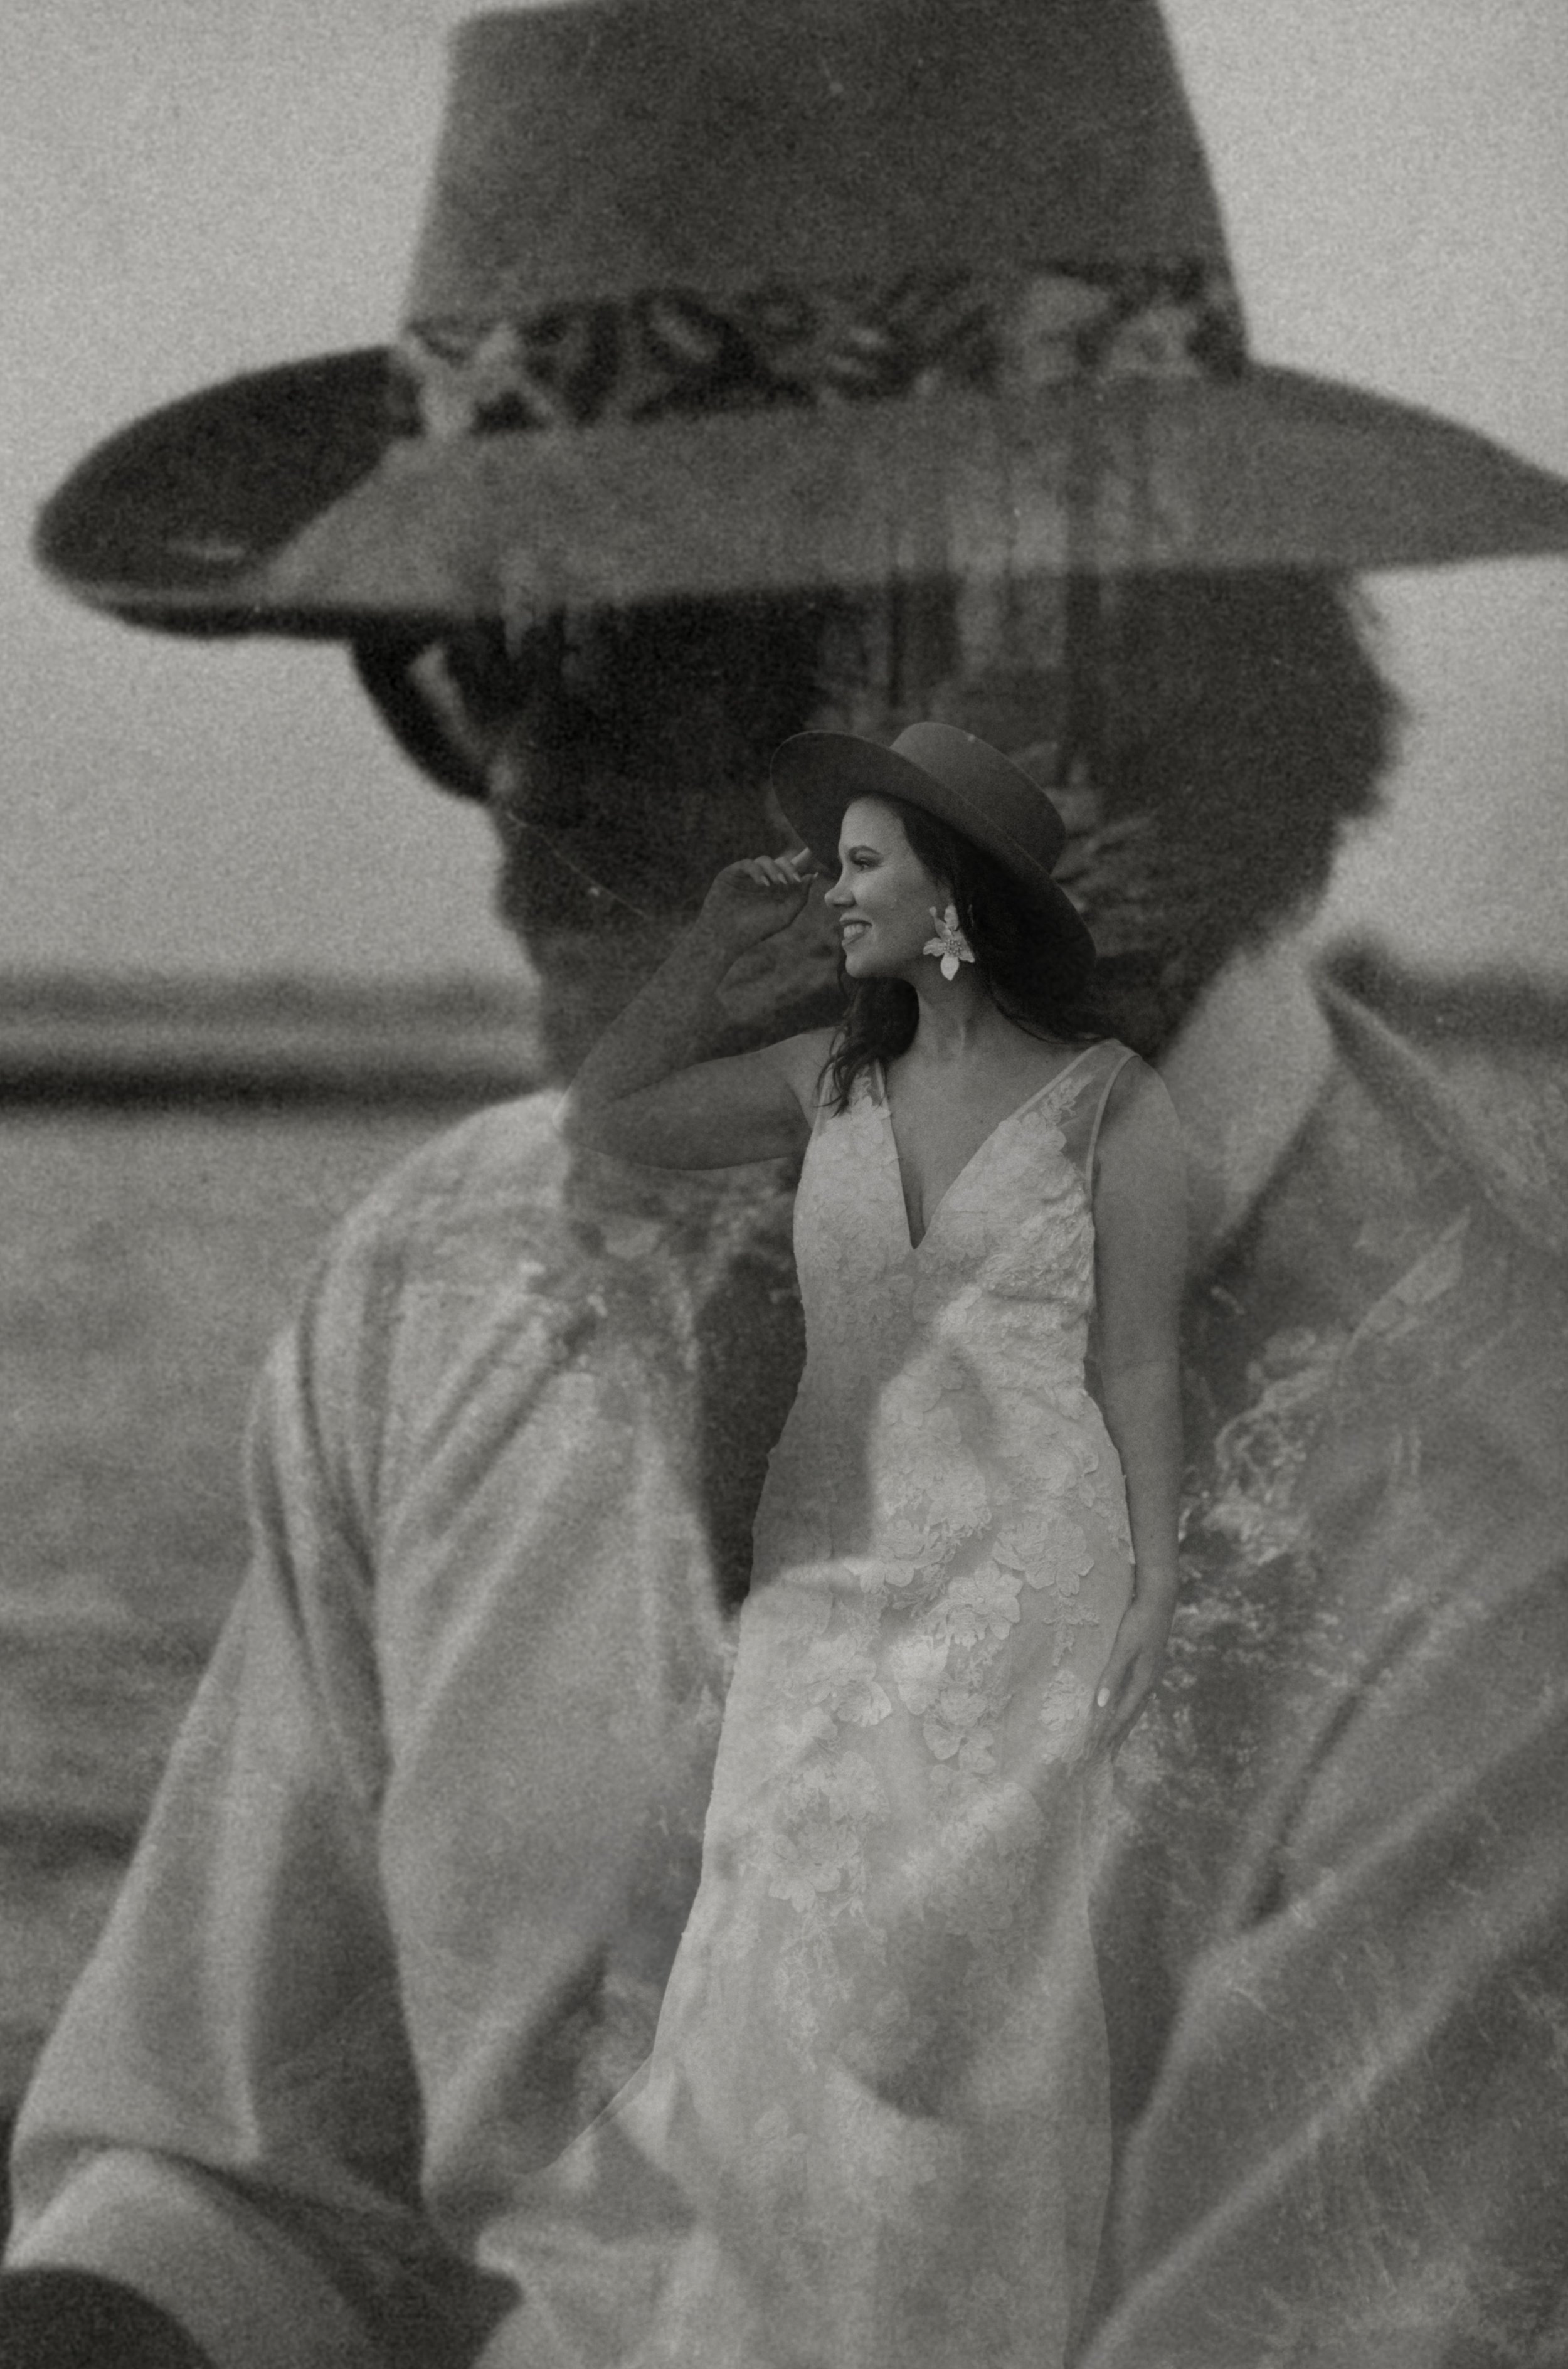
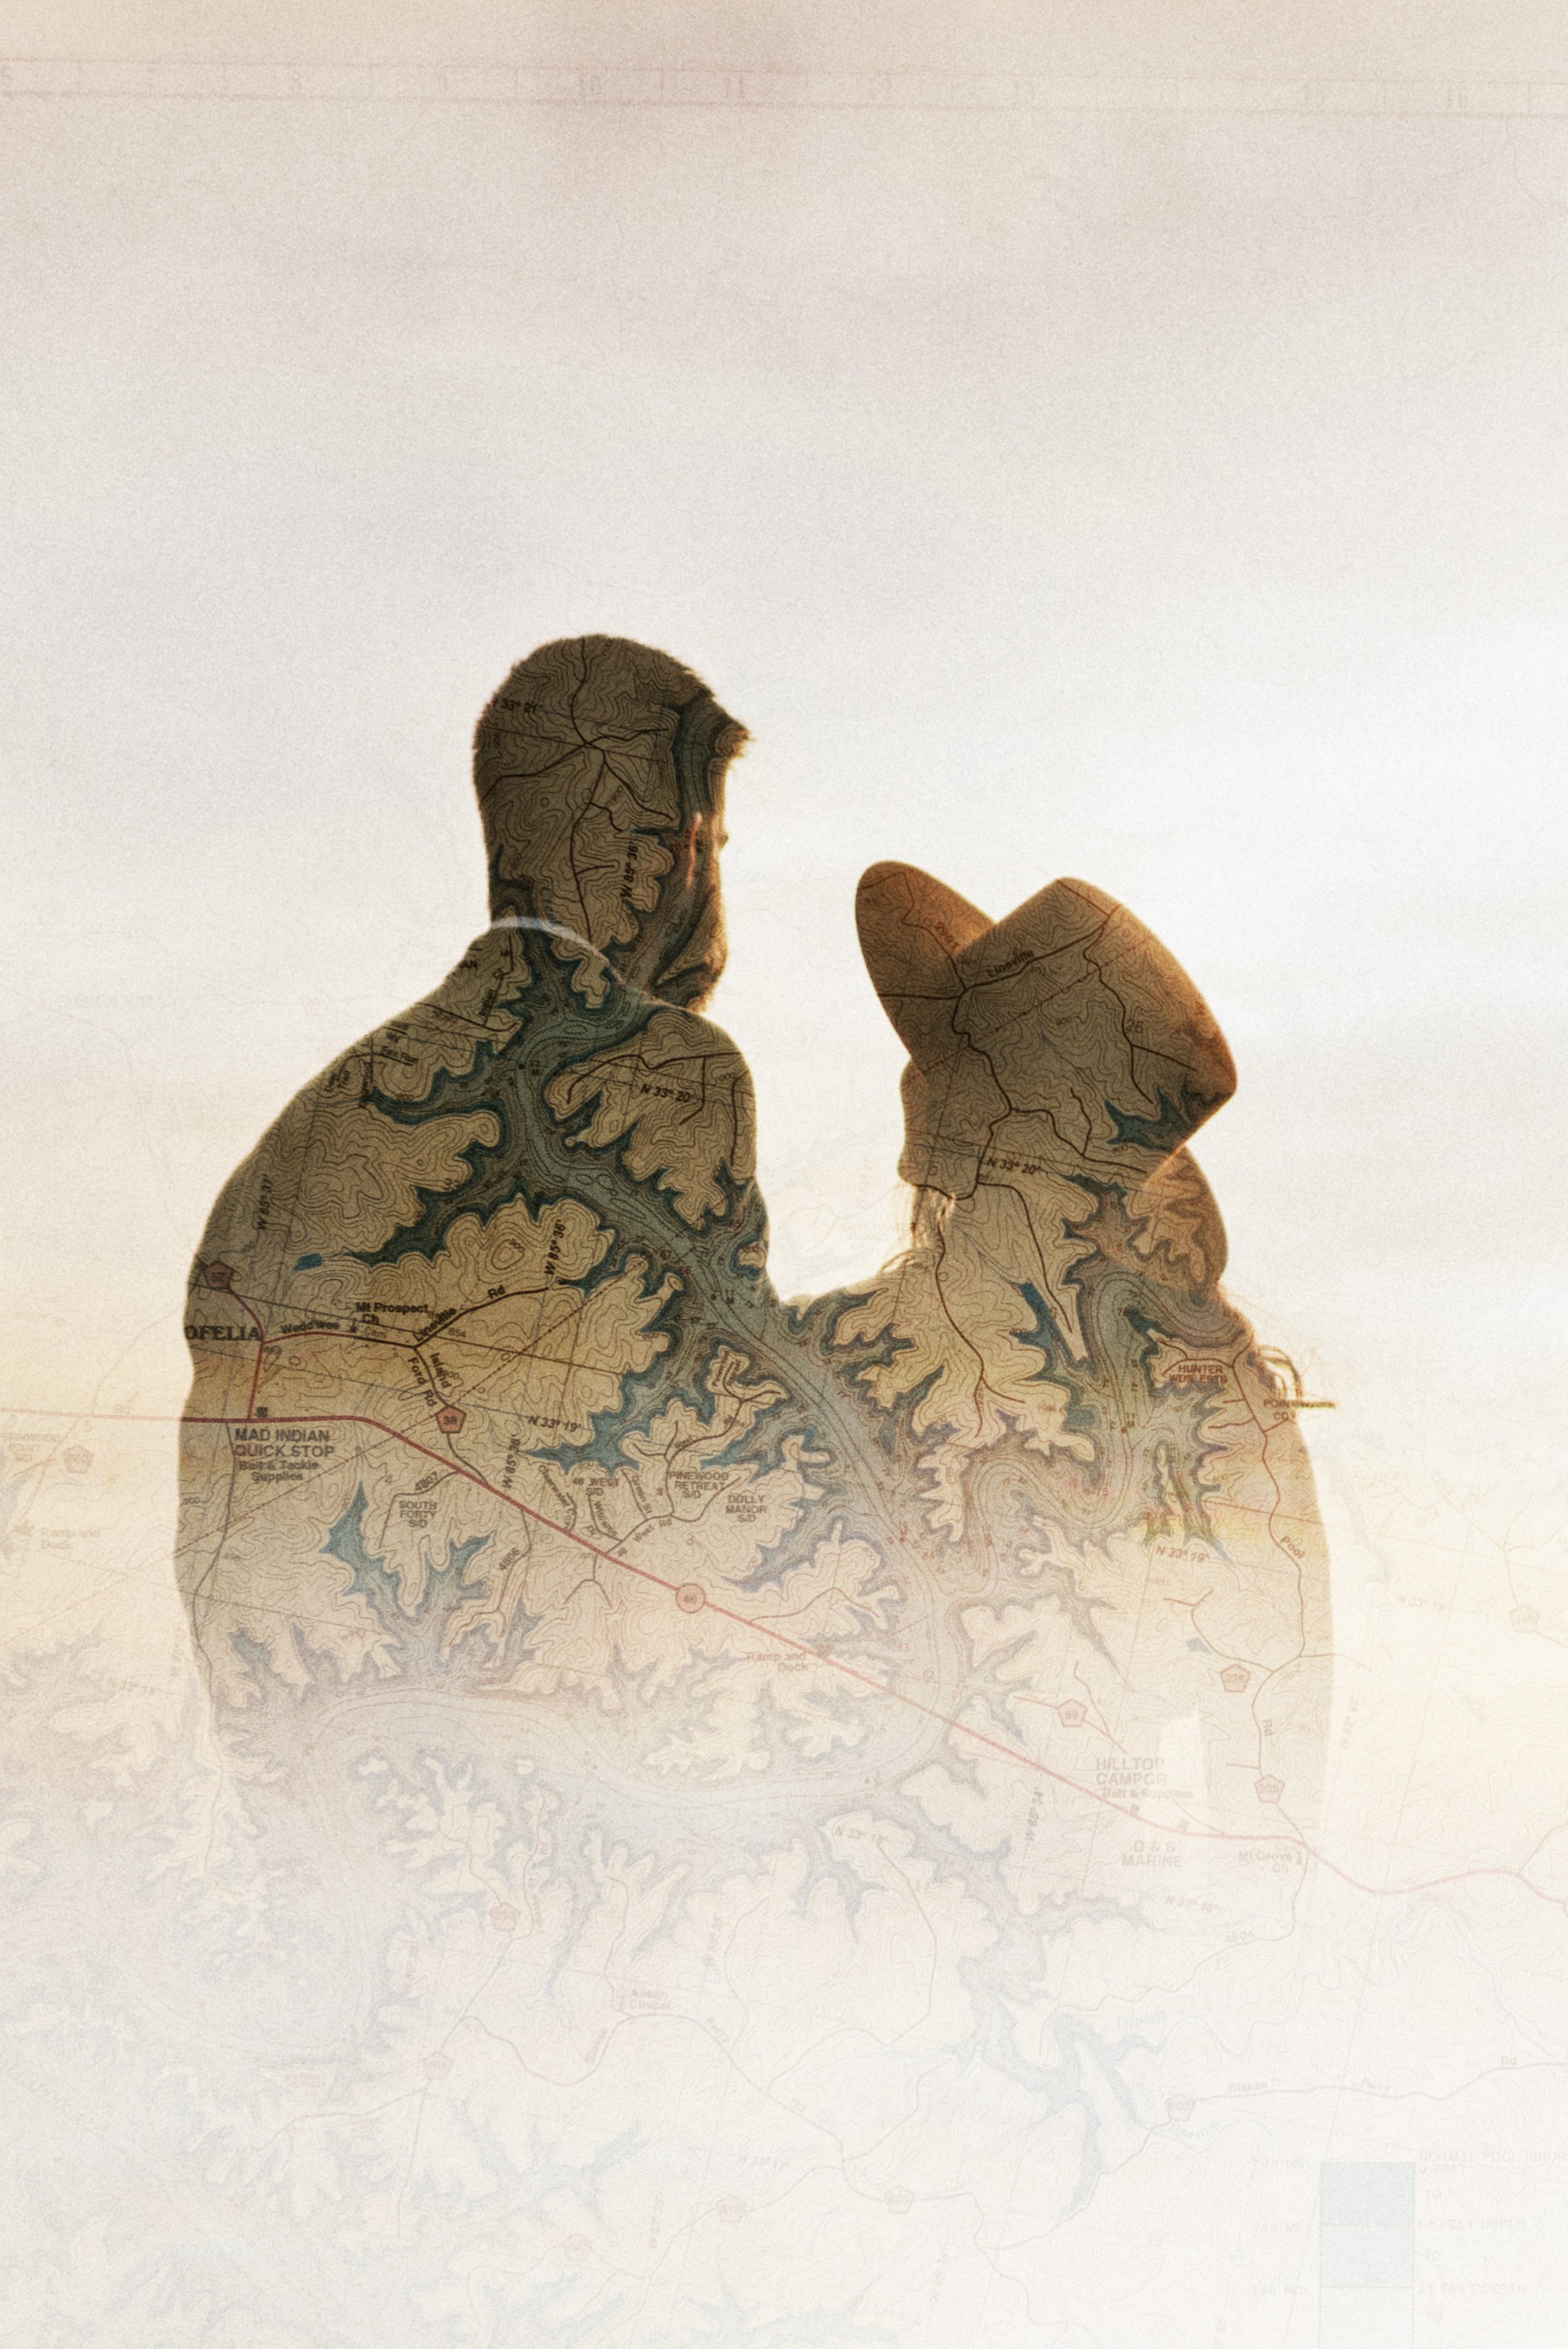
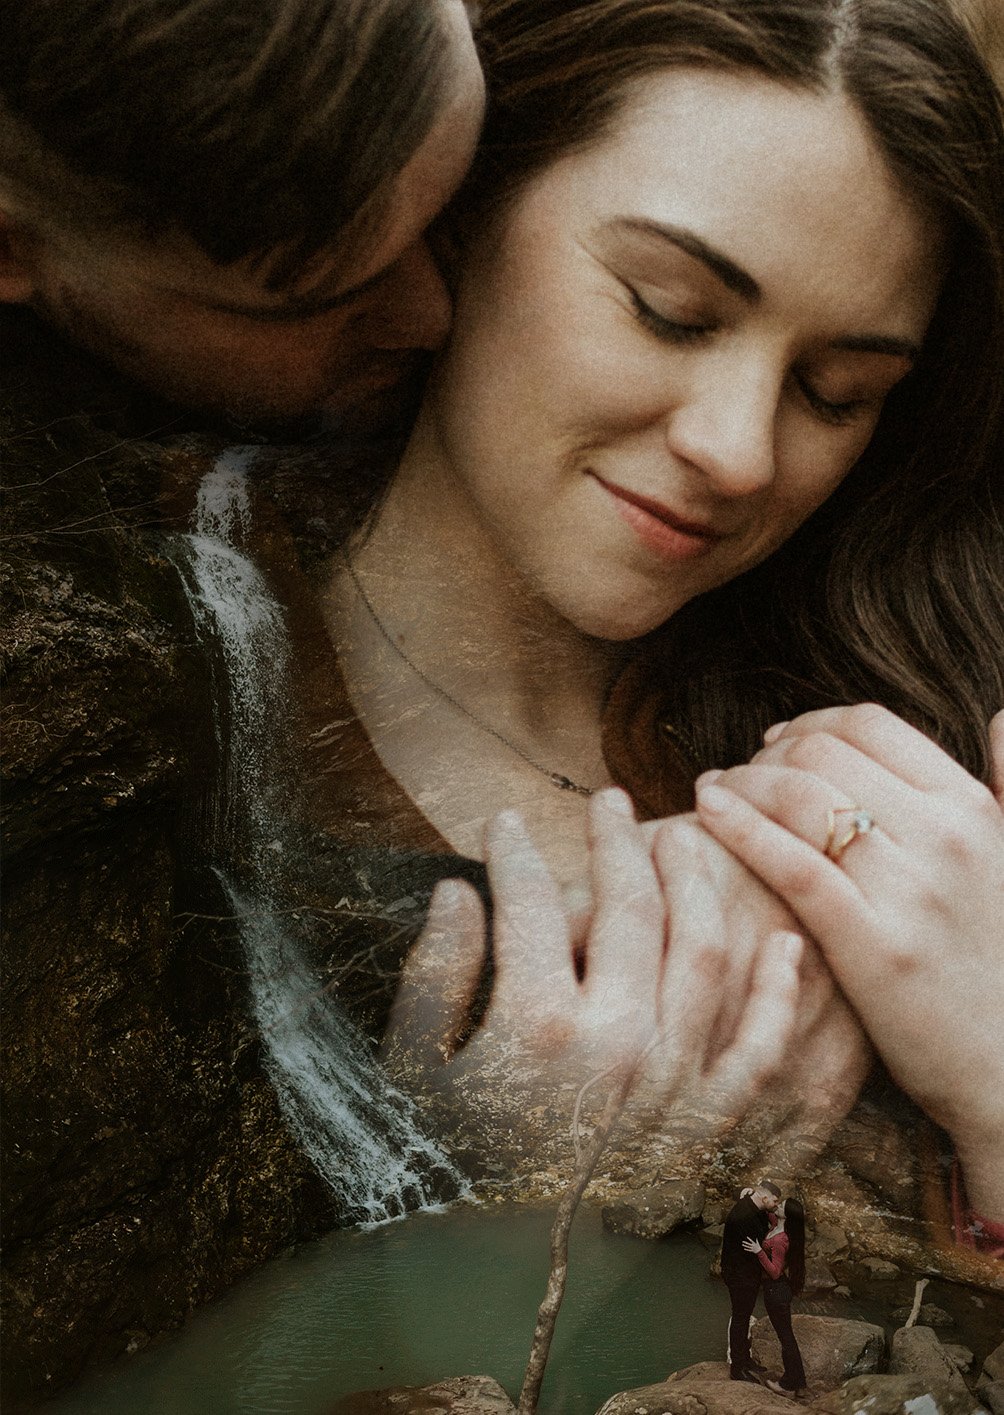
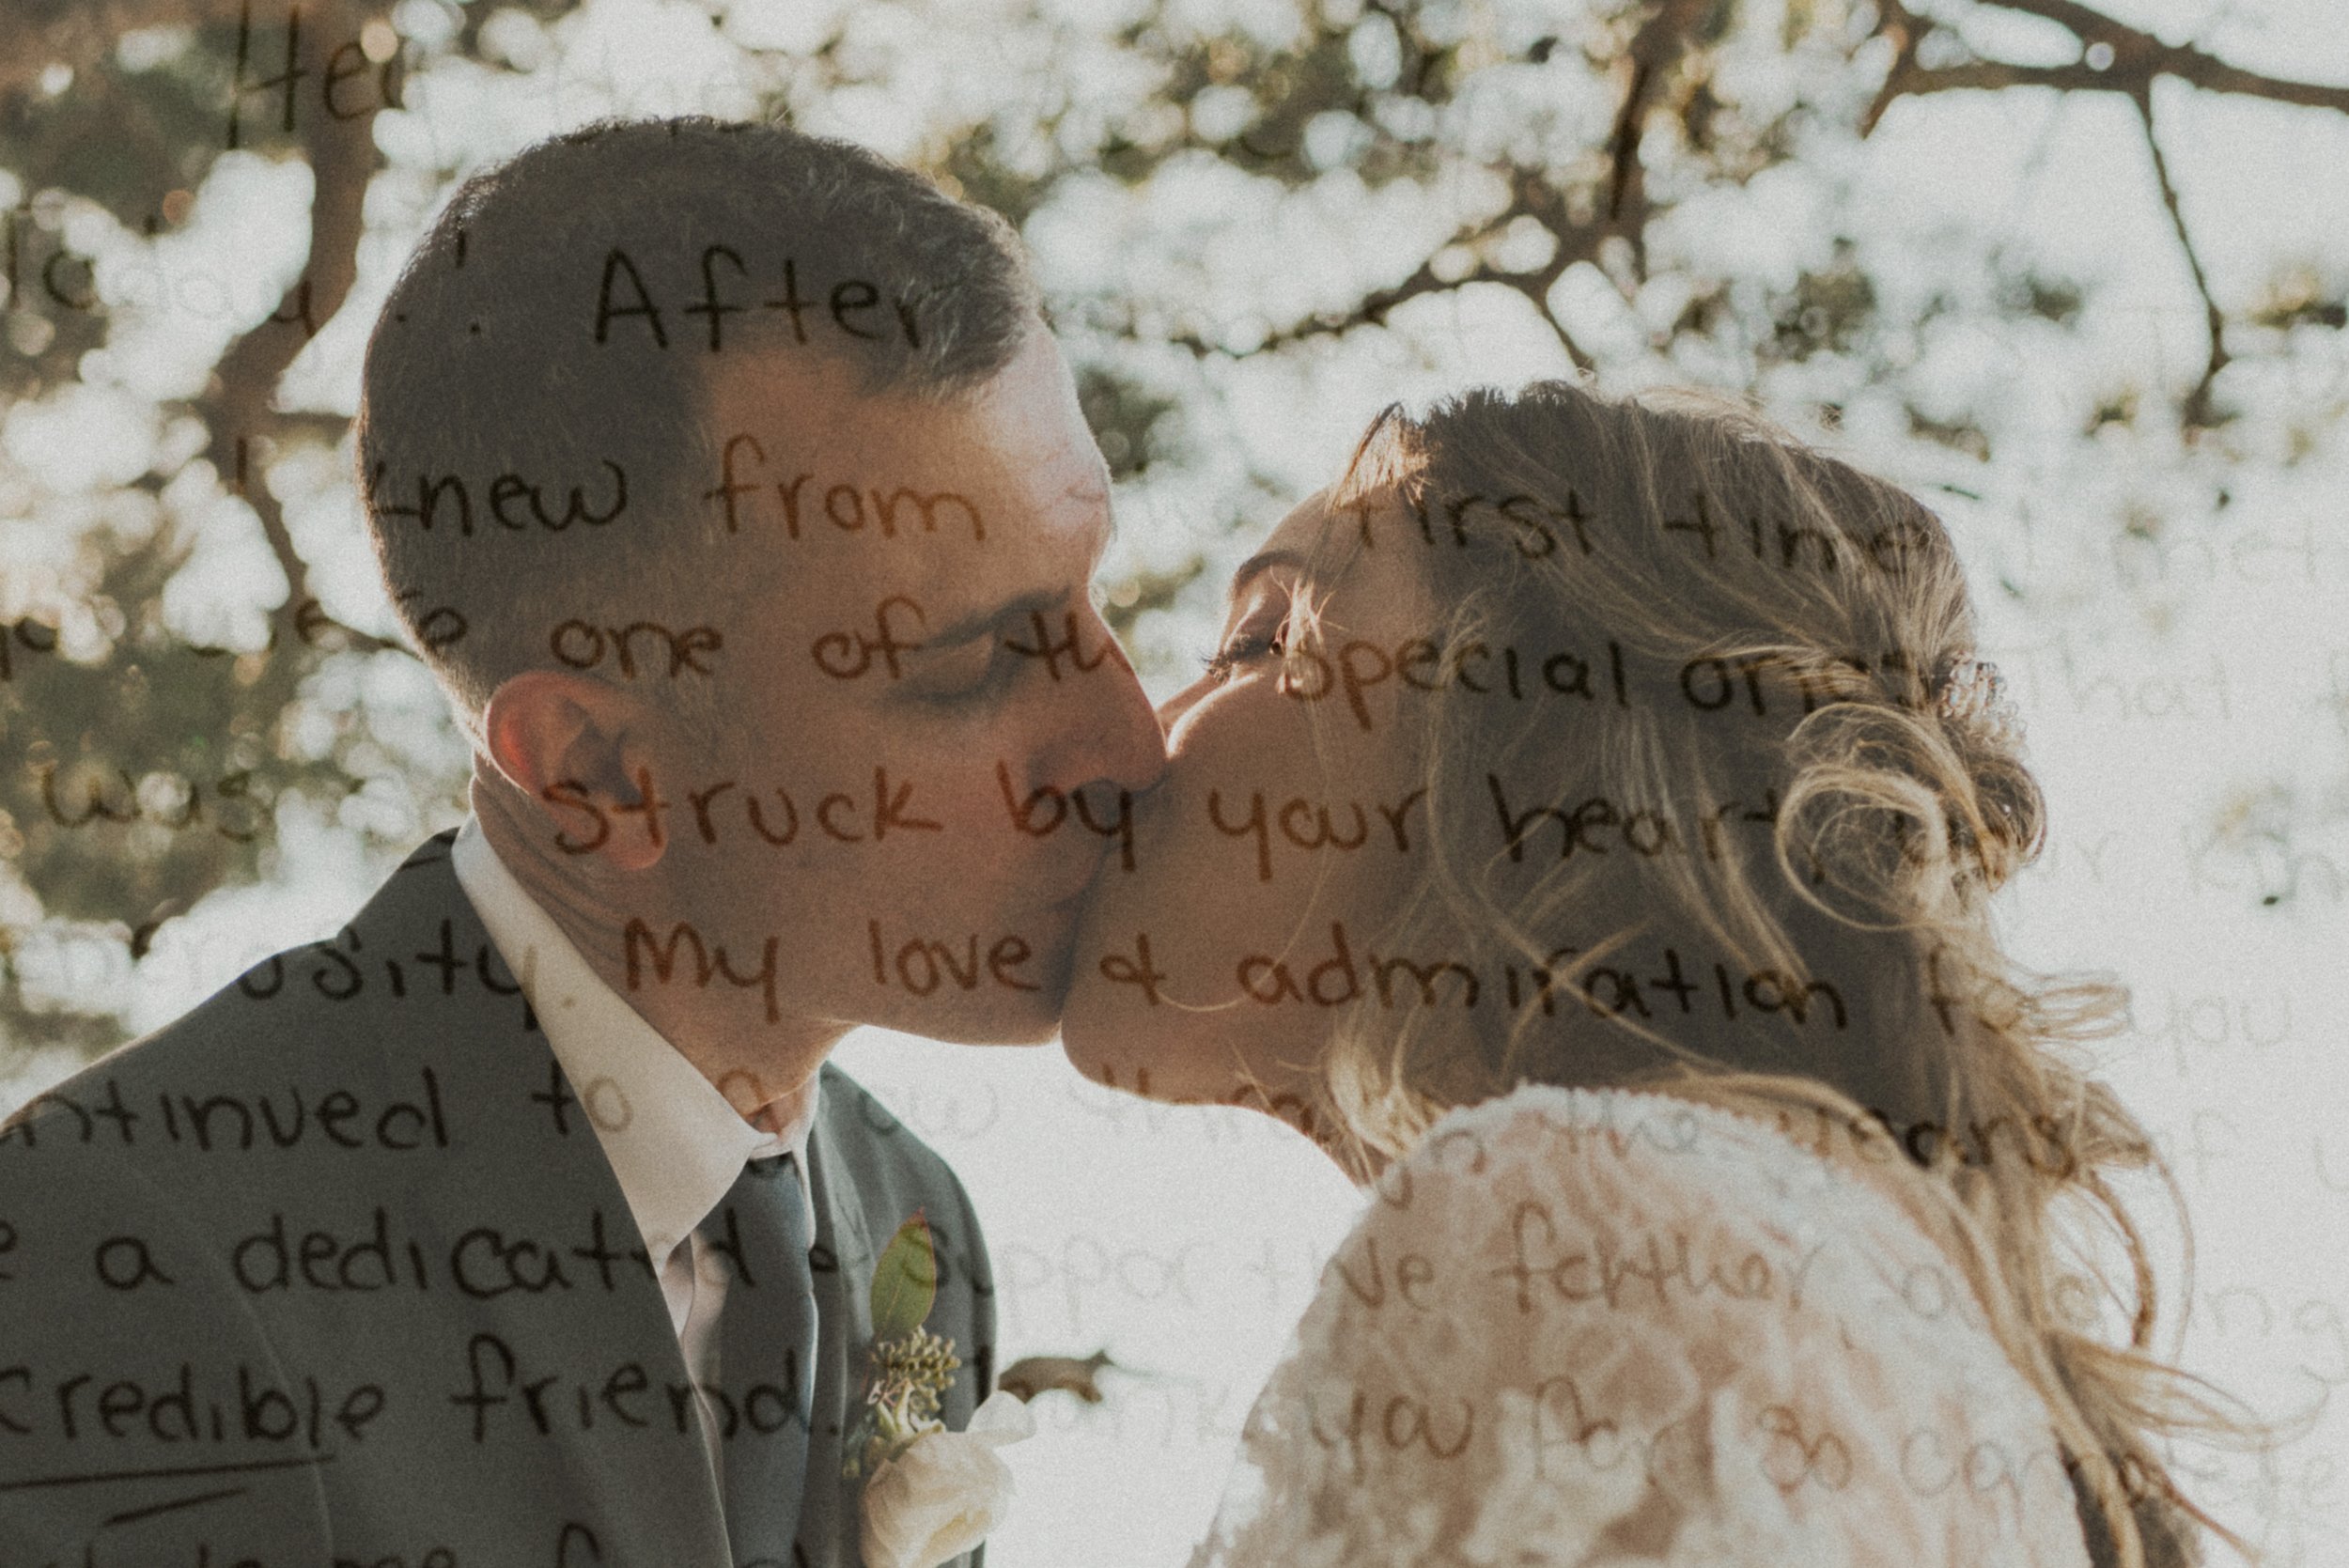
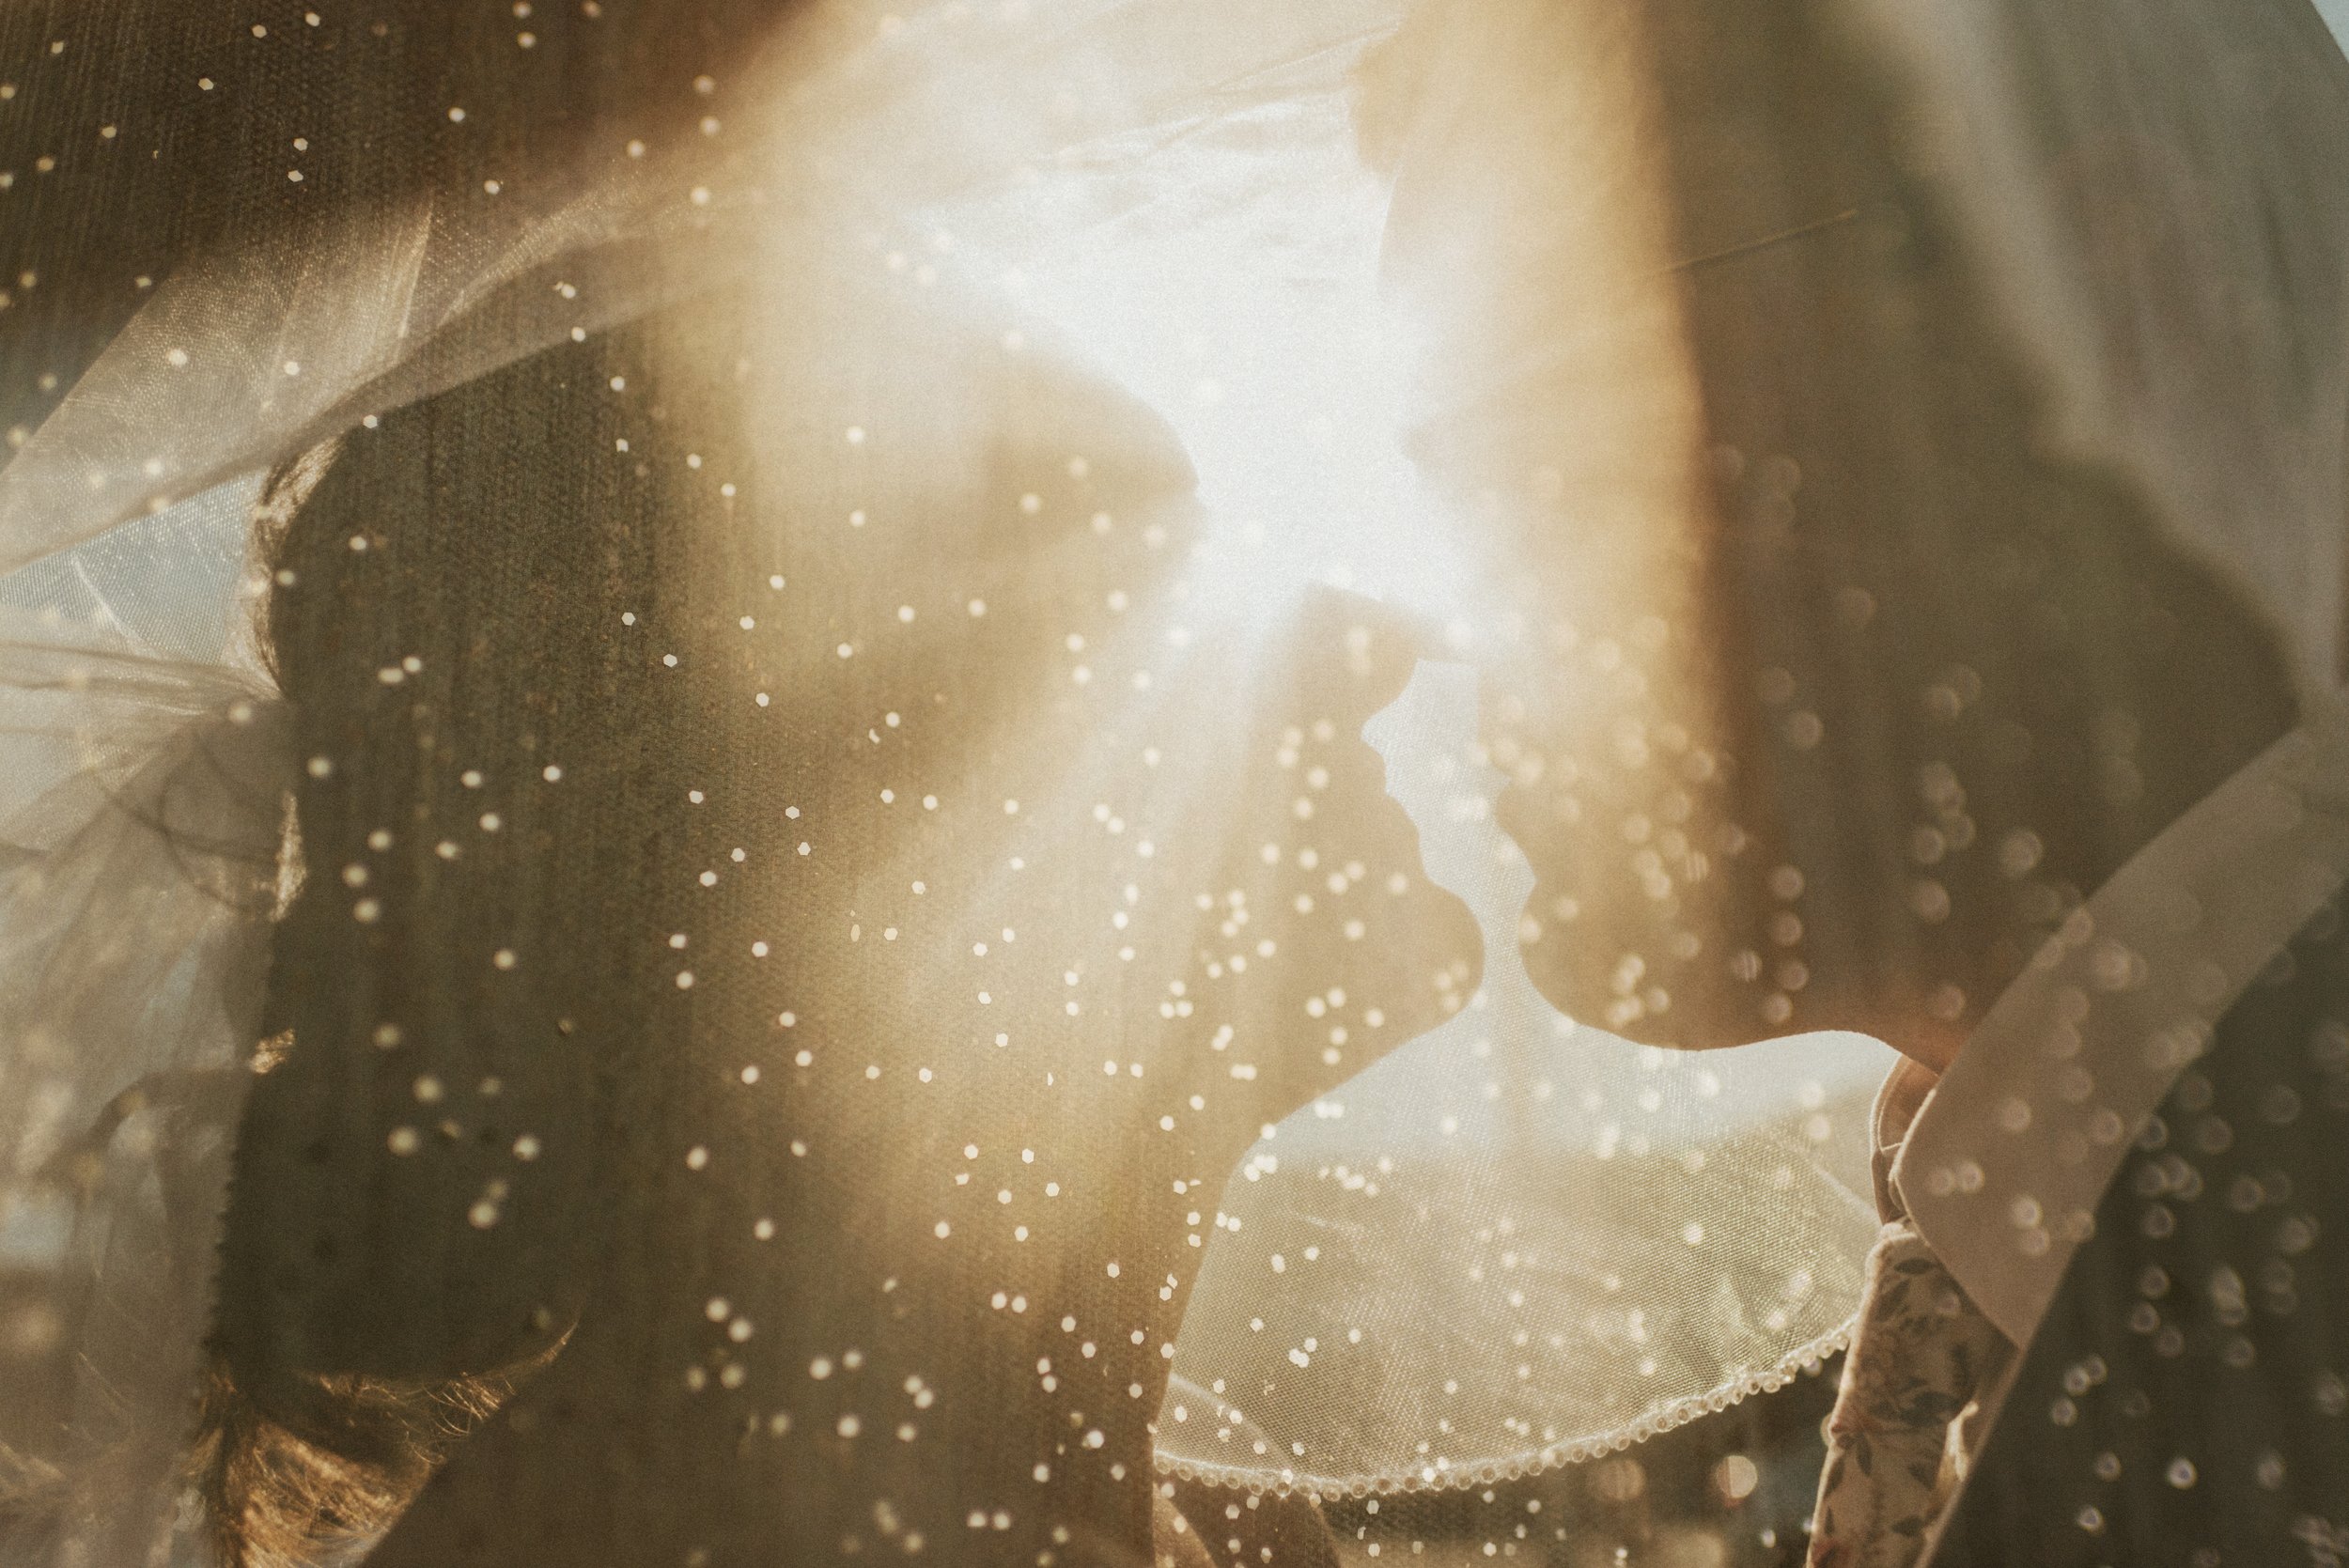
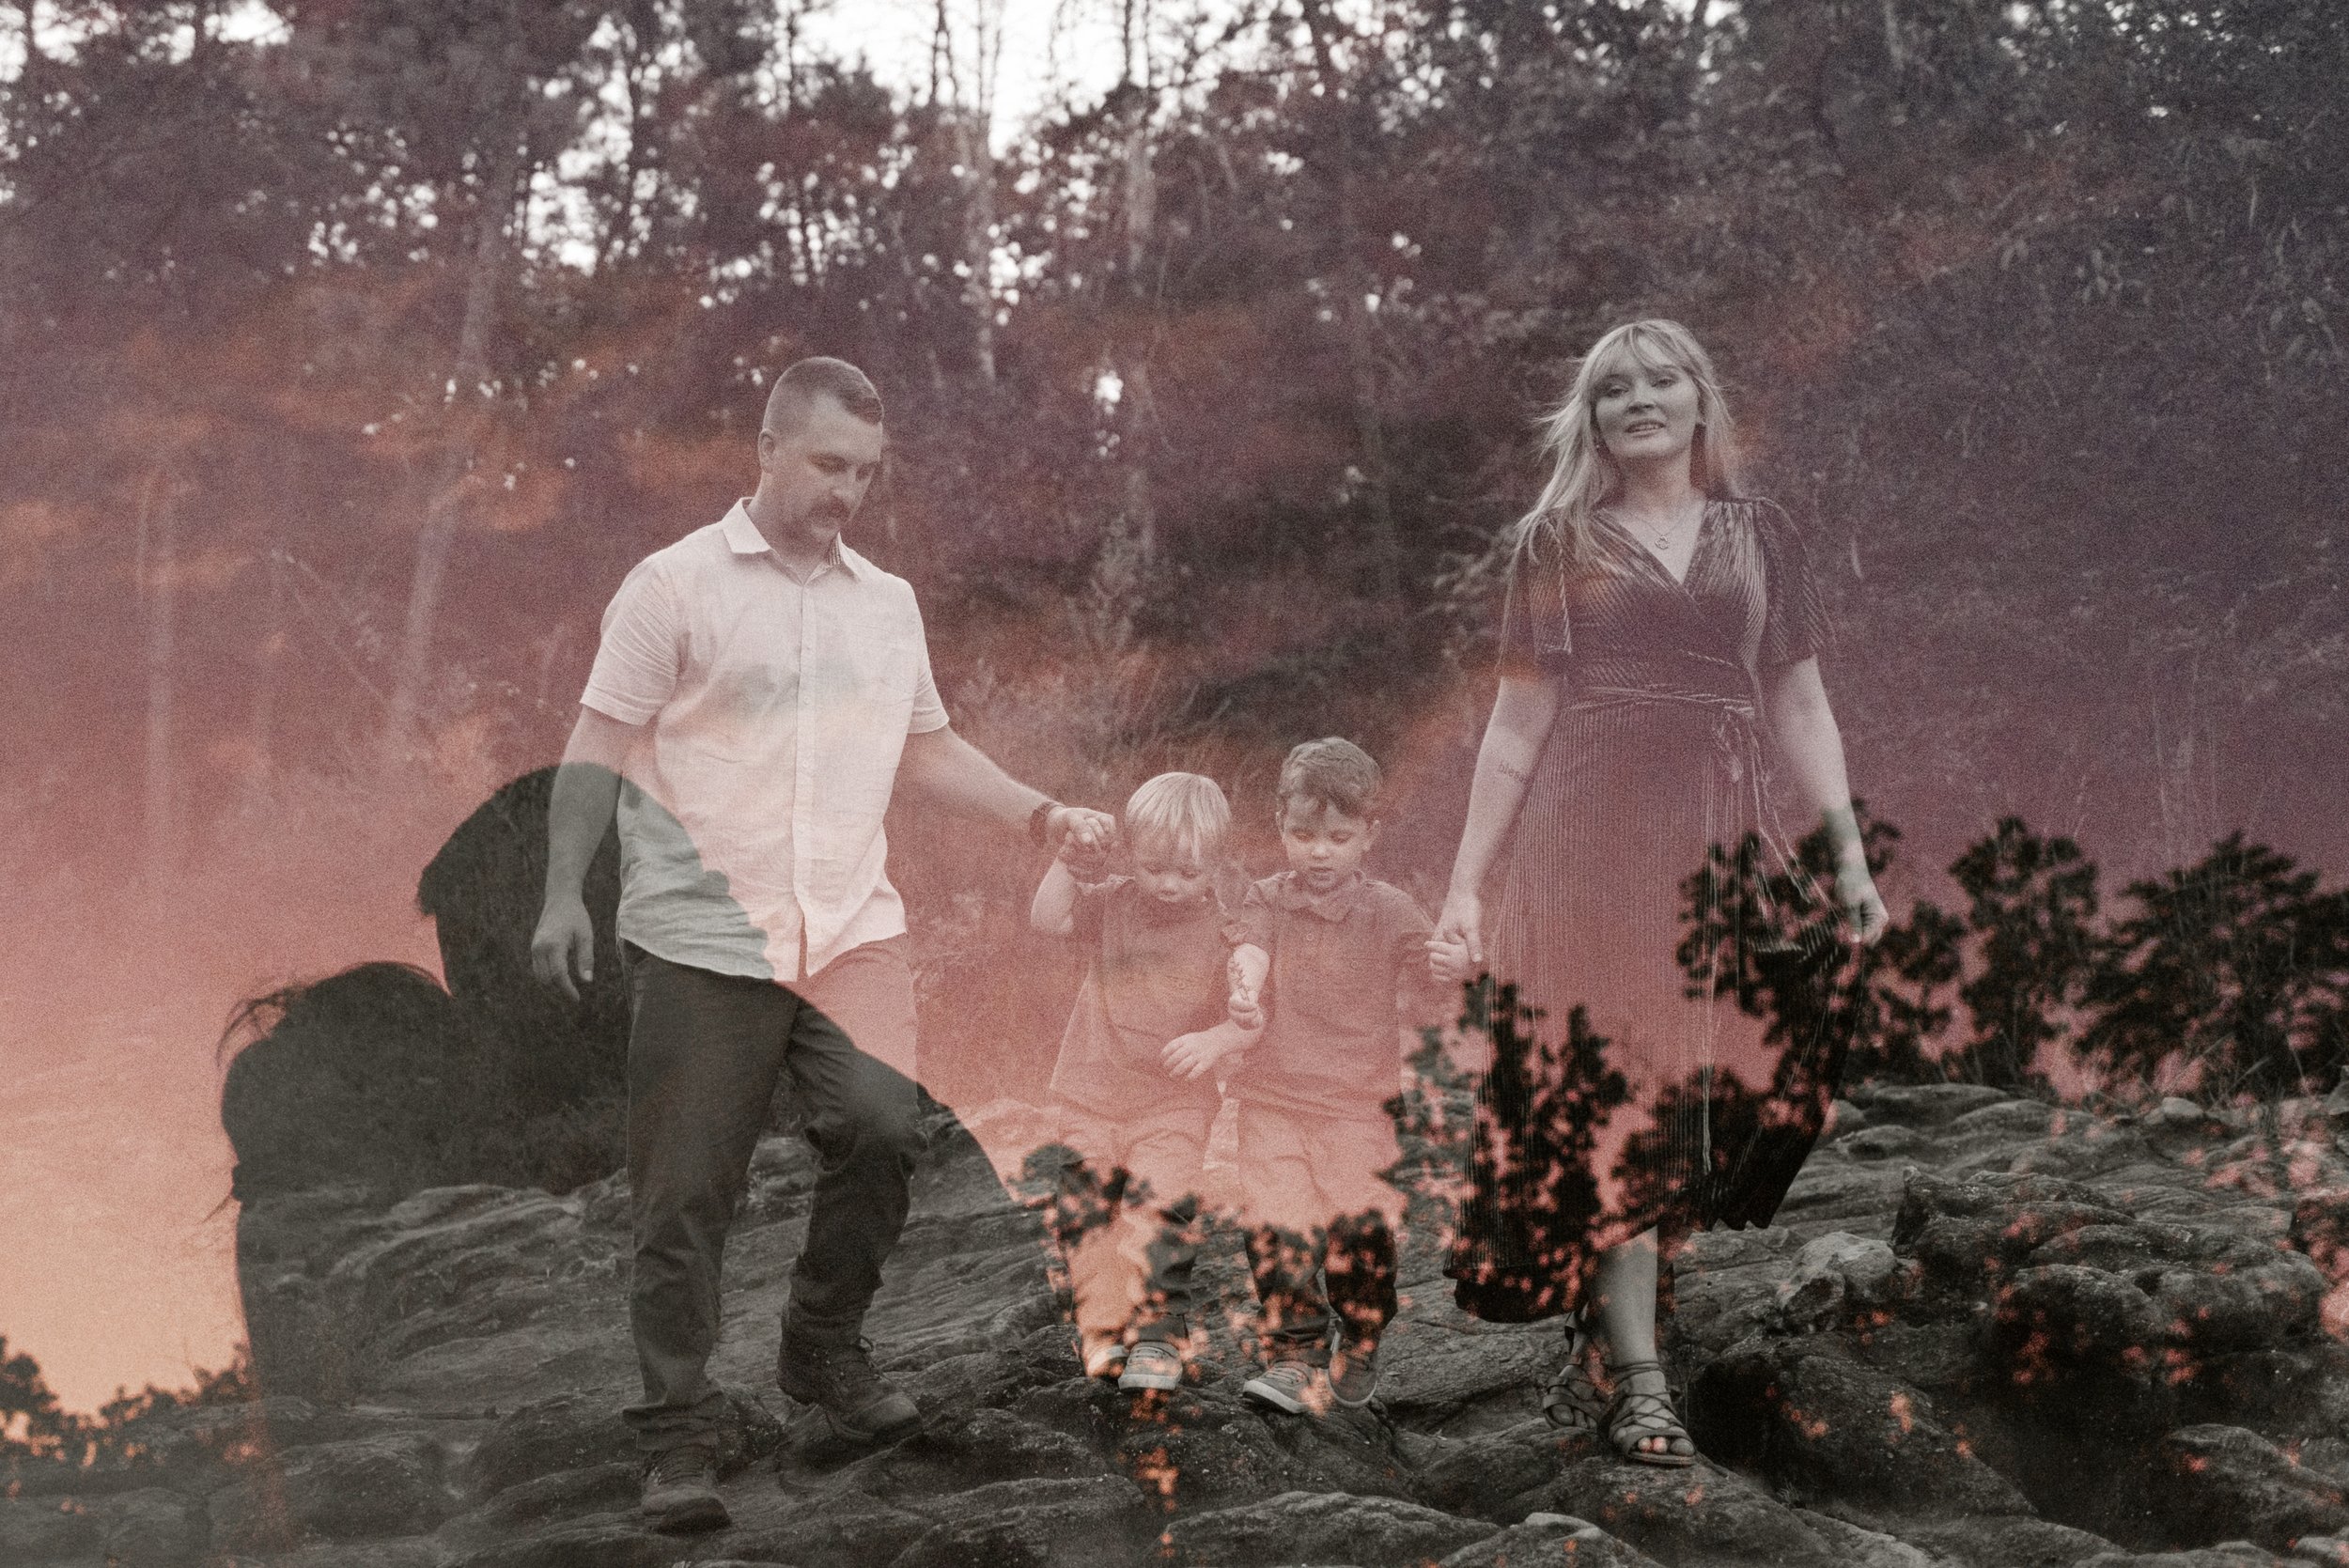
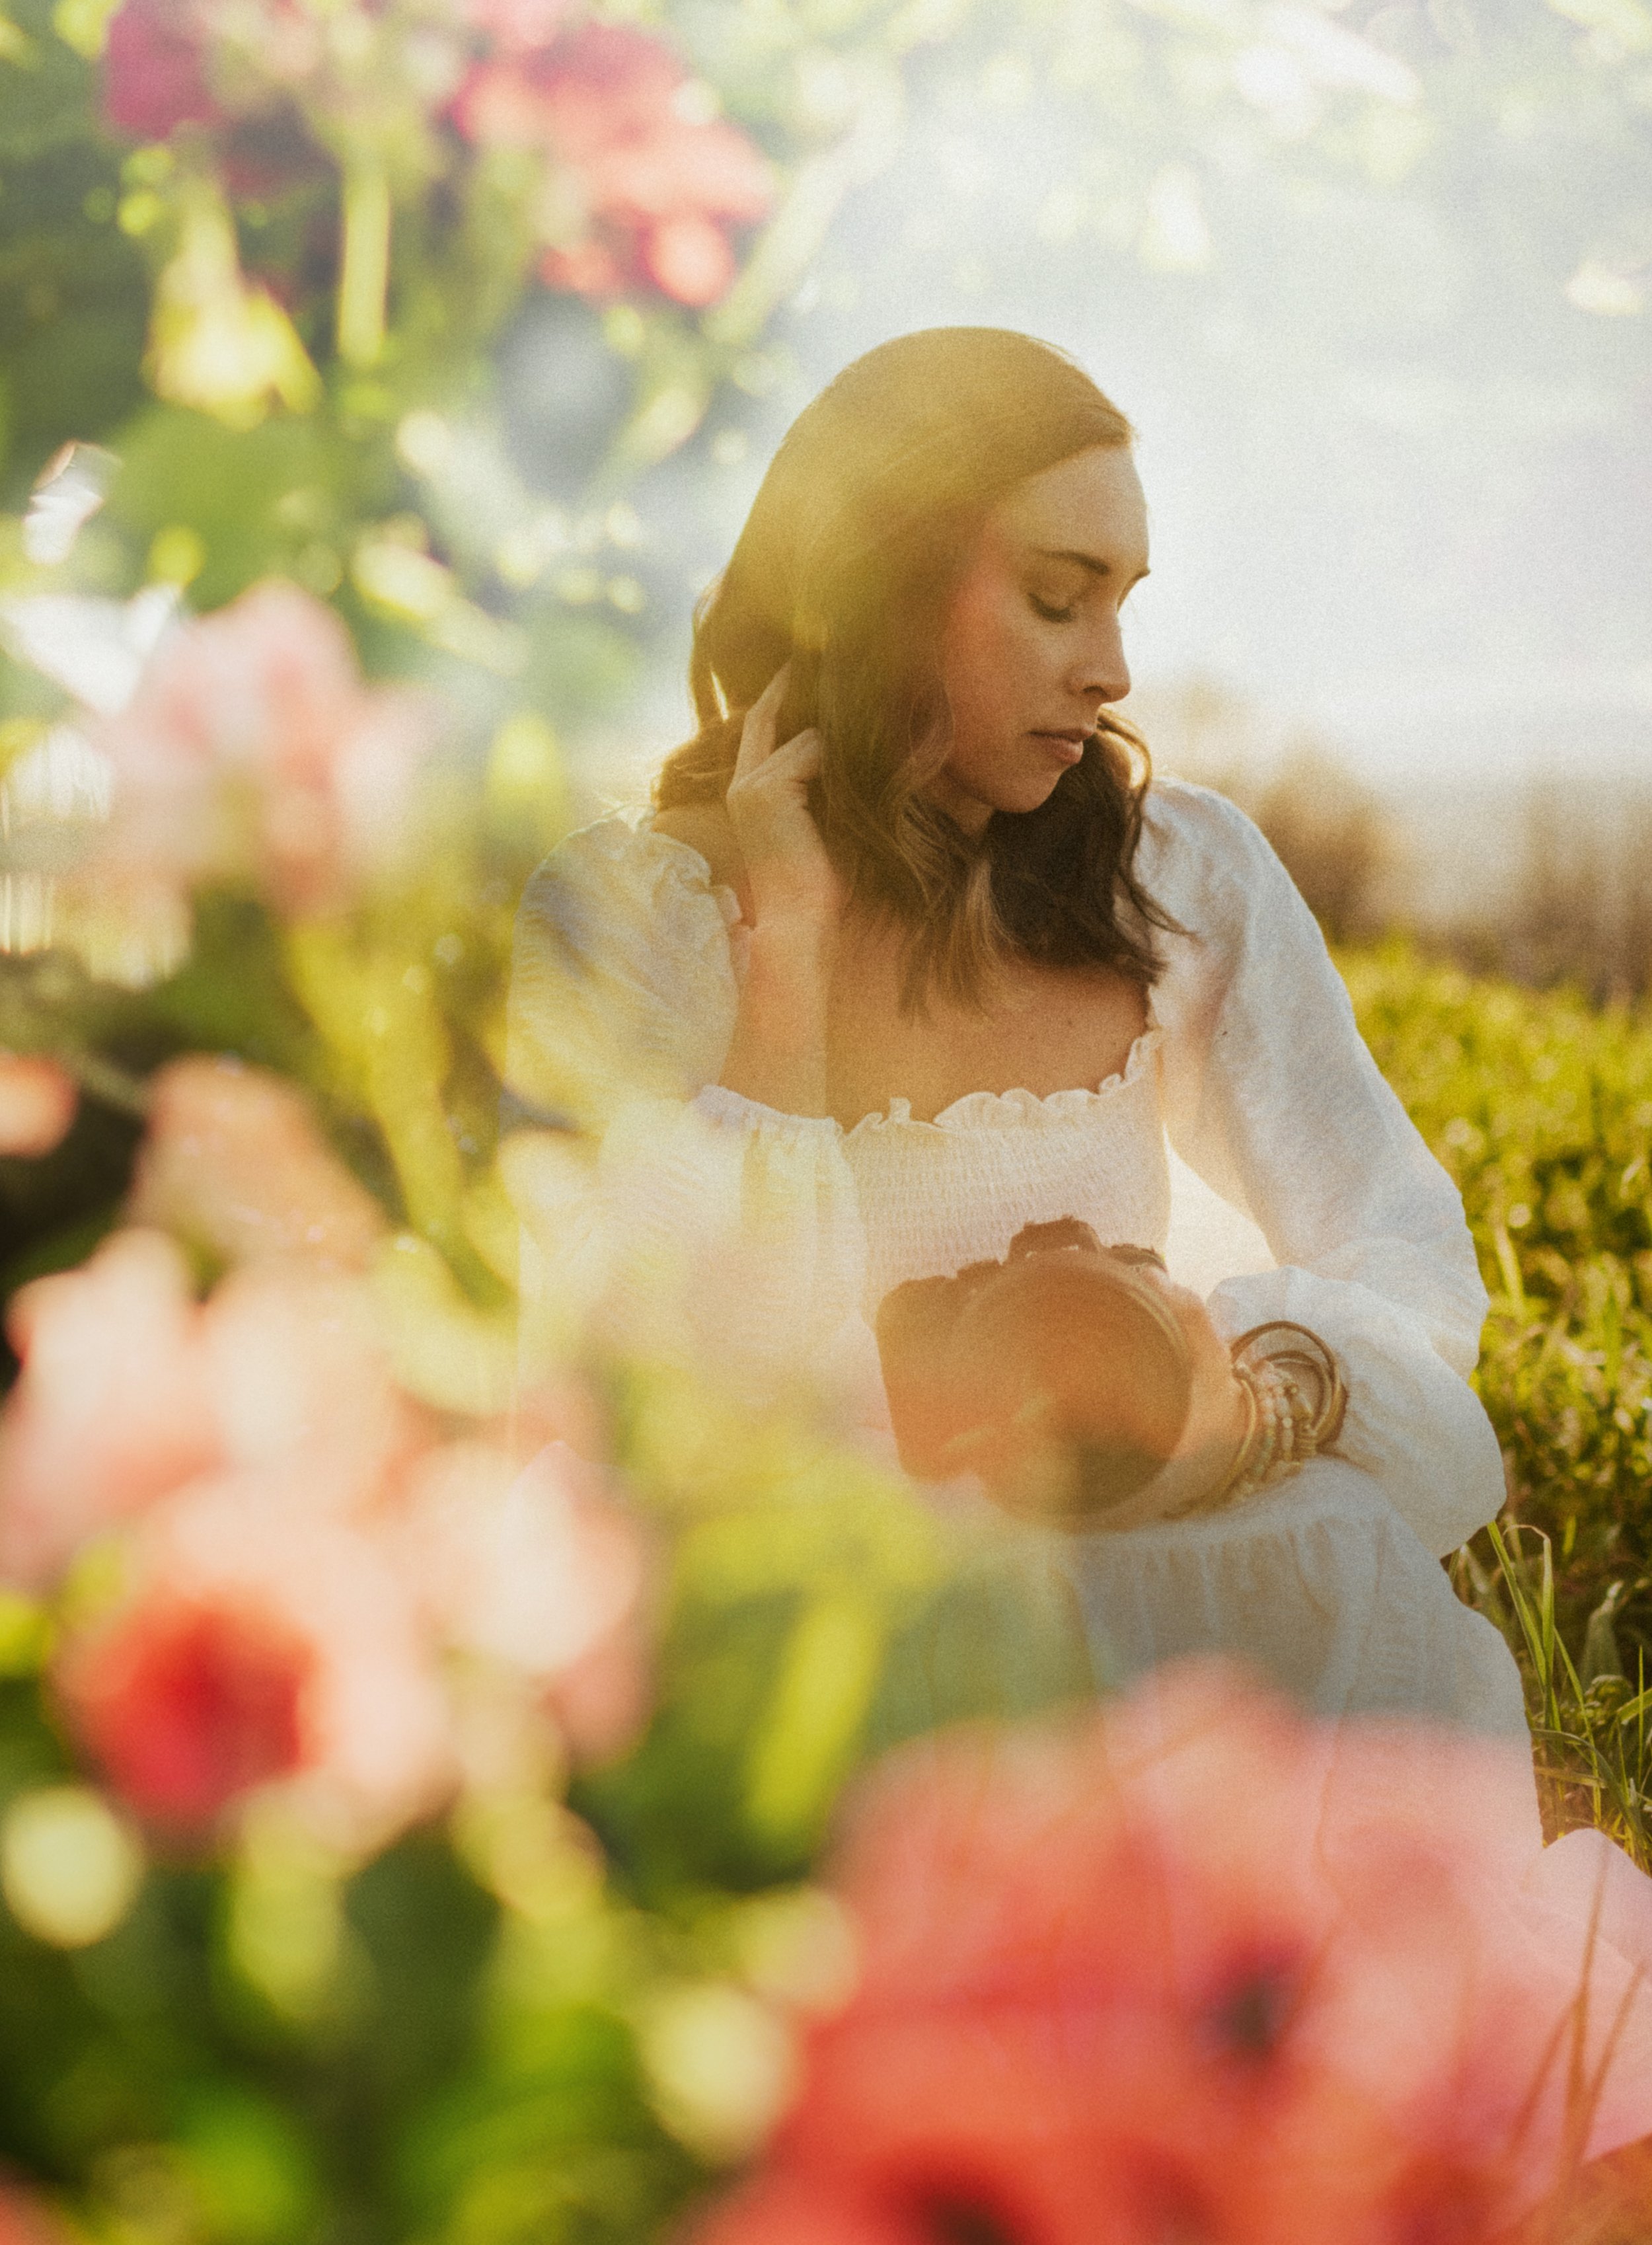
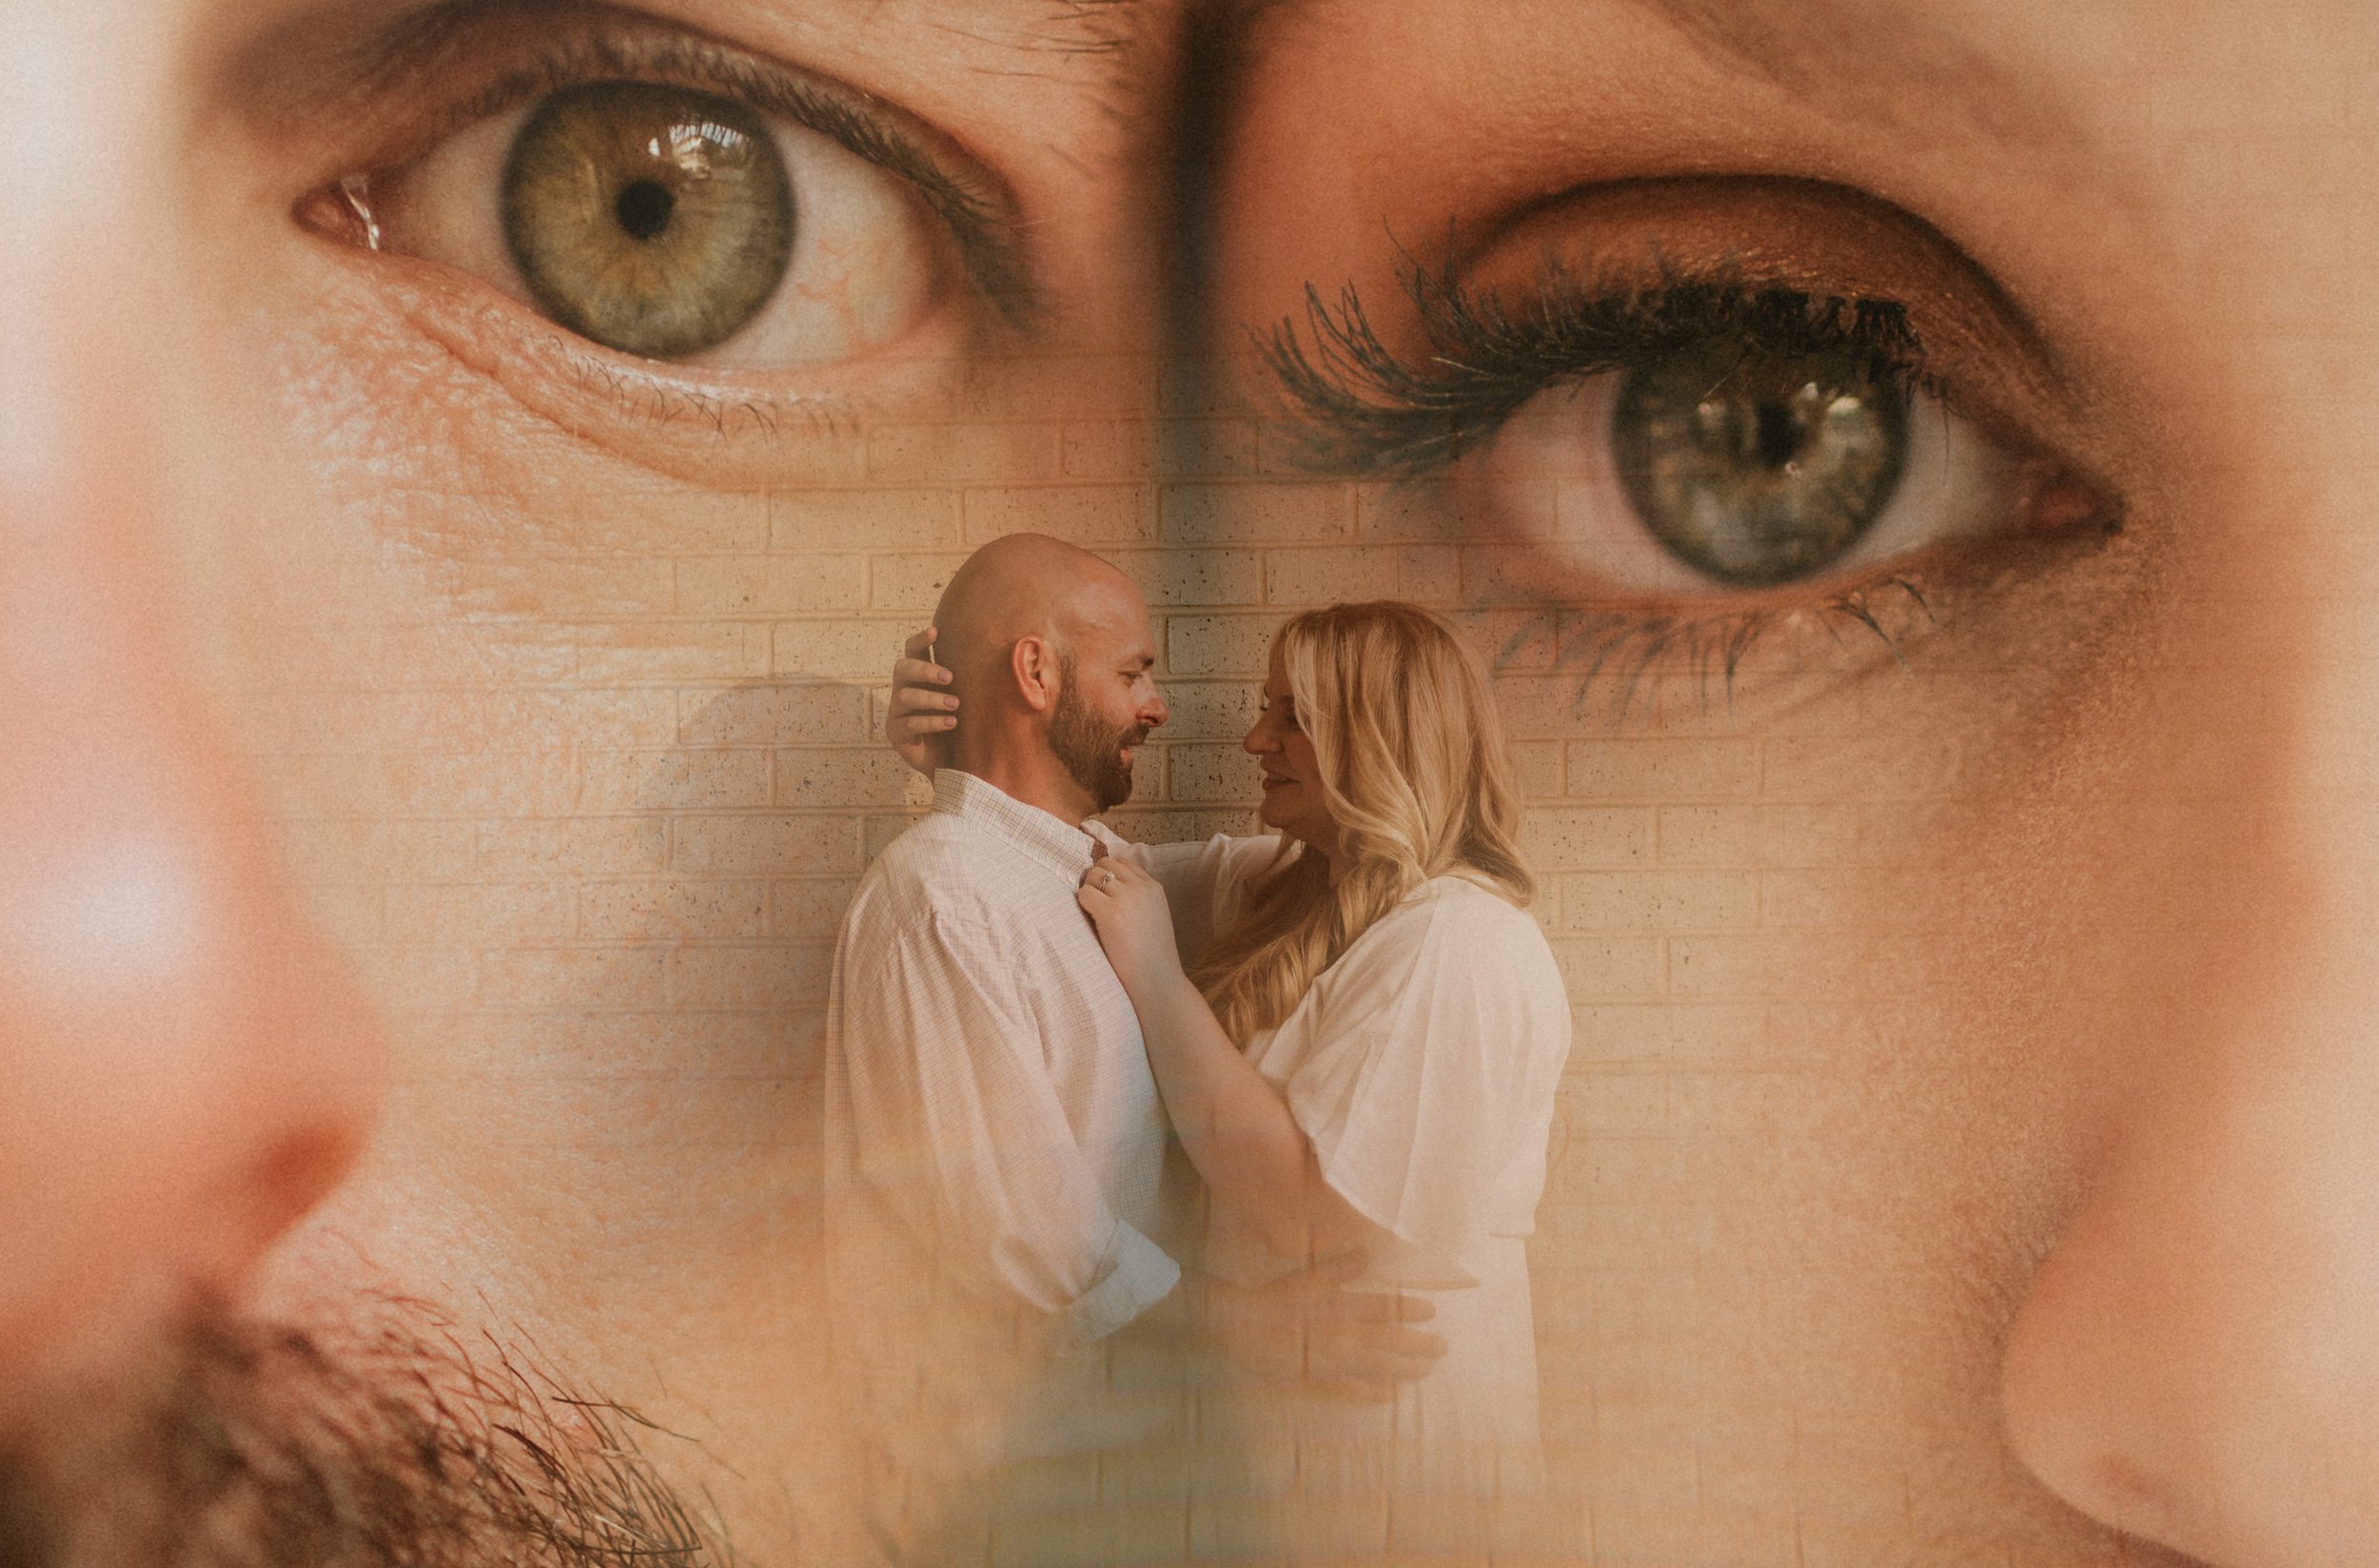
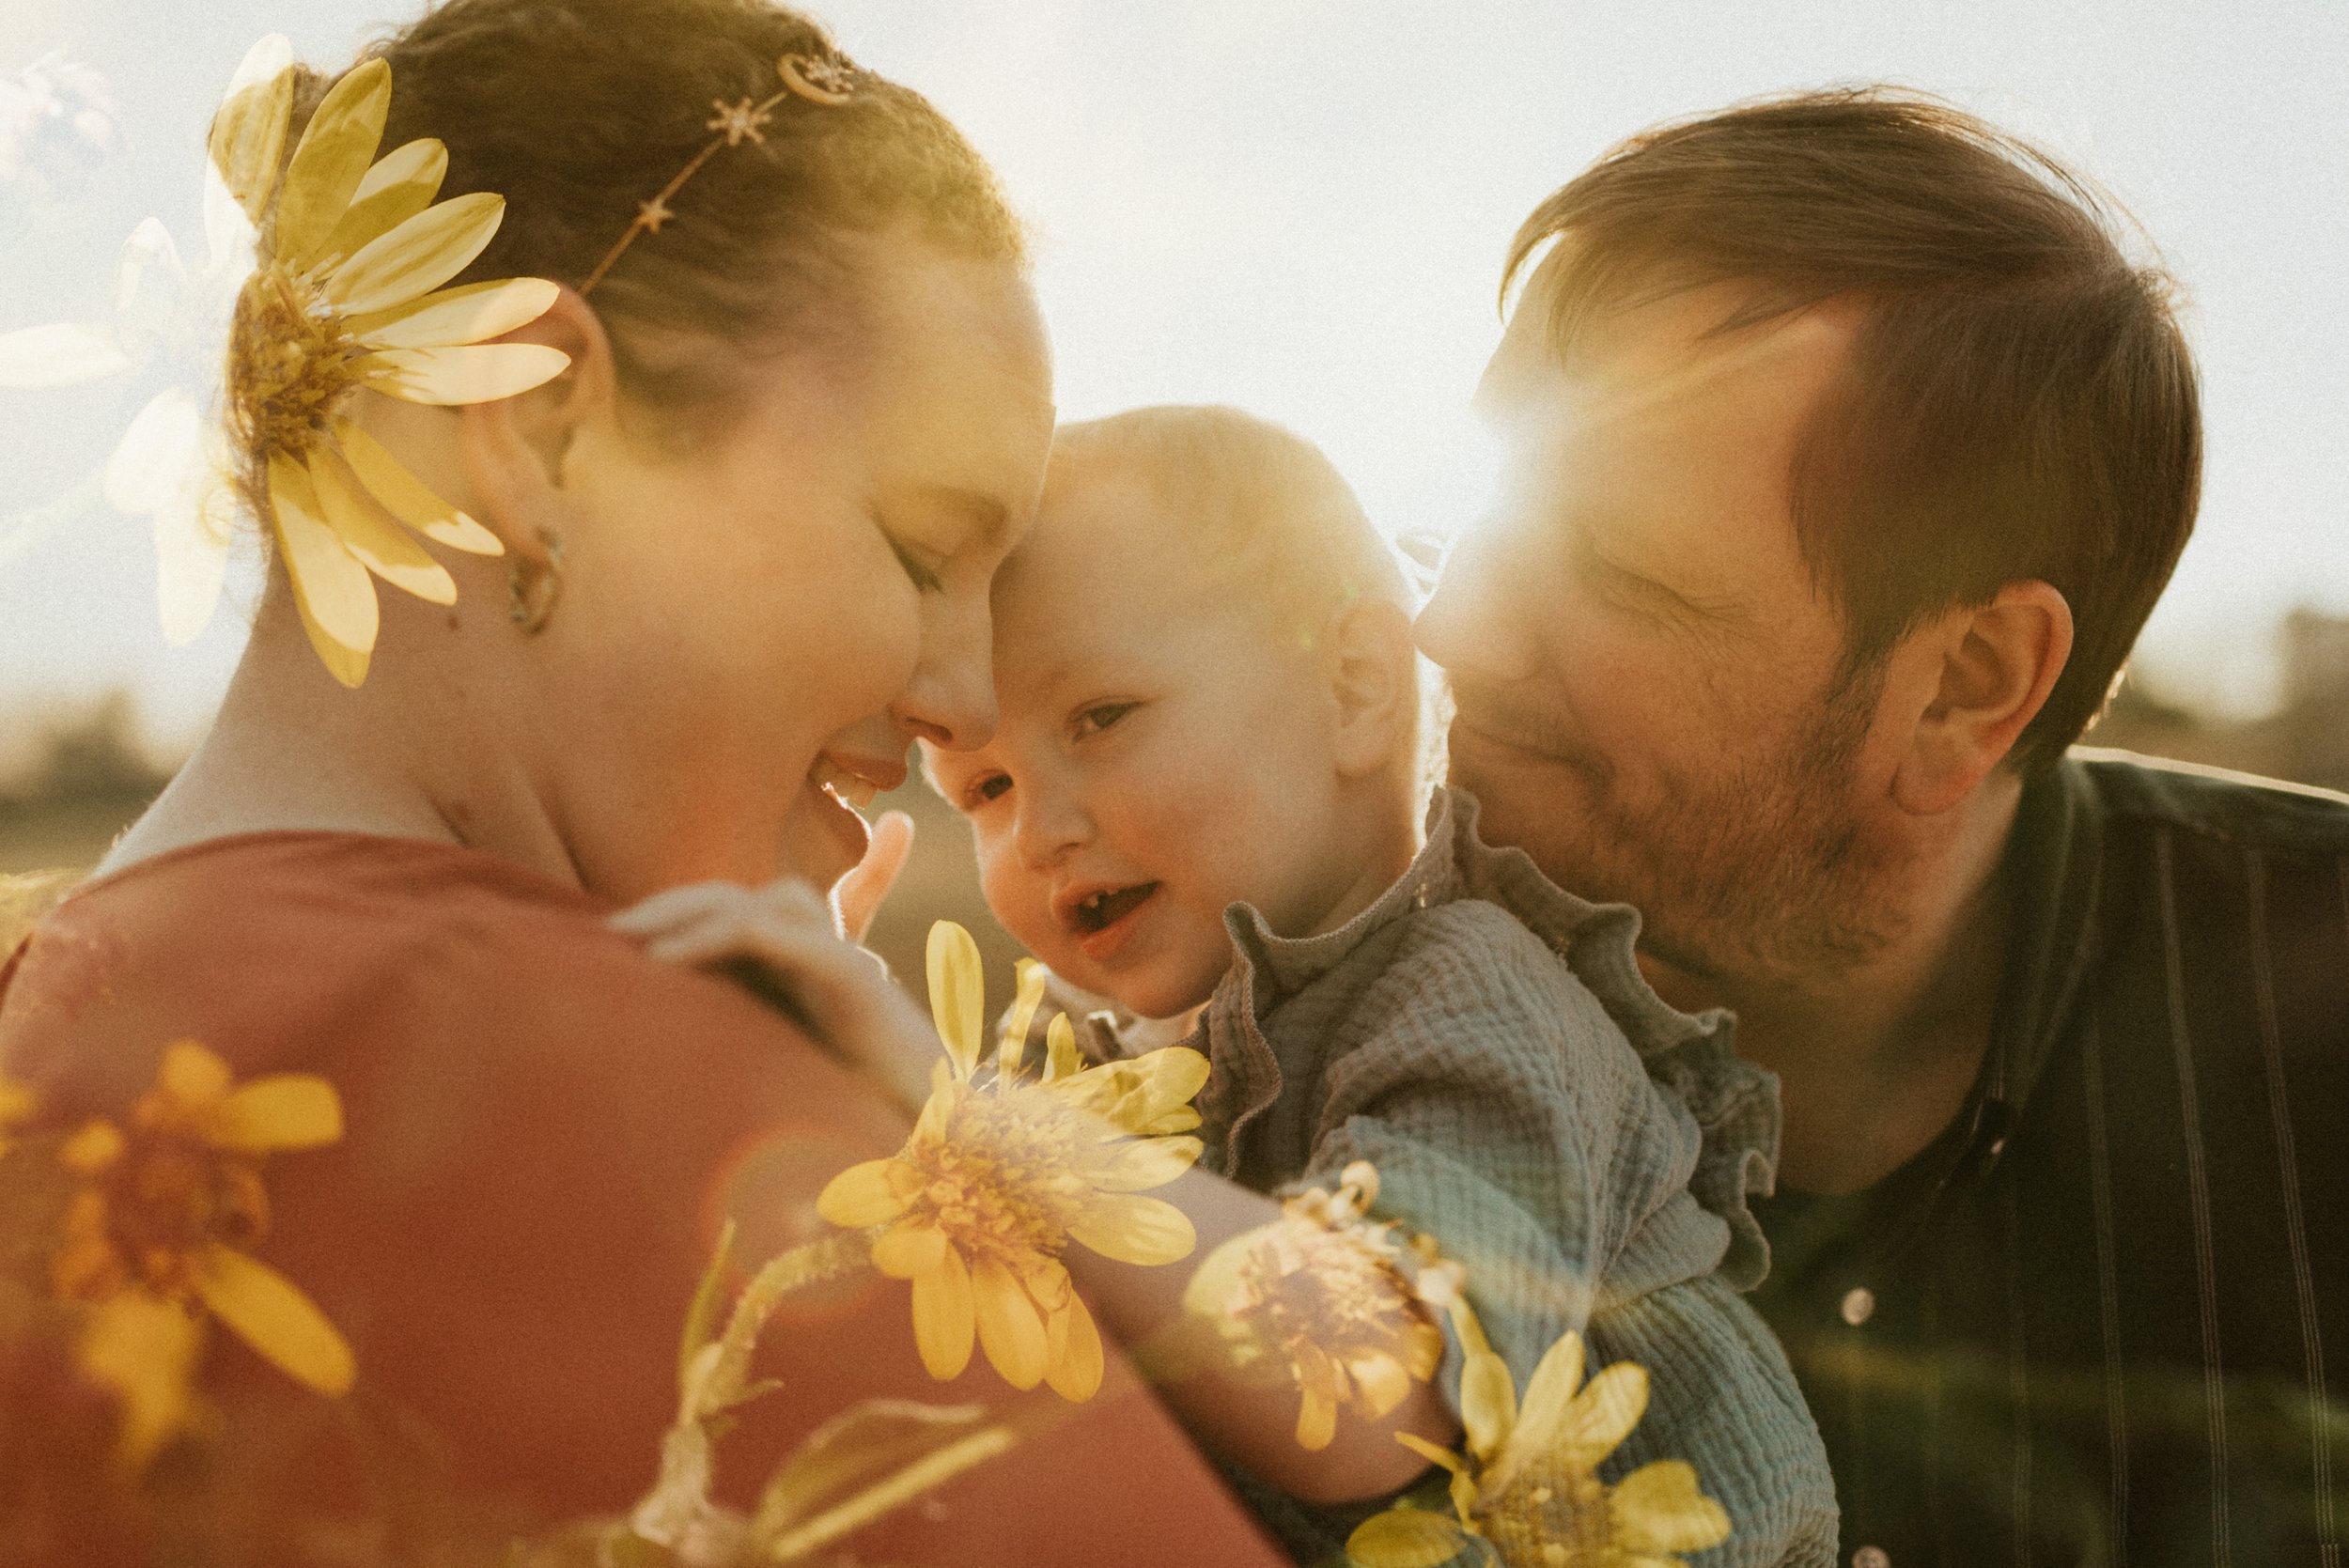
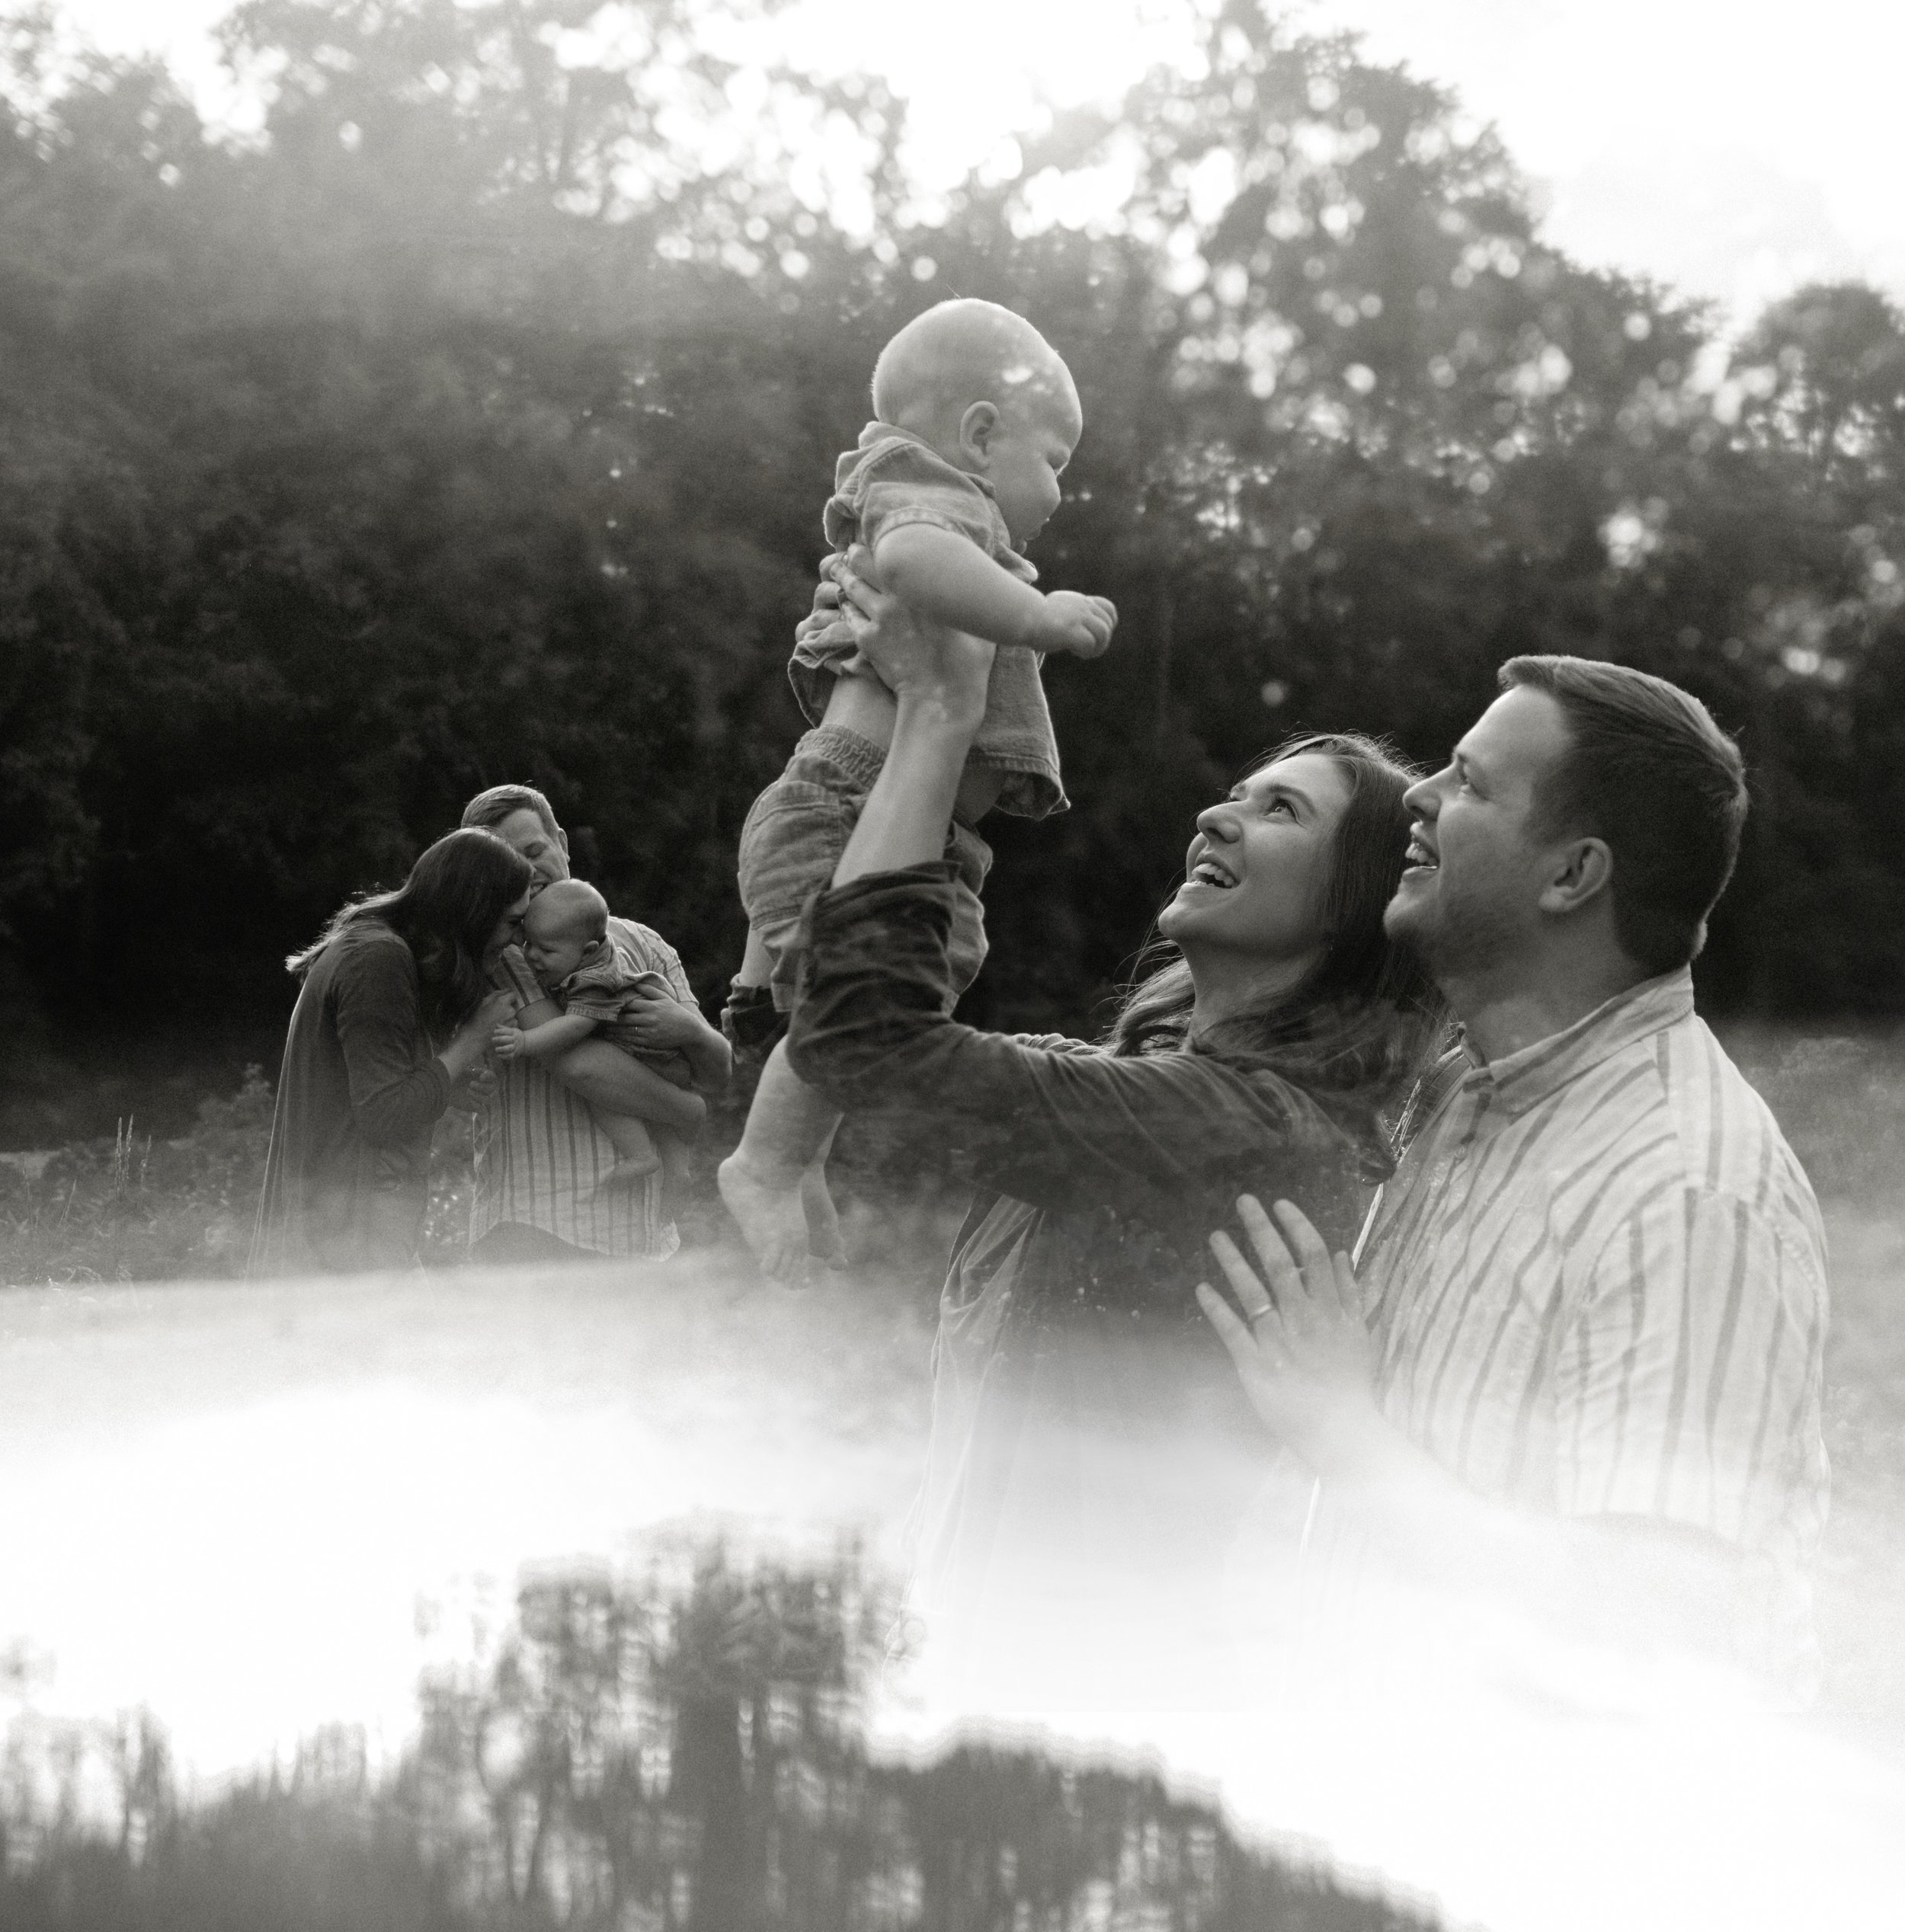
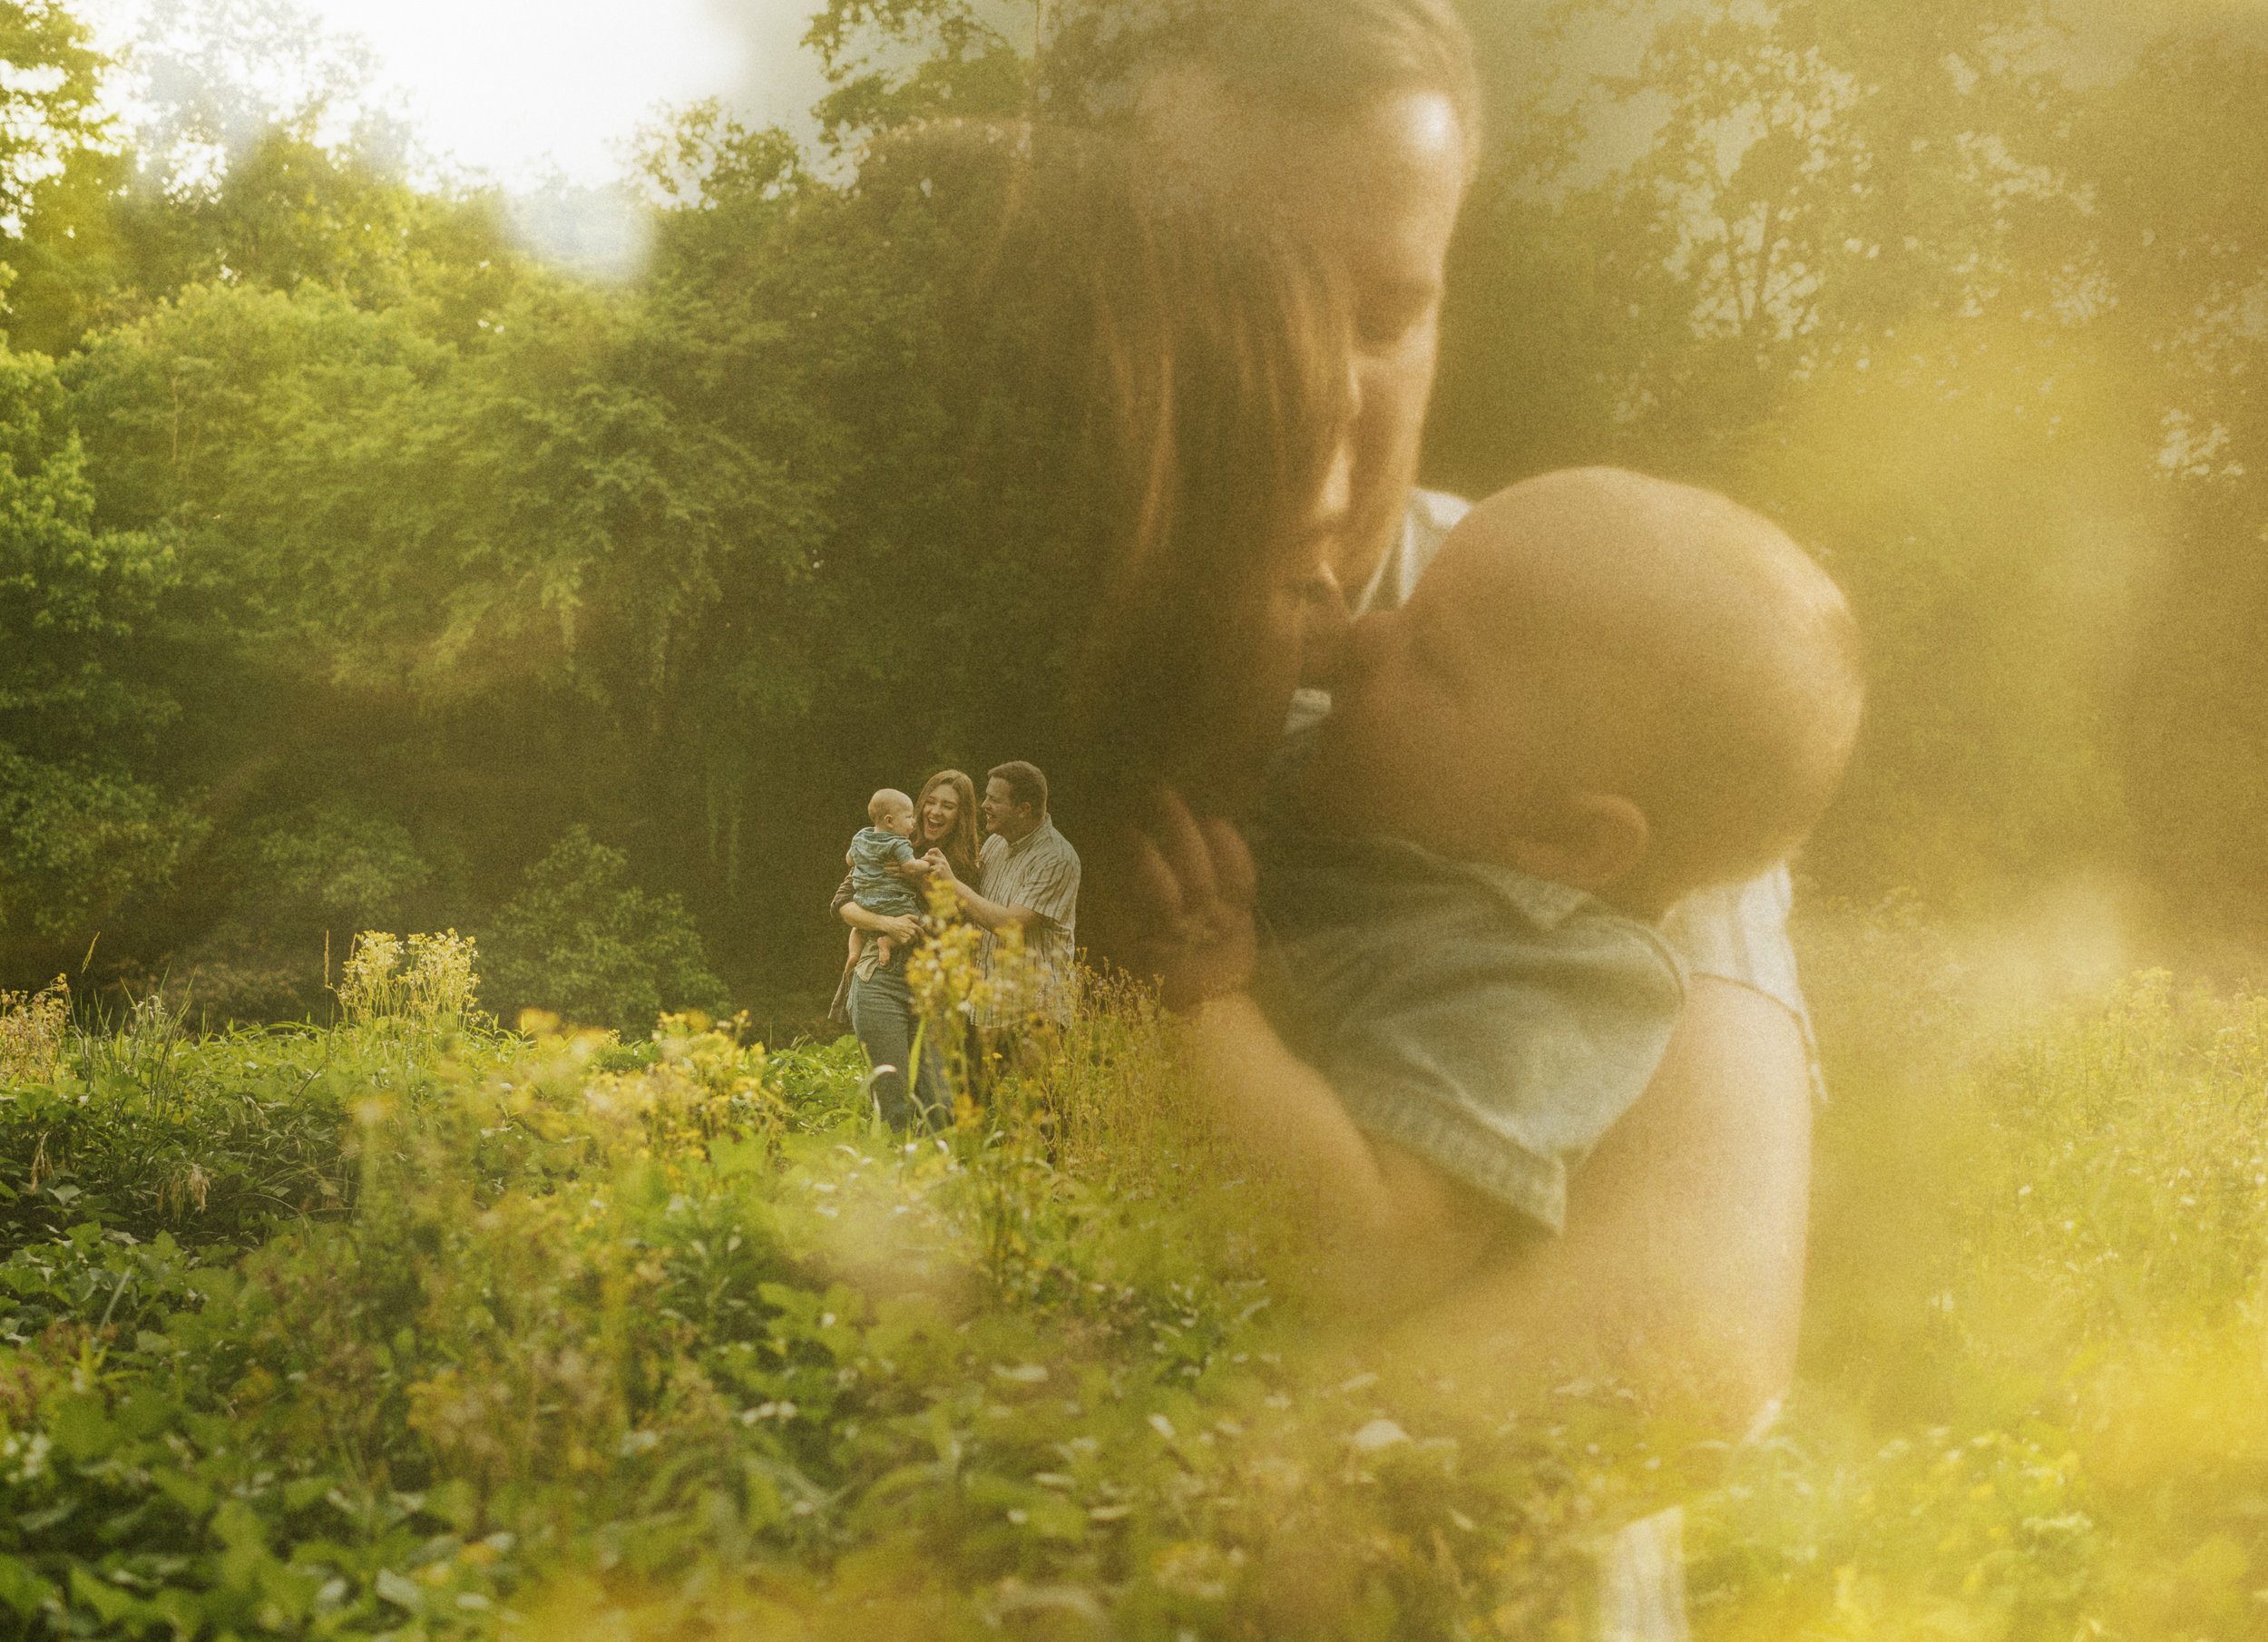
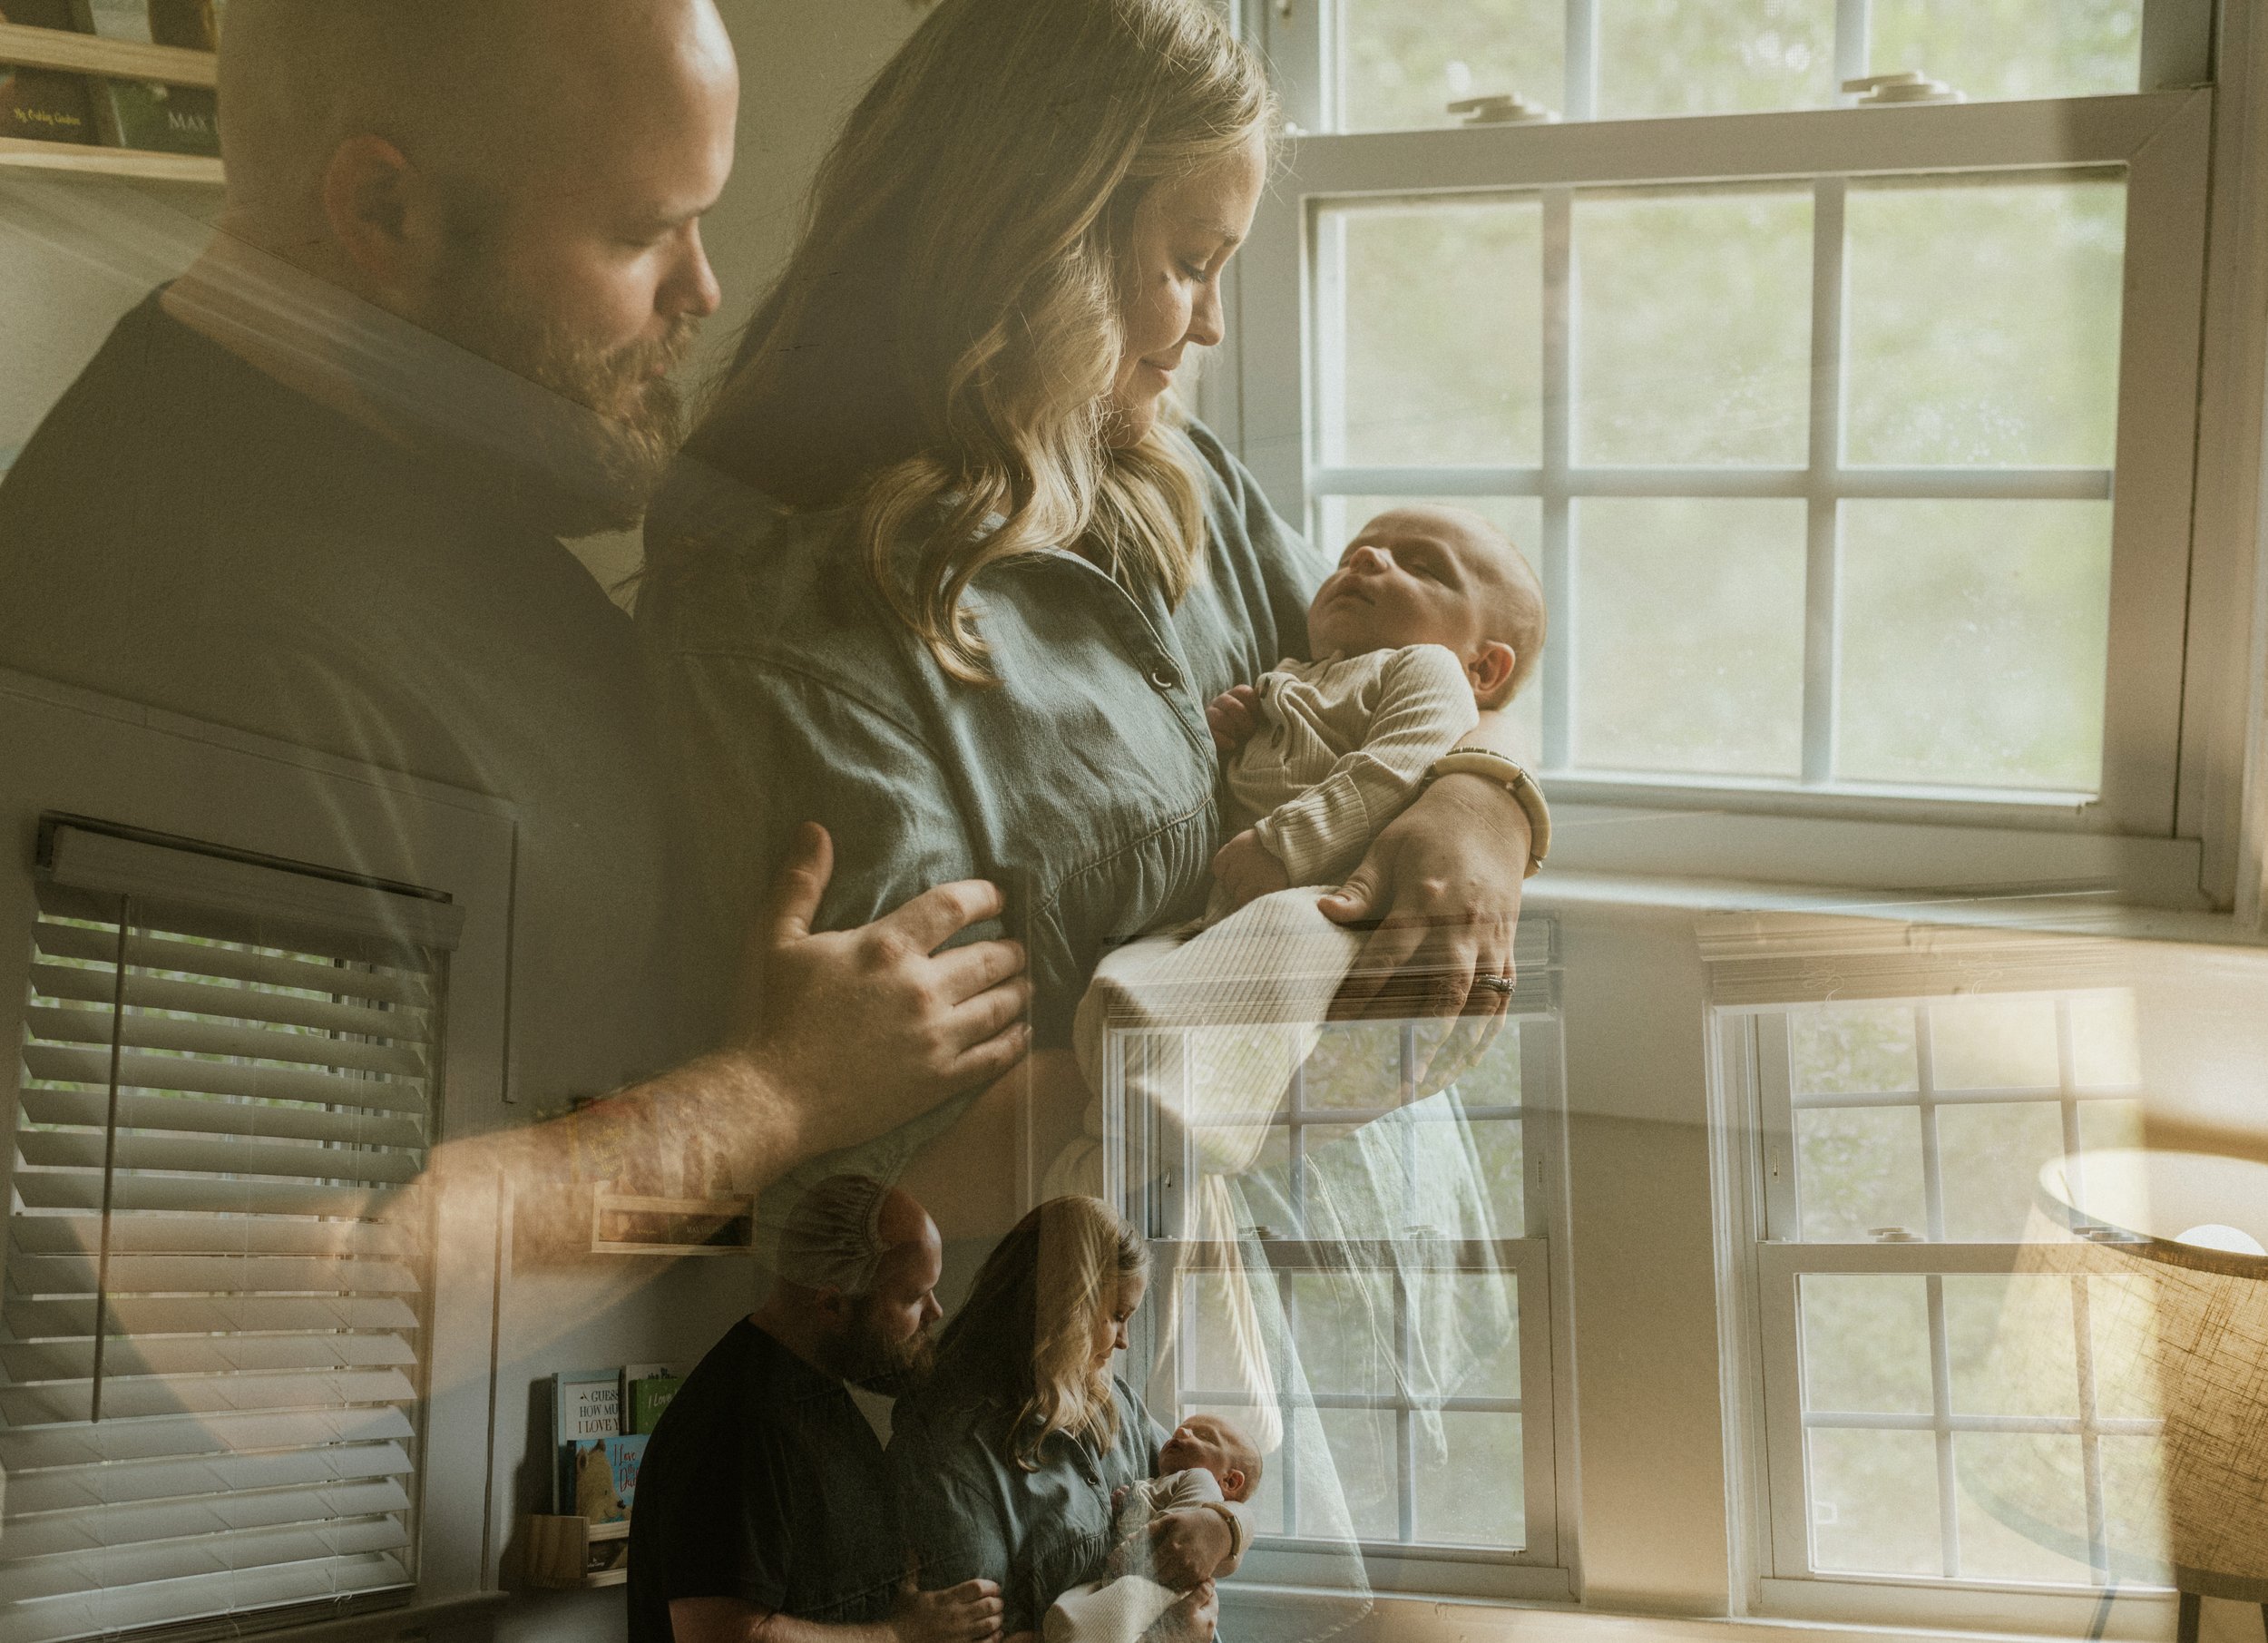
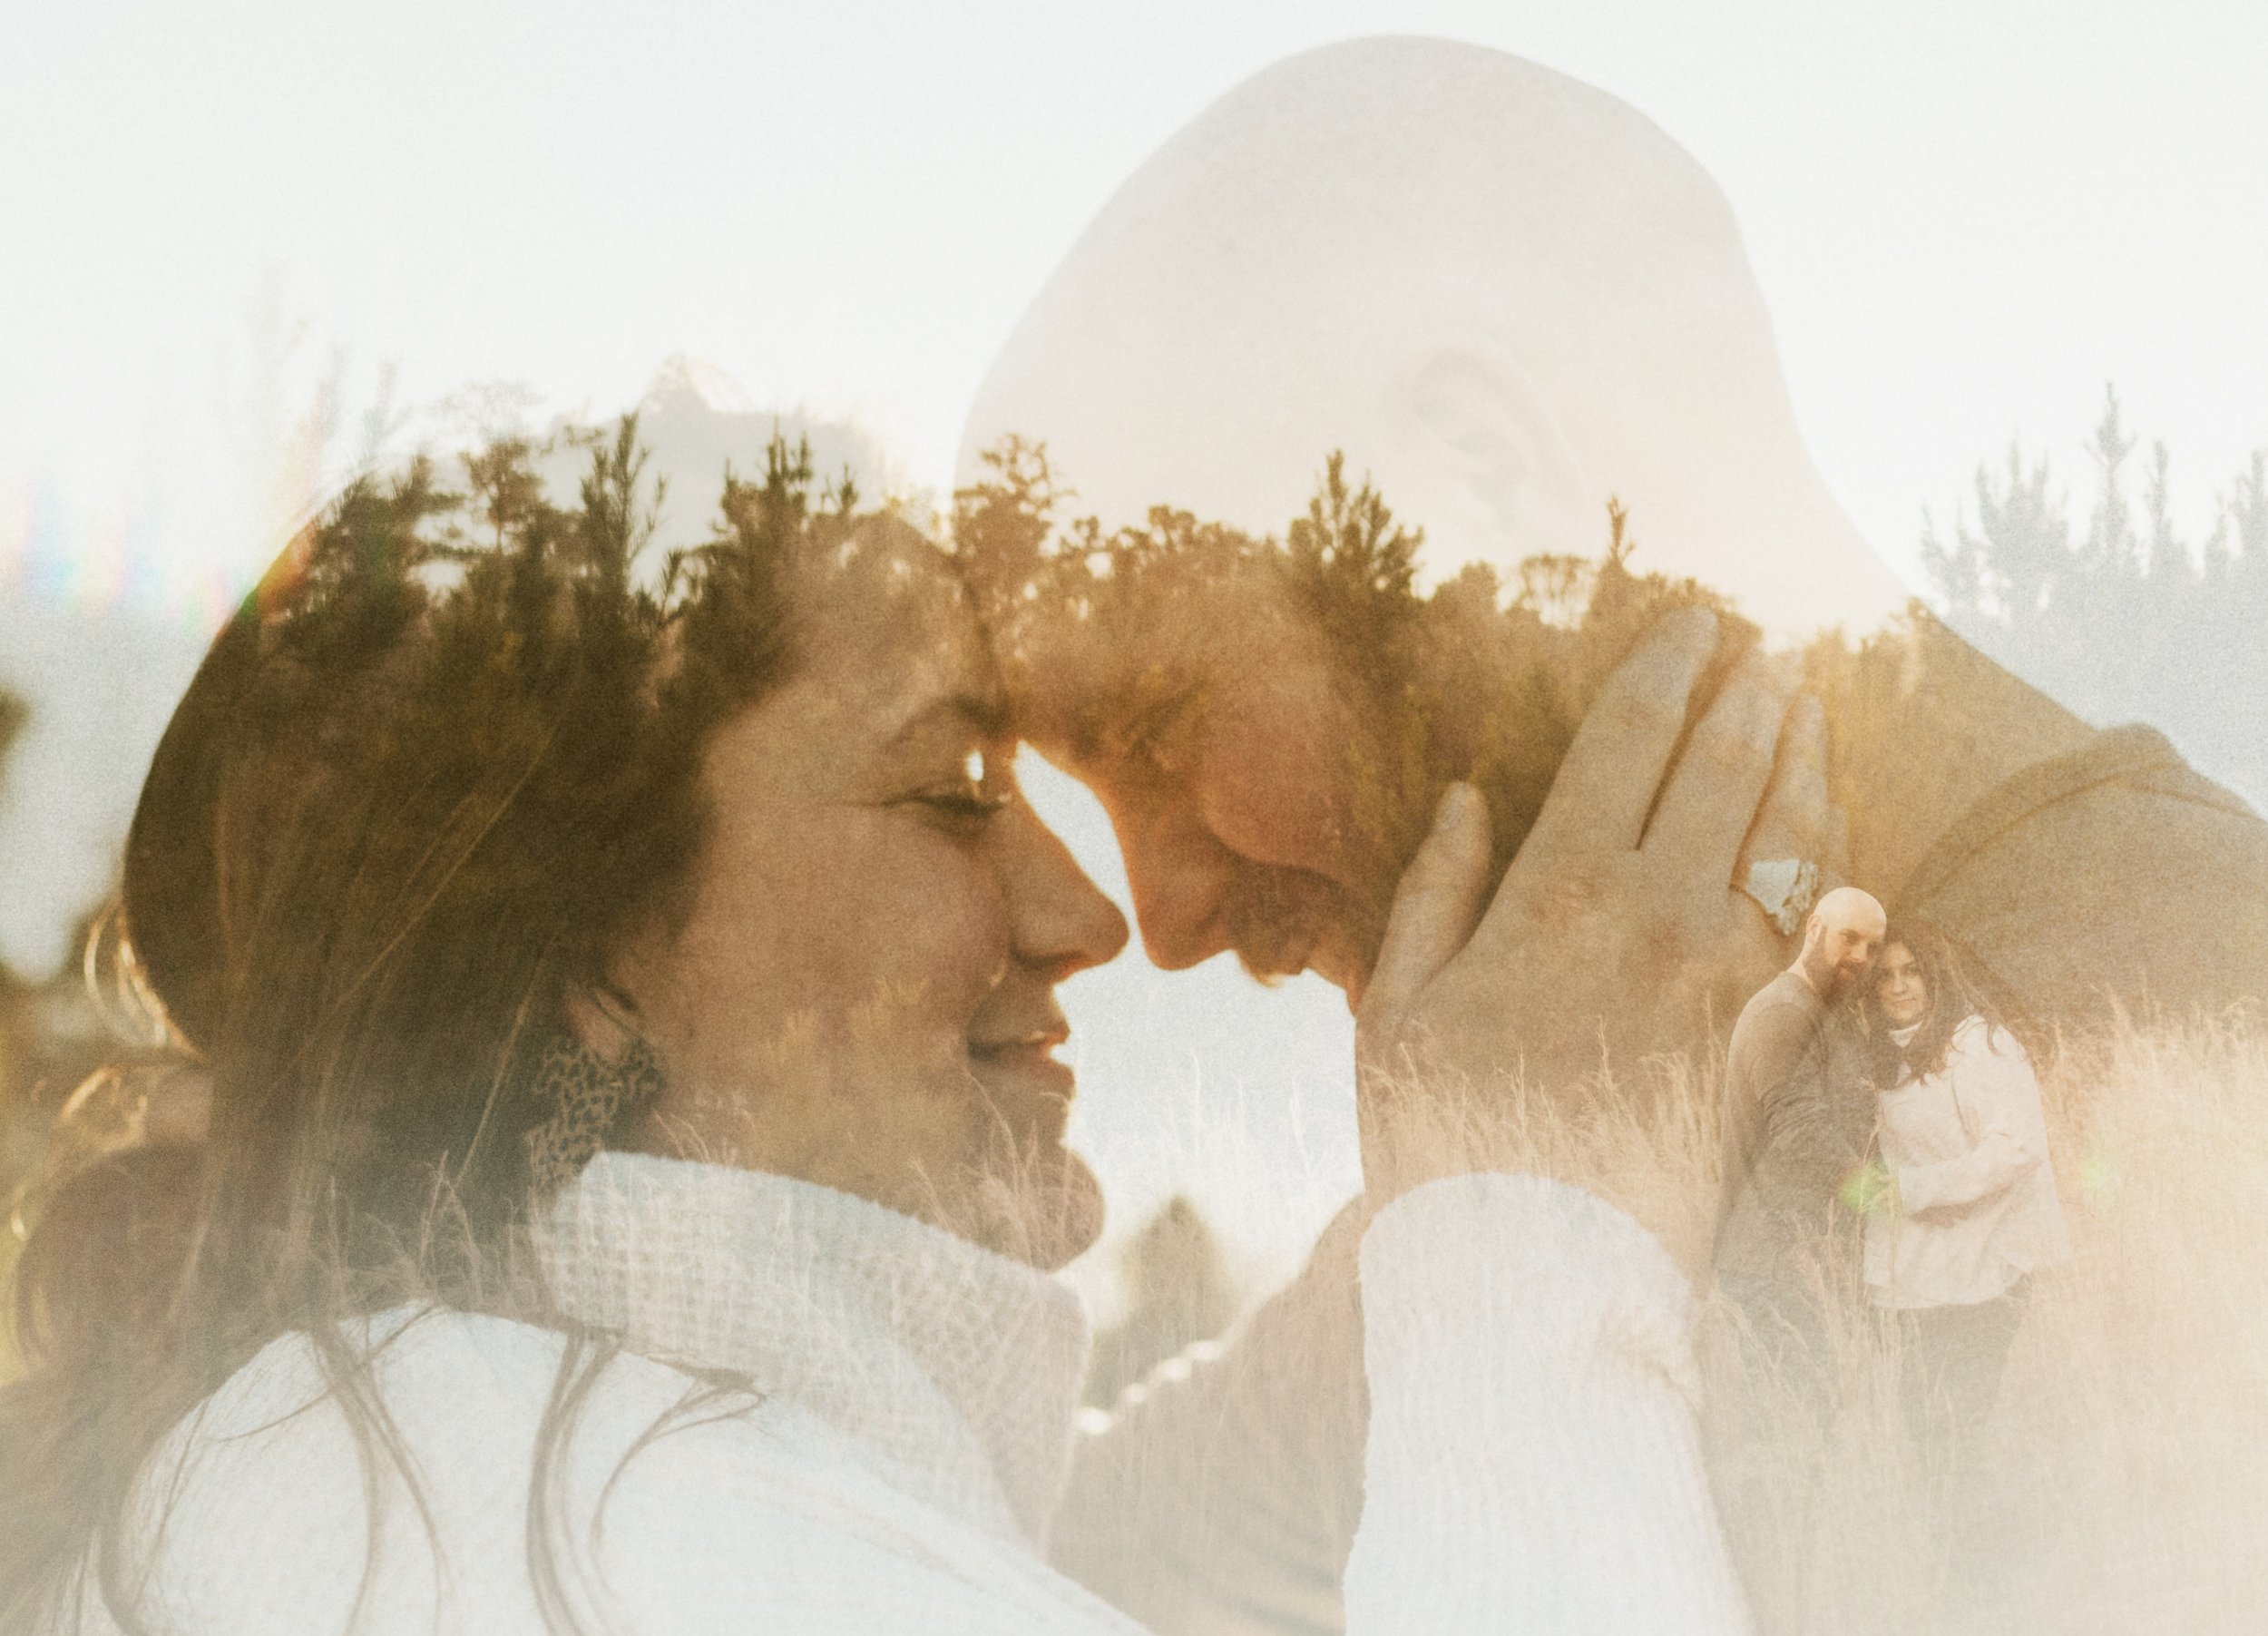
What Kinds of Photos I Use for Double Exposures
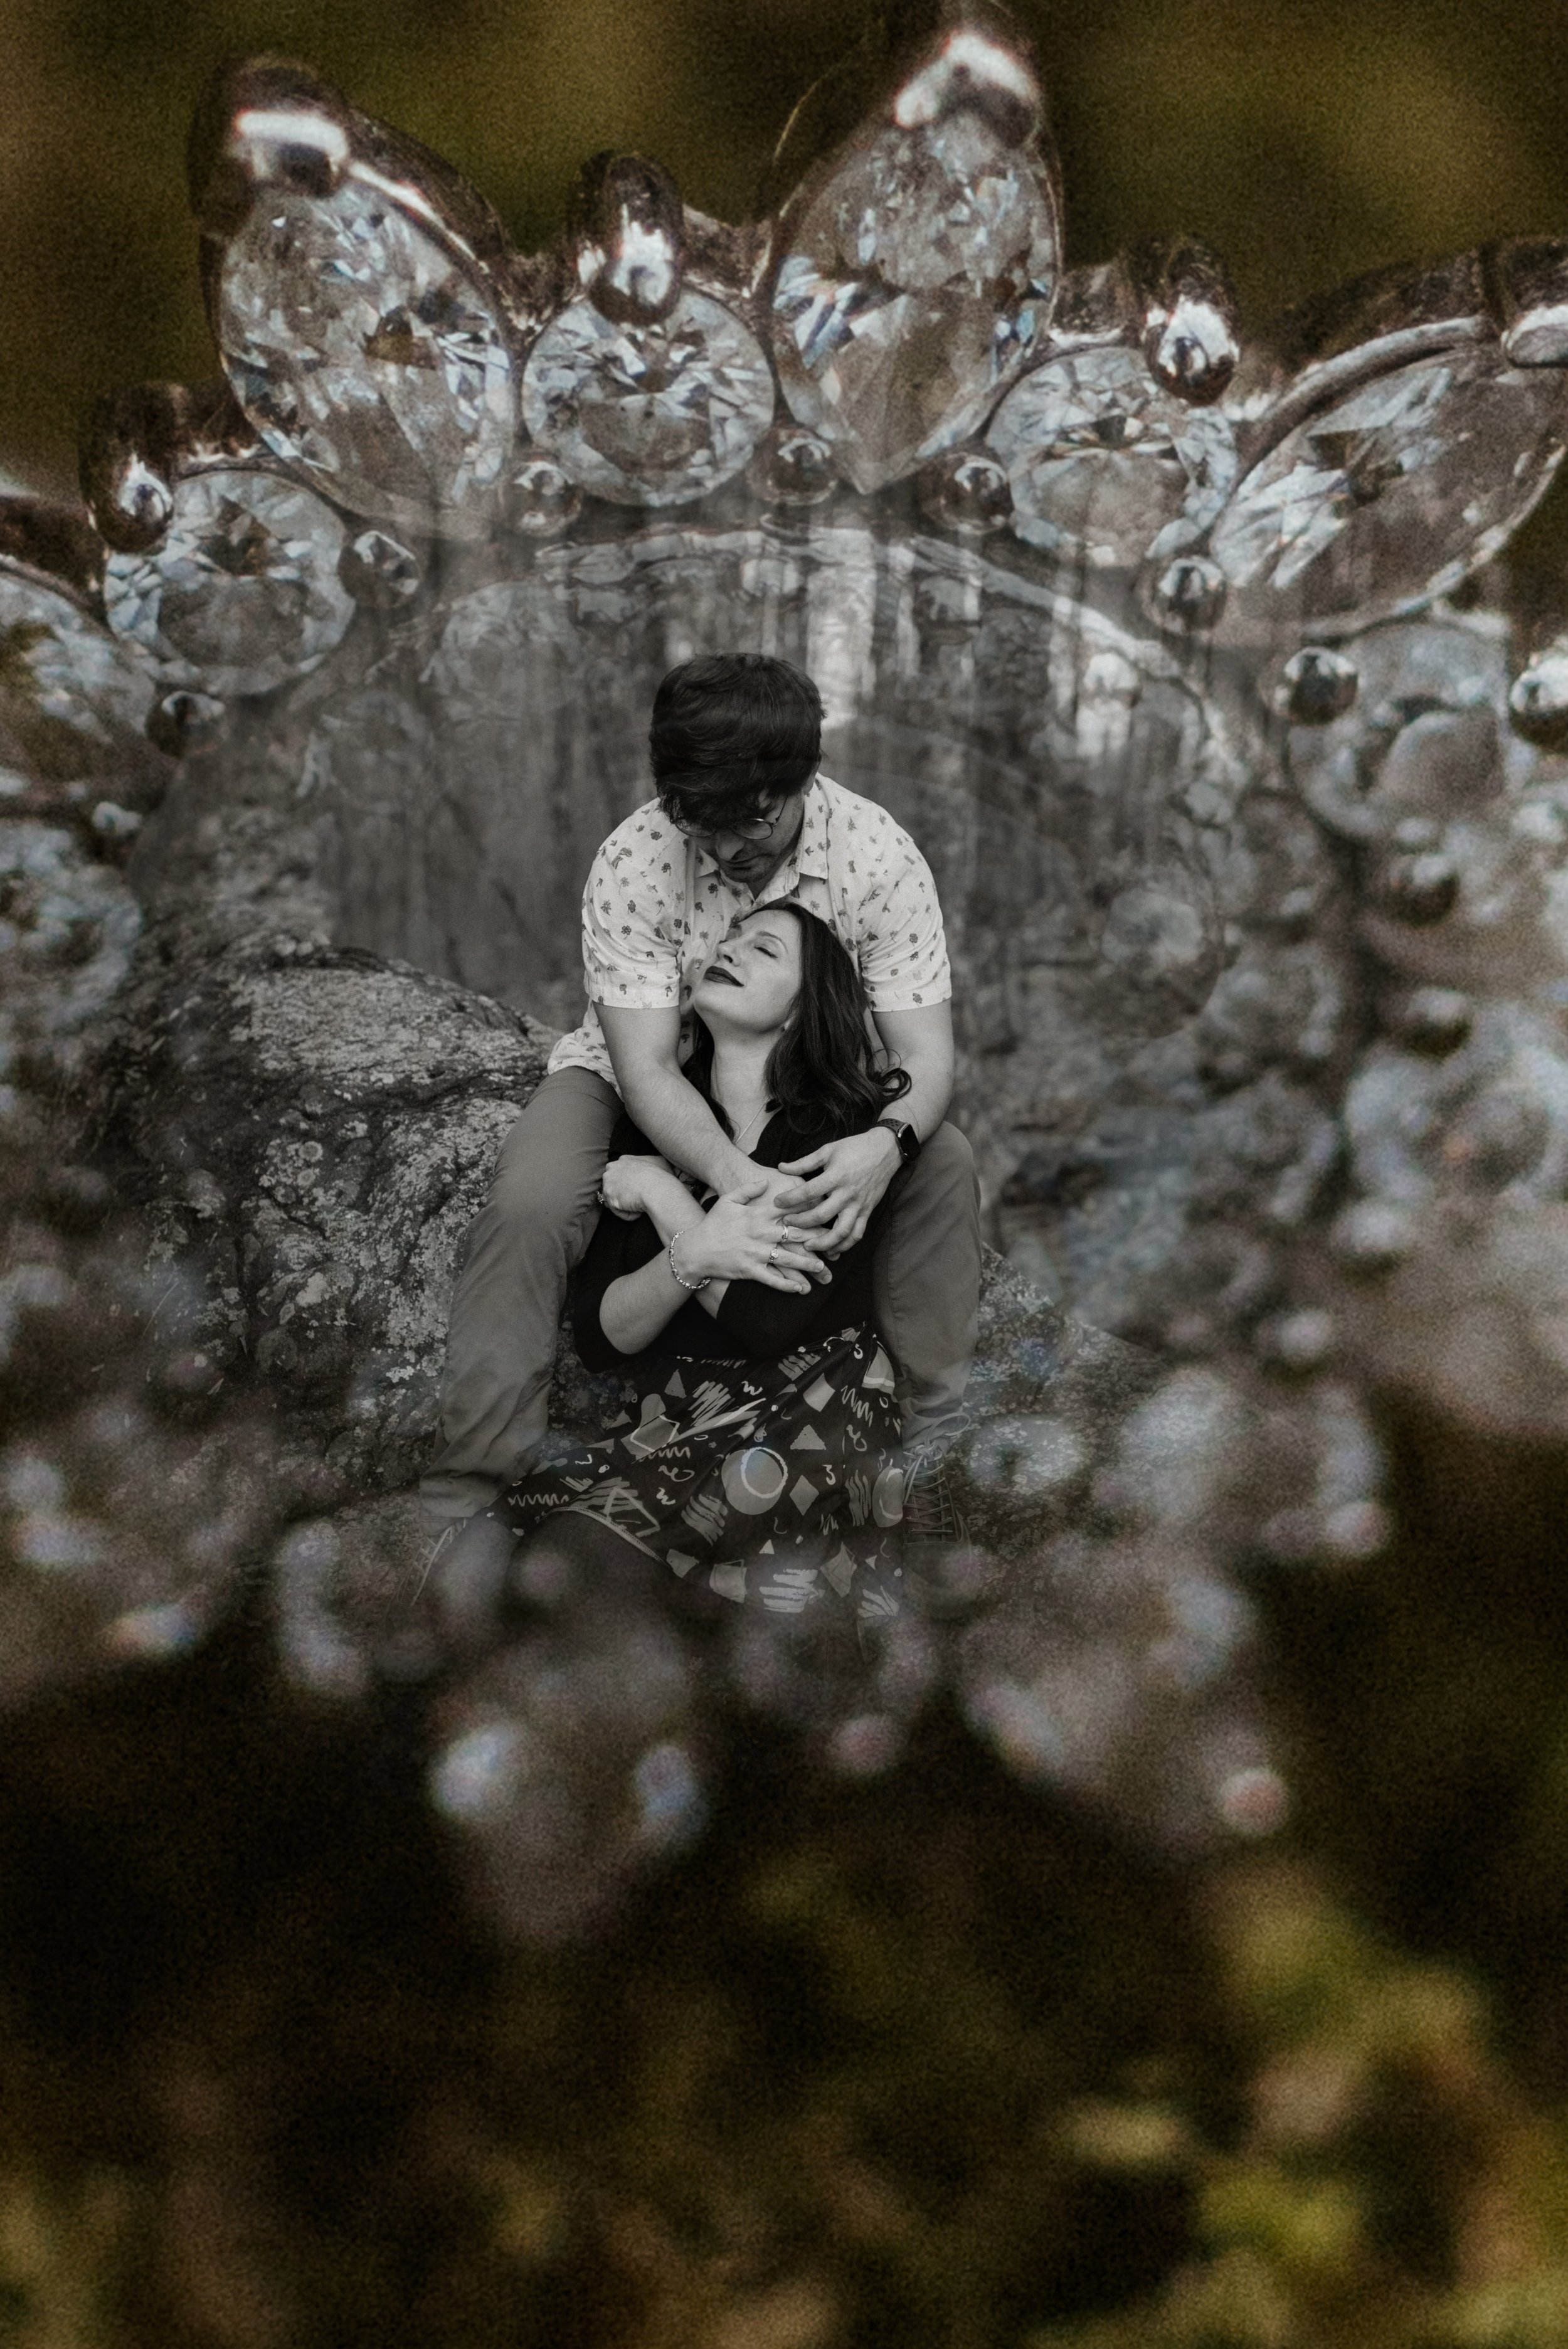
textures (from clothing, material, sparkly things, objects)
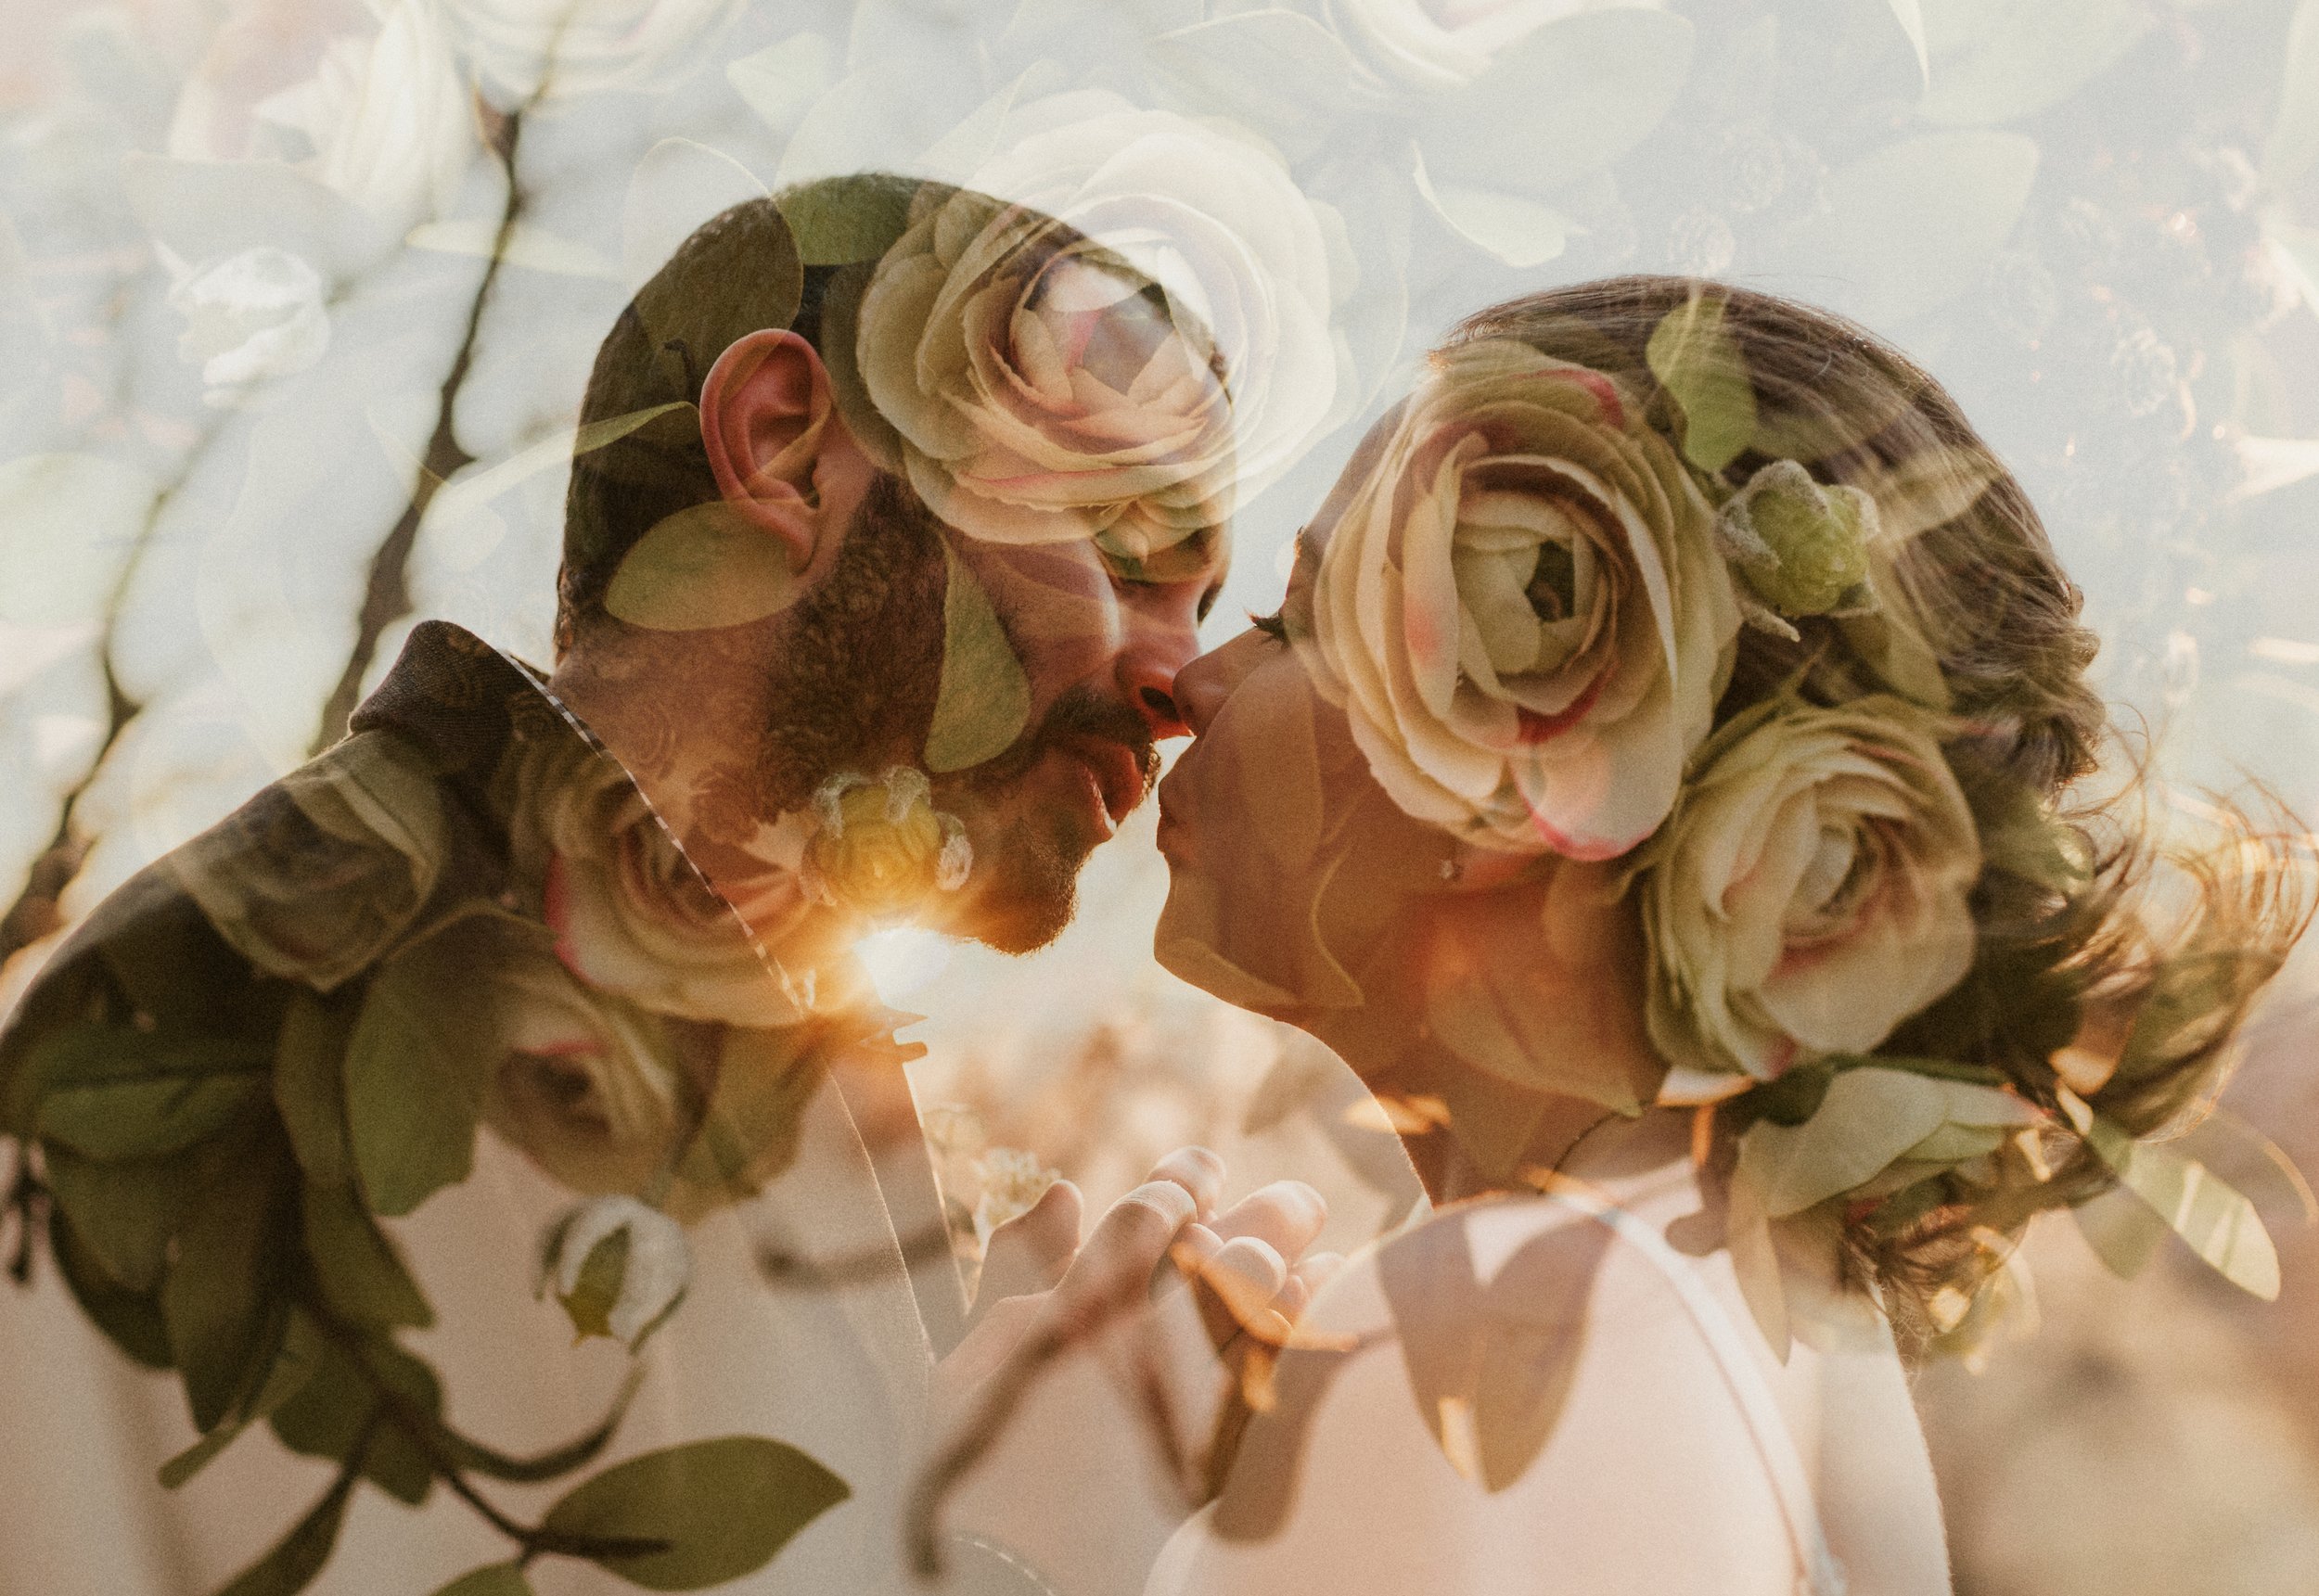
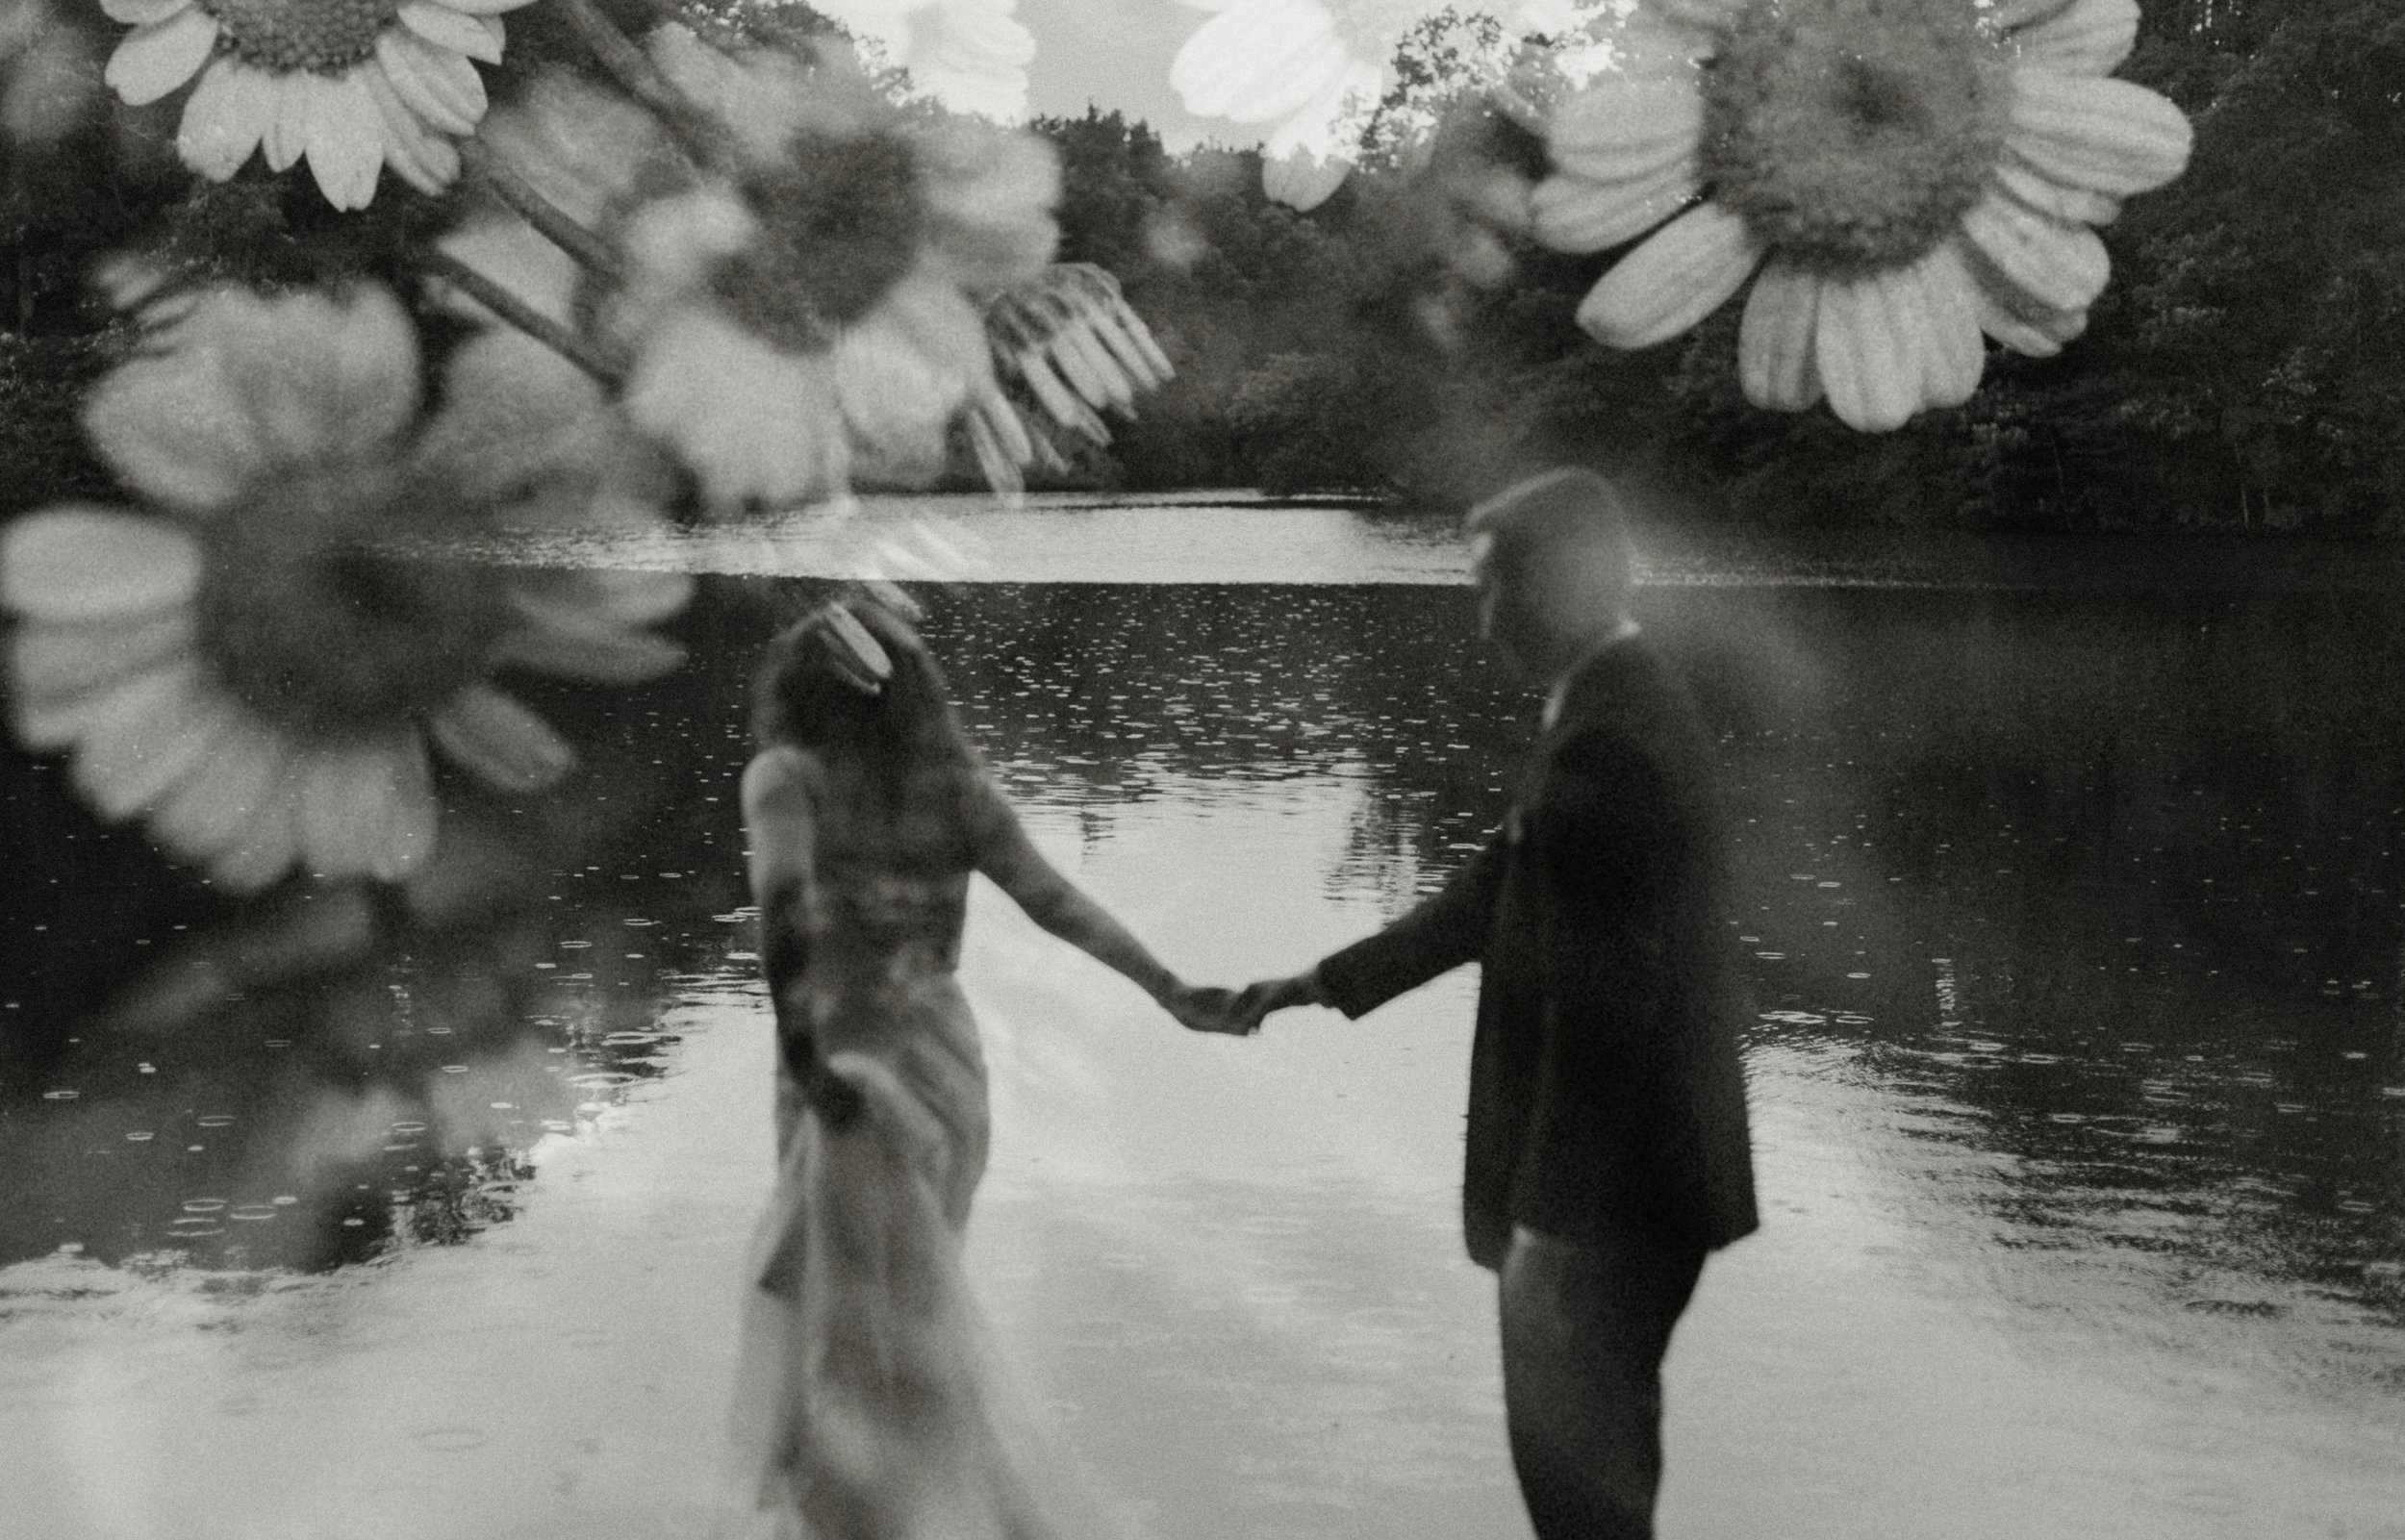
flowers & plants
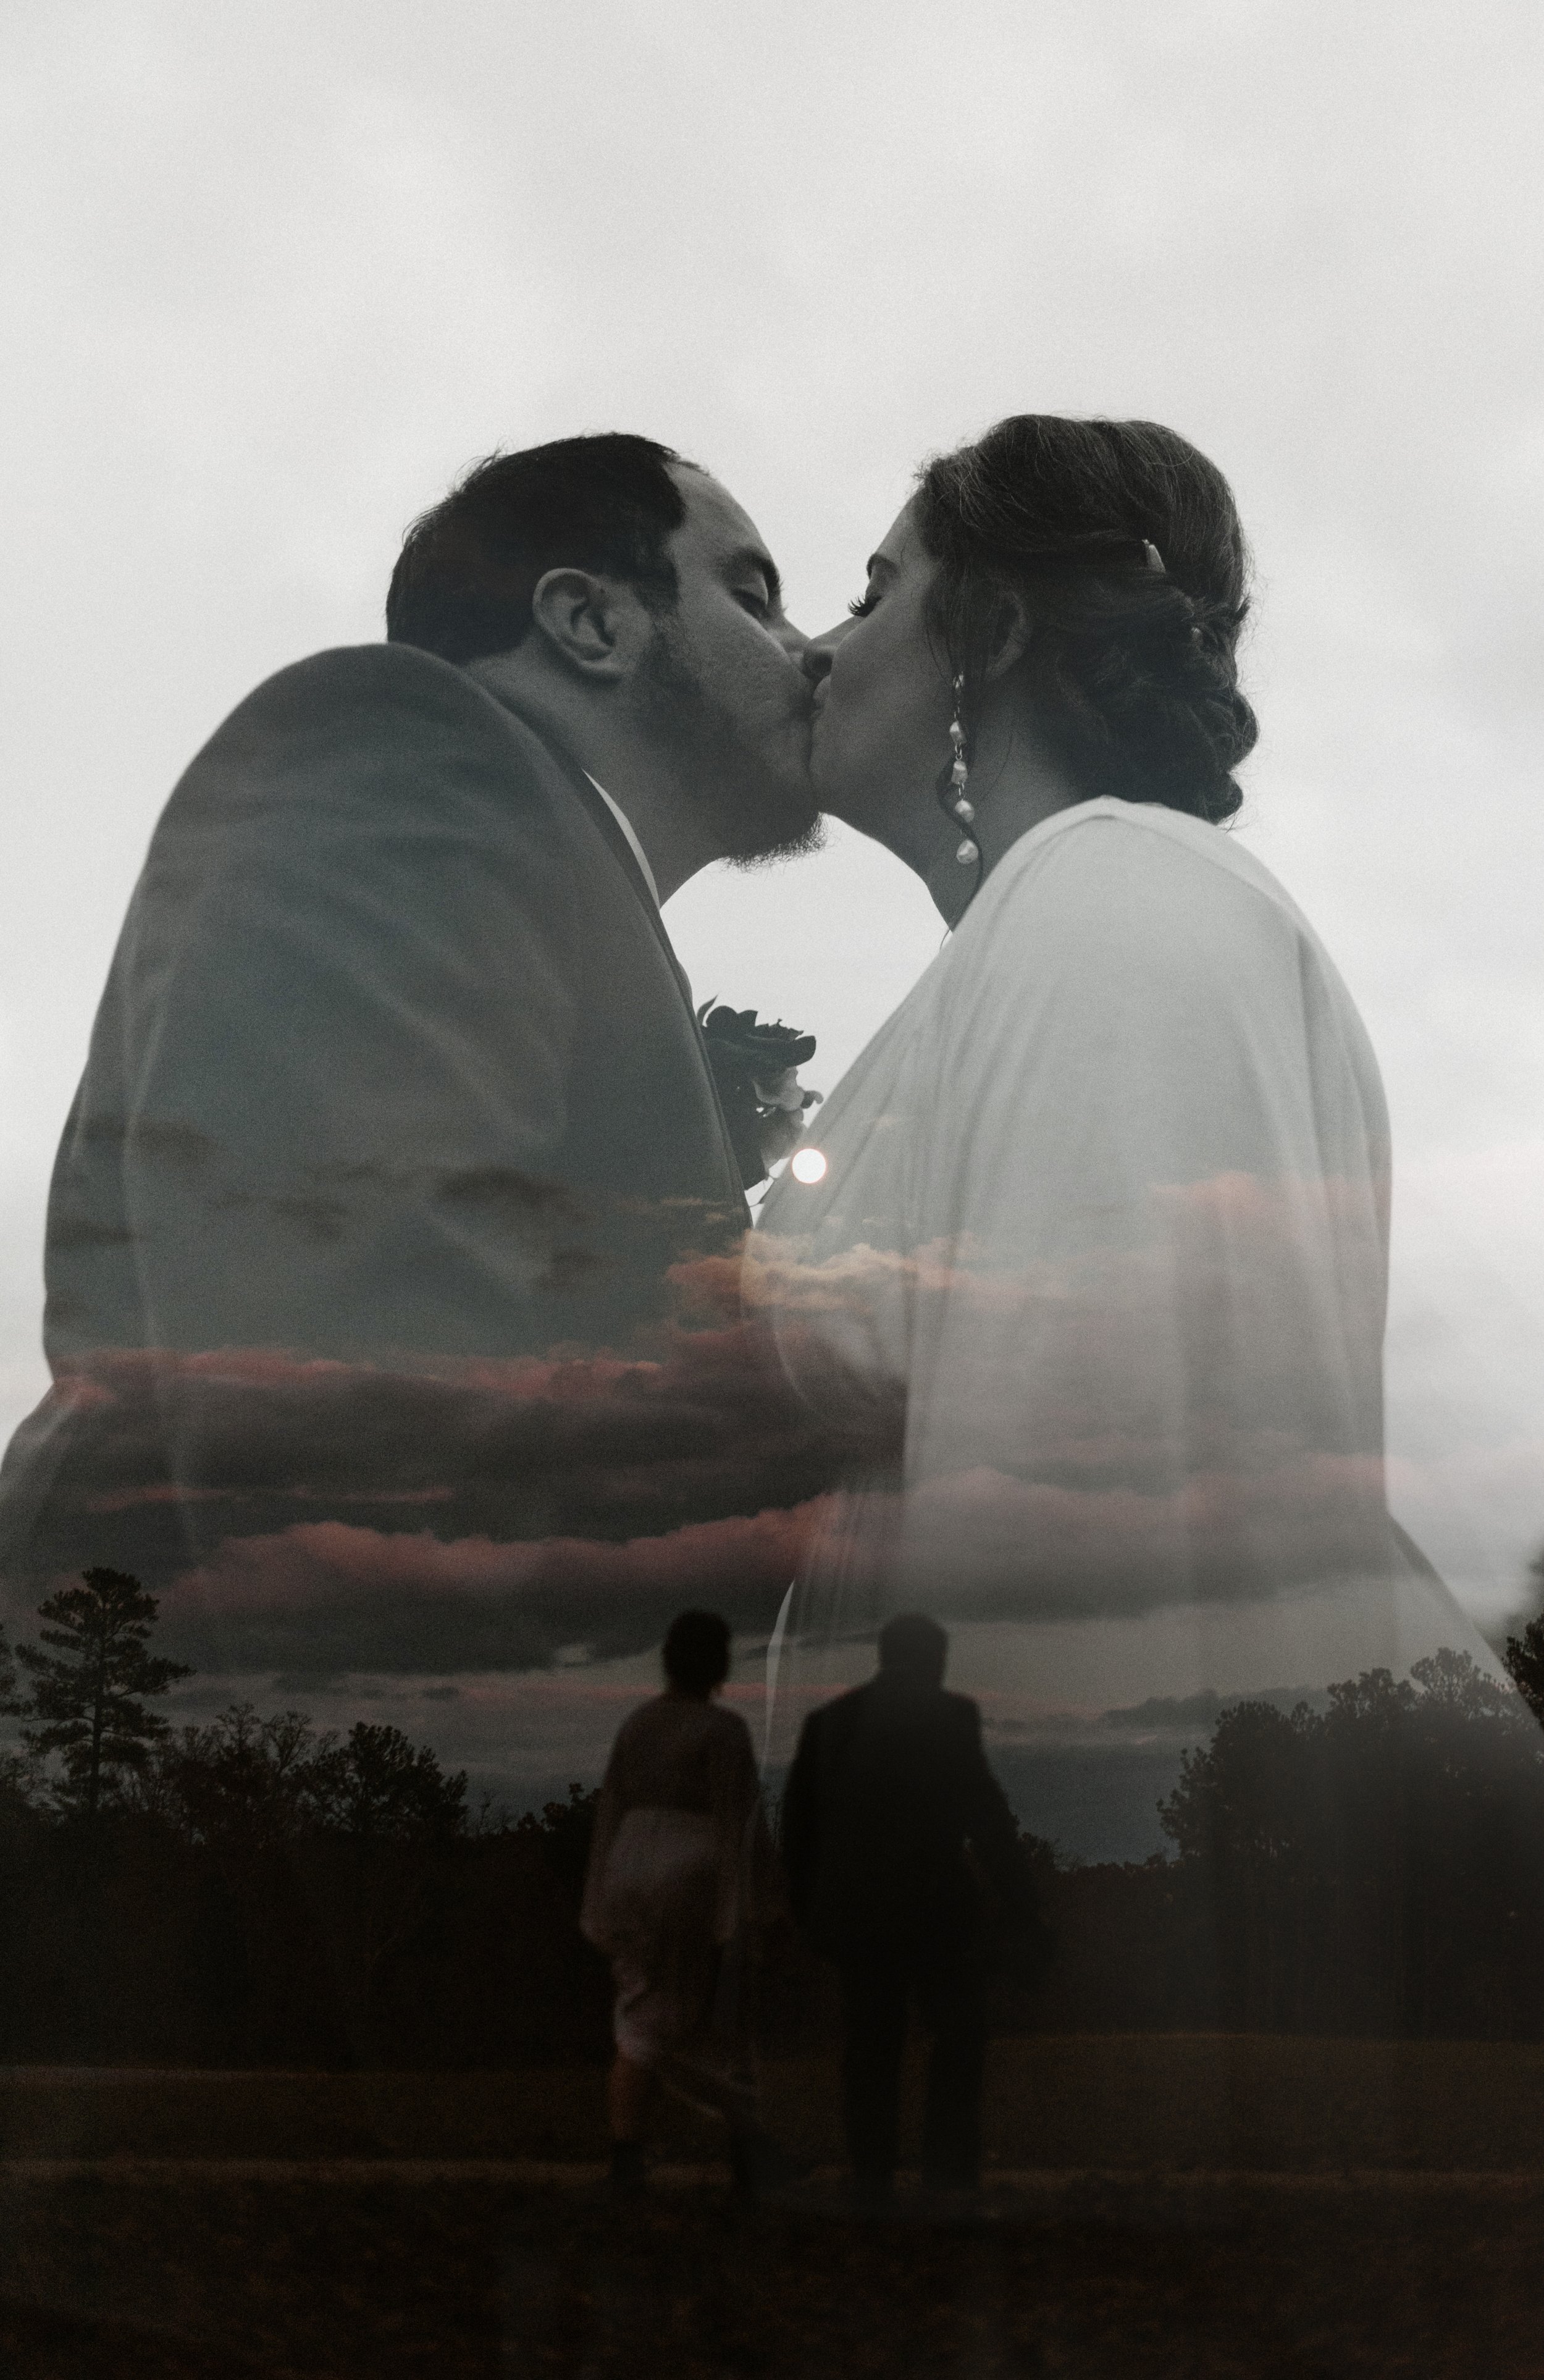
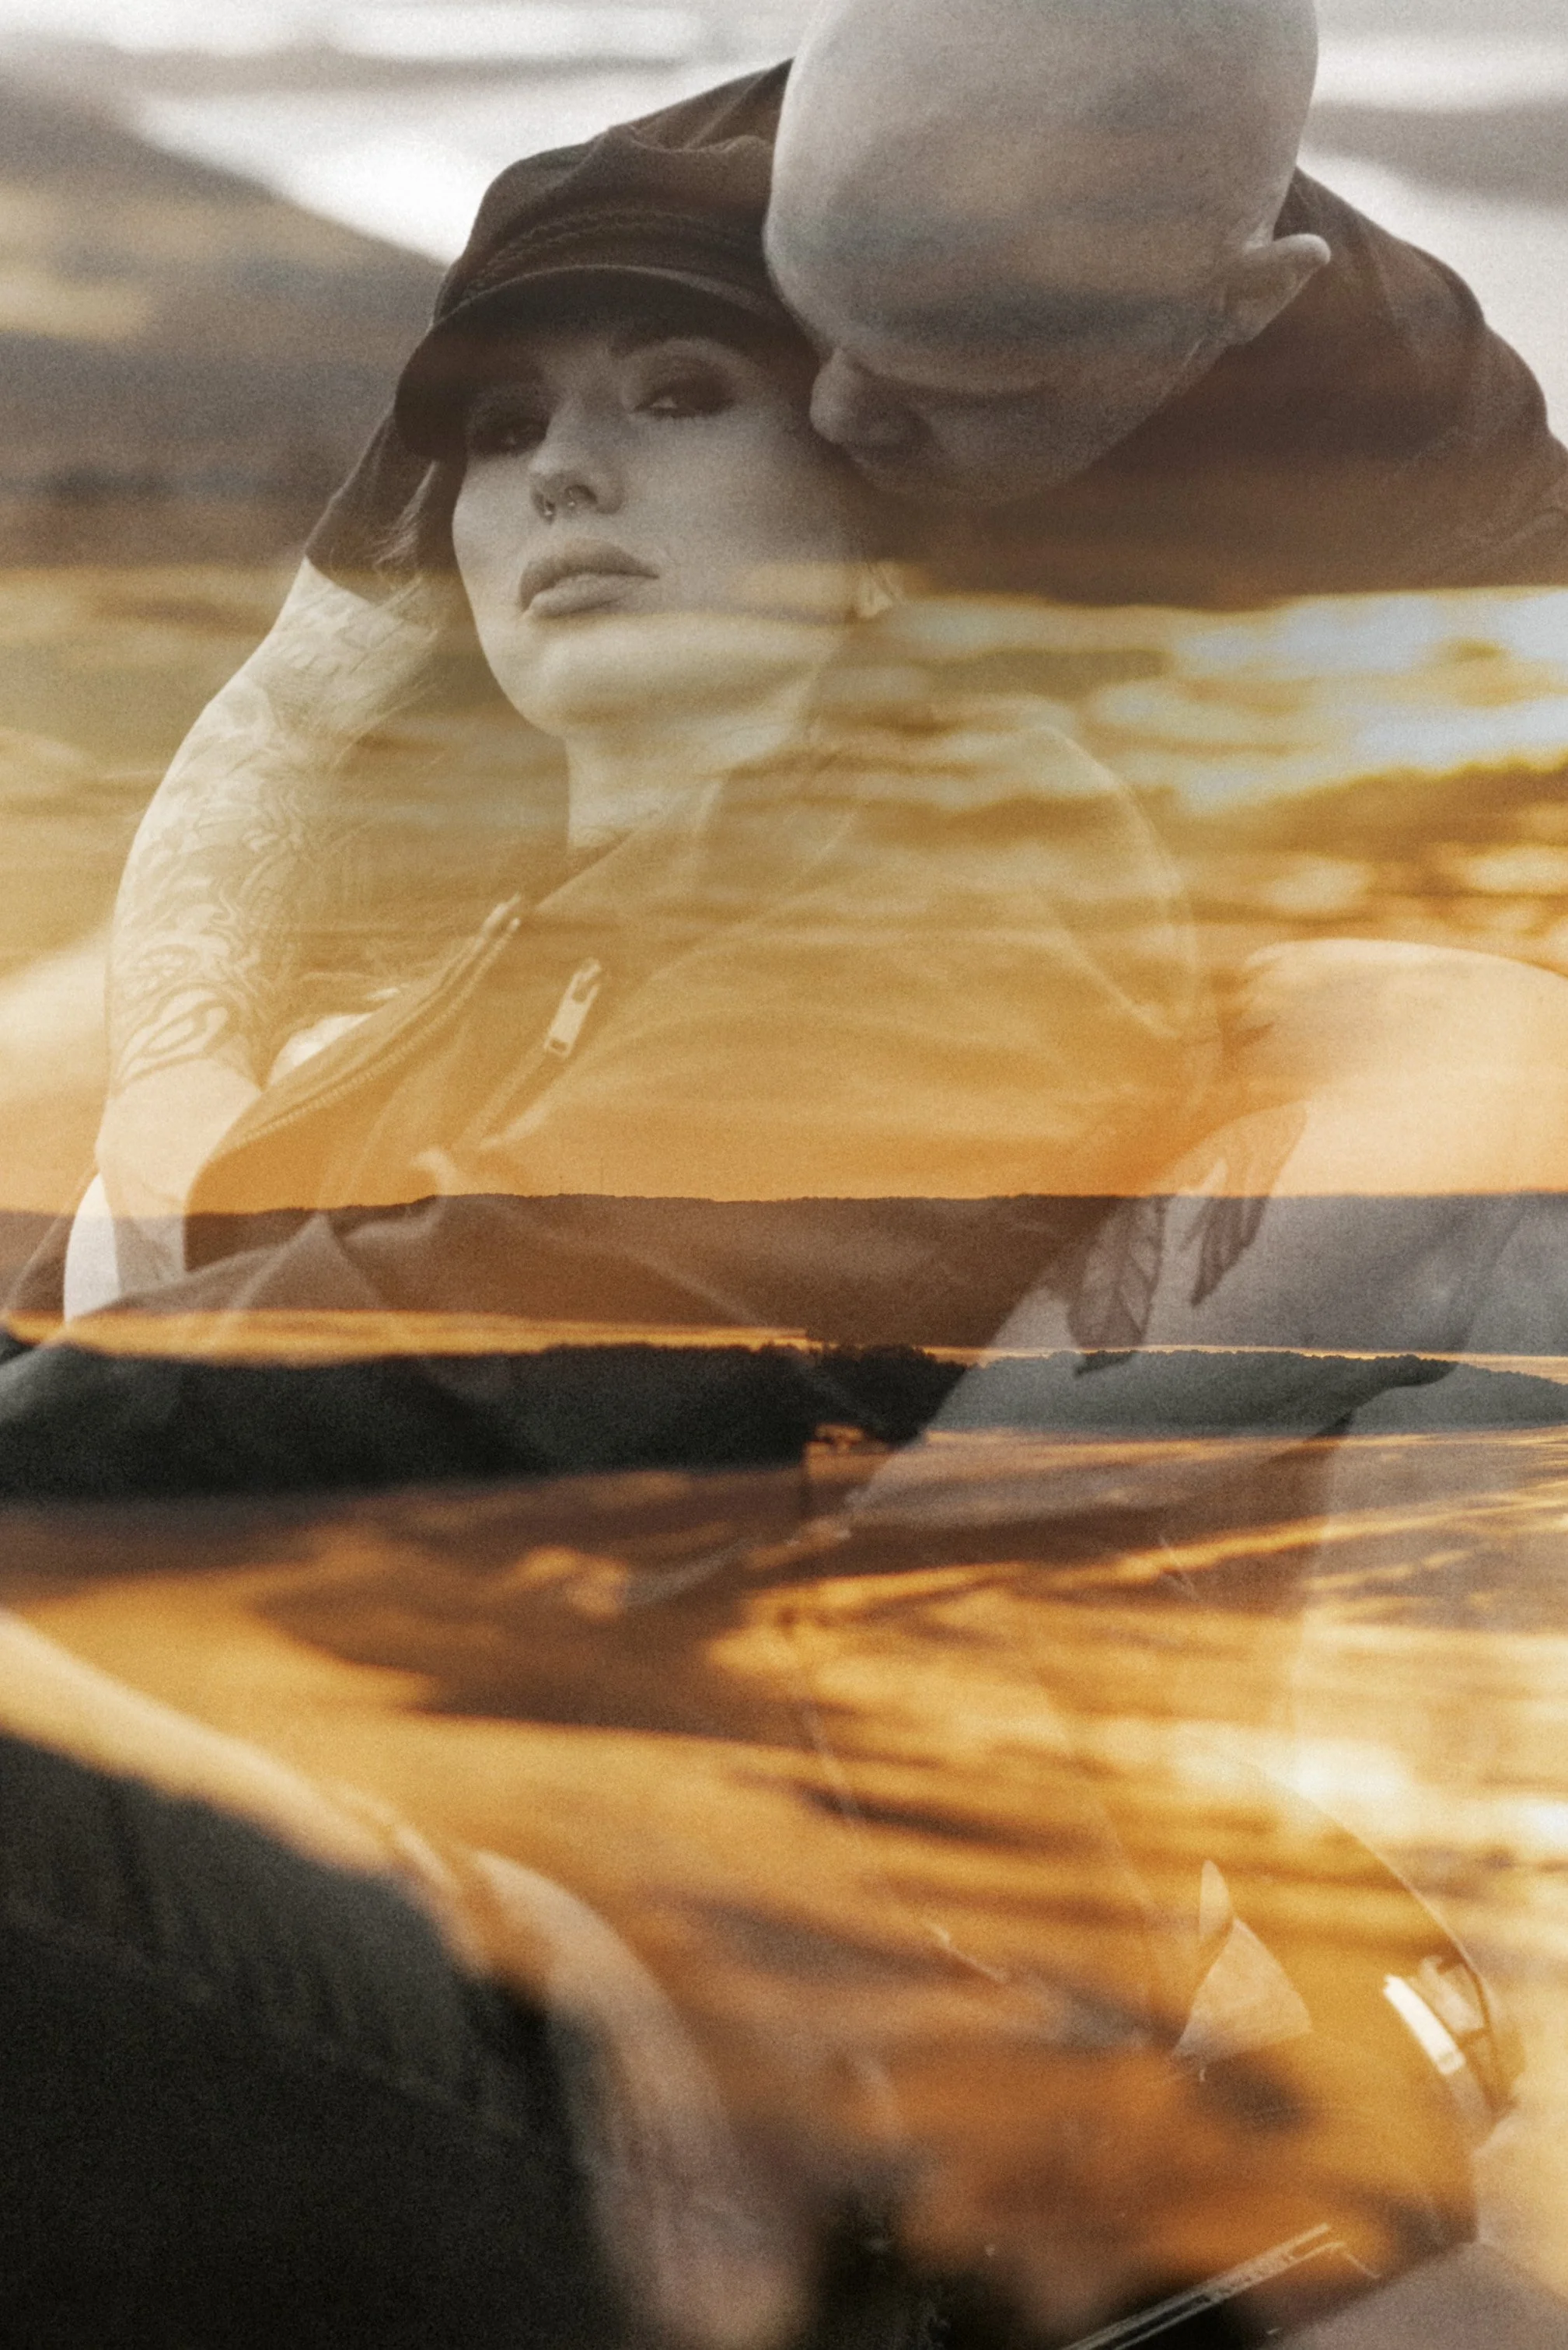
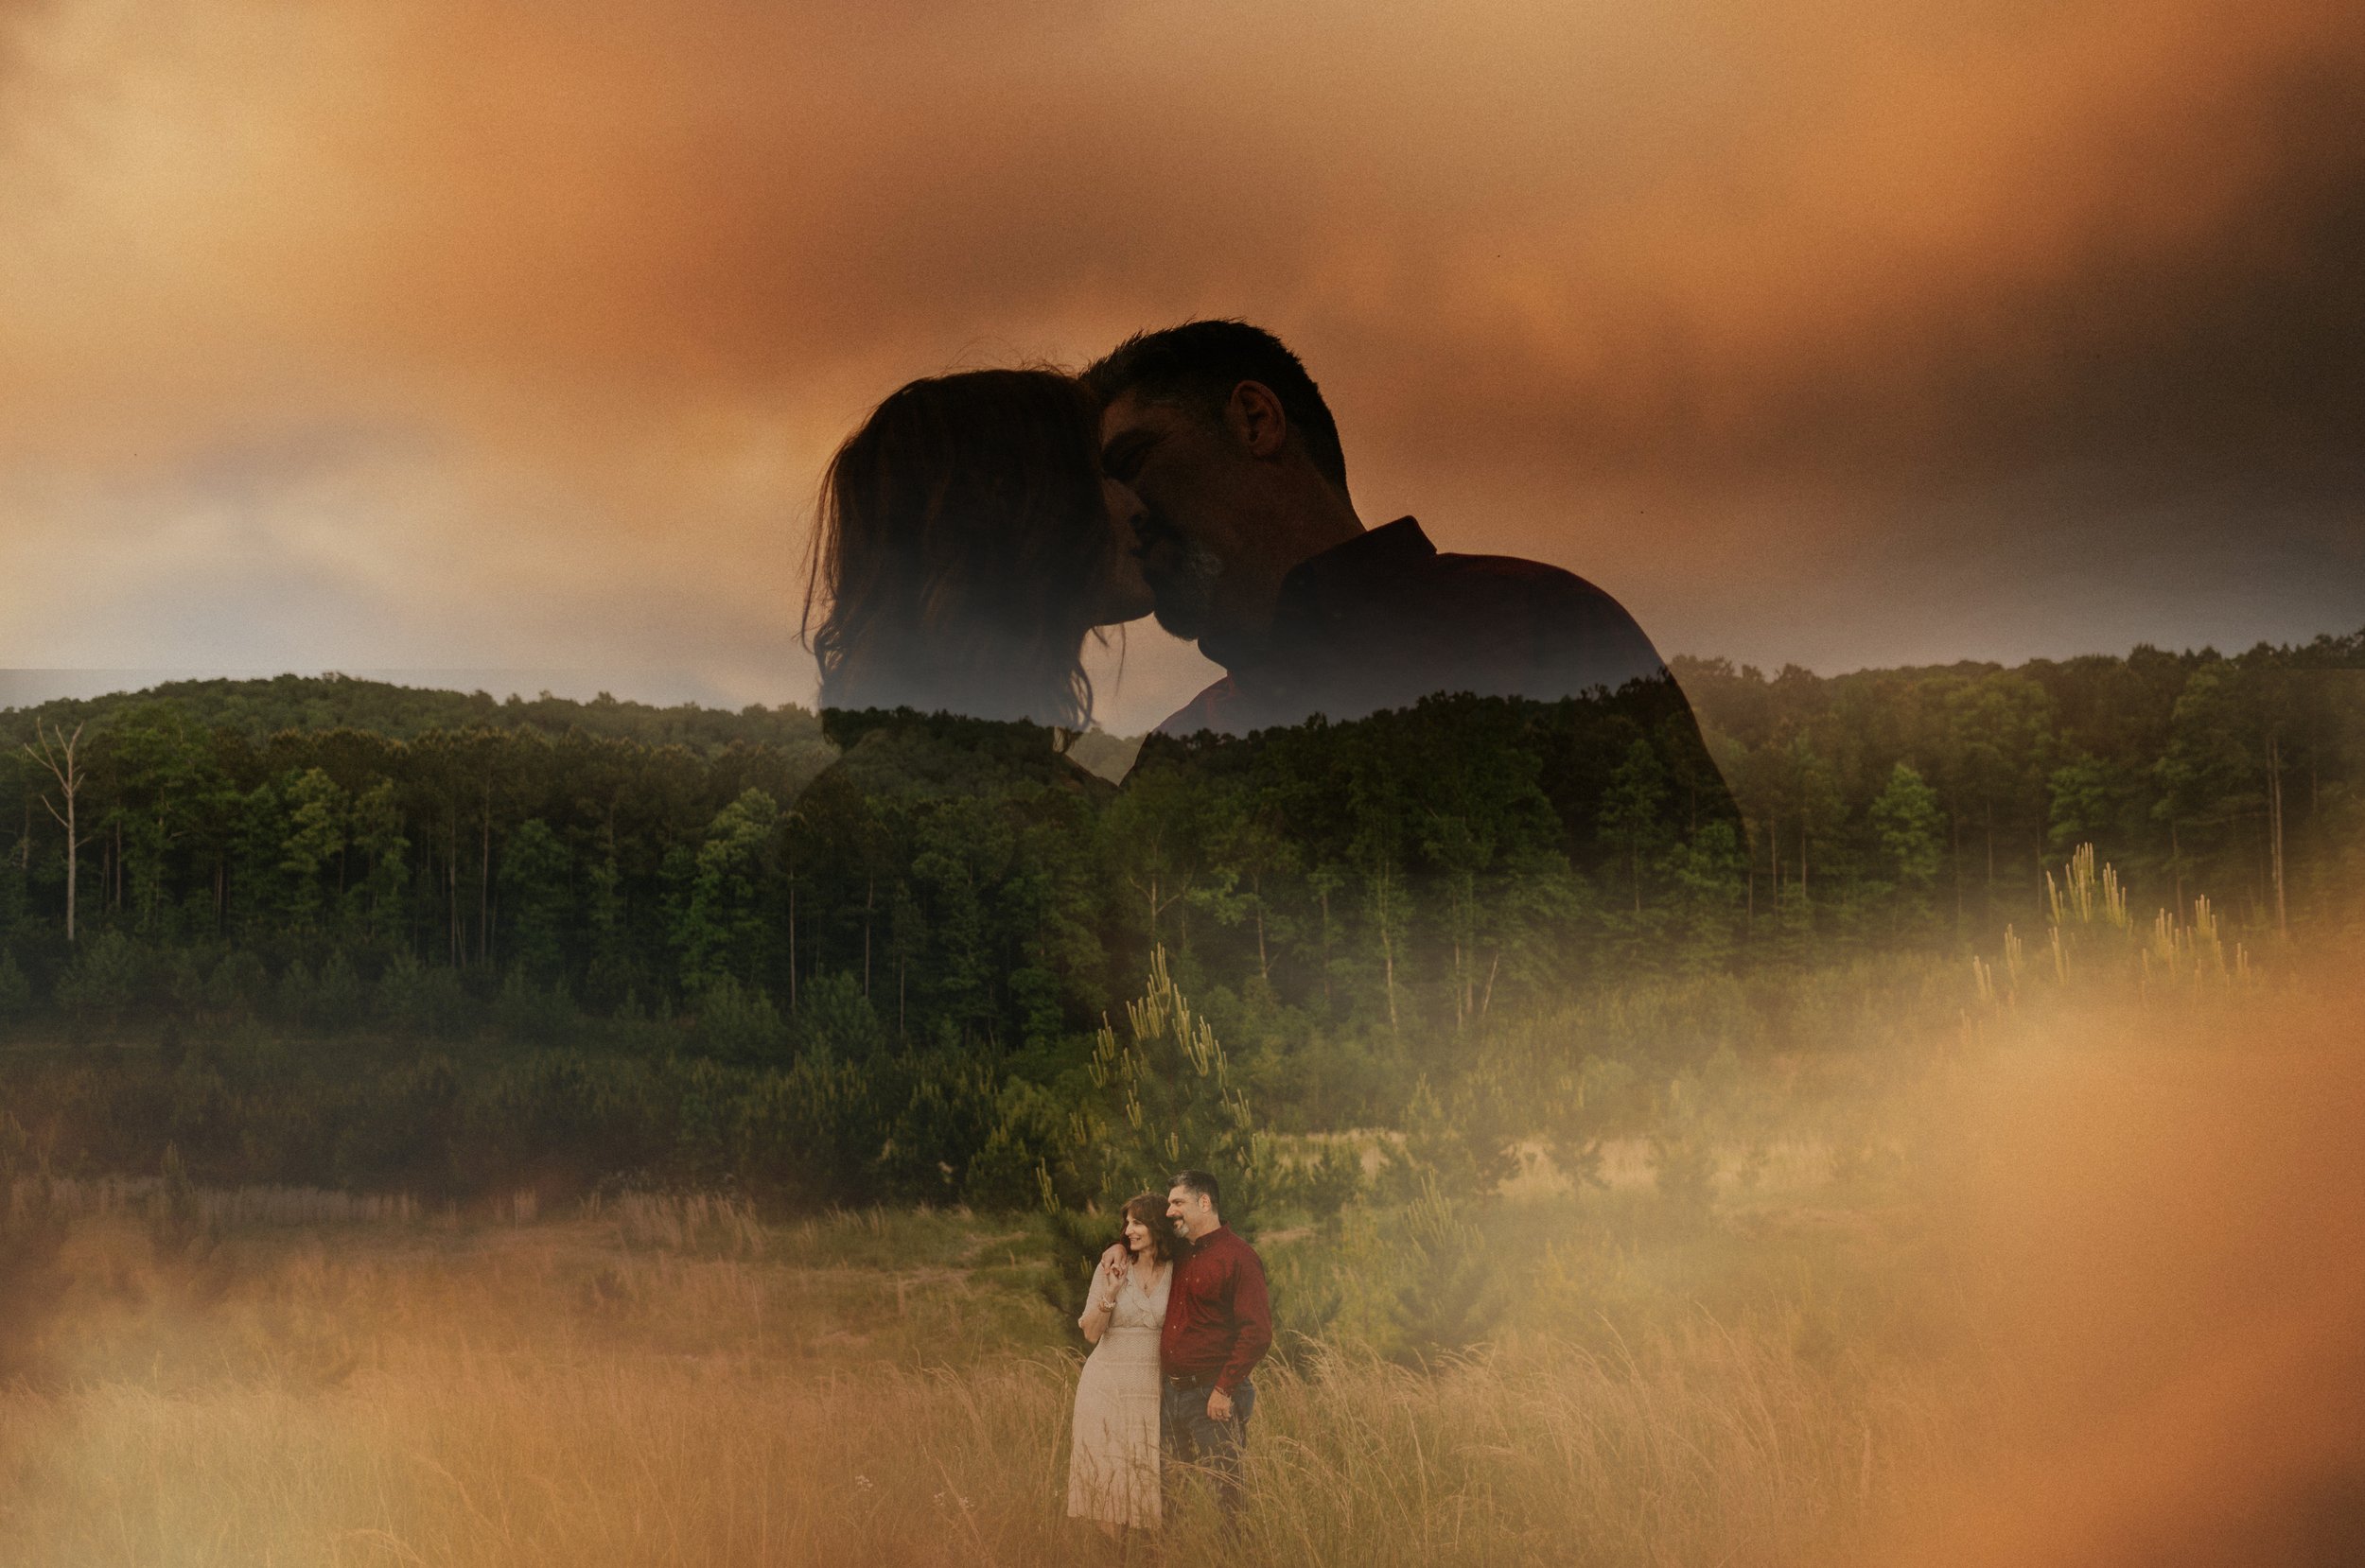
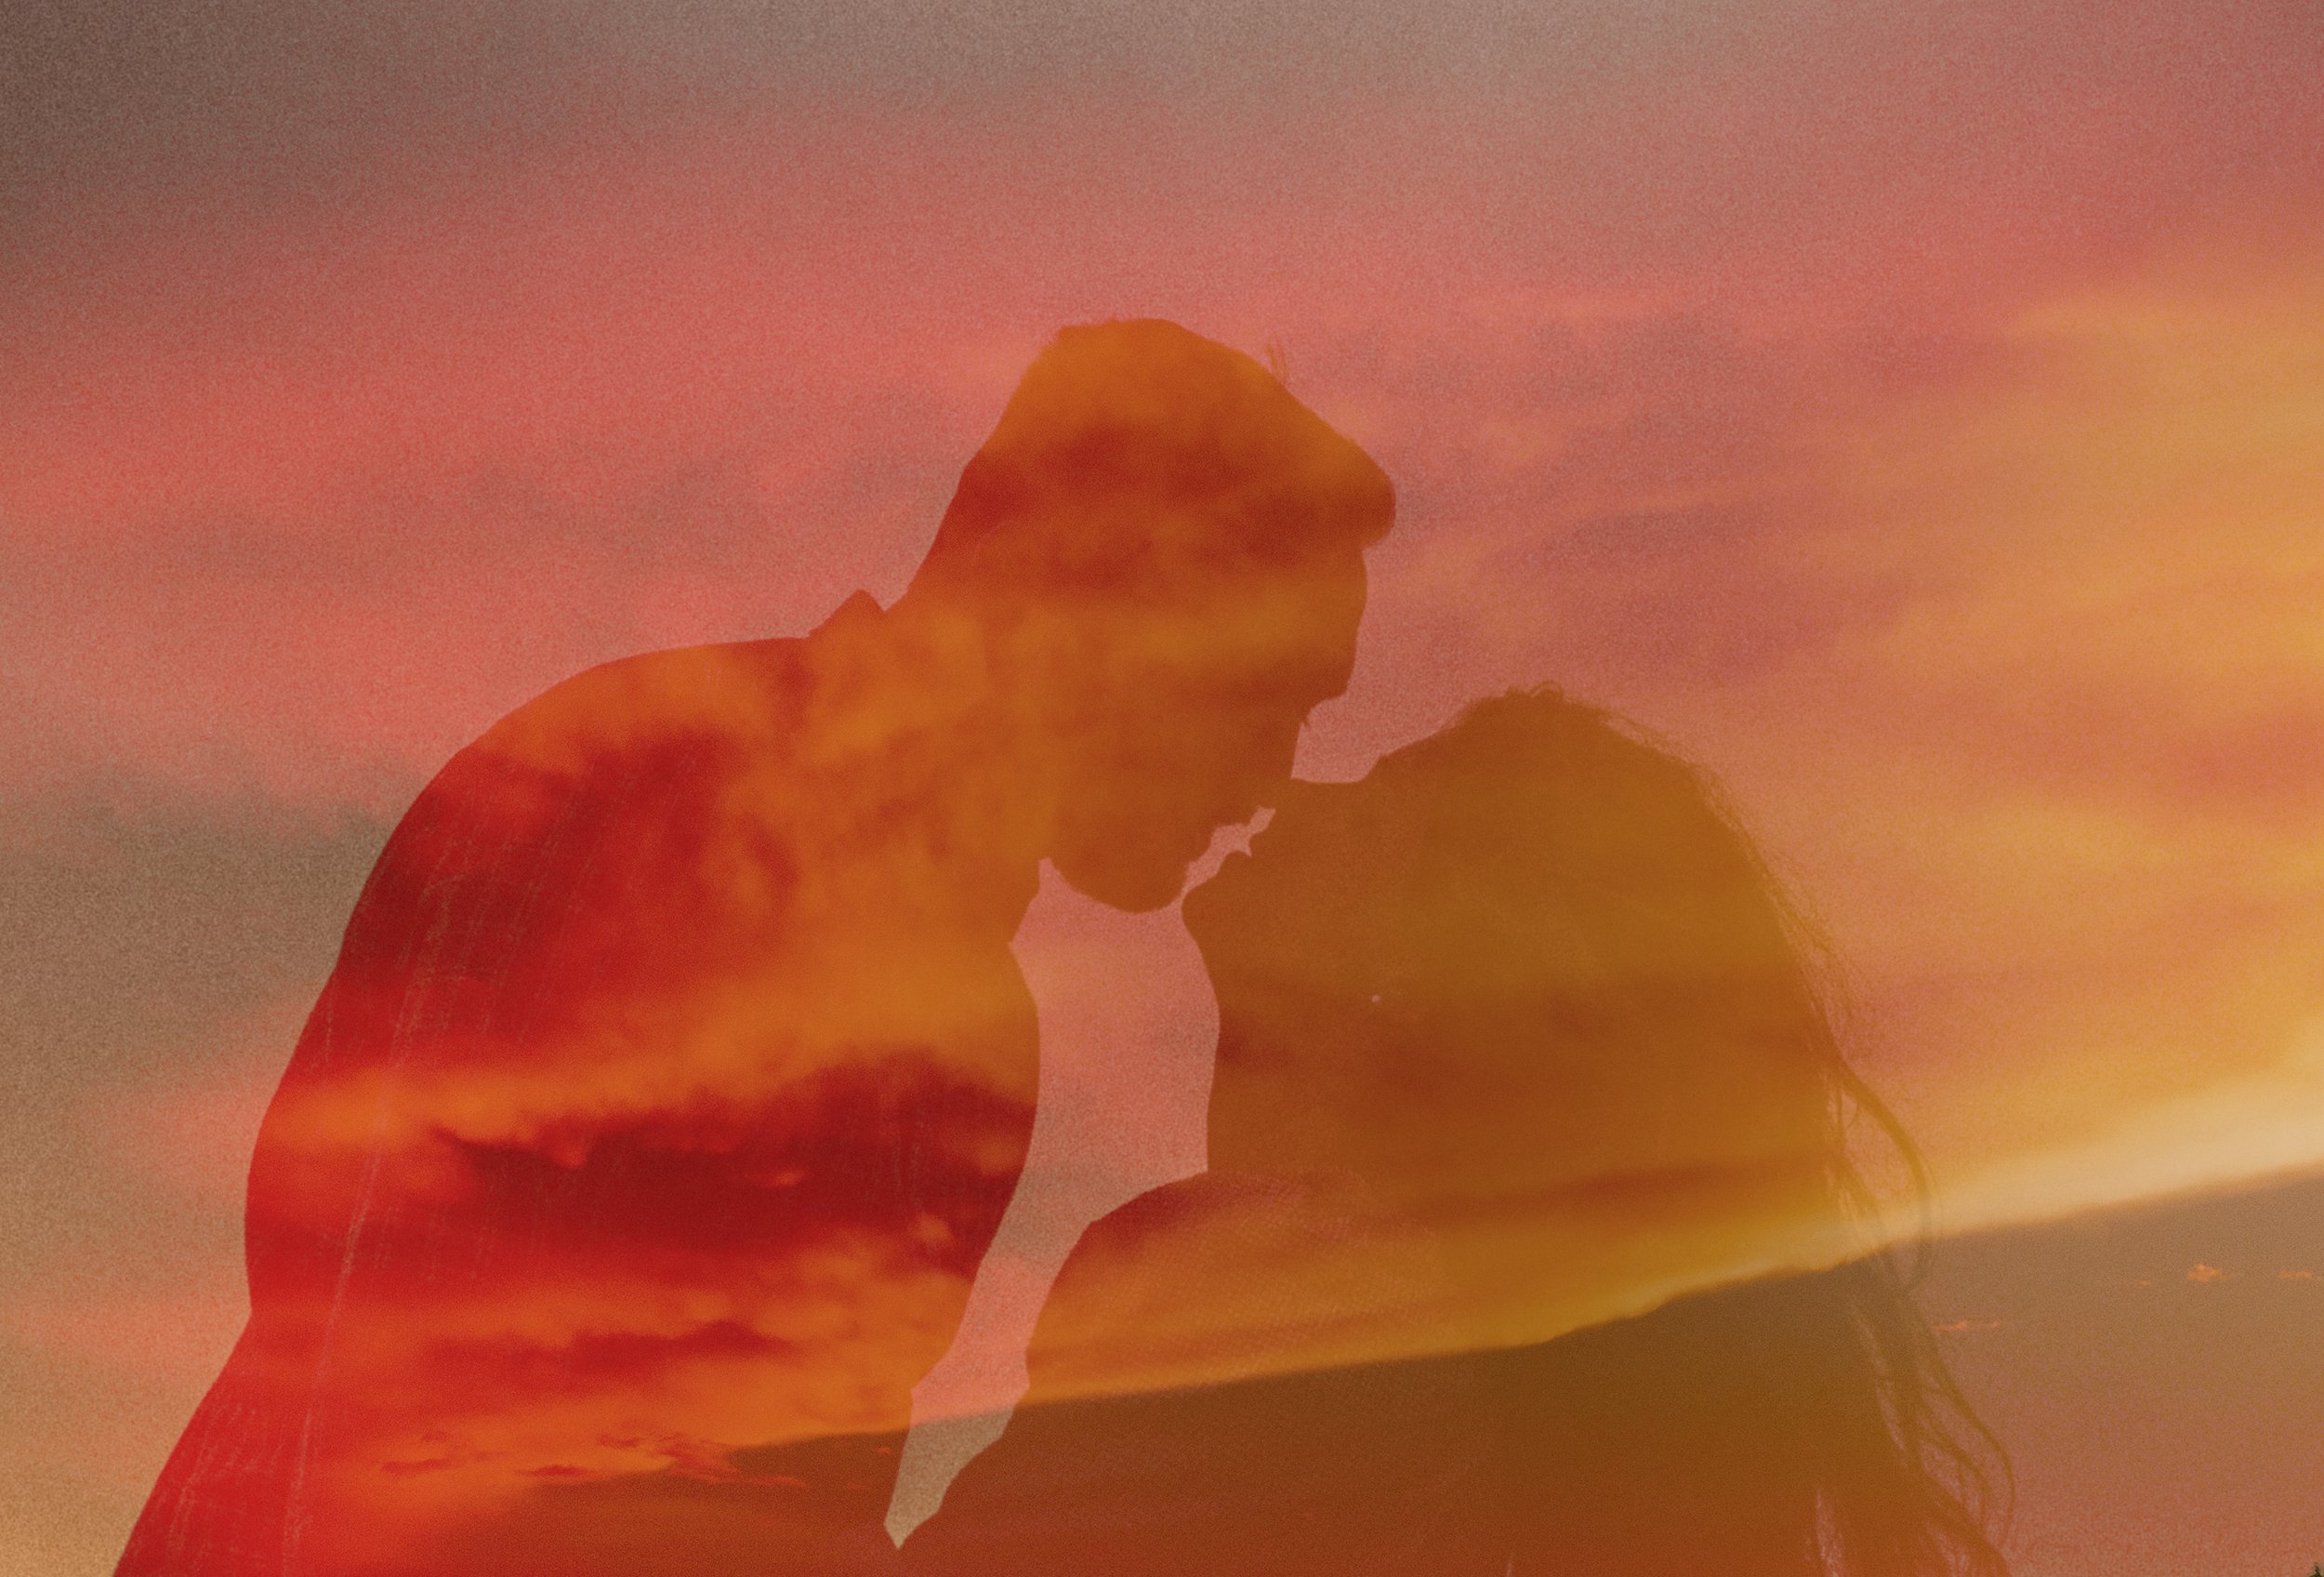
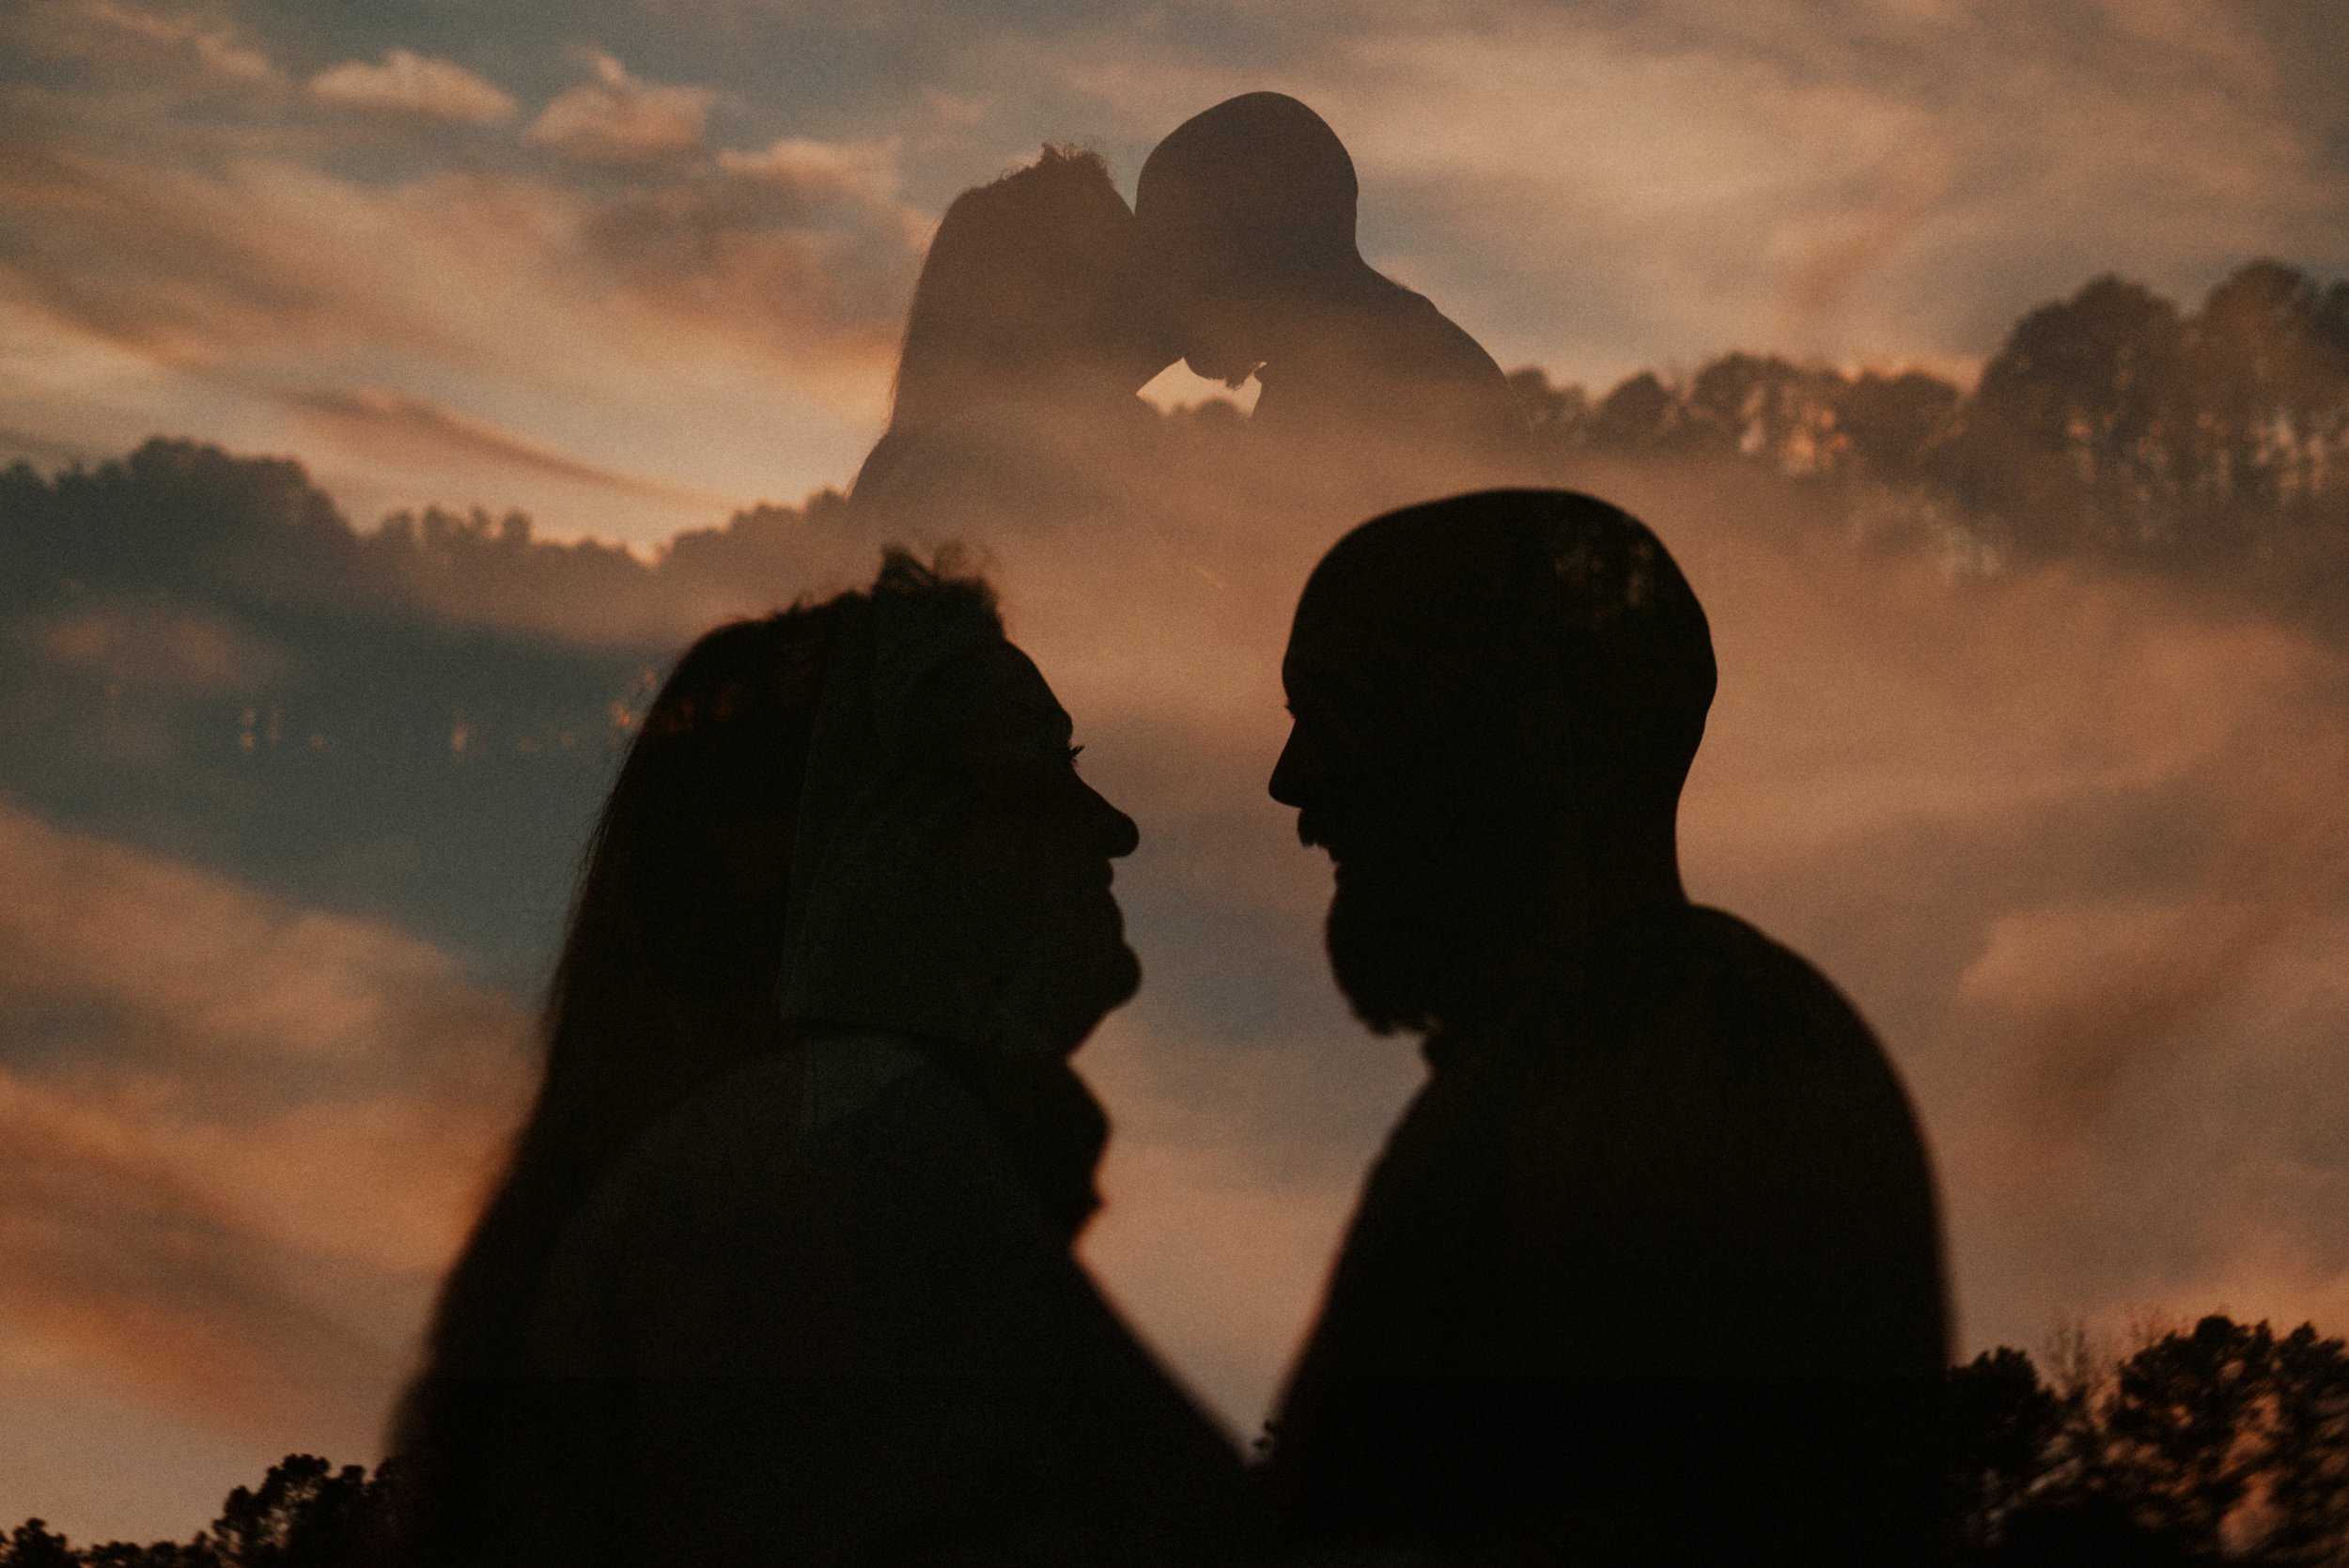
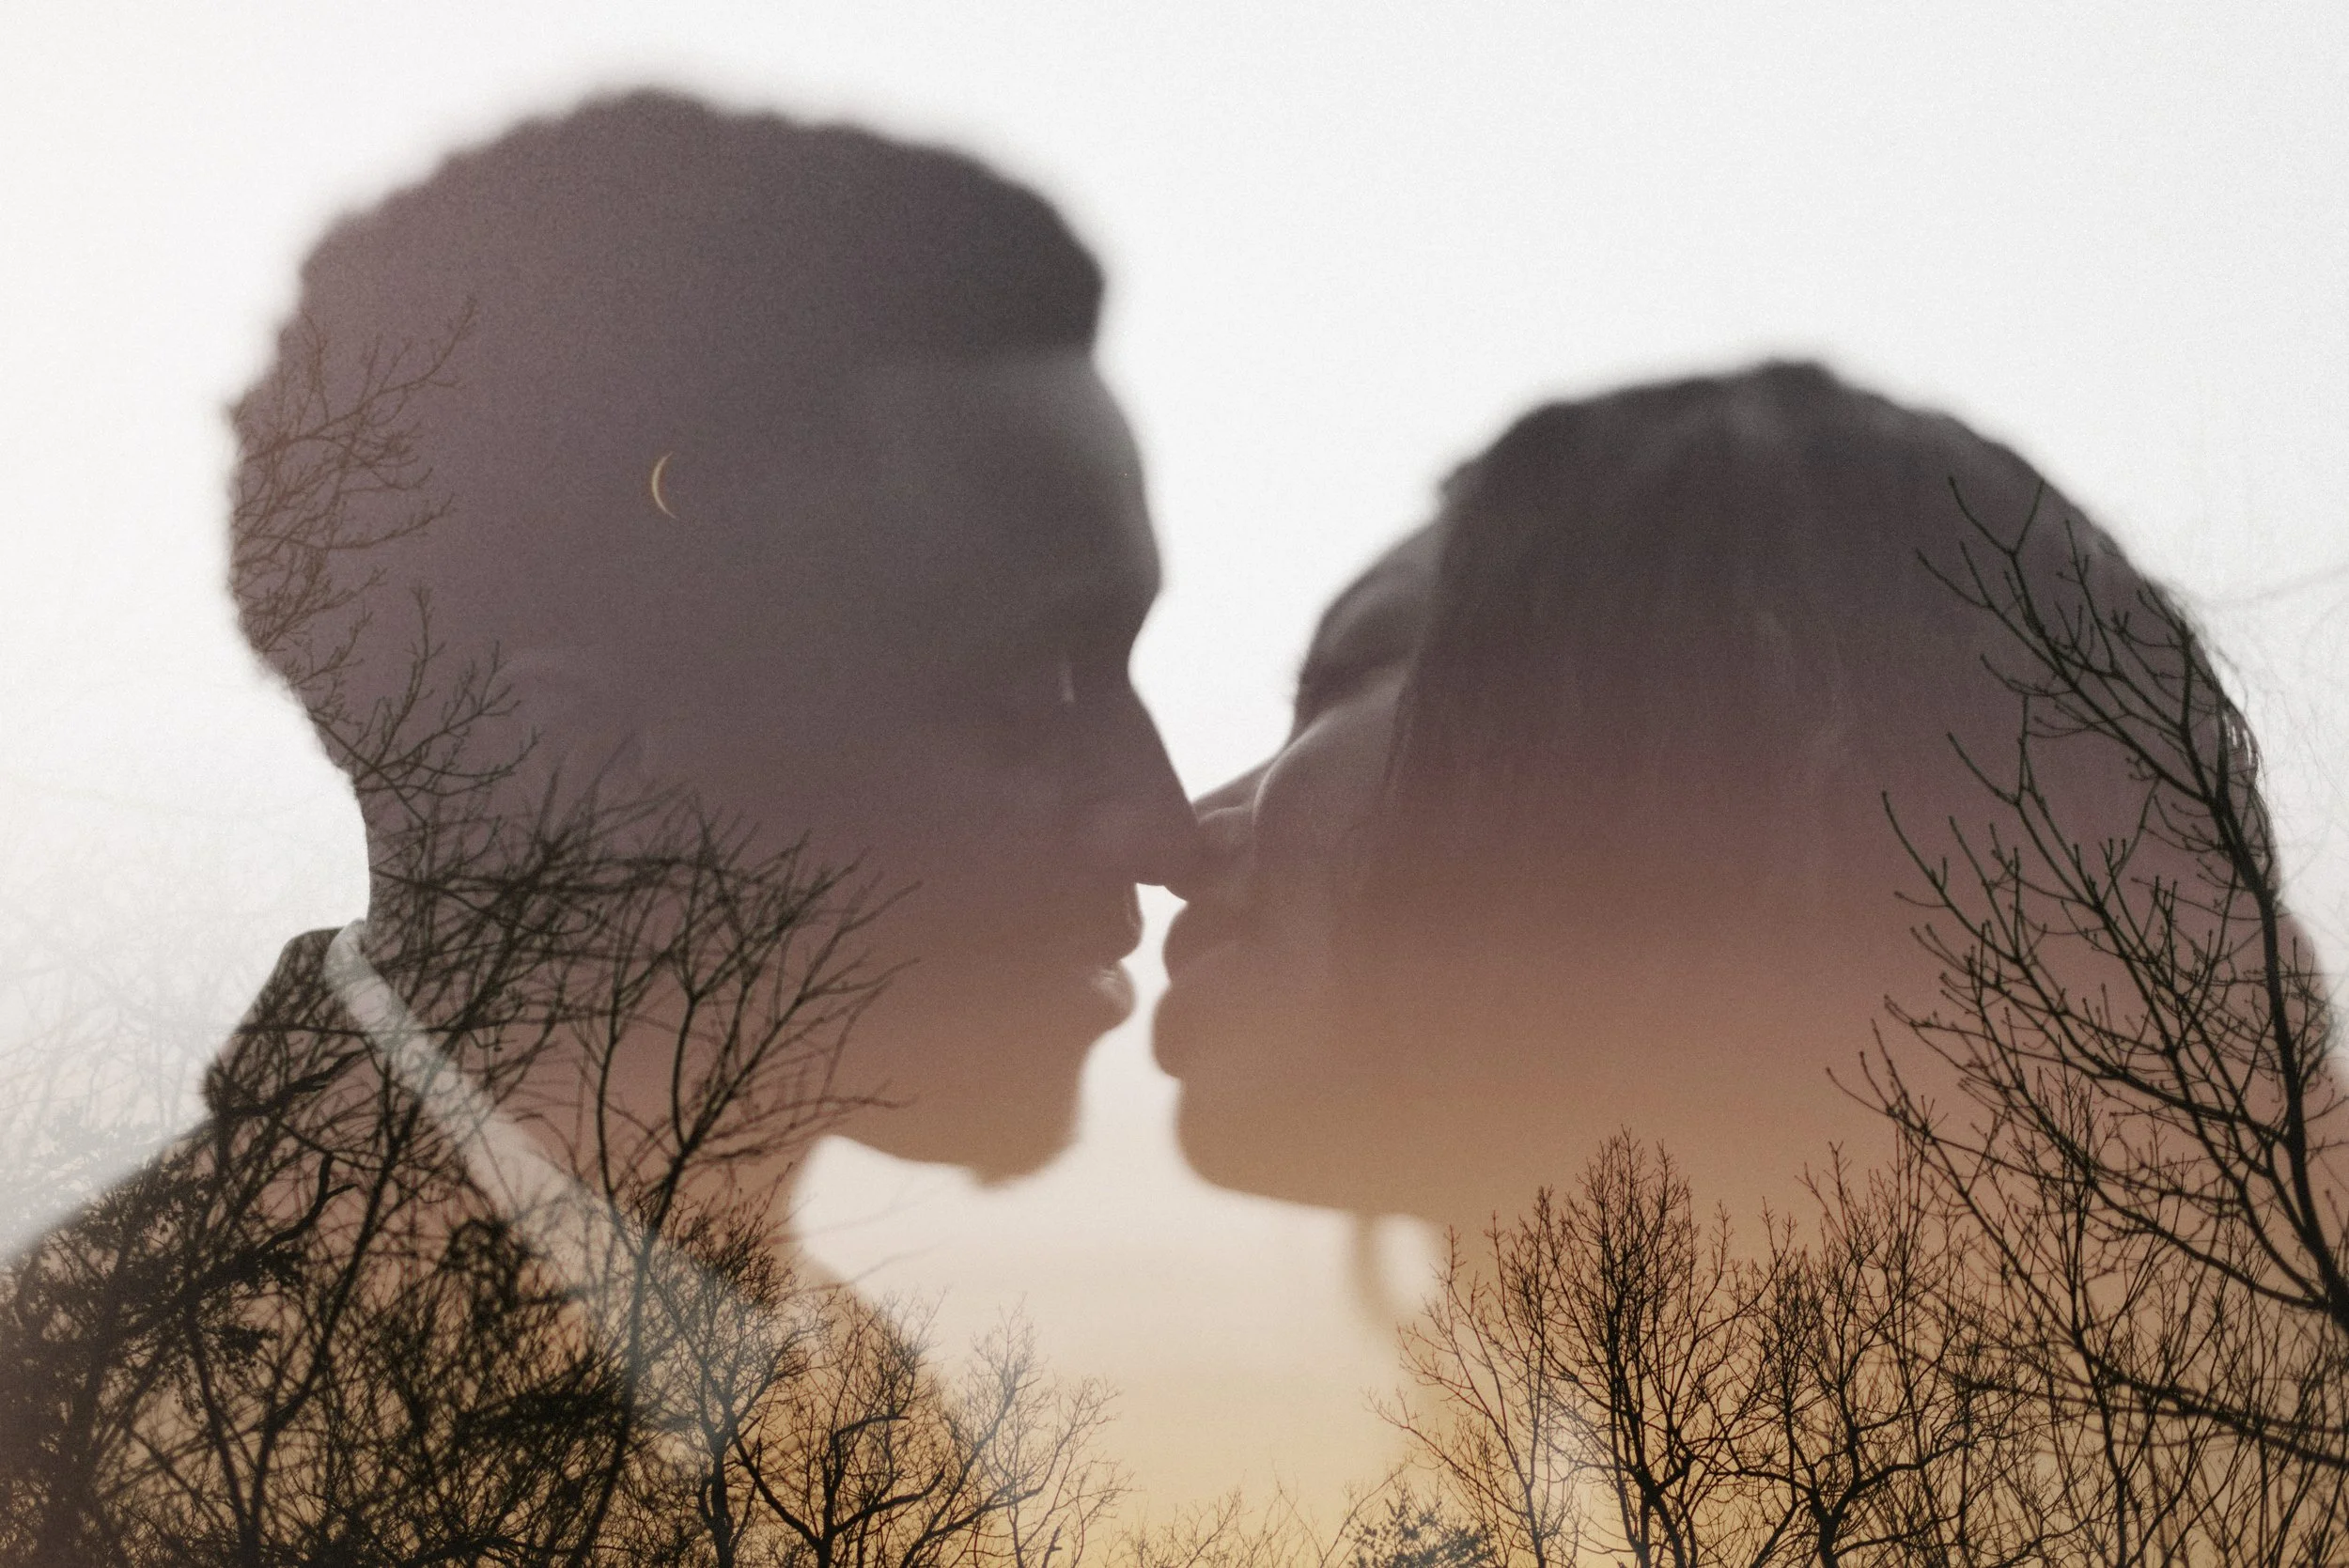
scenic (water, waterfalls, sunrise, sunset, landscapes)
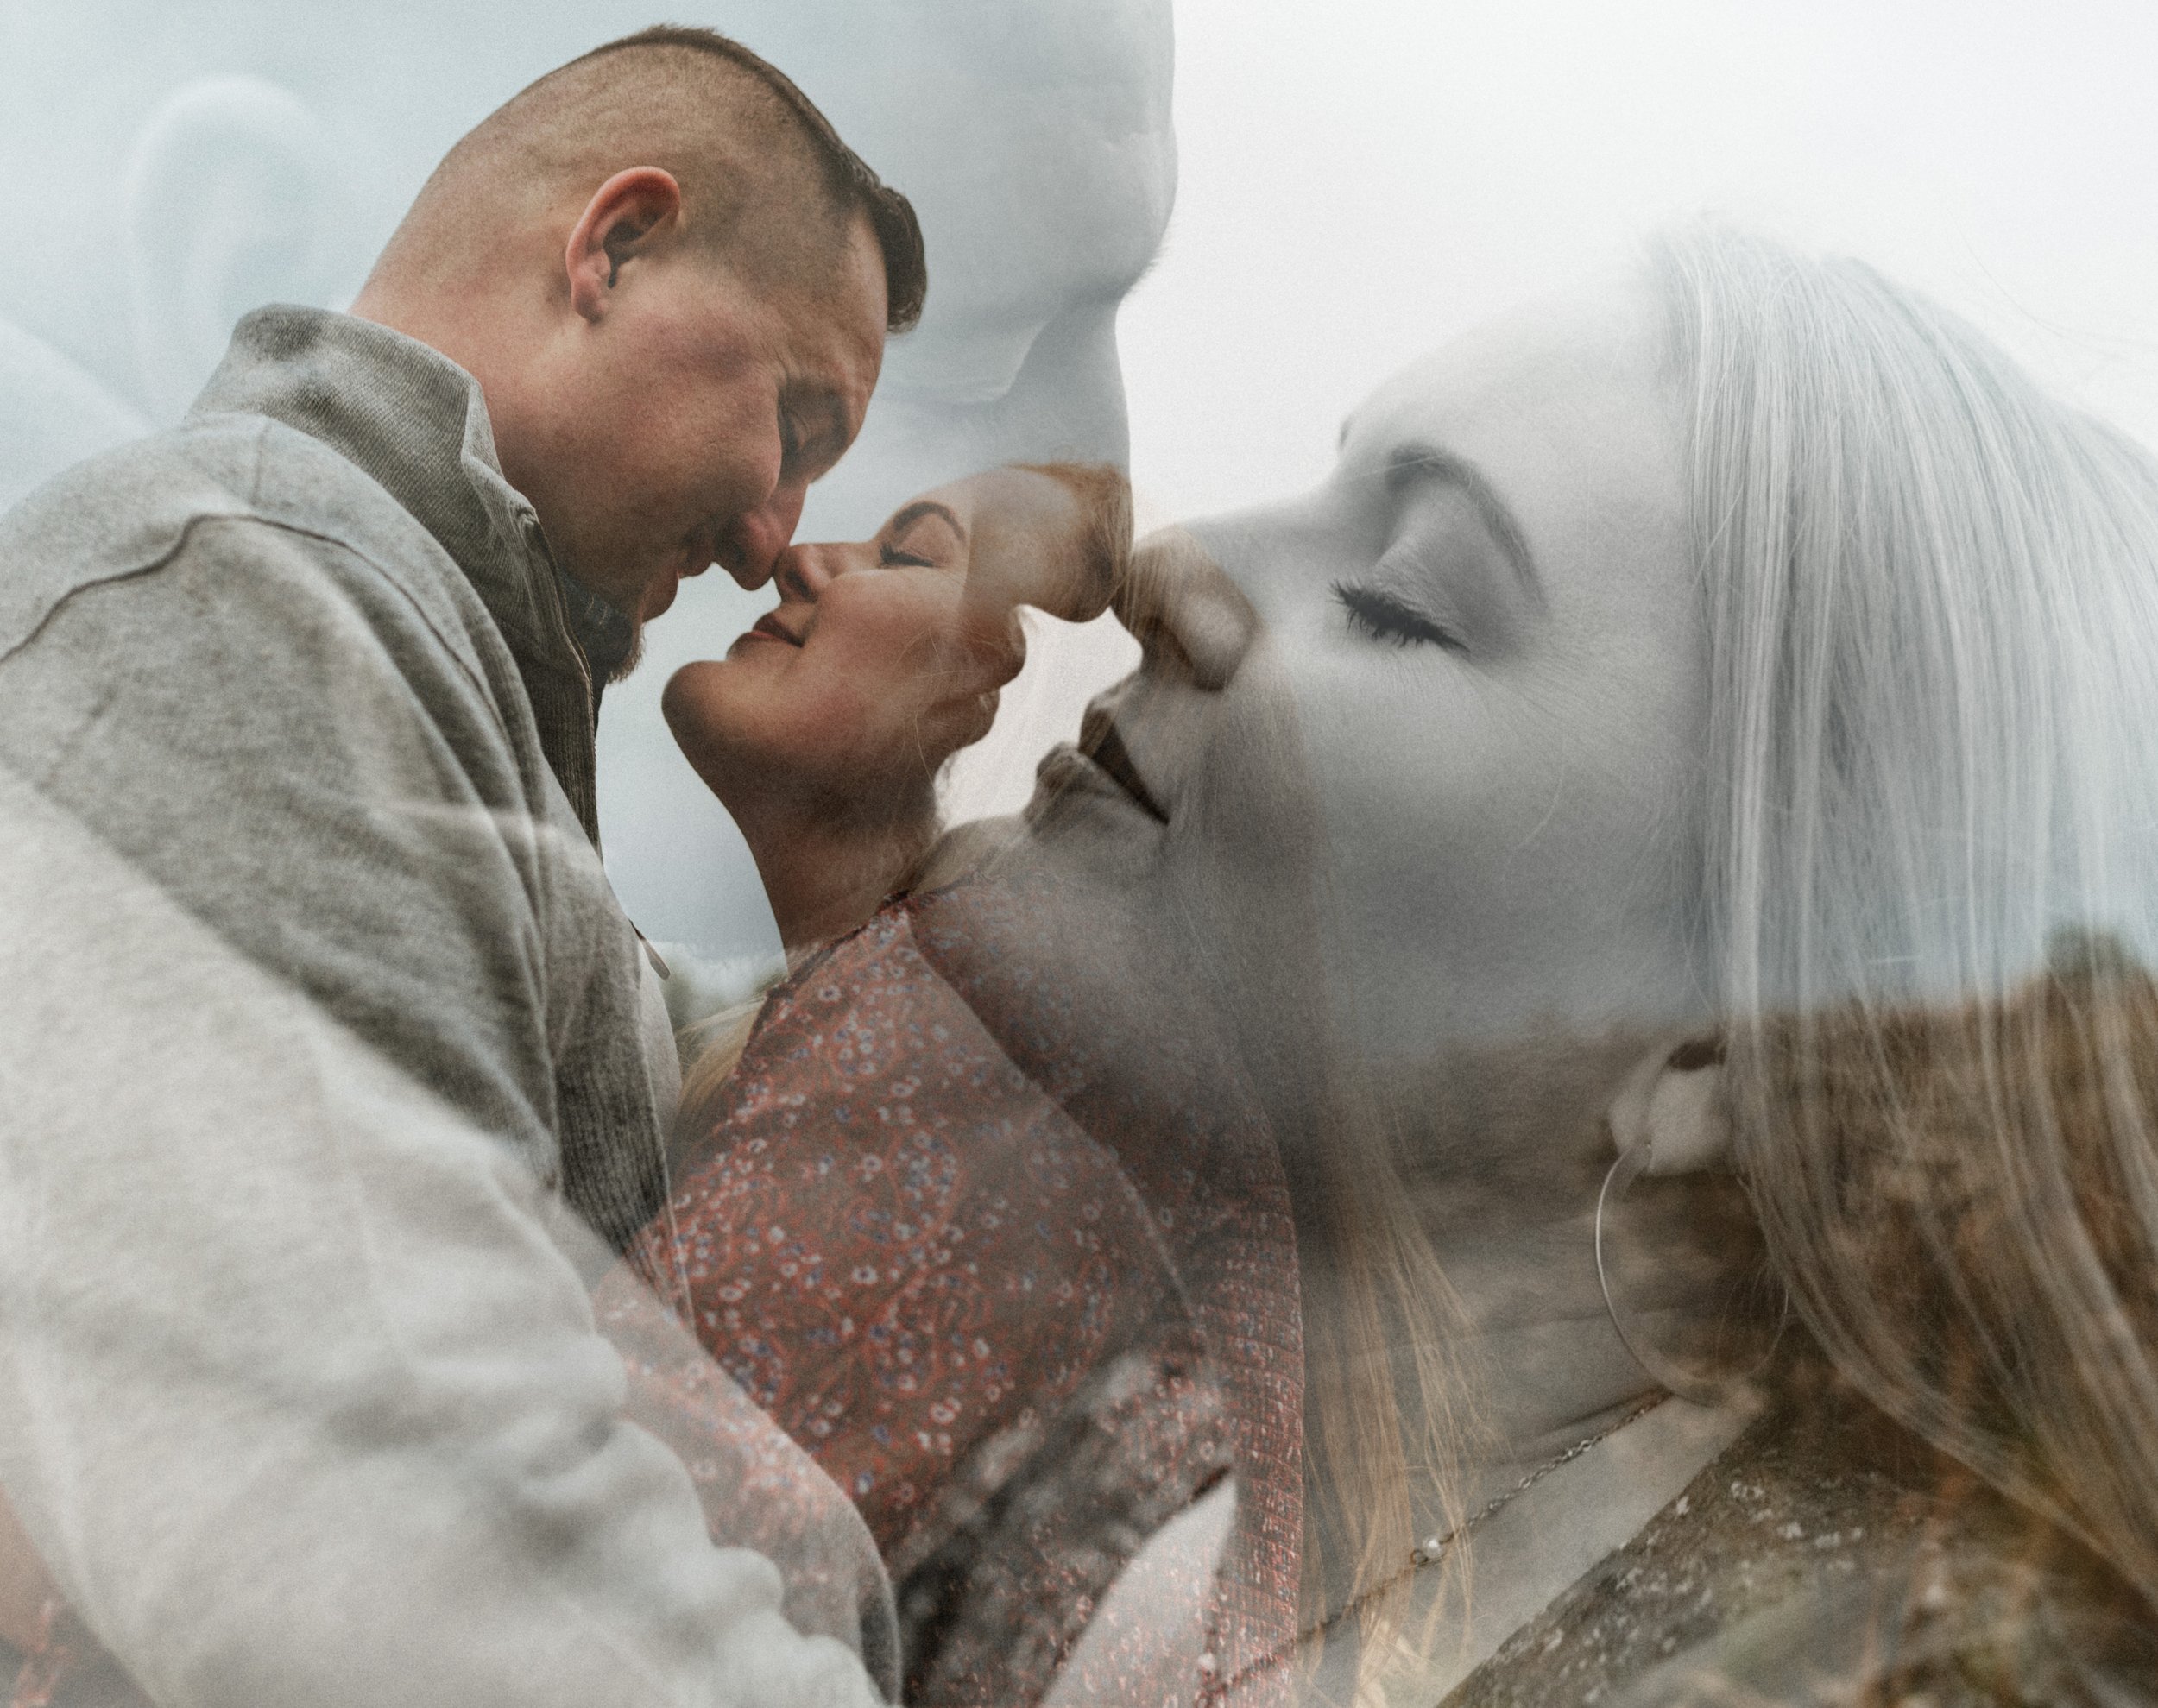
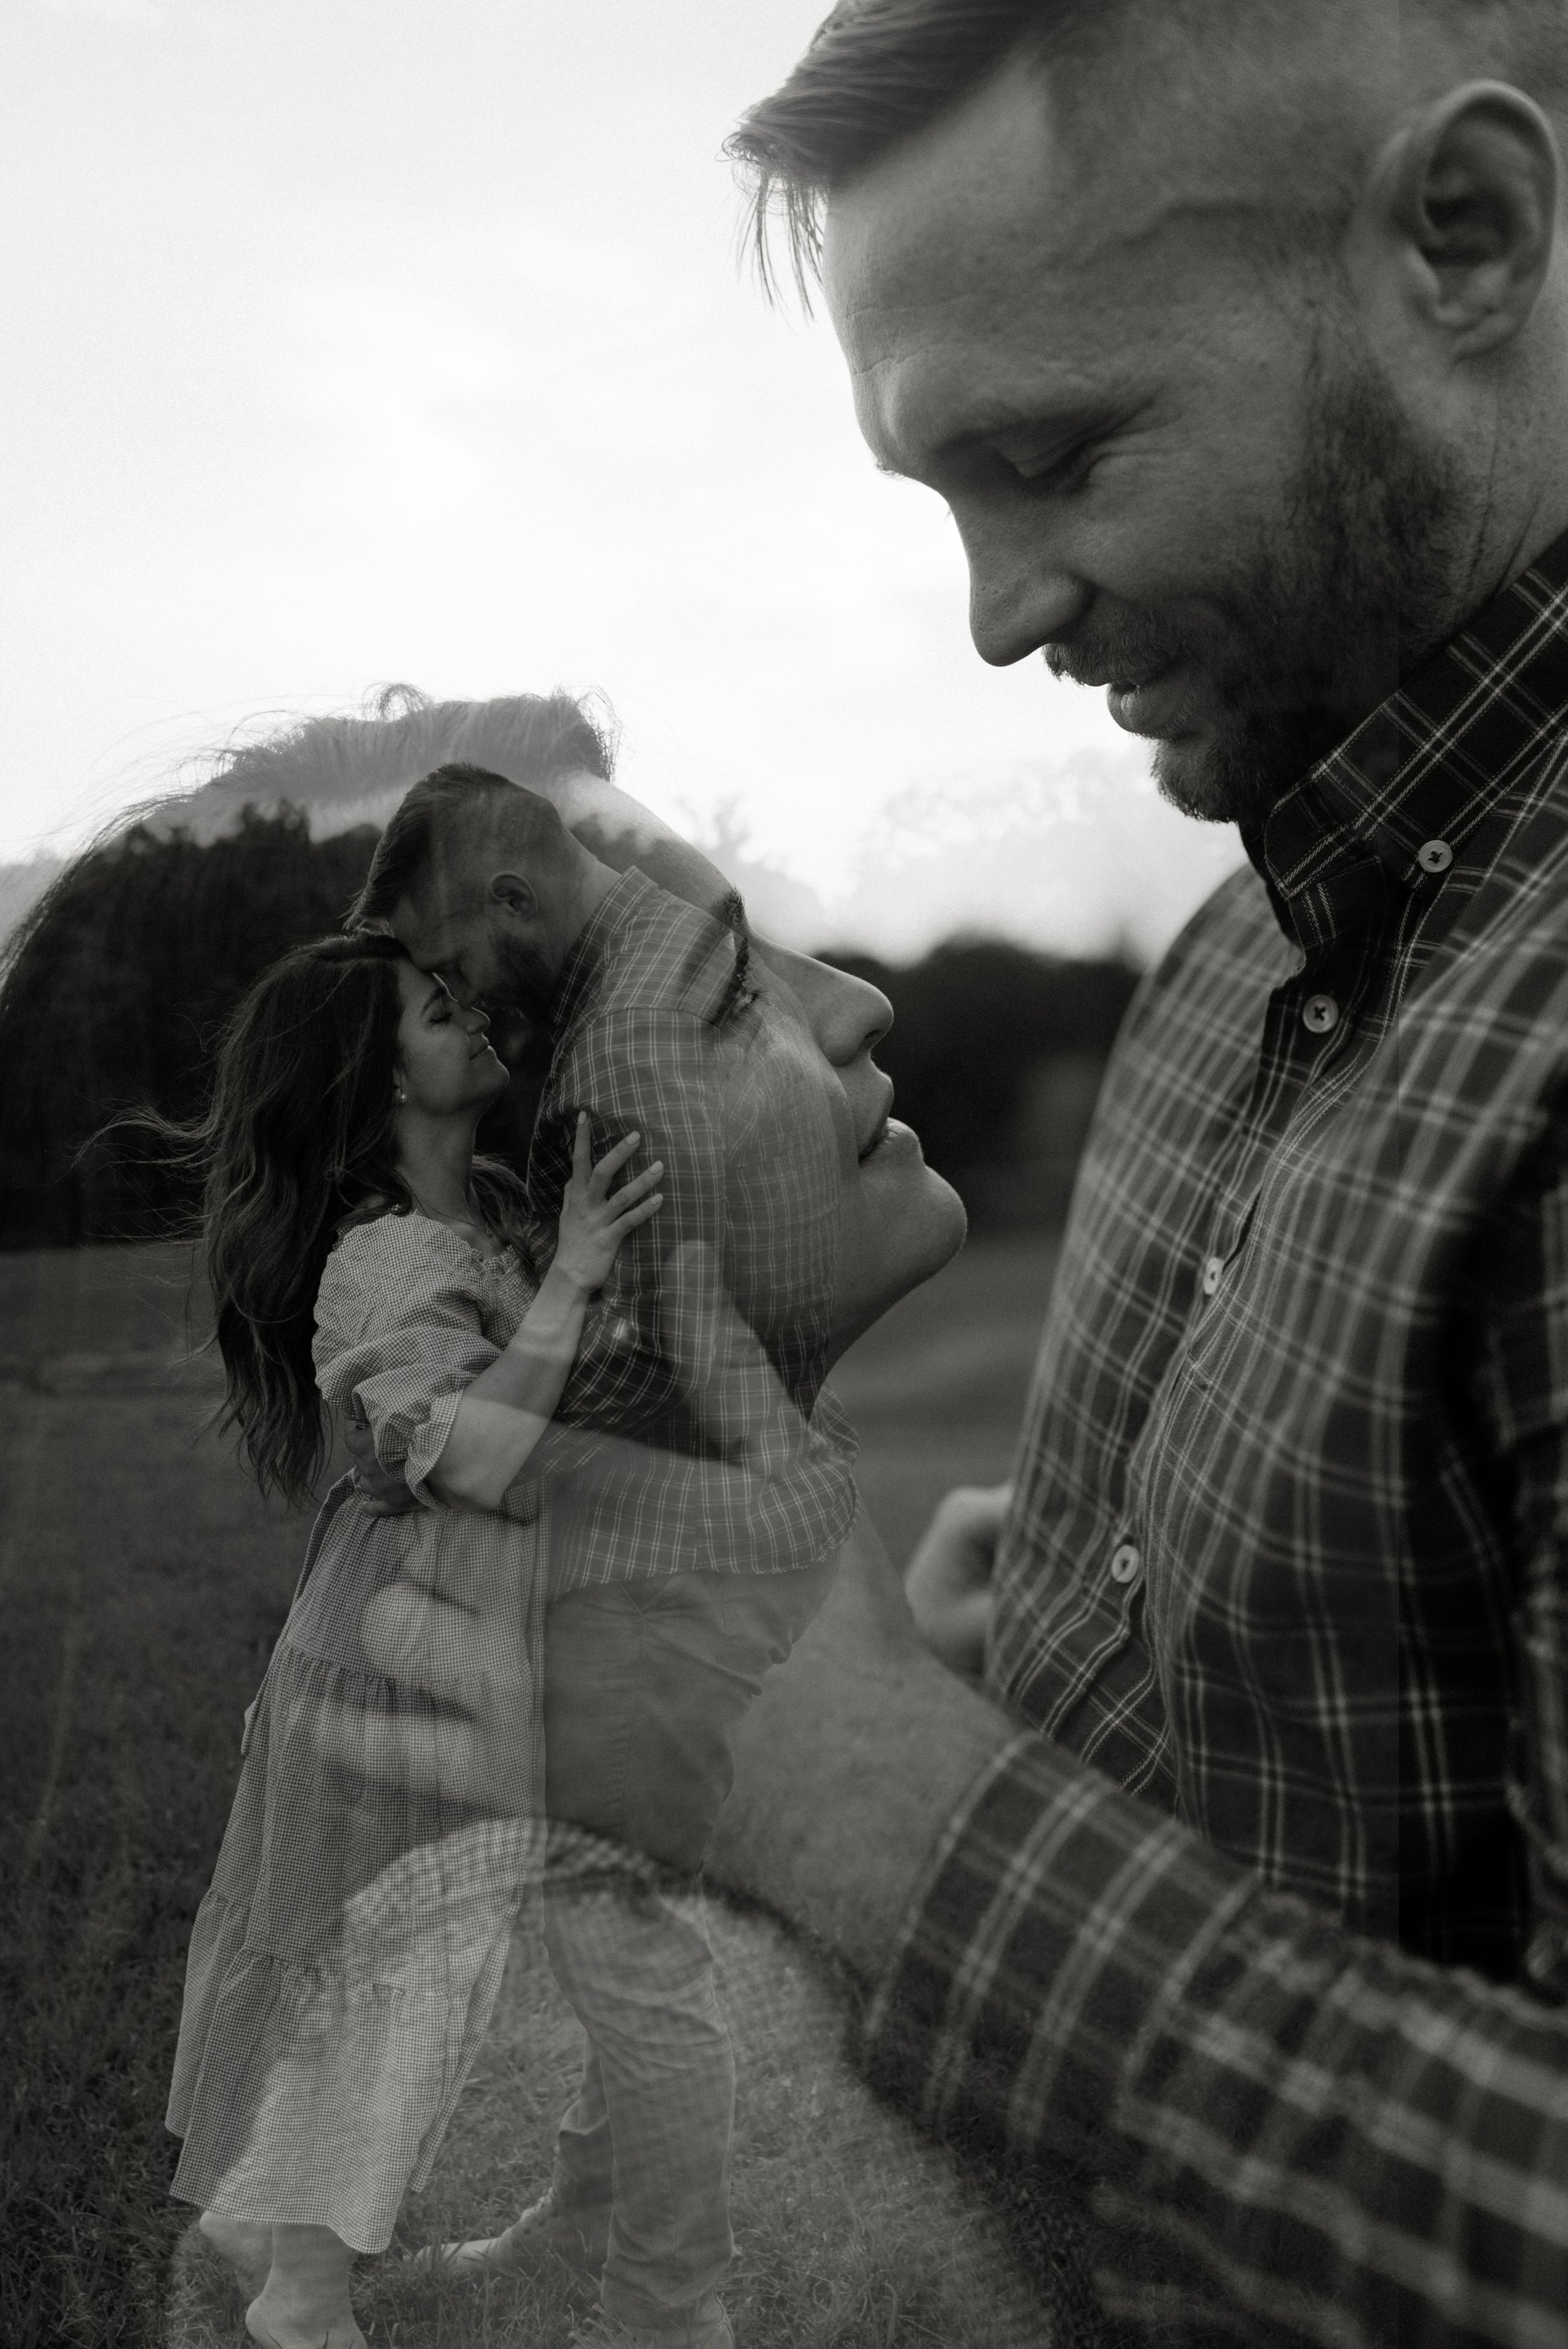
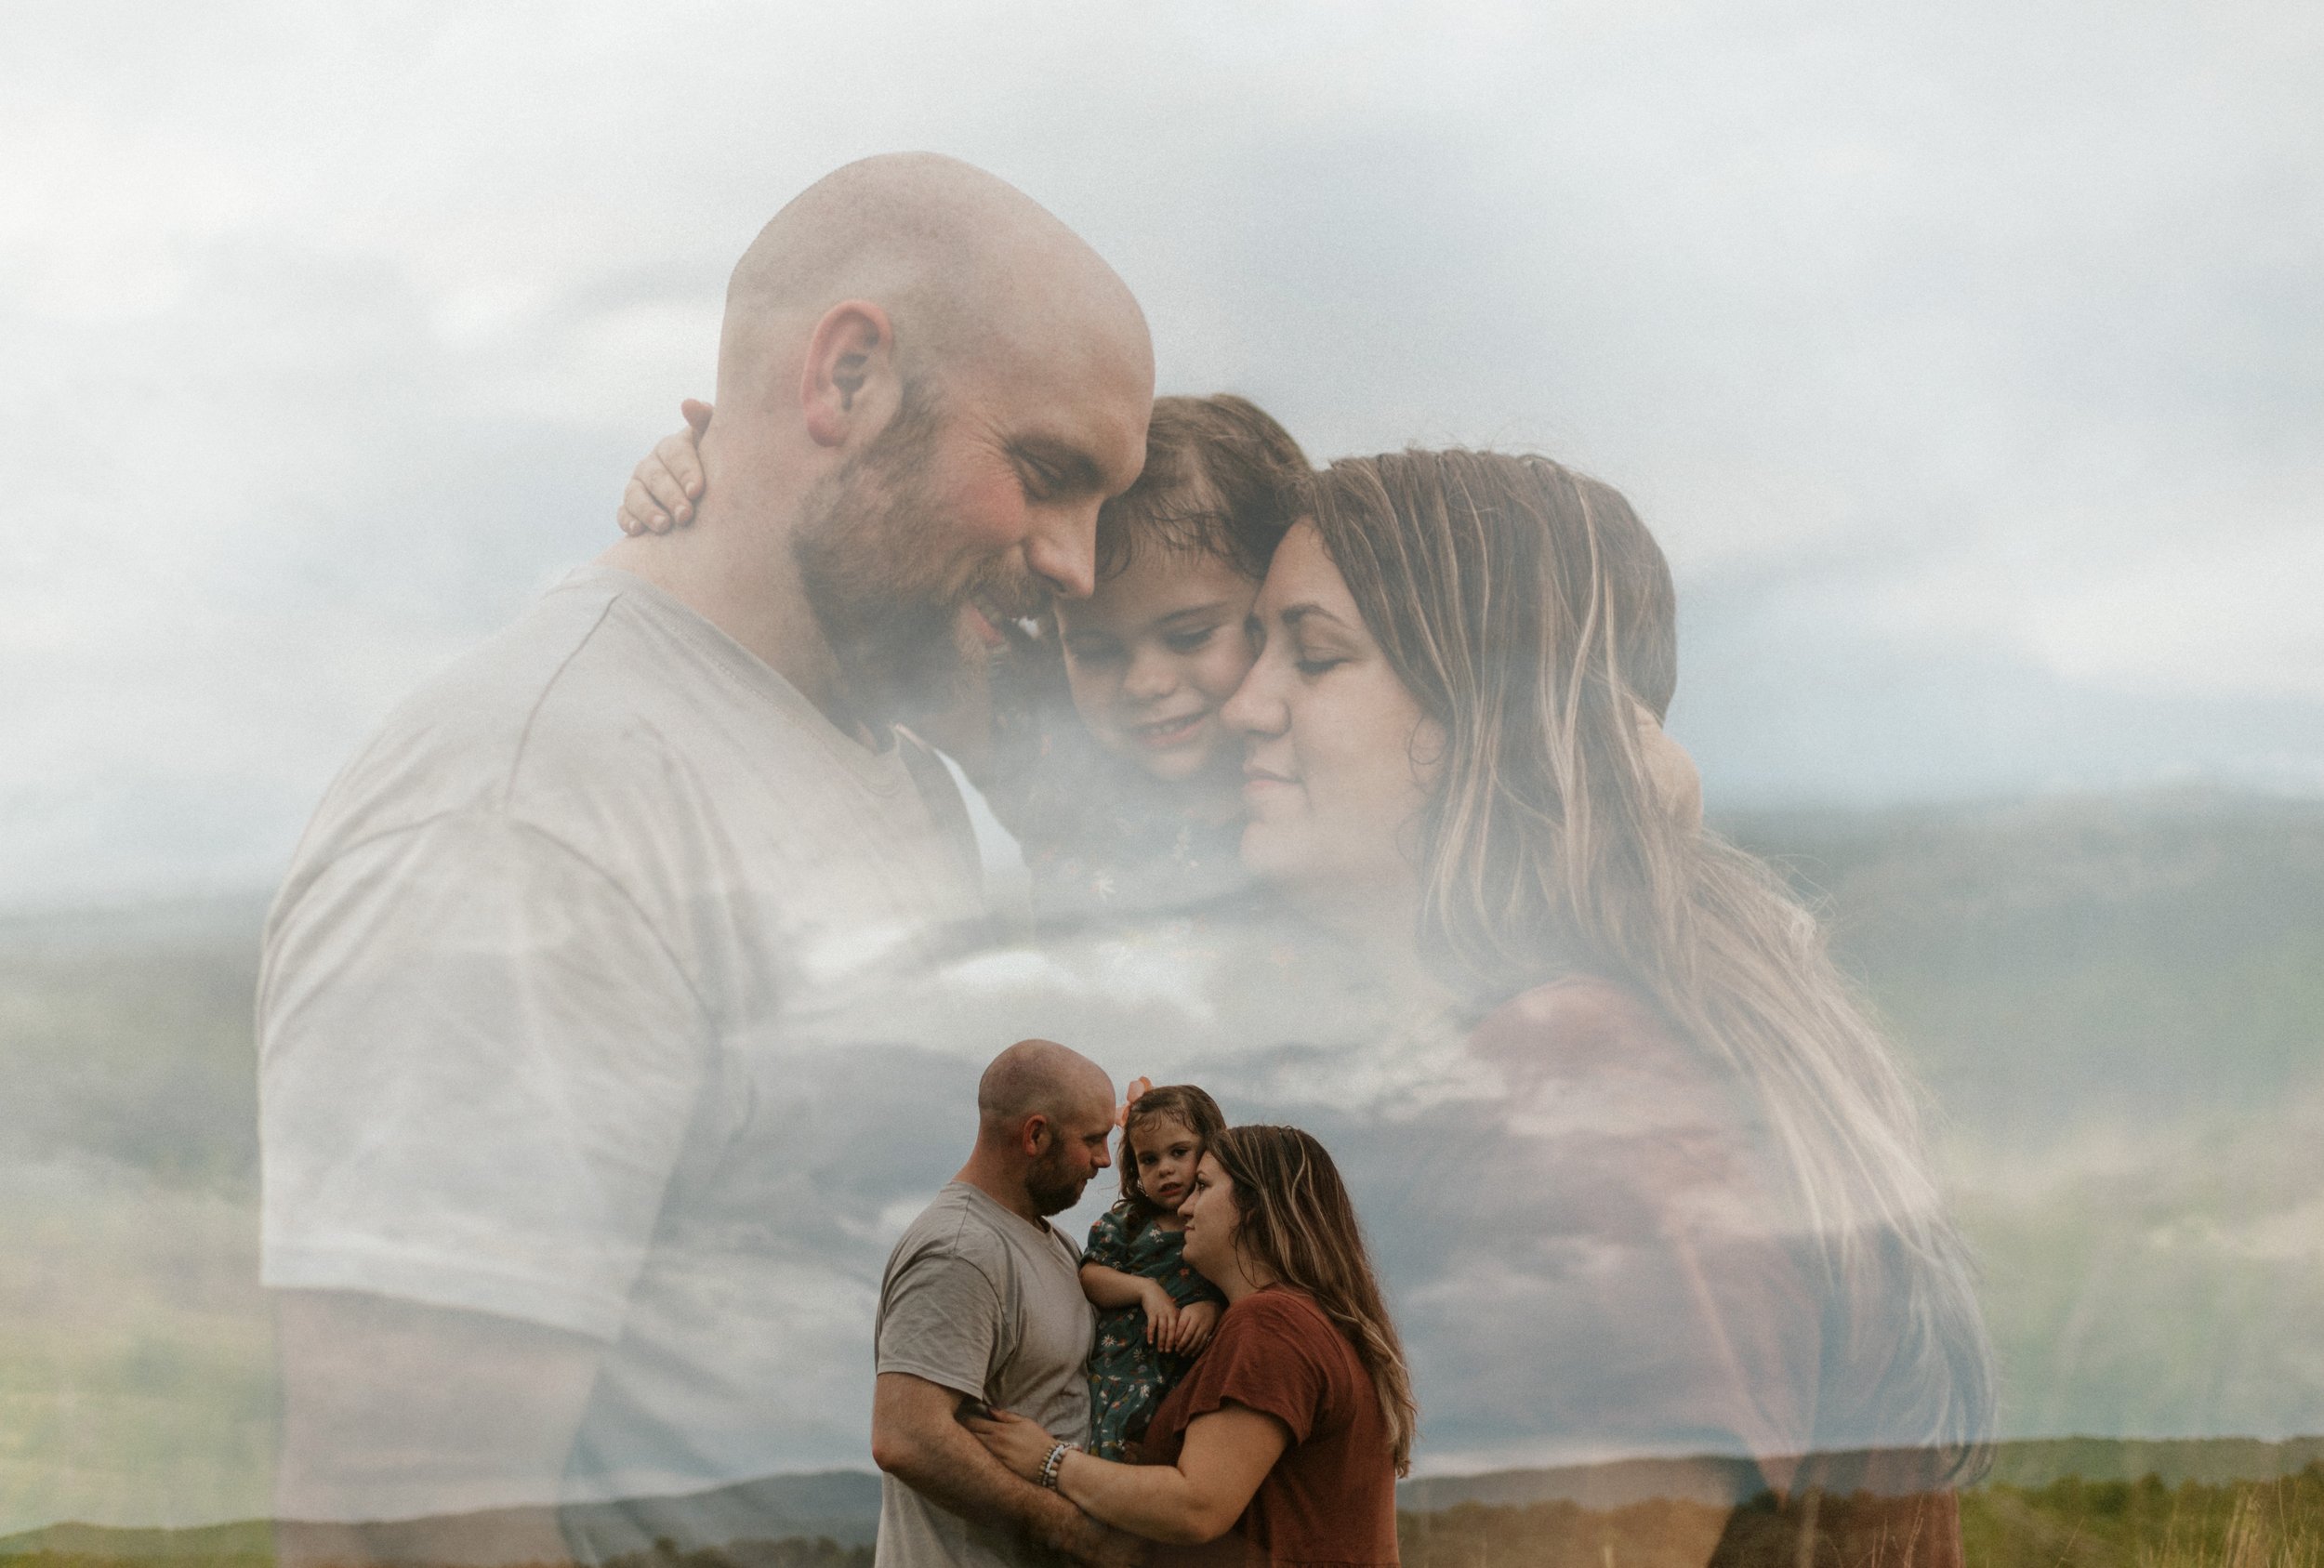
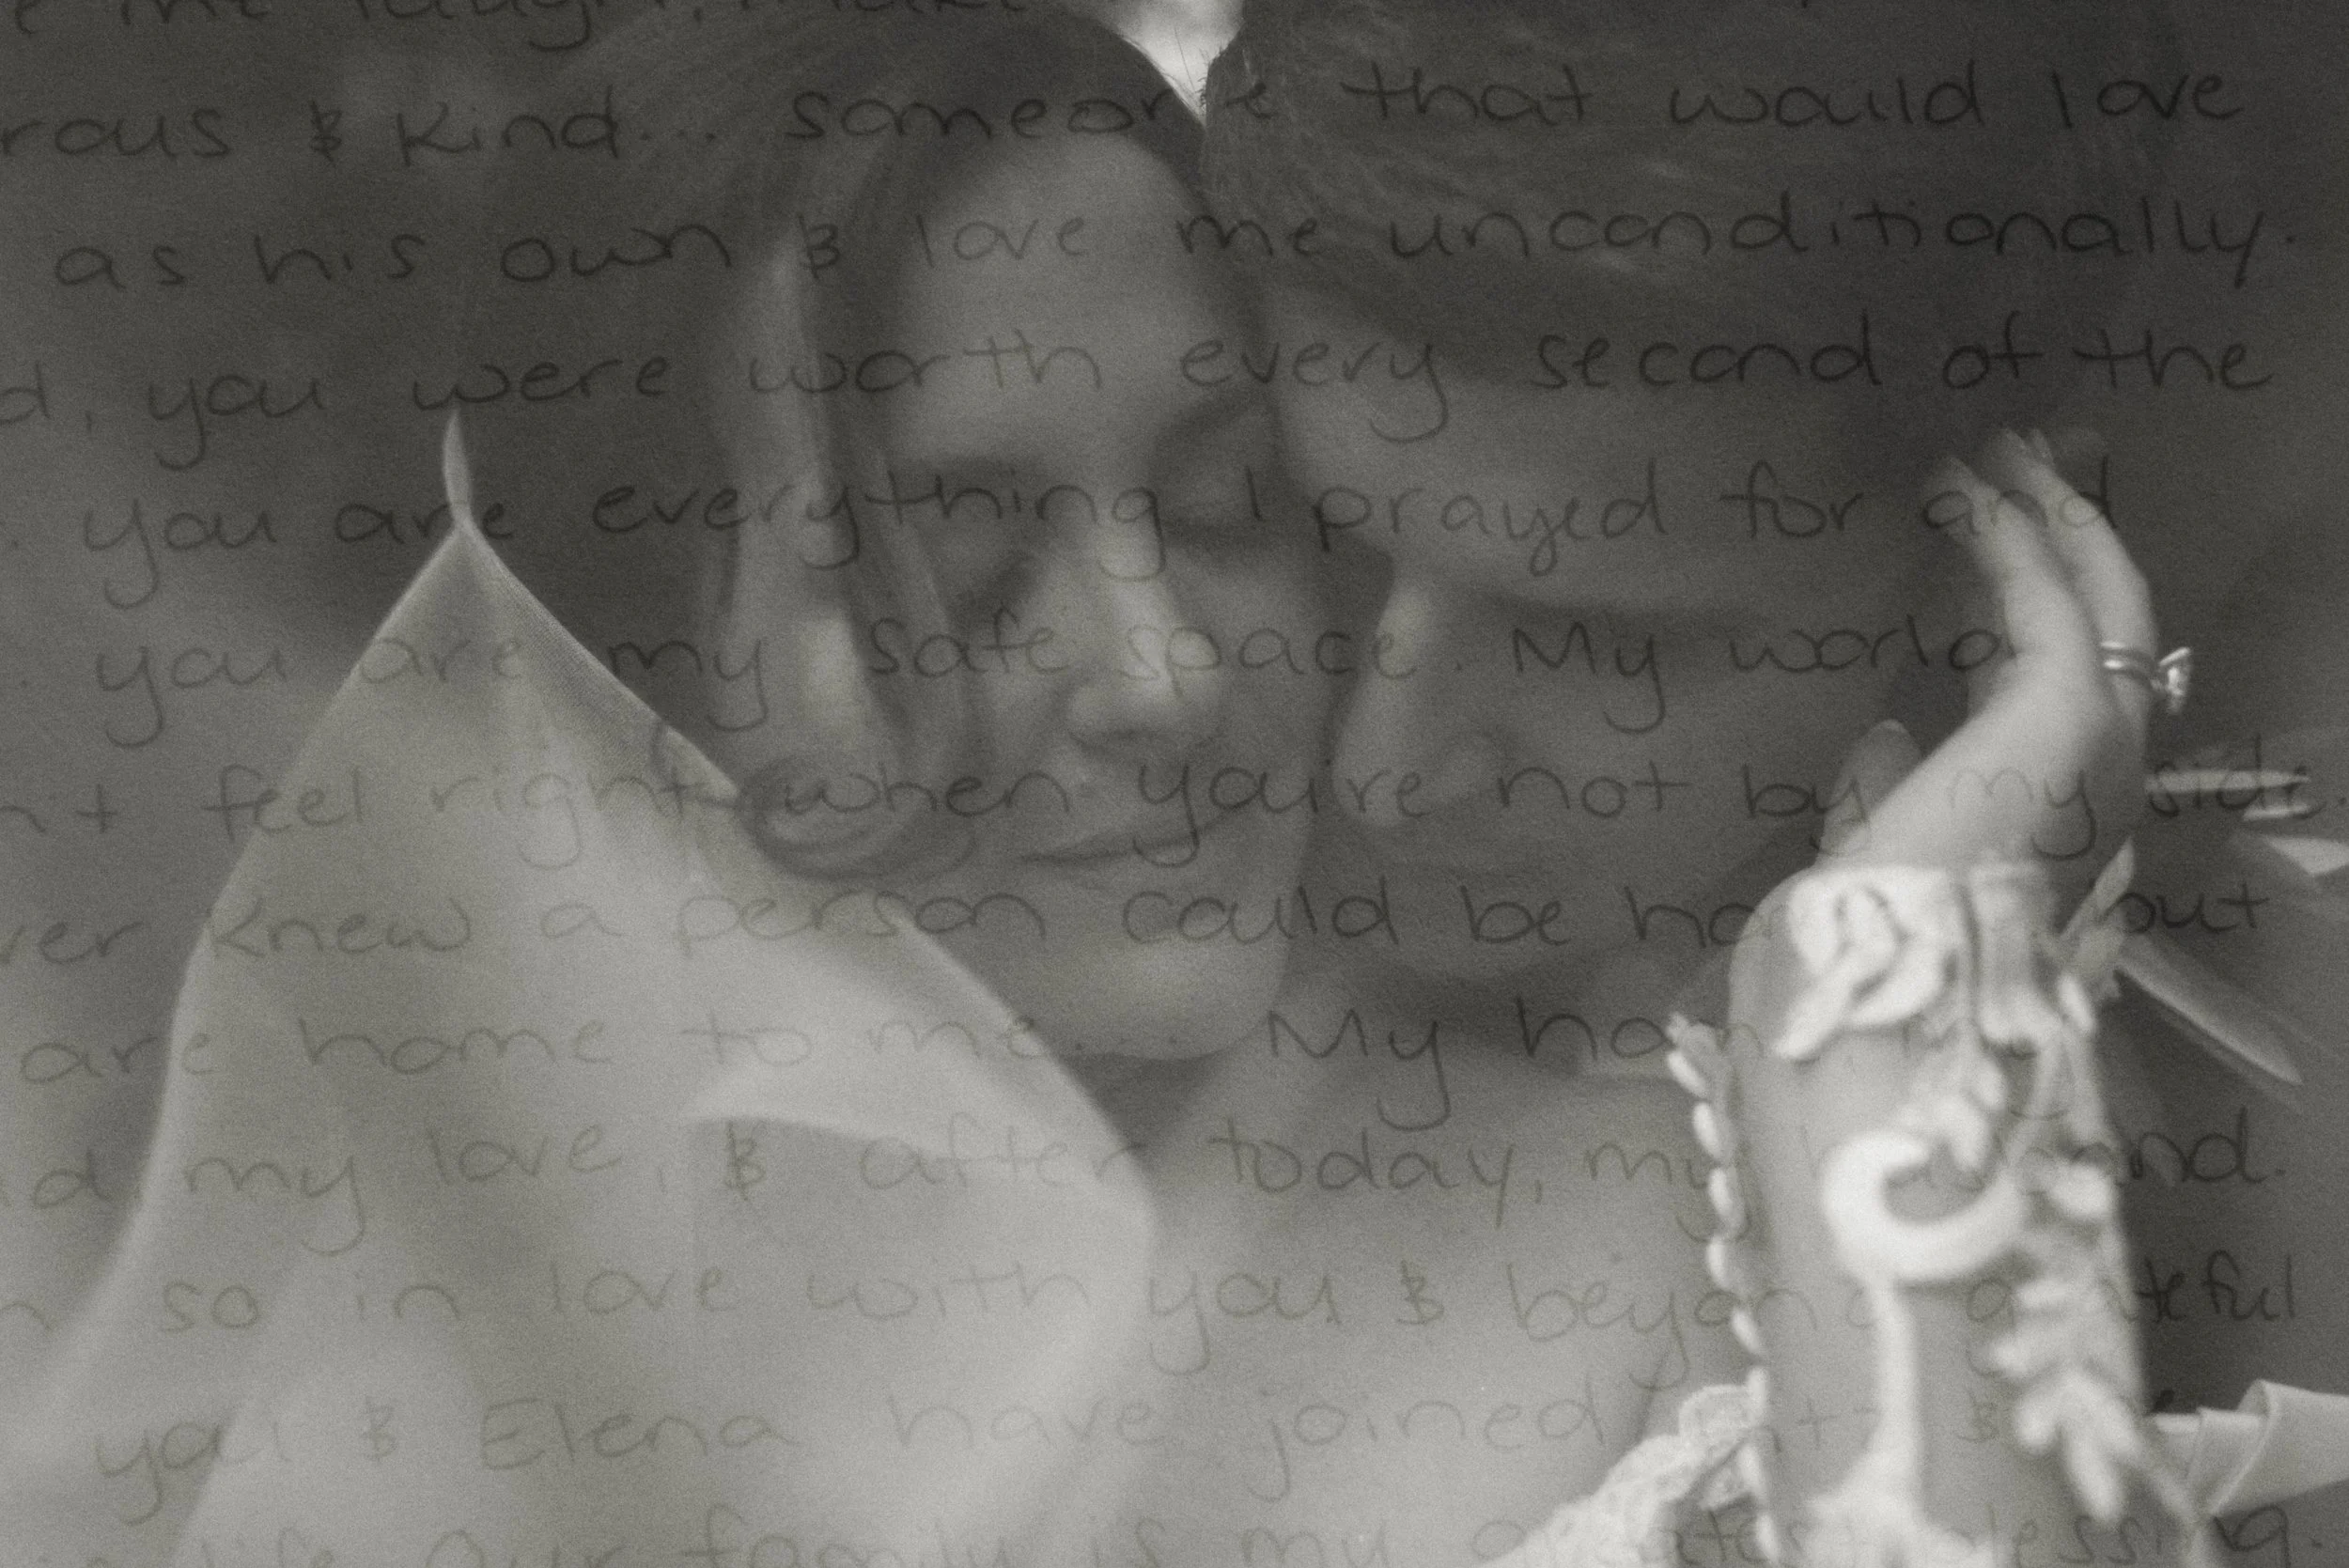
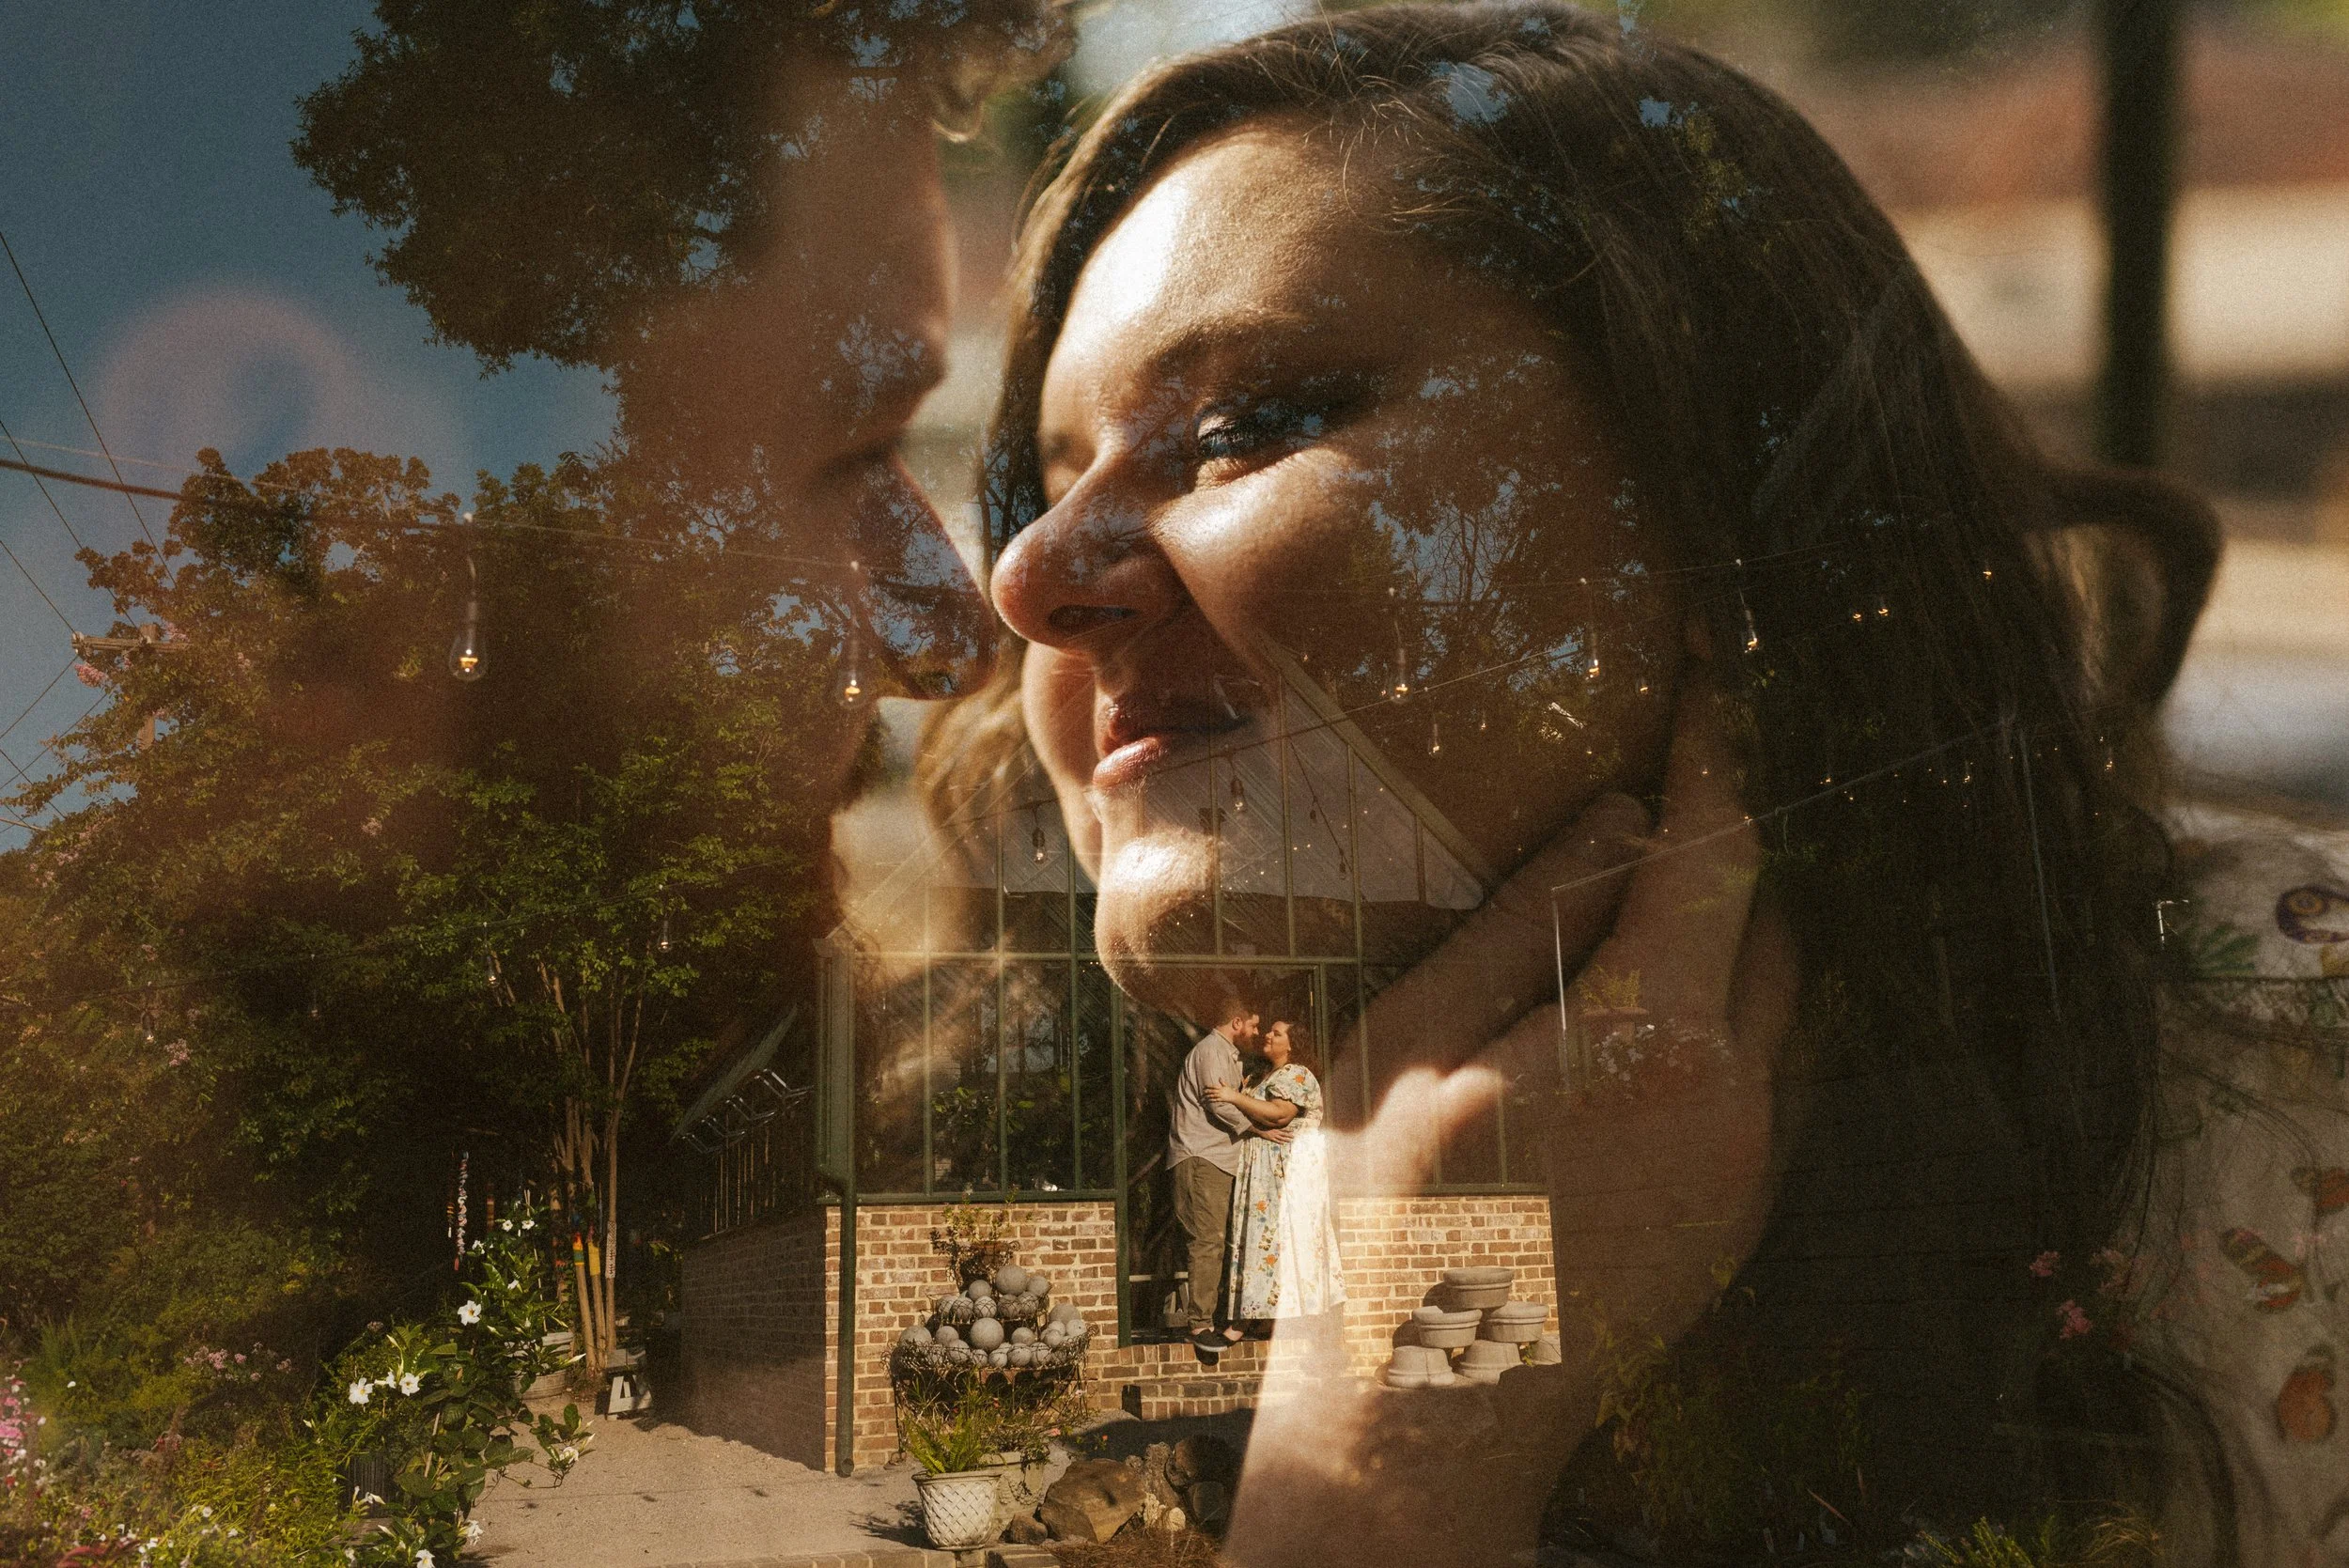
special & emotional moments
memoirs (old photos, heirlooms)
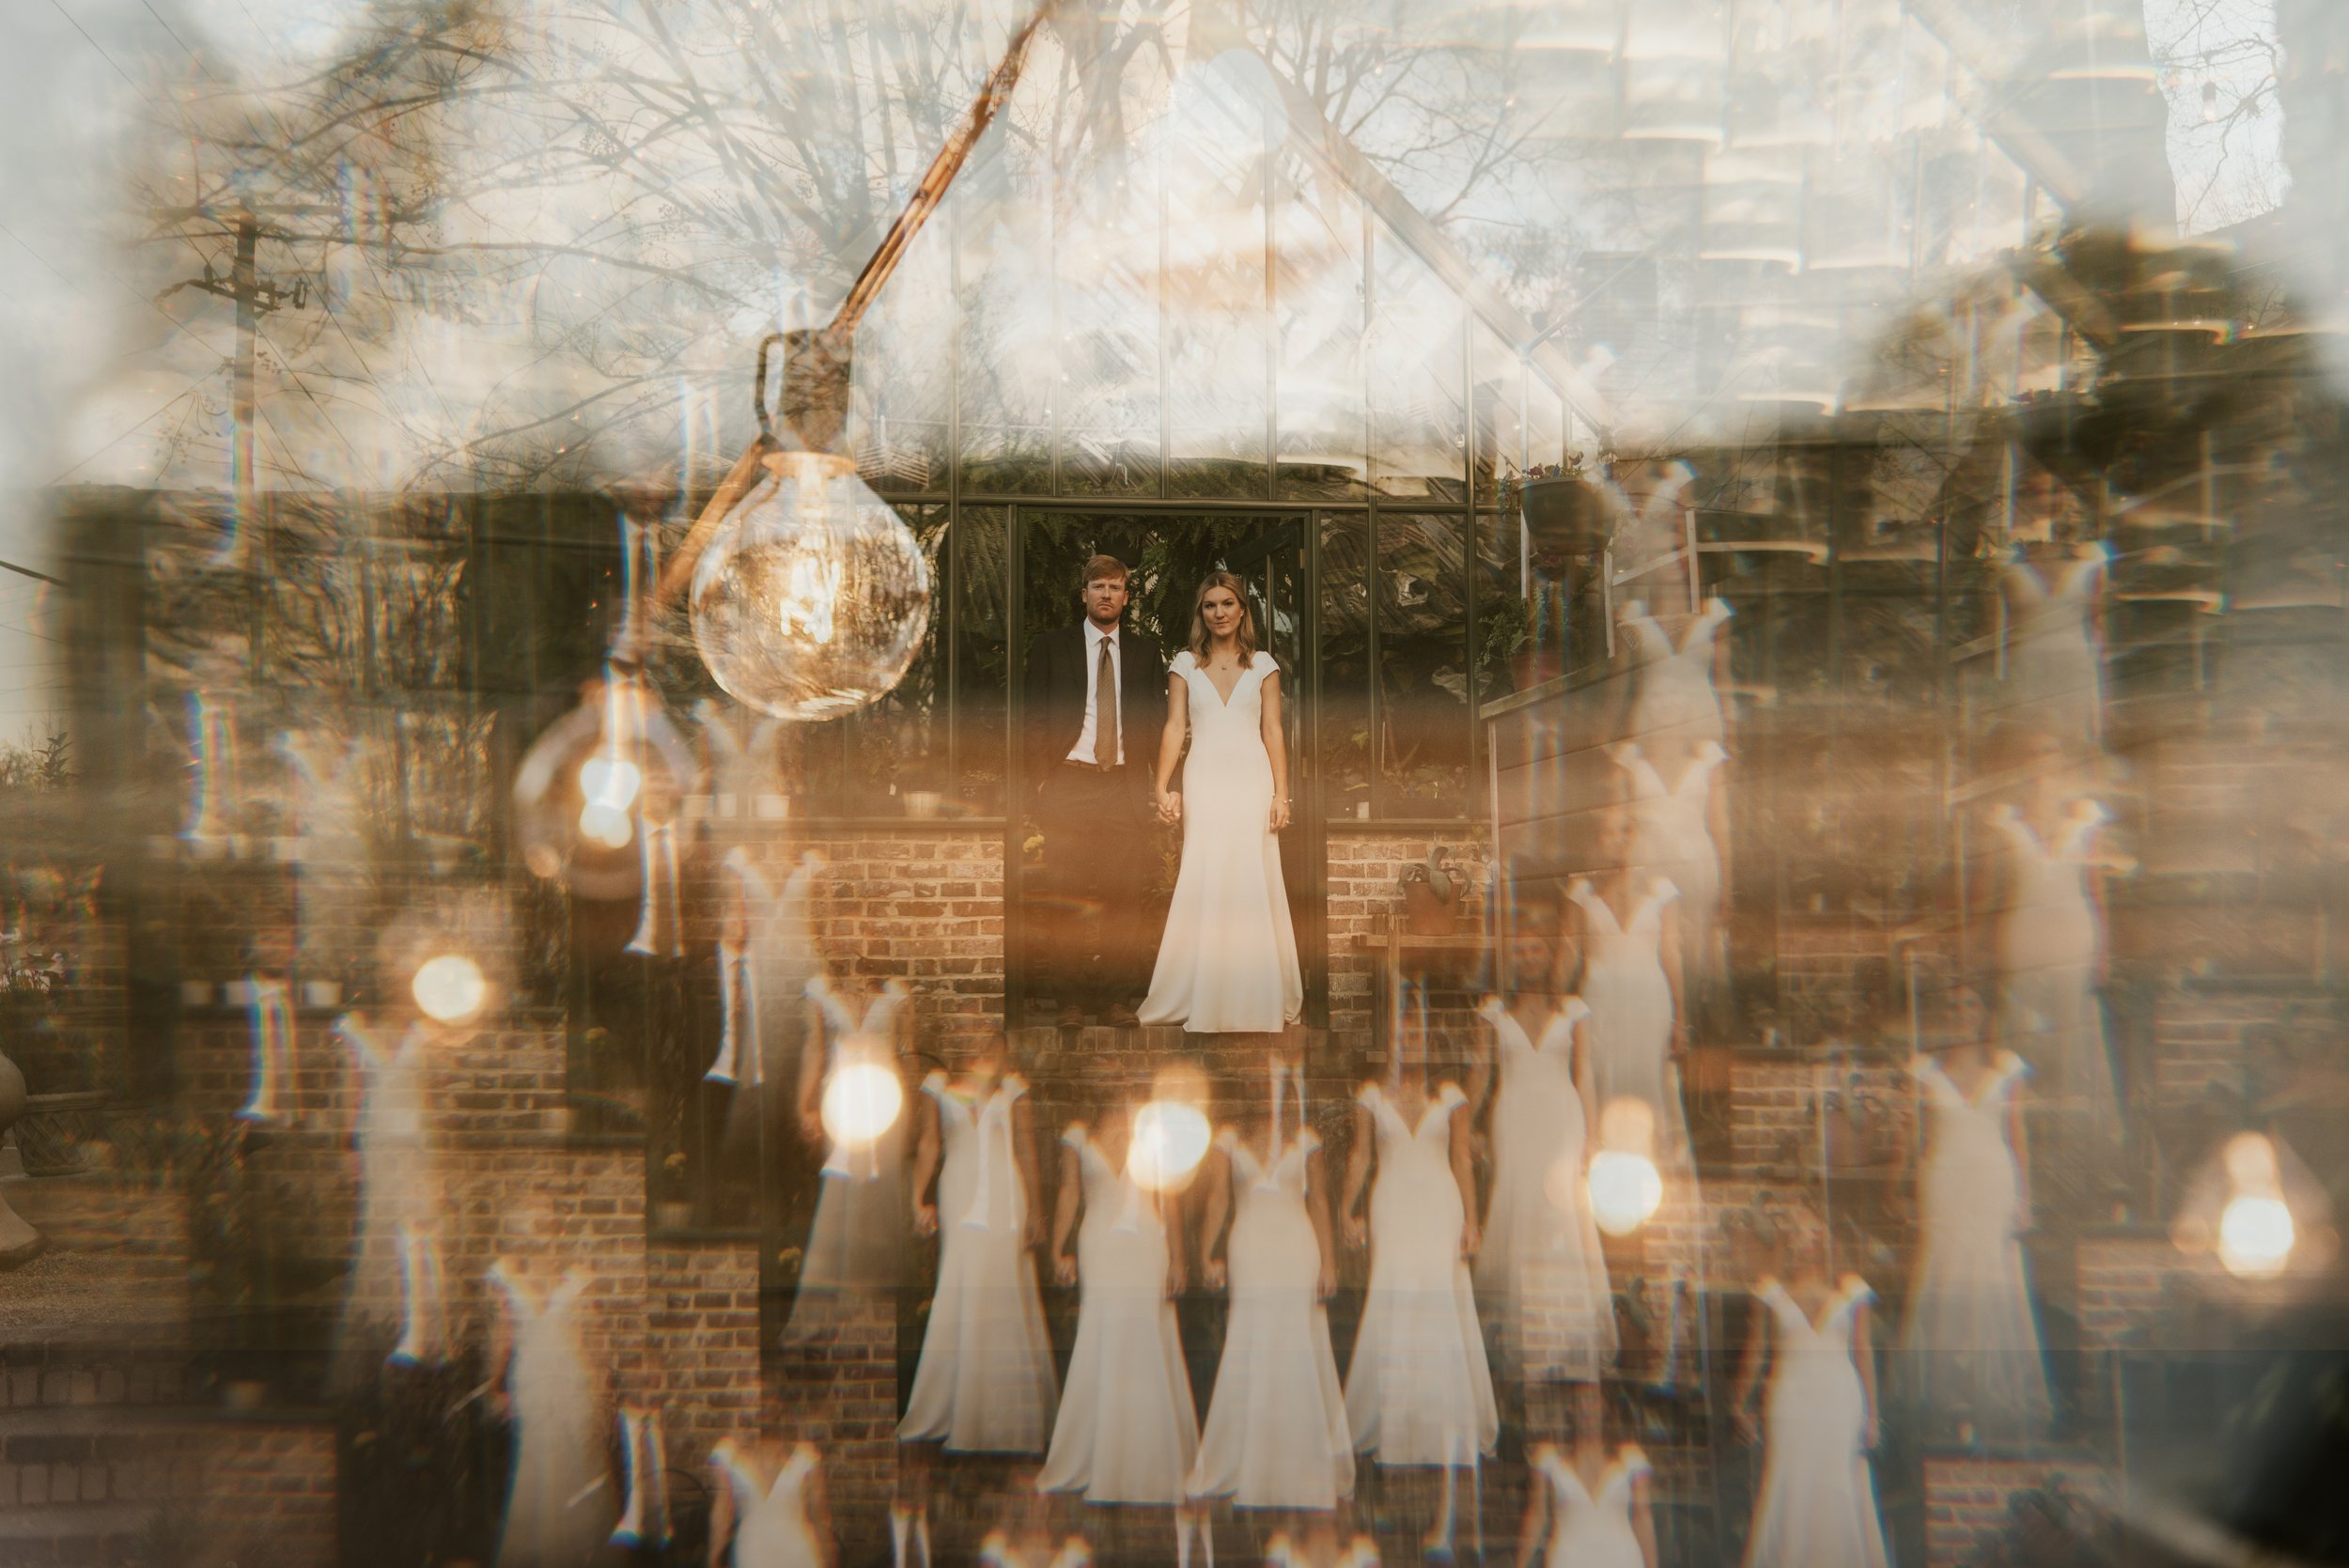
lights (lamps, fire, twinkle lights, street/city lights, lanterns, car lights, neon lights)
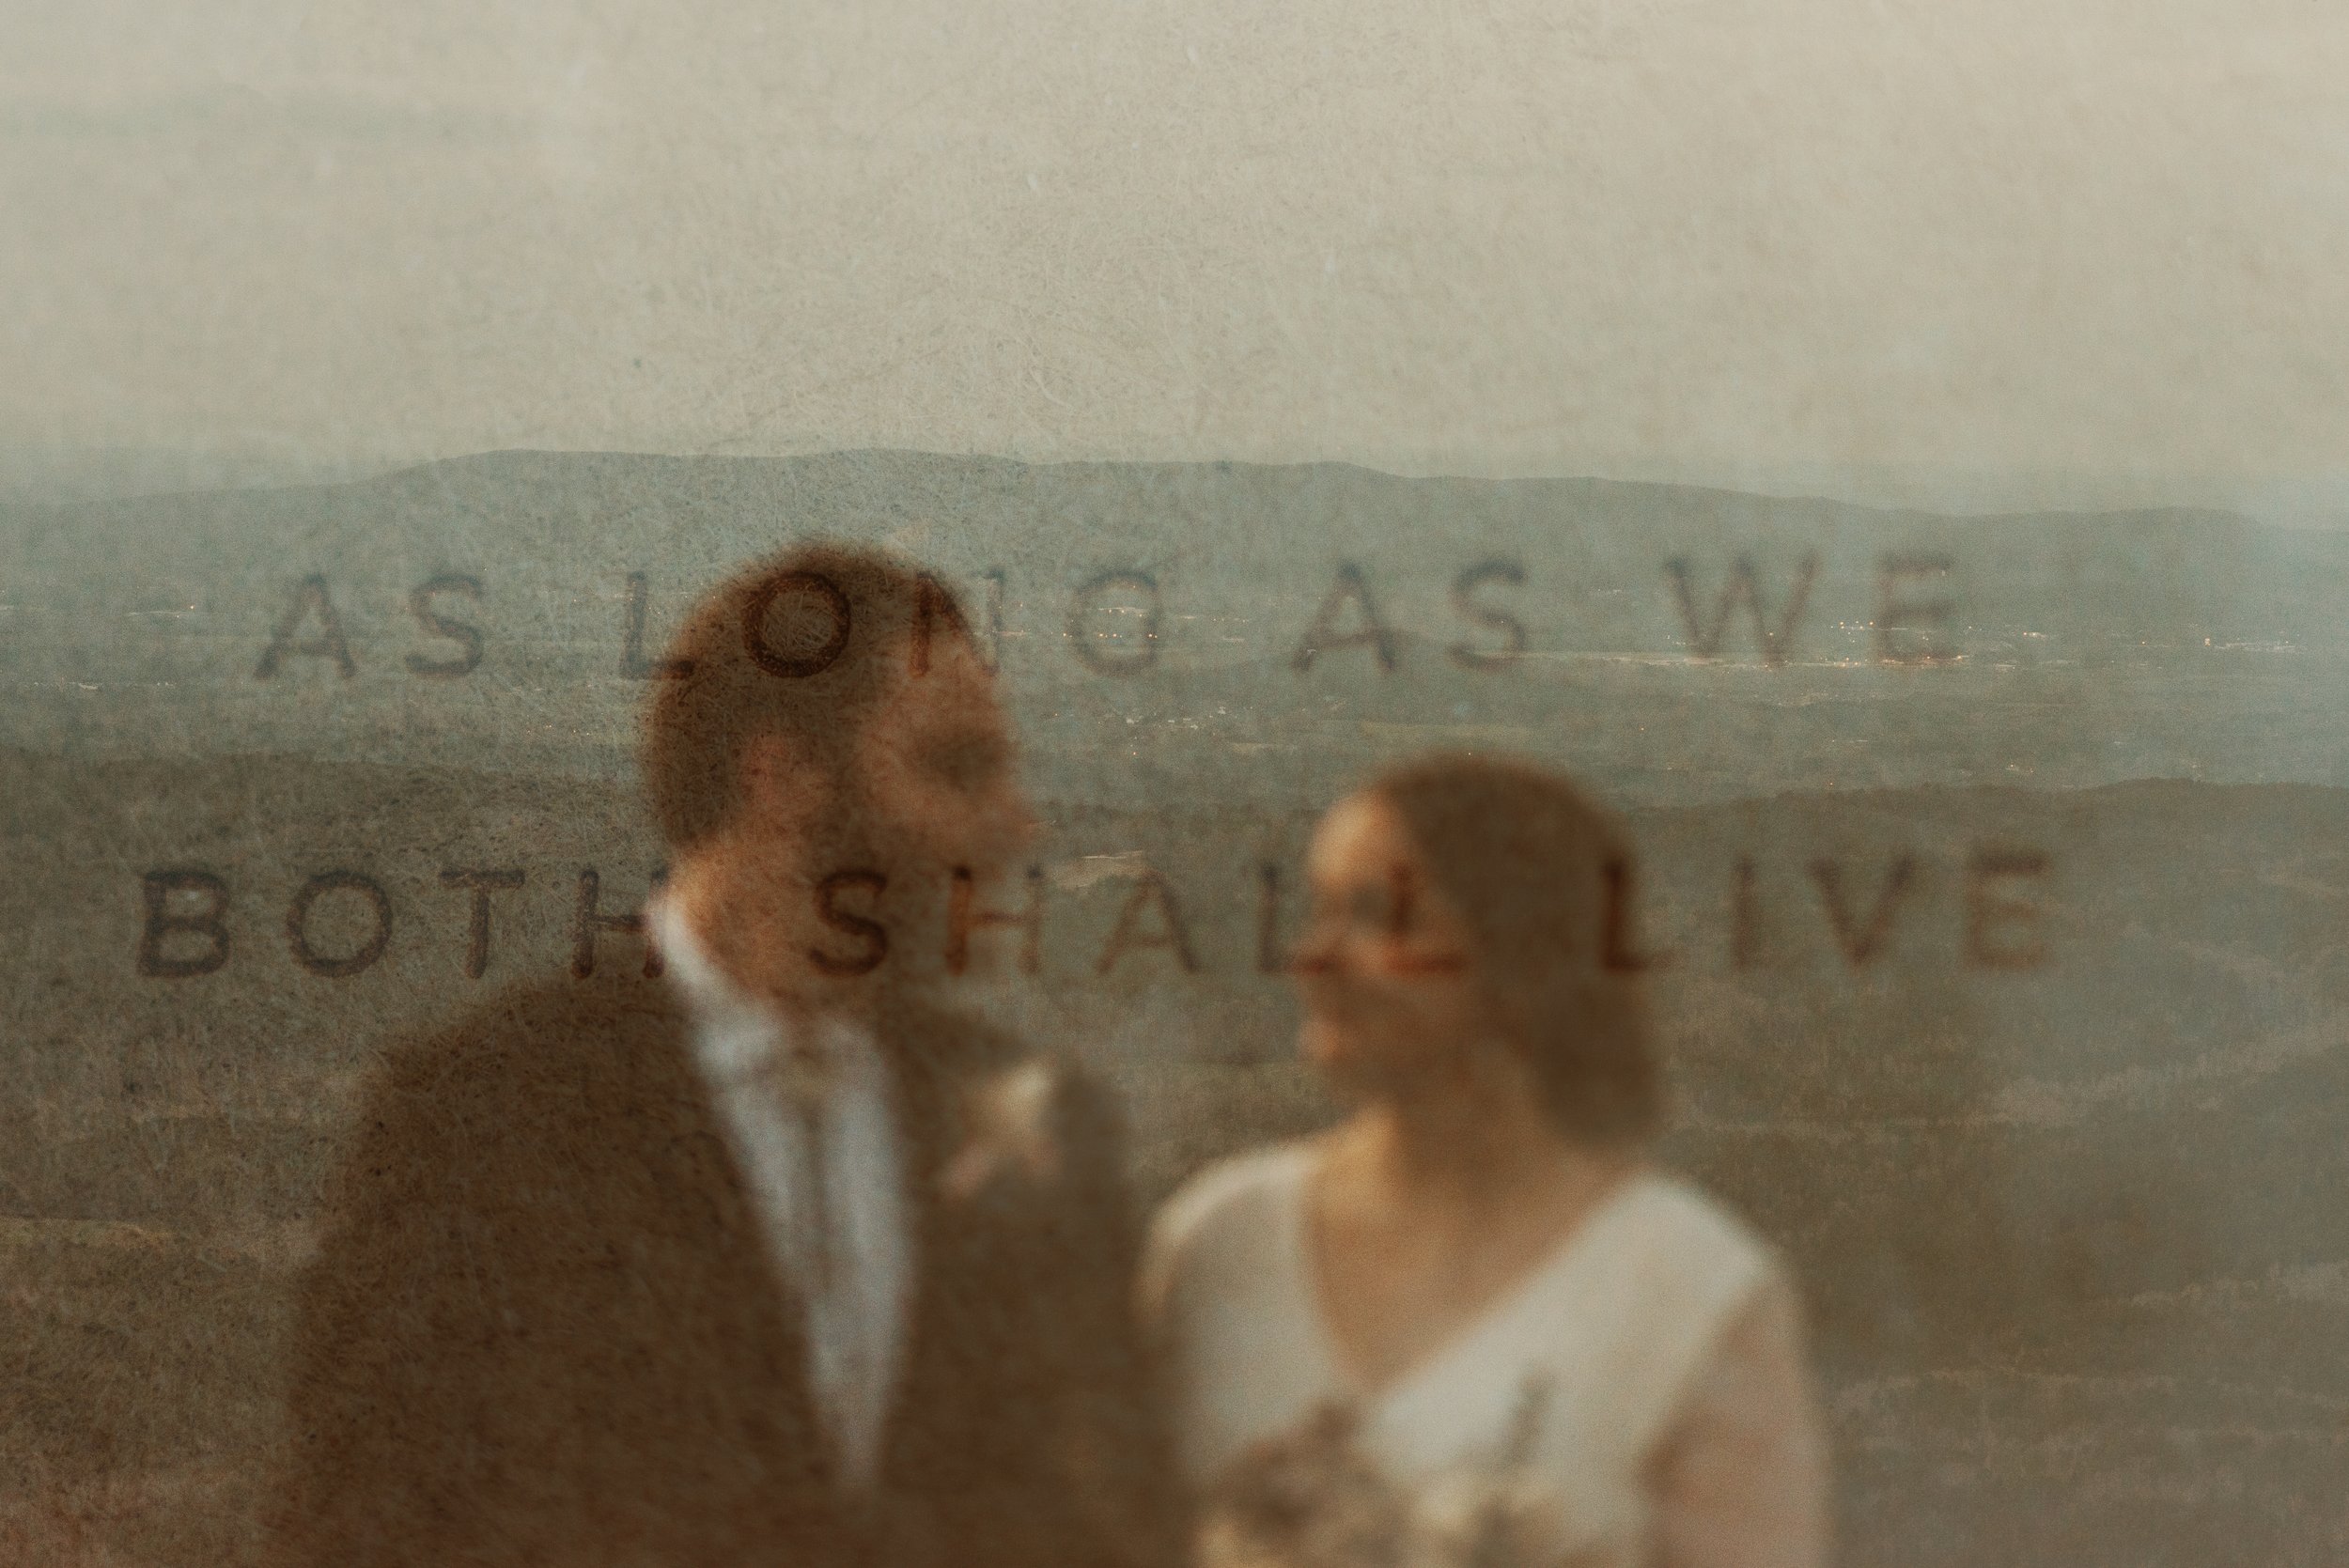
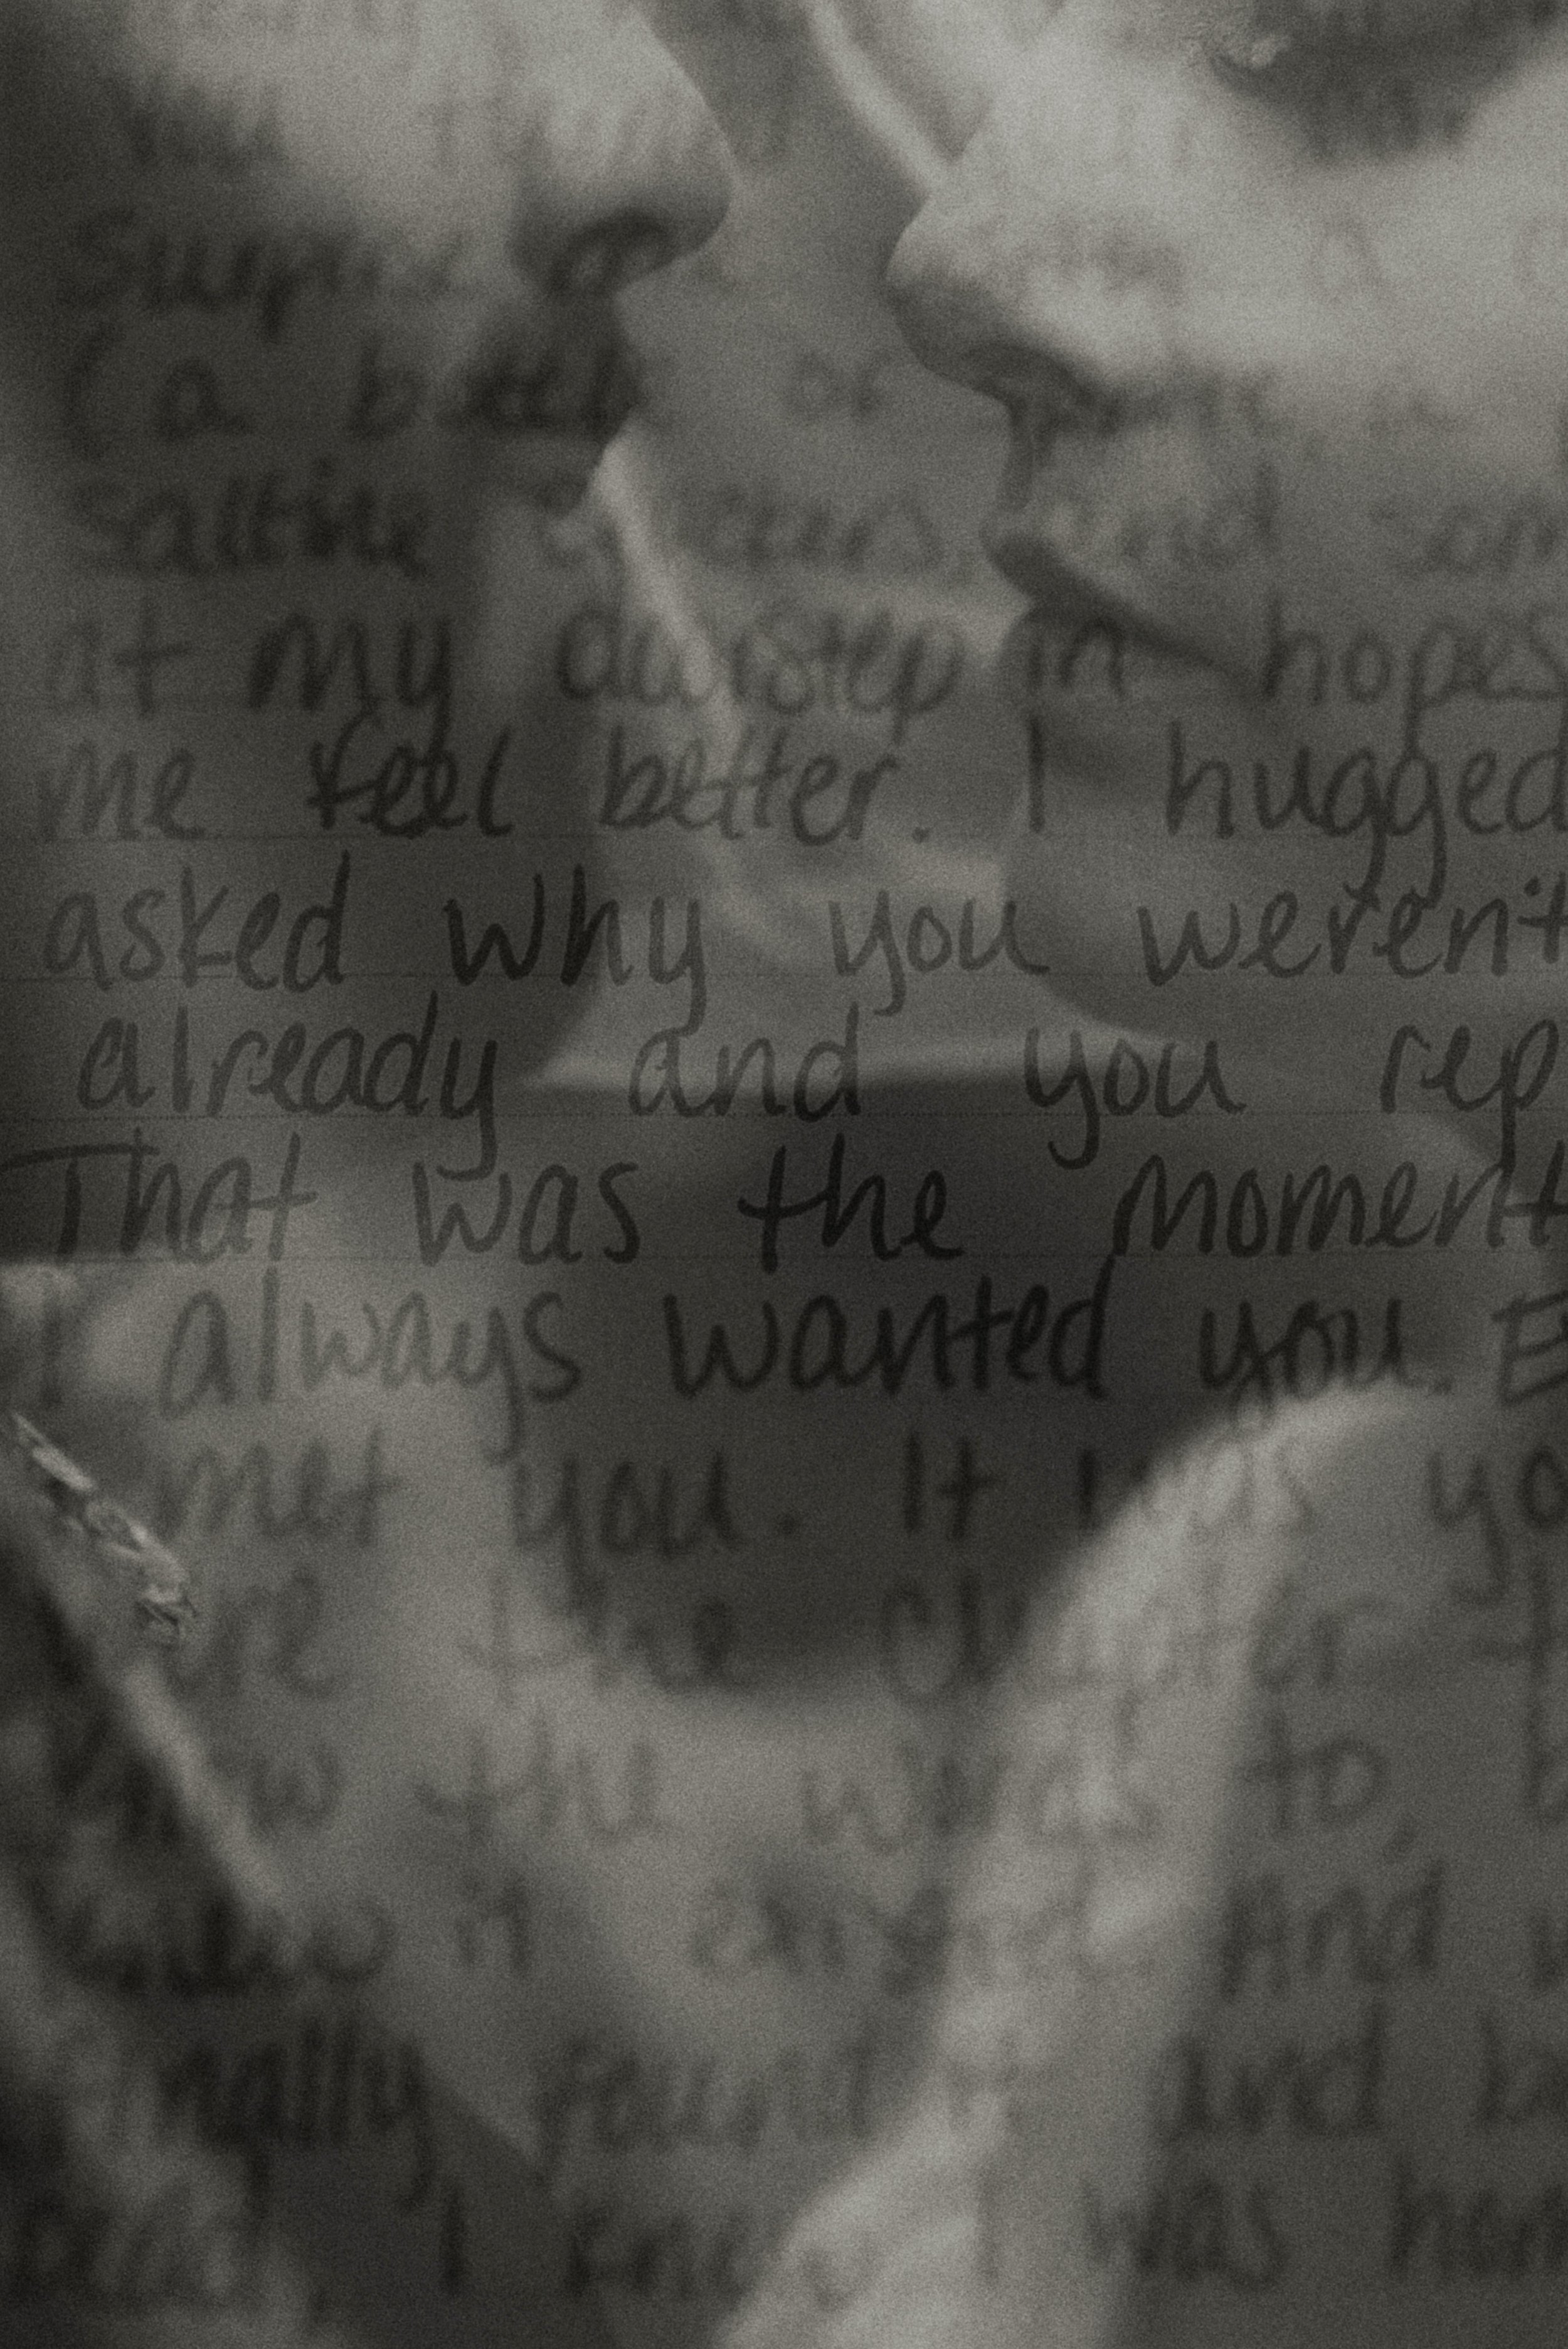
text (letters, newspapers, books, vows)
paintings & other art
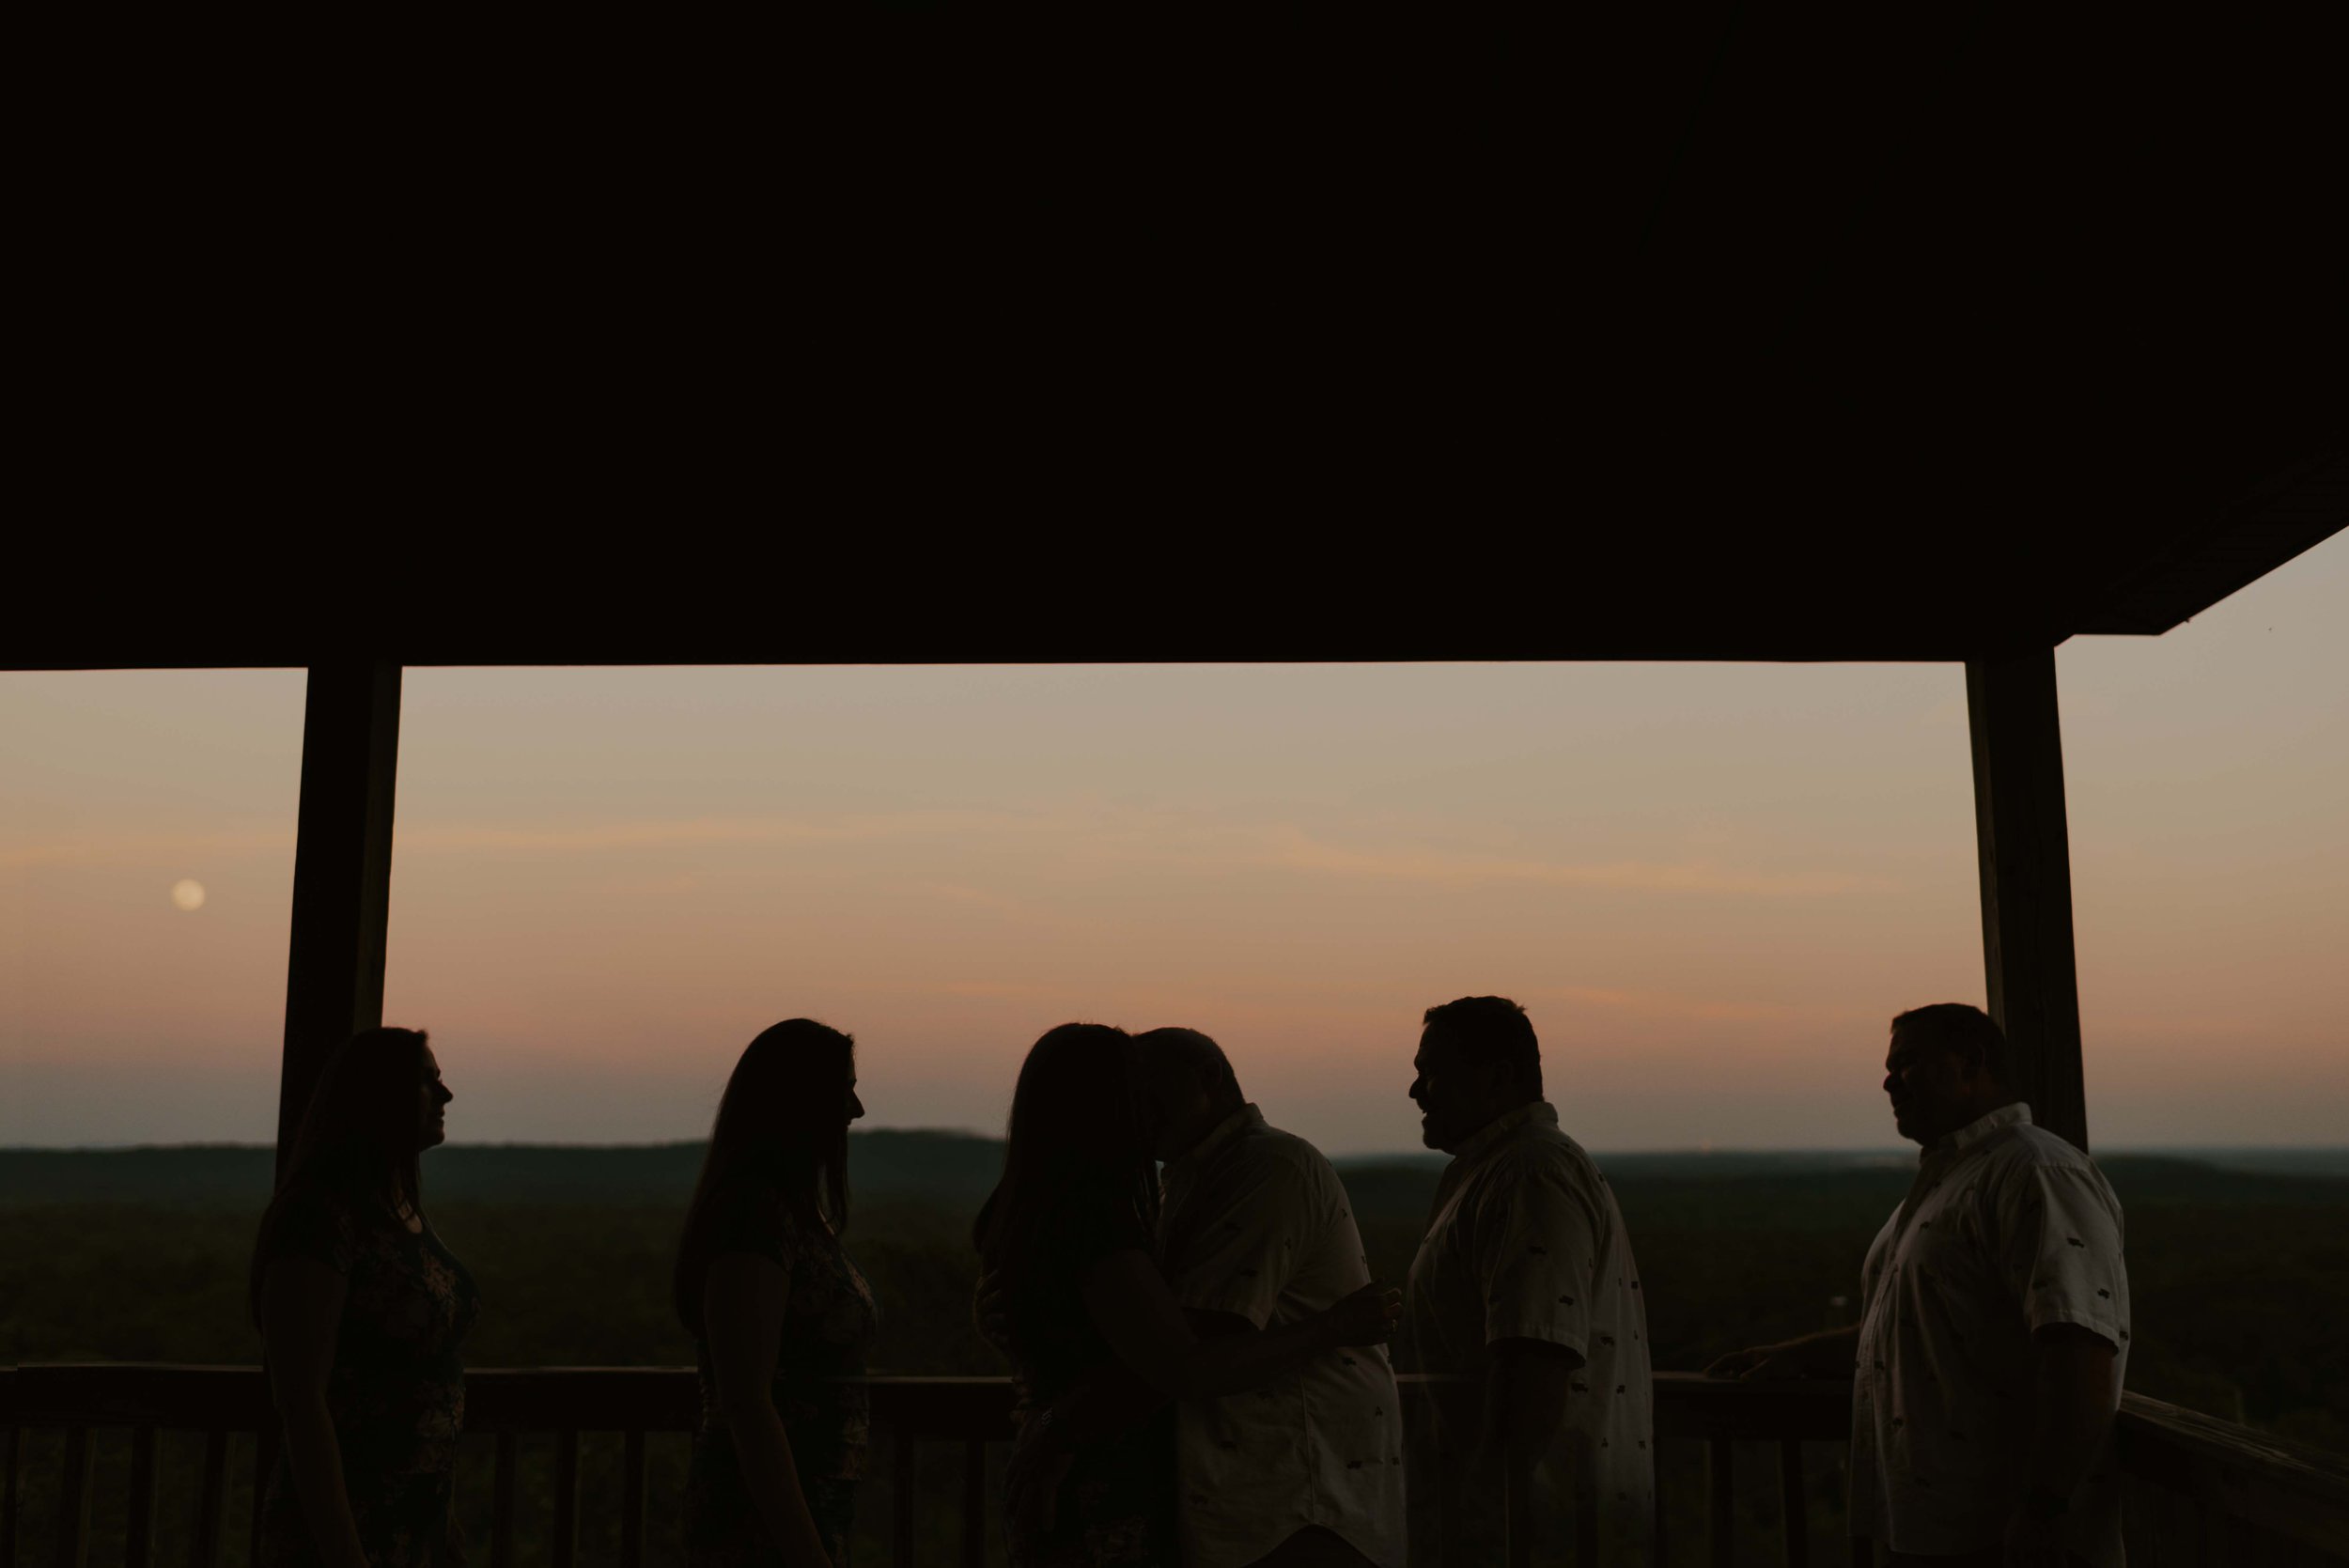
silhouettes
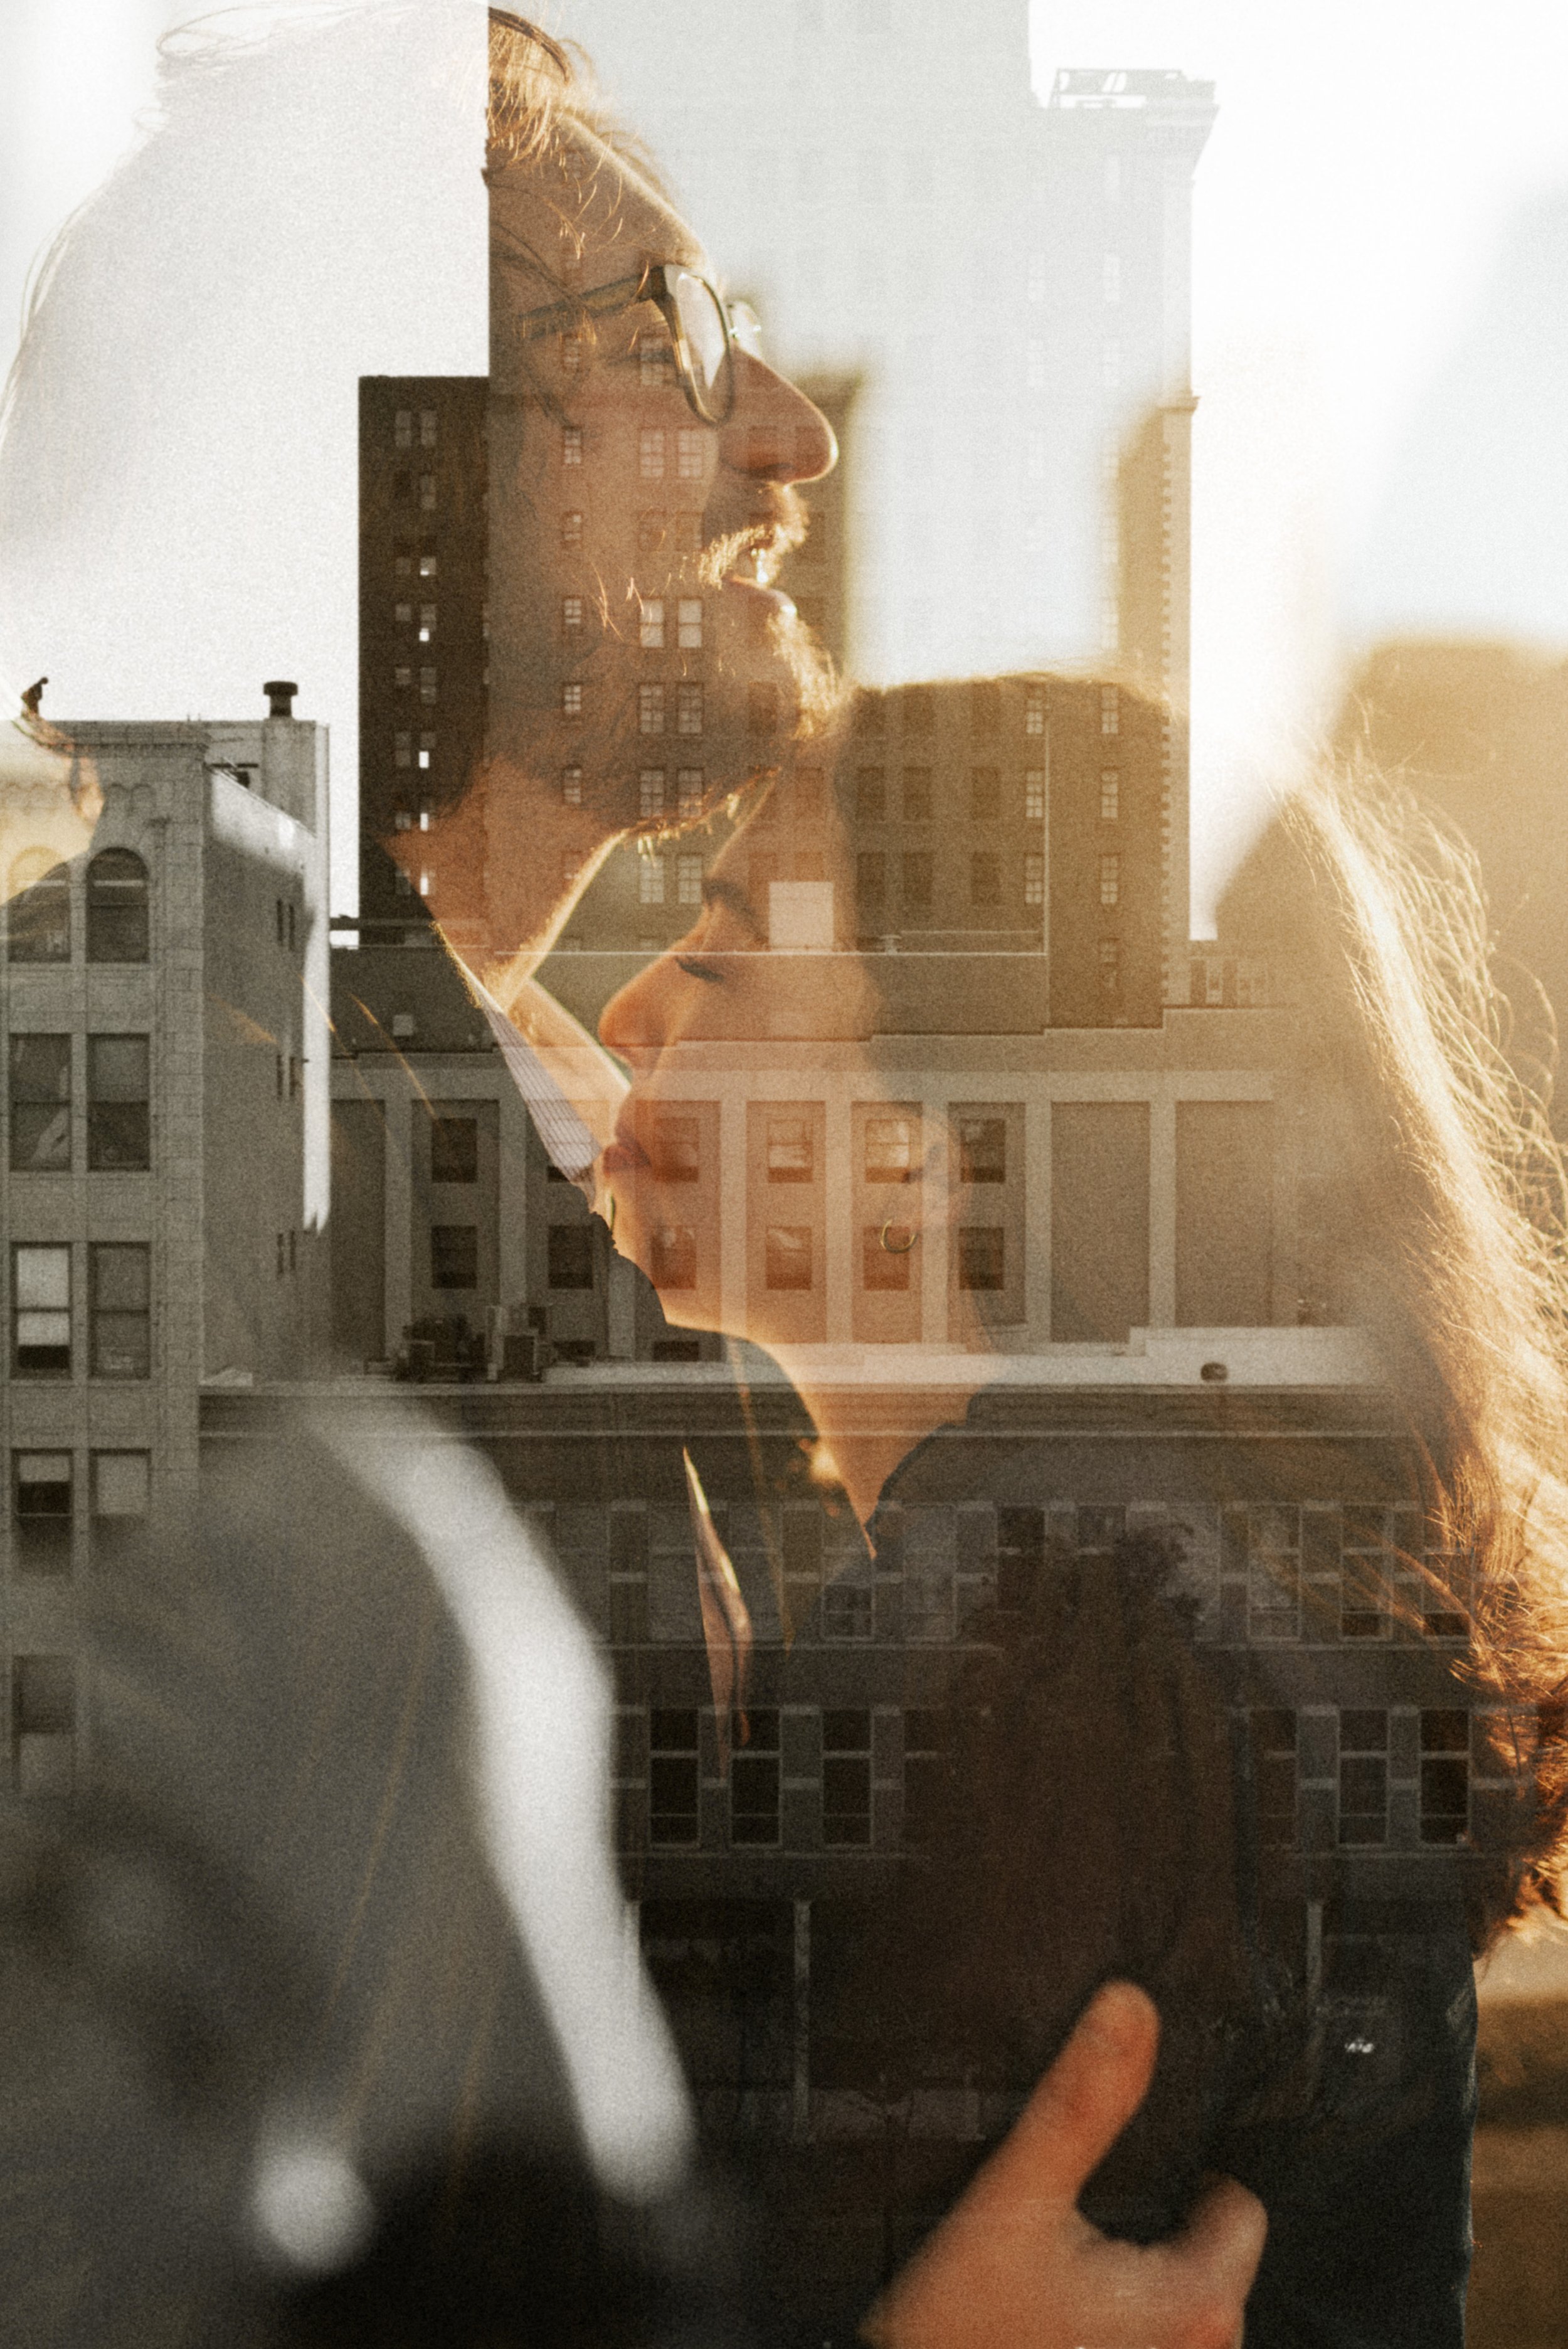
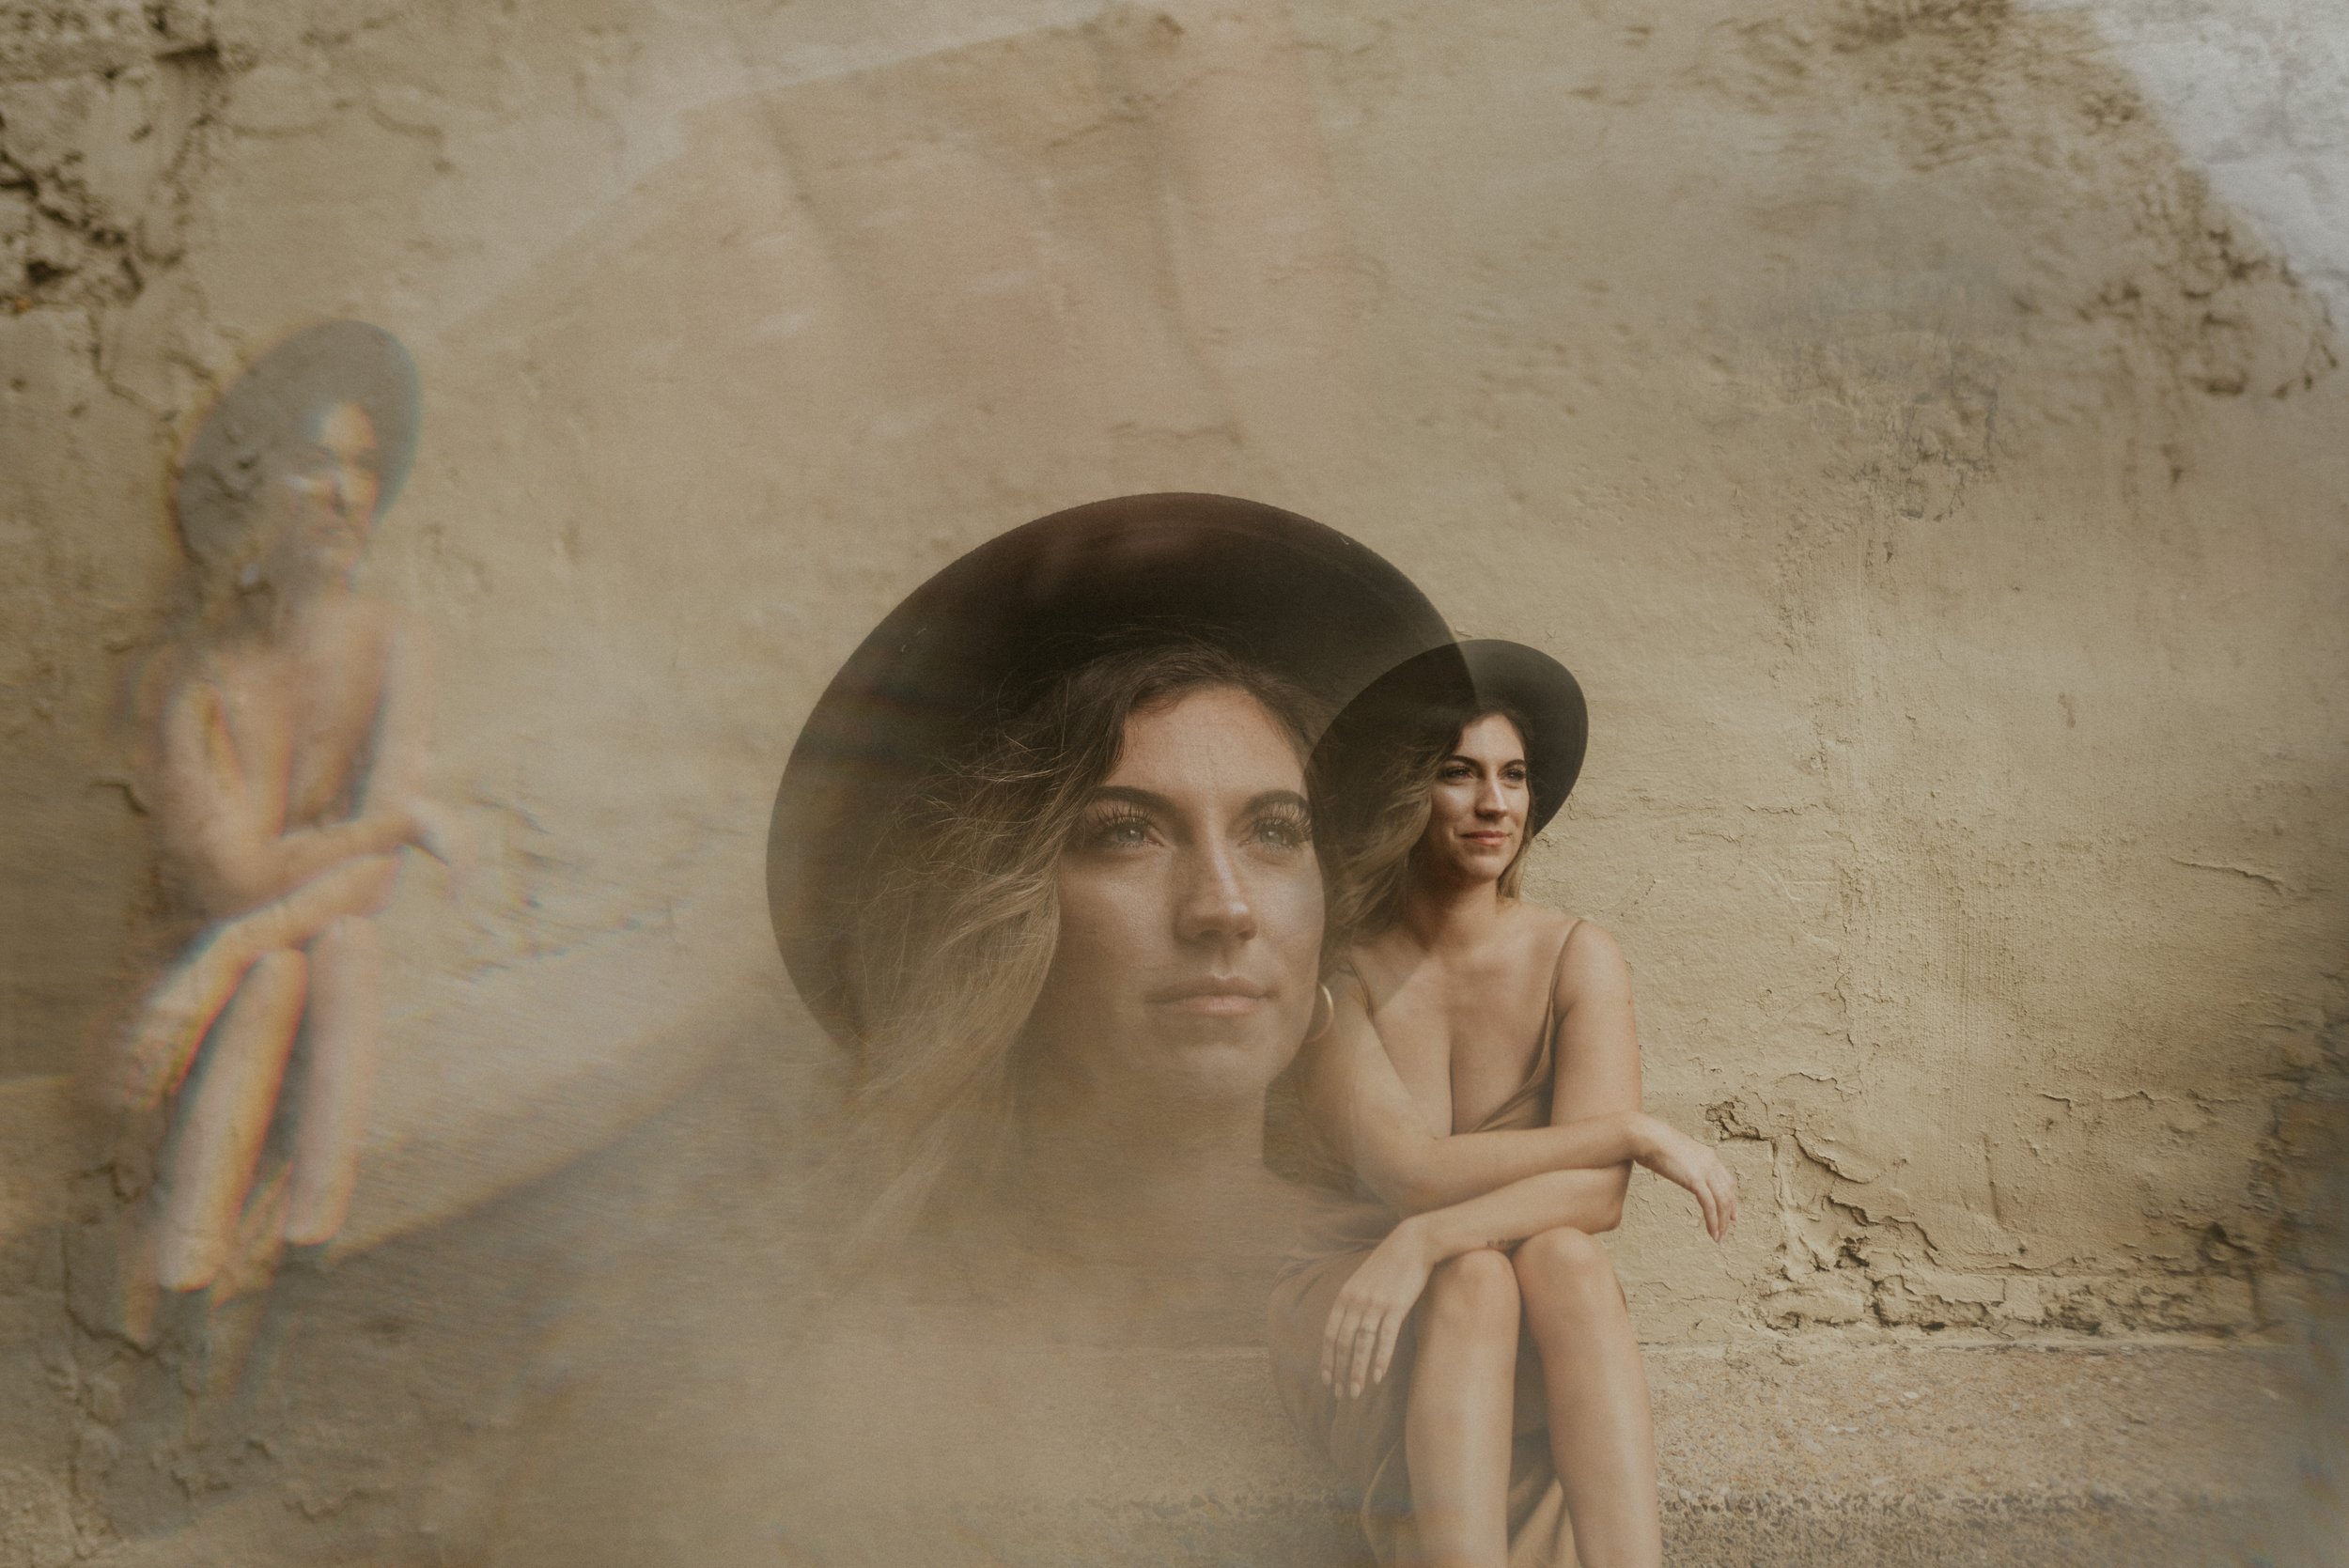
urban elements (buildings, graffiti, architecture)
A Note on Approach
When it comes to creating double exposures, there’s no one “right” way to do it. Photography, like all forms of art, is subjective, and the techniques you choose should reflect your unique style and vision. You'll find countless guides, tutorials, and videos online that showcase different methods for achieving double exposures in Photoshop. Each approach can give you a different result, so it’s important to experiment and find the techniques that resonate most with you.
Finish Your Gallery First
I typically prefer to wait until my gallery is fully edited before diving into the double exposure process. This allows me to have a clear overview of all the images, helping me identify which ones have the most potential to be creatively paired together. When you have all your photos in front of you, it becomes easier to spot opportunities for layering and blending.
I also only create double exposures from images within the same gallery. By sticking to photos from the same session or event, I can maintain a cohesive visual story throughout the gallery. It's all about crafting a visual experience that pulls your audience in and makes them want to explore the story you've created.
Getting Started in Photoshop
STEP 1: Open your images in Photoshop. Each photo will be in its own separate file/tab. To start working with double exposure, you’ll need to combine these files into one project.
STEP 2: To combine the images, simply click and drag one image from its tab and drop it into the other image’s tab. The image you drag will become a new layer on top of the first image.
STEP 3: To manipulate the image you've just placed on top, use the shortcut Command + T (on Mac) or Ctrl + T (on Windows) to bring up the transform tool. You can now resize or stretch the image to fit over the background layer, adjusting its placement and scale to align with your vision.
BONUS: You can also use more than two photos. If you're feeling experimental, try stacking several images or placing them on different areas.
Blending Modes & Brush + Mask Tools
STEP 4A. Play with blending modes to control how layers interact with each other. To access blending modes, select the top layer in the Layers panel, and then click on the dropdown menu at the top (usually set to "Normal"). Try different modes to see how they affect your double exposure. Each mode will give you a different visual result, so experiment to find the one that fits your creative vision.
STEP 4B: If you prefer not to use blending modes, you can achieve a more controlled, manual blend using a layer mask and the Brush Tool.
Select the top layer and click the Add Layer Mask button at the bottom of the Layers panel. This will add a white mask next to your image layer. Use the Brush Tool with varying opacities to paint on the mask layer. Painting with black will erase parts of the image, blending them into the layer beneath. Painting with white will bring back areas that were erased. Experiment with different brush opacities and hardness to create smoother or more defined transitions between the images. This technique gives you complete control over how the images blend, allowing for more subtle and precise adjustments.
STEP 5: Crop photos as needed/wanted during/after blending.
Play on Color
When creating double exposures, don’t limit yourself to just color on color. You can experiment by blending color images with black and white photos to create stunning contrasts and emphasize different elements in your composition.
Make Adjustments Where Needed
STEP 6: If you're satisfied with how your layers are arranged and blended, you can merge them into one single layer. This simplifies your workflow and allows you to make global adjustments. To merge the layers, select all the layers you want to combine, right-click, and choose Merge Layers. Use the adjustment tools in the menu to fix brightness, contrast, curves, etc. if needed/wanted.
No Rules, Just Creativity
Don’t hesitate to use the same photos for different double exposure variations. Whether it’s the same photo layered with multiple backgrounds, or using different images of nature or cityscapes, you can create several unique compositions from the same base material. Each new layer combination and adjustment will lead to a fresh result, even with identical starting images.
Freedom to Experiment & Grace to Try Your Ideas
Creating double exposures is all about trial and error—and that's okay! Not every attempt will turn out exactly as you imagined, and that’s part of the process. Don’t be afraid to make mistakes or experiment with ideas that might seem a little out of the box. If something doesn’t work, just try again—that’s where the magic happens. If you like it, chances are that your clients will too because they hired you.
Go make magic, friends!
AND, if you found this little guide helpful, let me know in the comments!
XO, Dakota